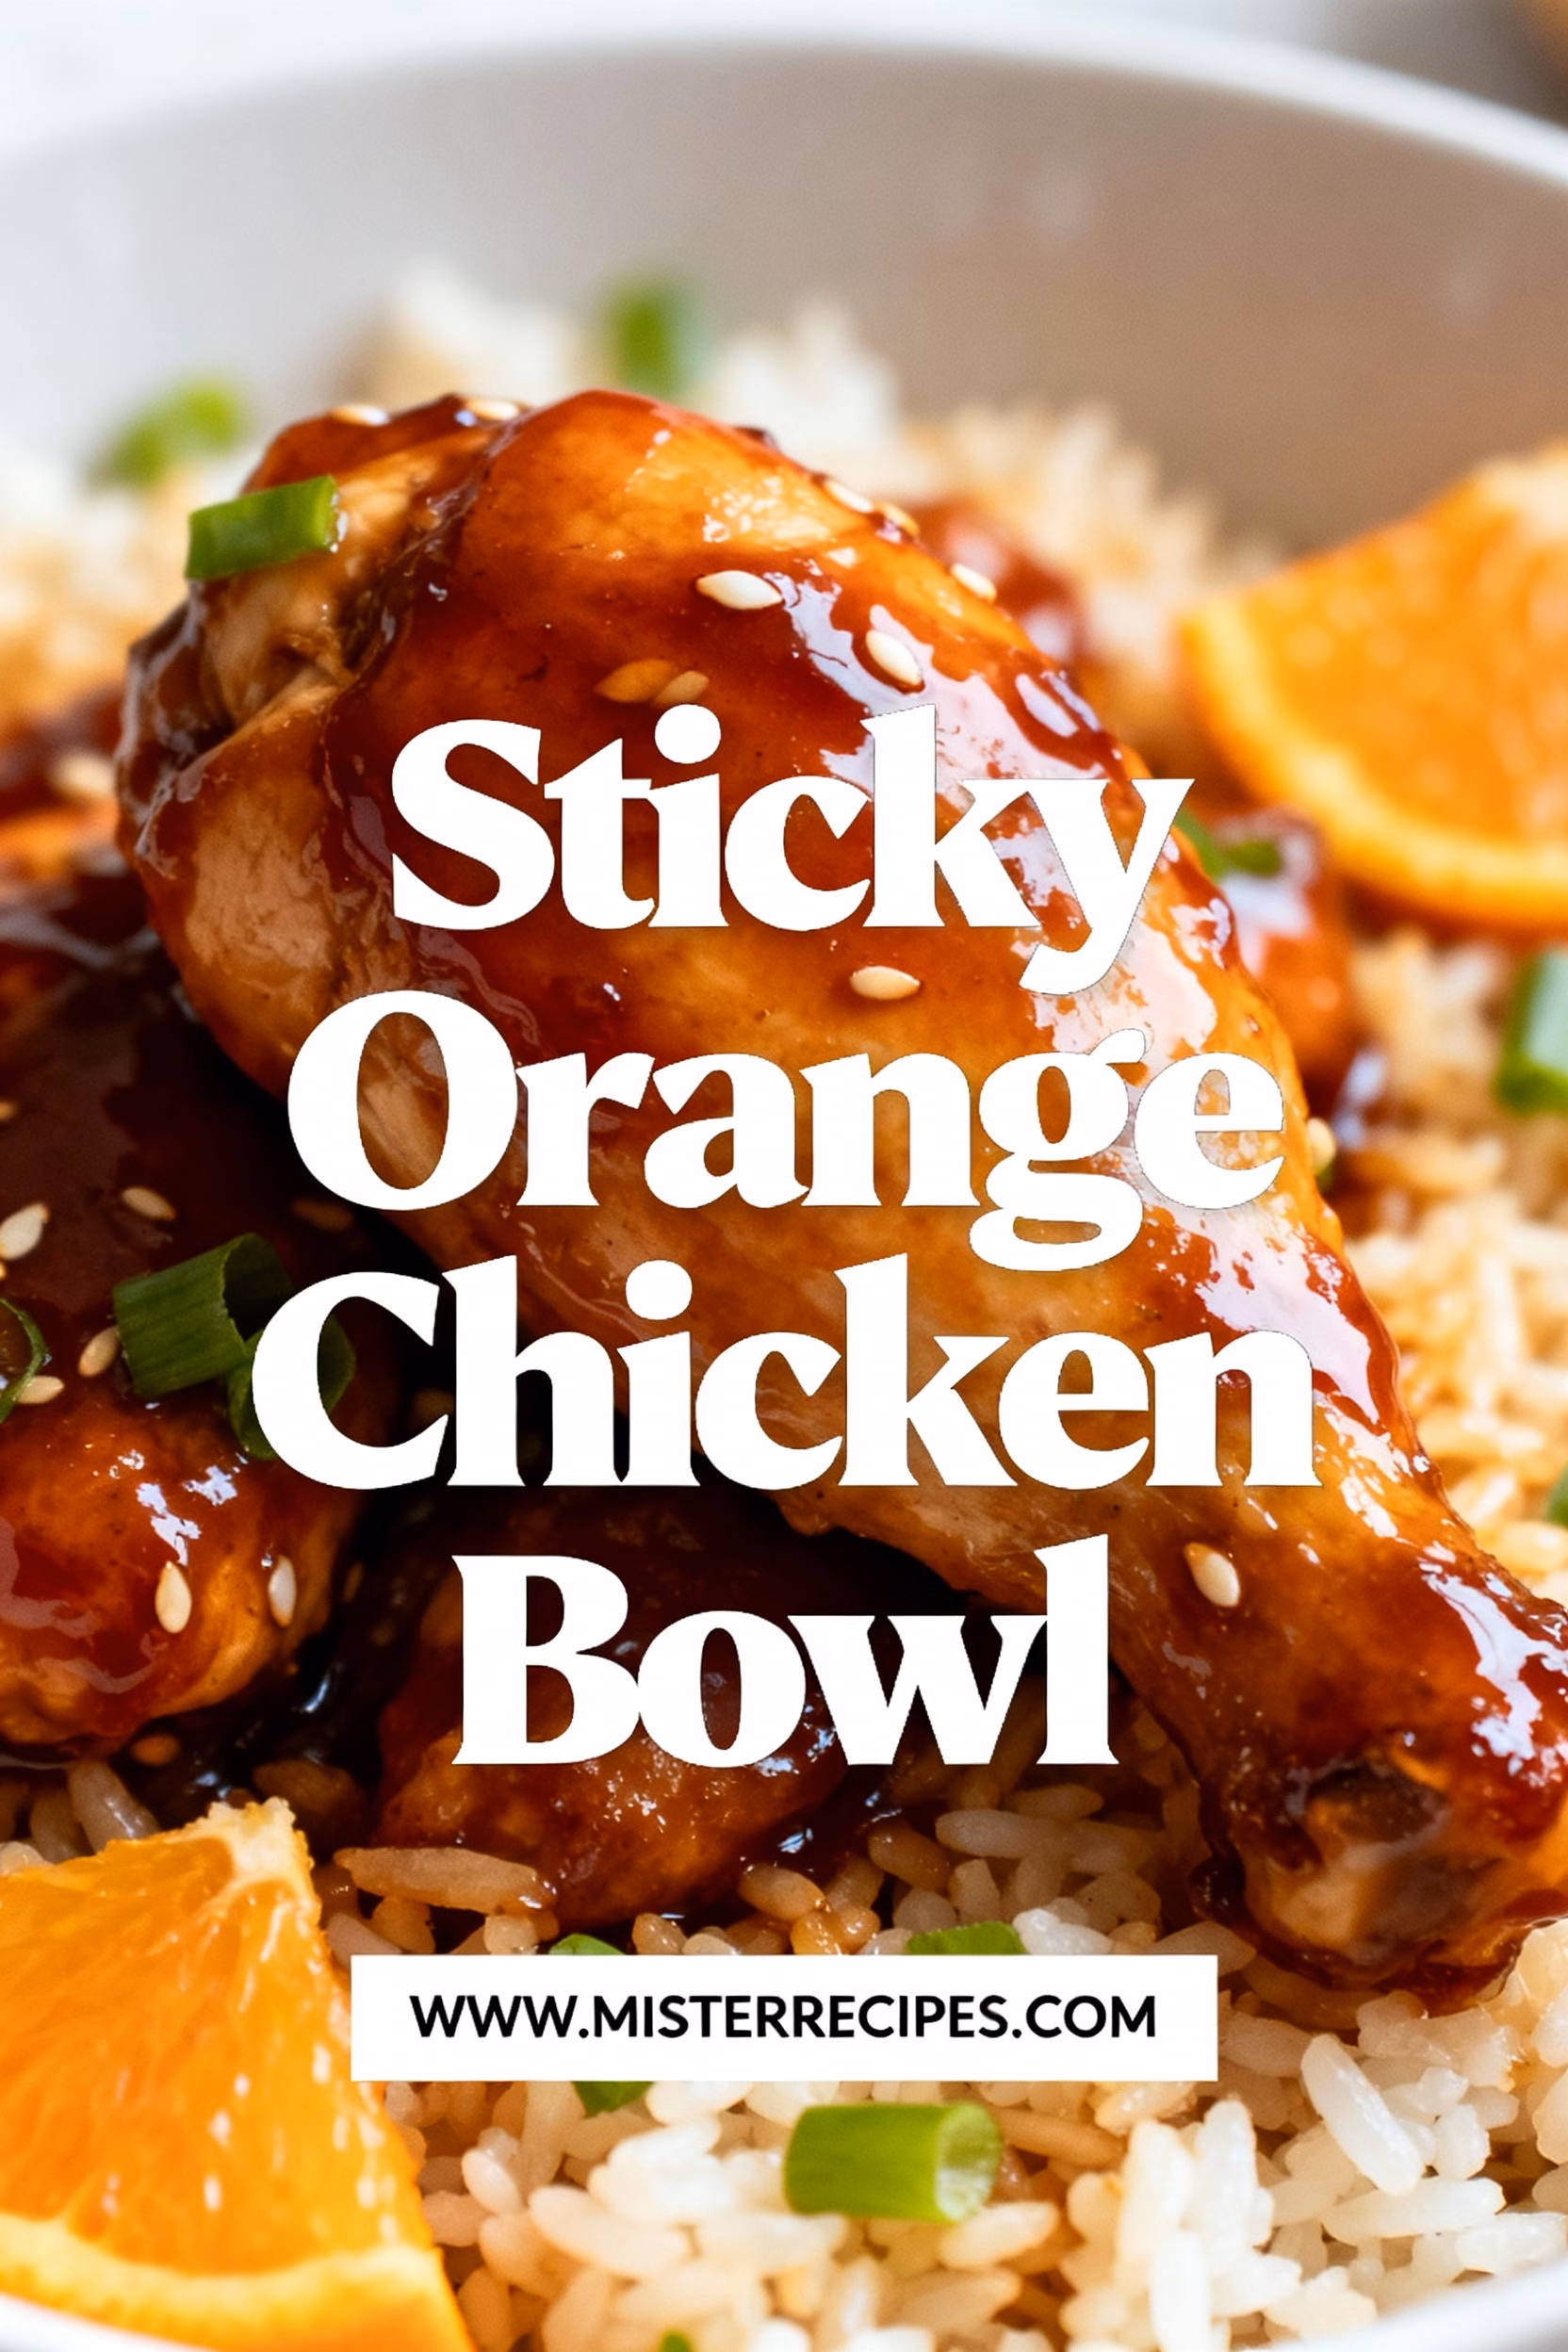
From My Kitchen to Yours: A Sticky Orange Chicken Bowl That Will Win Over the Family
I’ve asked myself this question more times than I can count: what can I make for dinner tonight that will make everyone at the table happy, from my wife Emily to my two kids, Adams and Jana? If your home is anything like mine, you know the challenge. Finding that one magical meal that’s quick enough for a busy weeknight, delicious enough to feel like a treat, and loved by both adults and picky eaters can feel like searching for a needle in a haystack. But what if I told you that the answer isn’t in a takeout menu, but right in your own kitchen? That’s where this Sticky Orange Chicken Bowl comes into our lives. This isn’t just another recipe; it’s our family’s peacekeeper, our go to for a guaranteed night of happy plates and full bellies. It all started on a Tuesday when the usual dinner rotation felt a little tired. I wanted to create something with the vibrant, comforting flavors of our favorite Chinese takeout but without the heavy feeling and long wait time. I wanted a healthy orange chicken alternative that was packed with fresh ingredients. I started with fresh orange juice, a little soy sauce for that savory depth, and a touch of ginger and garlic to make the flavors pop. My first attempt was good, but the sauce wasn’t quite clinging to the chicken the way I imagined. It took a few tries, tweaking the balance of sweet and savory, but when I finally nailed it, the result was pure magic. The chicken was perfectly crispy, and the sauce was this glossy, vibrant glaze that coated every single piece. When I served these Sticky Orange Chicken Bowls for dinner, the reaction was immediate. Adams, my twelve year old, looked up from his bowl and said, “Dad, this is better than the restaurant!” And Jana, my nine year old, was too busy happily eating to say a word. That’s the highest praise you can get. This recipe is more than just food; it’s a solution for busy parents and a joy for anyone who loves good food. It’s about creating those small, happy moments around the dinner table, one delicious bowl at a time.
Why You’ll Love This Sticky Orange Chicken Bowl
This recipe has quickly climbed the ranks to become an all time favorite in our house, and I’m confident it will in yours too. It’s one of those rare dishes that ticks all the boxes. It’s fast, it’s bursting with flavor, and it brings a universally loved takeout classic right into your home kitchen, only better. When you understand the simple components that make this dish shine, you’ll see why it’s not just a meal, but a perfect solution for so many dinner dilemmas. It’s a testament to the idea that you don’t need complicated techniques or a long list of fancy ingredients to create something truly special and memorable for your family. Here’s why I think you’re going to fall in love with it:
- Quicker and Healthier Than Takeout: Let’s be honest, we’ve all been there. It’s 6 PM, you’re exhausted, and the thought of ordering takeout is incredibly tempting. But by the time you decide what to get, place the order, and wait for it to arrive, you could have already made this incredible Sticky Orange Chicken Bowl. This recipe comes together in about 30 minutes, which is faster than most delivery services. Plus, you have complete control over the ingredients. You’re using fresh orange juice, quality chicken, and you can control the amount of sugar and sodium, making it a much homemade takeout you can feel good about serving your family.
- An Irresistible Sweet and Savory Flavor Explosion: The heart of this dish is the sauce, and oh, what a sauce it is. It’s the perfect harmony of sweet and savory notes that dance on your taste buds. The fresh orange juice provides a bright, citrusy sweetness that’s balanced by the salty, umami depth of soy sauce. A hint of garlic and ginger adds a warm, aromatic kick that elevates the entire dish. Unlike some overly sweet commercial orange chicken sauces, this version is perfectly balanced, ensuring every bite is as delicious as the last. It’s the kind of flavor that has both kids and adults coming back for seconds.
- Perfectly Crispy Chicken Every Time: One of the biggest disappointments with homemade versions of classic fried chicken dishes is ending up with soggy chicken. Not this time. My method ensures the chicken has a light, crispy coating that holds up beautifully, even after being tossed in that glorious sticky sauce. The secret is a simple cornstarch coating that fries up to a perfect golden brown, creating a delightful textural contrast with the tender, juicy chicken inside. It’s that satisfying crunch that makes each bite so incredibly addictive.
- Endlessly Adaptable and Meal Prep Friendly: This recipe is a fantastic starting point. You can easily customize it to fit your family’s tastes or what you have on hand. Want to add more vegetables? Toss in some steamed broccoli or bell peppers. Need a gluten free option? Simply swap the soy sauce for tamari. It’s also a dream for meal prep. You can cook the chicken and the sauce ahead of time and store them separately. When you’re ready to eat, just reheat the components and assemble your bowls for a lightning fast easy weeknight dinner. You can get more meal prep ideas from this great resource on Orange Chicken Meal Prep Bowls.
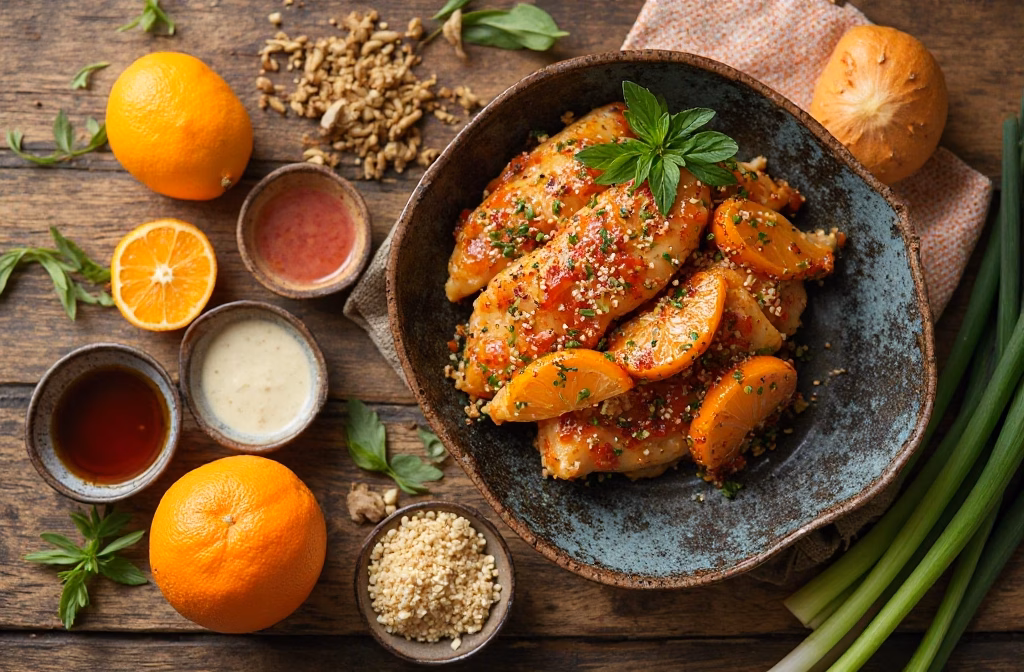
Ingredients for Sticky Orange Chicken Bowl
Here’s what you’ll need to create this amazing dish. I’ve found that using fresh, quality ingredients makes all the difference in the final flavor.
For the Chicken:
- 1.5 lbs boneless, skinless chicken breasts, cut into 1 inch cubes
- 1 cup cornstarch
- 2 large eggs, beaten
- 1/2 teaspoon salt
- 1/4 teaspoon black pepper
- Vegetable oil or canola oil, for frying
For the Sticky Orange Sauce:
- 1.5 cups fresh orange juice (from about 3-4 oranges)
- 1/2 cup low sodium soy sauce (use tamari for gluten free)
- 1/4 cup rice vinegar
- 1/3 cup granulated sugar (or substitute with honey or maple syrup)
- 2 cloves garlic, minced
- 1 tablespoon fresh ginger, grated
- 1 tablespoon orange zest
- 2 tablespoons cornstarch mixed with 2 tablespoons of cold water (cornstarch slurry)
For Assembly:
- Cooked rice (white, brown, or quinoa)
- Steamed broccoli or your favorite vegetables
- Sesame seeds, for garnish
- Sliced green onions, for garnish
How to Make Sticky Orange Chicken Bowl
Making this dish is surprisingly simple. Just follow these steps, and you’ll have a restaurant quality meal on your table in no time. The key is to have everything prepped and ready to go before you start cooking, a practice chefs call ‘mise en place’. This makes the whole process smooth and stress free.
Step-by-Step Instructions
- Prepare Your Components: Before you even think about turning on the stove, get everything ready. Start by cooking your rice according to the package directions. While the rice is simmering, you can prepare the rest of your ingredients. Cut the chicken into uniform 1 inch cubes. This ensures that every piece cooks evenly. Mince your garlic, grate the ginger, and zest one of your oranges before you juice them. Pro tip: it’s much easier to zest an orange before it’s cut. In a small bowl, whisk together the cornstarch and cold water to create your slurry and set it aside. Having these things ready will make the cooking process feel like a breeze.
- Coat the Chicken: Now it’s time to get that chicken ready for its crispy destiny. In a shallow dish or bowl, whisk the two eggs. In a separate bowl, combine the 1 cup of cornstarch with the salt and pepper. This simple seasoning in the coating adds an extra layer of flavor. Take a few pieces of chicken at a time, first dip them into the beaten egg, making sure each piece is fully coated. Let any excess egg drip off, then immediately transfer the chicken to the cornstarch mixture. Toss gently until every nook and cranny of the chicken is covered in a thin, even layer of cornstarch. Shake off any excess and place the coated chicken on a plate or baking sheet in a single layer.
- Fry the Chicken to Golden Perfection: In a large skillet or wok, heat about 1 to 2 inches of vegetable oil over medium high heat. You want the oil to be hot enough so the chicken sizzles immediately when you add it, around 350°F (175°C). If you don’t have a thermometer, you can test it by dropping a small pinch of the cornstarch coating into the oil. If it sizzles vigorously, you’re ready to go. Carefully add the chicken to the hot oil in a single layer, being sure not to overcrowd the pan. Fry the chicken in batches for about 4 to 5 minutes, turning occasionally, until it’s golden brown and cooked through. Once cooked, remove the chicken with a slotted spoon and place it on a wire rack to drain. The wire rack is key to keeping the bottom of the chicken crispy.
- Create the Magical Sticky Orange Sauce: While the chicken is draining, you can make the sauce. In a saucepan, combine the fresh orange juice, soy sauce, rice vinegar, sugar, minced garlic, and grated ginger. Bring this mixture to a simmer over medium heat, stirring occasionally to dissolve the sugar. Let it simmer for a couple of minutes to allow the flavors to meld together. Once simmering, slowly whisk in the cornstarch slurry you prepared earlier. Continue to stir constantly until the sauce thickens to a beautiful, glossy consistency that can coat the back of a spoon. This should take about 1 to 2 minutes. Once thickened, stir in the orange zest and remove the sauce from the heat.
- Combine and Serve: This is the final, exciting step! Gently add the crispy fried chicken into the saucepan with your sticky orange sauce. Fold everything together until each piece of chicken is generously coated in that luscious glaze. To build your bowls, start with a bed of fluffy rice, top with a generous portion of the sticky orange chicken, and add a side of steamed broccoli or your favorite vegetable. Garnish with a sprinkle of sesame seeds and freshly sliced green onions for that extra pop of color and flavor. Serve immediately and watch everyone’s faces light up.
Pro Tips & Variations
Once you’ve mastered the basic recipe, there are plenty of ways to make it your own. Here are some of my favorite tips to guarantee success and a few variations to try when you’re feeling adventurous.
Pro Tips
- Don’t Skip the Fresh Orange Juice: While it might be tempting to use bottled orange juice, I promise you that fresh is best. The flavor of freshly squeezed orange juice is so much brighter and more vibrant. It provides a natural sweetness and a zesty punch that you simply can’t get from concentrate. The orange zest is also a non negotiable for me. It contains essential oils that infuse the sauce with an intense, aromatic orange fragrance and flavor.
- The Secret to Extra Crispy Chicken: If you want your chicken to have an even crispier, more substantial crust, try the double dredging method. After you dip the chicken in the egg and cornstarch once, let it sit for a minute, then dip it back into the egg and again into the cornstarch. This creates a thicker coating that becomes incredibly crunchy when fried. As mentioned before, make sure your oil is at the right temperature and don’t overcrowd the pan. Frying in batches is your best friend for achieving that perfect crunch.
- Achieving the Perfect Sauce Consistency: The cornstarch slurry is what transforms the sauce from a thin liquid into a thick, glossy glaze. The key is to mix the cornstarch with cold water before adding it to the hot liquid. If you add cornstarch directly to the hot sauce, it will clump up instantly. Pour the slurry in slowly while whisking continuously to ensure a smooth, lump free sauce. If your sauce gets too thick, you can thin it out with a tablespoon of water or orange juice at a time. If it’s not thick enough, you can add a little more slurry until it reaches your desired consistency.
Variations
- Spicy Orange Chicken: If you like a little heat, it’s incredibly easy to spice up this dish. Add 1 to 2 teaspoons of sriracha or a pinch of red pepper flakes to the sauce along with the other ingredients. Adjust the amount based on your preference for heat. The spicy kick beautifully complements the sweetness of the orange.
- Gluten-Free Orange Chicken: To make this chicken and rice bowl gluten free, simply swap the low sodium soy sauce for an equal amount of tamari or gluten free soy sauce. The rest of the ingredients are naturally gluten free, making this a very easy adaptation.
- Make it with Tofu or Cauliflower: This recipe works wonderfully with other proteins too. For a vegetarian version, press a block of extra firm tofu to remove excess water, cube it, and coat and fry it just like the chicken. For a vegetable forward option, use cauliflower florets. You may need to adjust the frying time slightly, but the results are just as delicious. For more inspiration on classic orange chicken, check out this great orange chicken recipe.
Serving Suggestions
A great main dish deserves the perfect partners to make it a complete and satisfying meal. For this Sticky Orange Chicken Bowl, you want sides that complement its bold flavors without overpowering it. The beauty of a bowl style meal is its versatility; you can mix and match components based on what you love or what you have in the fridge. Here are a few of my family’s favorite pairings that turn this delicious chicken into a well rounded feast.
- Fluffy Steamed Rice: This is a classic and essential base for the bowl. A bed of fluffy white or jasmine rice is the perfect neutral canvas to soak up every last drop of that amazing sticky orange sauce. The soft, tender grains provide a wonderful contrast to the crispy chicken. If you want to add a healthier, nuttier element, brown rice or even quinoa are fantastic alternatives. They both offer a chewier texture and more fiber, making the meal even more wholesome.
- Steamed or Roasted Broccoli: Broccoli and orange chicken are a match made in heaven. The slight bitterness and fresh, earthy flavor of the broccoli cut through the richness of the sauce, providing a perfect balance. I love to steam the florets until they are bright green and tender crisp. This way, they retain a slight bite that adds another layer of texture to the bowl. If you prefer a deeper, more caramelized flavor, try roasting the broccoli with a little olive oil and salt until the edges are slightly browned.
- Asian Cucumber Salad: For a refreshing and zesty contrast, a simple cucumber salad is an excellent choice. Thinly slice some cucumber and toss it with a splash of rice vinegar, a pinch of sugar, and a few sesame seeds. The coolness and crispness of the cucumber, along with the tangy dressing, provide a refreshing counterpoint to the warm, sweet, and savory chicken. It’s a light and vibrant side that cleanses the palate with every bite.
Storage & Reheating for Sticky Orange Chicken Bowl
One of the best parts about this recipe is that it’s almost as good the next day. Storing and reheating it properly is key to enjoying those leftovers.
Storage:
To store leftovers, allow the chicken and rice to cool completely. For the best results, I recommend storing the sticky orange chicken separately from the rice and any vegetables in an airtight container. This prevents the rice from getting too soggy. It will keep well in the refrigerator for up to 3-4 days.
Reheating:
While you can use a microwave in a pinch, the best way to reheat the orange chicken is in a skillet over medium heat. This helps to bring back some of the chicken’s original crispiness. Just add a splash of water or orange juice to loosen up the sauce and heat until the chicken is warmed through. You can reheat the rice and vegetables in the microwave or in the same skillet.
FAQ about Sticky Orange Chicken Bowl
Here are some common questions I get about this recipe. Hopefully, these answers help you on your cooking journey!
- Can I use chicken thighs instead of breasts?
Absolutely! Chicken thighs are a fantastic choice for this recipe. They have a little more fat than chicken breasts, which makes them incredibly juicy and flavorful. Simply cut them into 1 inch pieces and follow the recipe as directed. The cooking time should be about the same. - My sauce isn’t getting thick. What did I do wrong?
This is a common issue, and it’s an easy fix! The most likely reason is that the sauce didn’t simmer long enough after adding the cornstarch slurry, or the slurry ratio was off. To fix it, simply create another small slurry (about 1 teaspoon of cornstarch mixed with 1 teaspoon of cold water) and slowly whisk it into the simmering sauce until it reaches your desired thickness. - Can I bake the chicken instead of frying it?
Yes, you can bake the chicken for a lighter version. It won’t be quite as crispy as the fried version, but it’s still delicious. Preheat your oven to 400°F (200°C). Coat the chicken as directed and arrange it in a single layer on a baking sheet lined with parchment paper. Spray the chicken with cooking spray and bake for 15-20 minutes, flipping halfway through, until golden and cooked through. Then, toss it with the prepared sauce. - Is this recipe very sweet?
This Sticky Orange Chicken Bowl is designed to have a perfect balance of sweet and savory flavors, leaning more towards the balance you’d find in an authentic dish rather than the overly sweet Americanized versions. The fresh orange juice provides natural sweetness, which is balanced by the savory soy sauce and tangy rice vinegar. However, taste is subjective! If you prefer a less sweet sauce, you can reduce the sugar to your liking. Start with a smaller amount and add more as needed.
Final Thoughts on Sticky Orange Chicken Bowl
There is something truly special about recreating a beloved takeout dish at home, and this Sticky Orange Chicken Bowl is no exception. It’s more than just a recipe; it’s a way to bring family together, to create a meal filled with love, and to prove that you can make food that is both incredibly delicious and refreshingly simple. Every time I make this, I’m reminded of my grandmother’s words: “Cooking isn’t just about food, Ben. It’s about making people happy.” And this dish makes my family very happy.
If you try this recipe, I would absolutely love to hear from you! Please leave a comment and a rating below to let me know how it turned out. And if you’re on social media, don’t forget to snap a photo and share it!
Want to save this recipe for later? Pin it to your favorite dinner board on Pinterest! And for more family friendly recipes delivered straight to your inbox, be sure to subscribe to the Mister Recipes newsletter. Grab your apron, and let’s get cooking!
Mediterranean Beef Stir Fry
Ingredients
Equipment
Method
- Prepare Your Beef: The secret to tender stir-fried beef is a good slice. Lay your flank steak on the cutting board and slice it as thinly as you can against the grain. If you’re unsure, look for the lines running through the muscle and cut across them, not parallel to them. This simple step is a game changer! Pat the slices dry with a paper towel (this helps get that perfect sear) and season them gently with salt and pepper.
- The First Sizzle: Heat your olive oil in a large skillet or wok over high heat. You want the pan to be hot enough that a drop of water evaporates instantly. Carefully add the beef in a single layer. You’re looking for that loud, satisfying sizzle. That’s the sound of flavor being born! Let the beef cook for just 1-2 minutes per side, until beautifully browned but still a little pink inside. Don’t overcrowd the pan; cook in batches if you need to. Once seared, remove the beef and set it aside on a plate.
- Build the Flavor Base: Reduce the heat to medium-high. To the same skillet, add the sliced red onion. Let it cook for a couple of minutes until it starts to soften and turn translucent at the edges. Now, add the minced garlic and dried oregano. Stir for about 30 seconds until the garlic is fragrant. This is the moment your kitchen will start to smell absolutely divine.
- Add the Veggie Chorus: Toss in the sliced red bell pepper and zucchini. Stir everything together, letting the vegetables cook for about 4-5 minutes. You want them to be tender-crisp—softened, but still with a little bite and vibrancy. This isn’t a stew; texture is part of the joy here.
- Bring It All Together: Now, for the grand finale. Return the seared beef to the skillet. Add the chopped sun-dried tomatoes, halved Kalamata olives, and the beef broth. Stir everything gently to combine. Let it simmer for just a minute or two, allowing the flavors to meld together into a harmonious sauce that coats every ingredient.
- The Finishing Touch: Turn off the heat. Squeeze in the fresh lemon juice. This final splash of acidity is crucial—it brightens everything up and makes all the other flavors pop. Give it one last stir, taste, and add any extra salt and pepper if needed. Serve it hot, garnished generously with fresh parsley and a sprinkle of feta cheese, if your heart desires.