Introduction
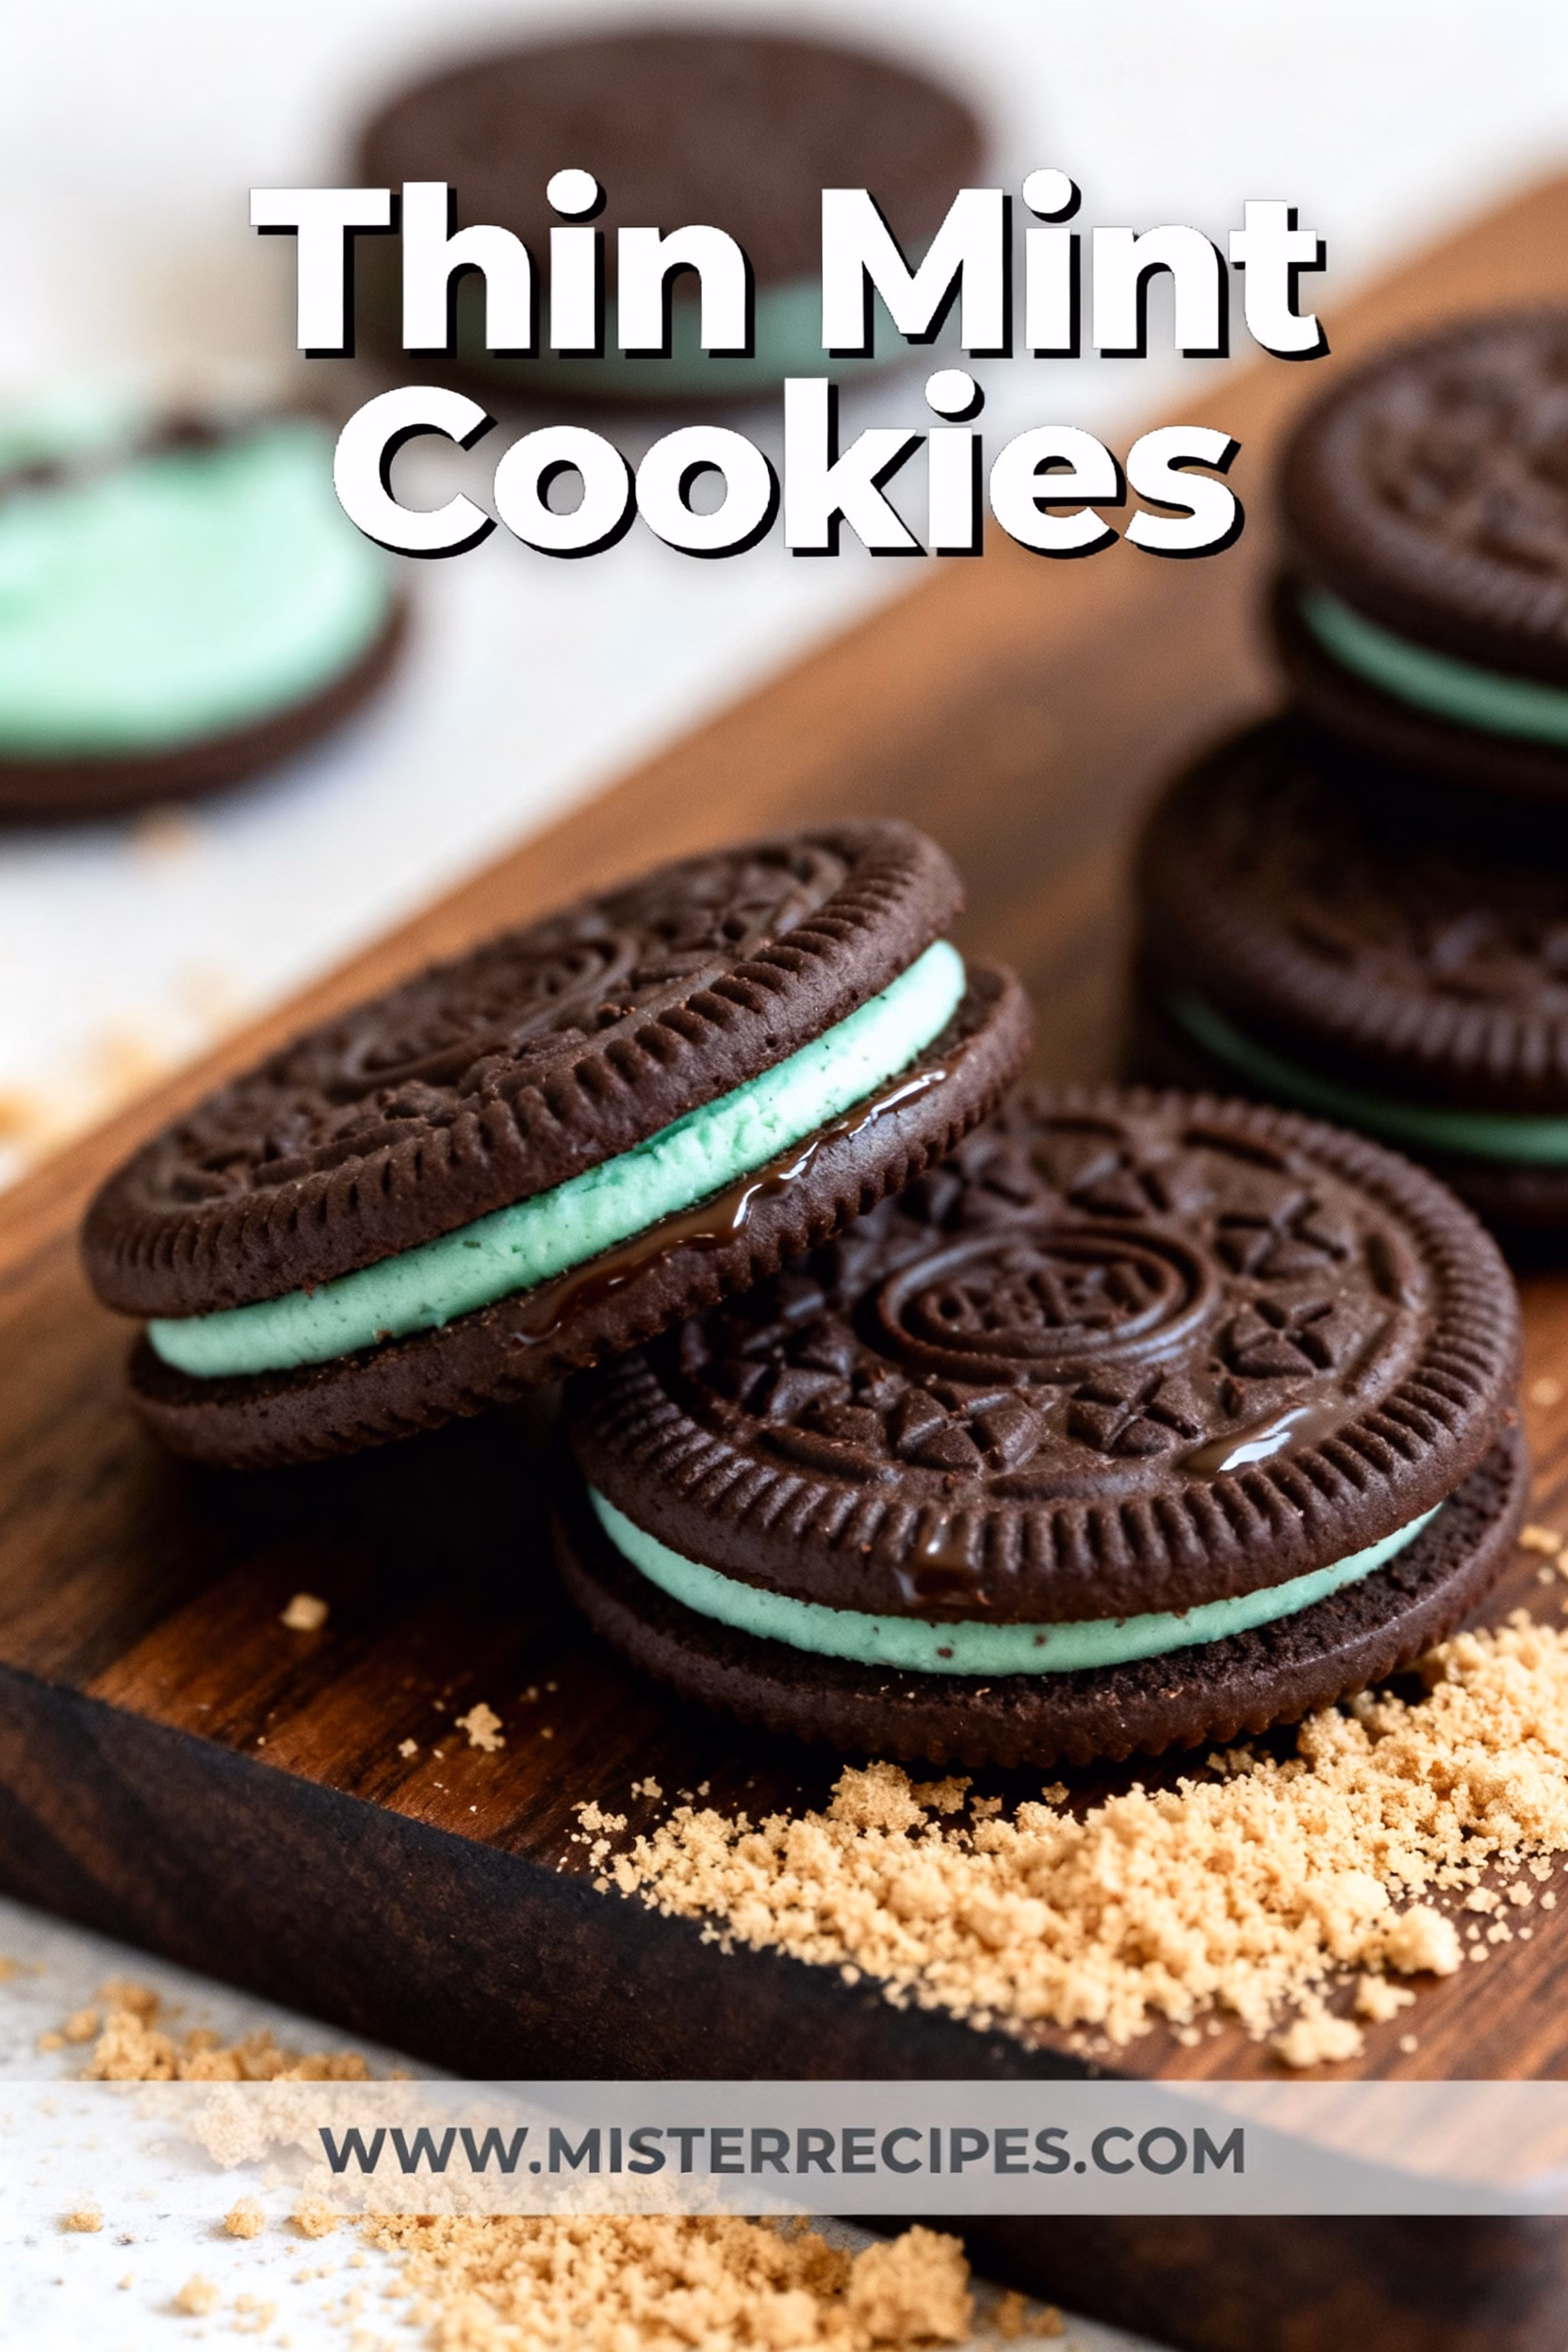
Have you ever found yourself staring at an empty freezer shelf wishing you had stocked up on those iconic green boxes when you had the chance? I certainly have. There is a specific kind of panic that sets in around mid July here in Texas when the heat makes the tarmac sizzle and I realize my hidden stash of minty chocolate treasures has been raided by my son Adams or my daughter Jana. But here is the beautiful truth I discovered in my kitchen years ago. You do not have to wait for a specific season to enjoy the perfect snap of Thin Mint Cookies. In fact making them at home creates a connection to the kitchen that opening a box simply cannot replicate.
I still remember the first time I tried to recreate these for Emily. She was skeptical. She told me that nothing could beat the original. Challenge accepted. I spent three days testing cocoa percentages and peppermint ratios until the kitchen smelled like a candy factory. The result was a cookie that captures that beloved crisp texture and the cool refreshing chocolate coating that snaps when you bite into it. This homemade thin mint cookies recipe isn’t just a copycat. It is a tribute to nostalgia but with ingredients you can pronounce and a richness that only real butter and high quality chocolate can provide. Whether you are looking for an easy thin mint cookie recipe to make with your kids or a sophisticated treat for a holiday platter these cookies are pure magic. Grab your apron and let’s make some memories.
Why You’ll Love This Thin Mint Cookies Recipe
Cooking is about satisfying a craving and creating joy and this recipe delivers both in spades. As a dad I love recipes that are forgiving enough for little hands to help with but delicious enough to serve at a dinner party. Here is why this recipe has become a staple in the Sharif household.
- Better Than the Box: While we all love the convenience of the original making thin mint cookie copycat versions at home allows you to use high quality dark chocolate and real butter. The flavor is deeper richer and less waxy than store bought versions.
- Freezer Friendly: Just like their inspiration these cookies are arguably better when eaten frozen. They store beautifully for months meaning you can have a stash ready whenever a craving strikes.
- Allergy Adaptable: If you have family members with dietary restrictions this recipe is easily modified. We will discuss how to make gluten free thin mint cookies or even vegan thin mint cookies later in the post so everyone can enjoy them.
- Fun Step by Step Process: Dipping cookies in chocolate is a messy joyful process that my kids absolutely love. It is the perfect weekend activity to get everyone off their screens and into the kitchen.
- Cost Effective: Buying box after box adds up. This easy thin mint cookie recipe yields a huge batch for a fraction of the cost using pantry staples like flour sugar and cocoa powder.
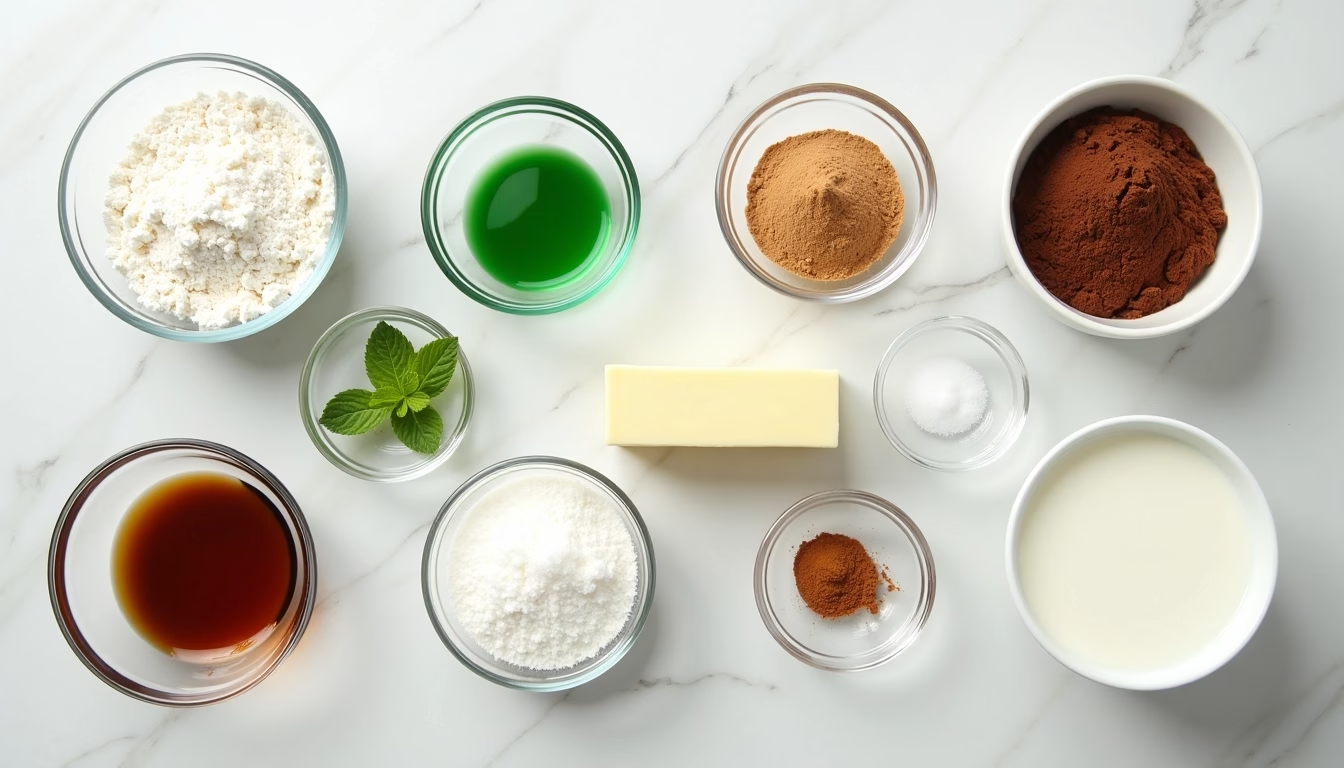
Ingredients for Thin Mint Cookies
The beauty of this recipe lies in its simplicity. You do not need fancy equipment or obscure ingredients. Just simple honest staples that come together to make something extraordinary. Here is what you need to get started.
- Unsalted Butter: This is the base of your cookie. It needs to be softened to room temperature to cream properly with the sugar. If you are making thin mint cookie vegan versions swap this for a high quality plant based butter block.
- Sugar: Simply white granulated sugar works best here to ensure the cookie gets nice and crisp.
- Cocoa Powder: Use a Dutch processed cocoa powder if you can. It gives the cookies that deep dark color and a smoother chocolate flavor reminiscent of the original.
- Peppermint Extract: This is non negotiable. You want pure peppermint extract not mint extract which can taste like spearmint toothpaste. We want that cool refreshing bite.
- All Purpose Flour: The structural backbone. For those needing gluten free thin mint cookies a 1 to 1 gluten free baking flour blend works wonderfully here.
- Salt: A pinch of salt is essential to balance the sugar and make the chocolate flavor pop.
- The Coating: You will need semi sweet or dark chocolate chips and a little vegetable oil or coconut oil. The oil helps thin the chocolate for dipping and gives it a nice sheen as it sets.
How to Make Thin Mint Cookies
Step by Step Instructions
Creating these cookies is a process of love. It typically happens in two stages making the crisp chocolate wafer and then enrobing it in minty chocolate. I recommend clearing off a large section of your counter because you are going to need room for dipping and cooling.
- Cream the Butter and Sugar: Start by taking your softened butter and sugar and beating them together in a large bowl. I use a hand mixer on medium speed until perfectly combined. You are not looking for a super fluffy cake batter texture here just creamy and smooth. This usually takes about 2 minutes. Add the peppermint extract and vanilla extract at this stage so the flavor permeates the fat.
- Mix the Dry Ingredients: In a separate bowl whisk together your flour cocoa powder and salt. Slowly add this to the butter mixture. The dough will look crumbly at first almost like wet sand. Keep mixing. Suddenly it will come together into a firm dark dough. If it is too dry add a teaspoon of milk but usually the heat of your hands brings it together.
- Roll and Chill: Divide the dough into two discs. This is a crucial step. Roll the dough out between two sheets of parchment paper until it is about 1/8 inch thick. You want these thin. Hence the name Thin Mint Cookies. intense cold serves as the secret ingredient here. Slide the parchment sheets onto a baking sheet and freeze the rolled dough for at least 15 to 20 minutes. This guarantees clean cuts and sharp edges.
- Cut and Bake: Preheat your oven to 350 degrees F. Remove the dough from the freezer and use a small round cookie cutter (about 2 inches) to cut your rounds. Place them on a parchment lined baking sheet. Bake for 10 to 12 minutes. They should look dry on top. Let them cool completely on the baking sheet. They crisp up as they cool.
- Prepare the Coating: While the cookies cool melt your chocolate and oil (or shortening) in a microwave safe bowl in 30 second intervals stirring in between. Once smooth stir in a little extra peppermint extract into the chocolate. This layering of flavor is key.
- The Dip: This is where things get fun. Drop a cooled cookie into the chocolate. Use a fork to flip it over then lift it out tapping the fork against the edge of the bowl to shake off excess chocolate. Slide the coated cookie onto fresh parchment paper.
- The Set: Let the cookies stand at room temperature until set or pop them in the fridge for 15 minutes to speed up the process.
Pro Tips & Variations for the Best Results
Over the years I have tweaked this recipe dozens of times. Here are my top tips to ensure your homemade thin mint cookies turn out perfect every single time plus some fun variations.
Focus on the Flour: When rolling out chocolate dough it is easy to add too much extra flour which leaves white streaks on your beautiful dark cookies. Try rolling the dough between parchment paper or use a little cocoa powder for dusting instead of flour. This keeps the chocolate flavor intense.
The No Bake Hack: Sometimes you just do not have time to bake. I get it. There is a populate variation known as thin mint cookie no bake style. You can use Ritz crackers or even thin mint cookies with oreos as the base. For the Oreo version simply separate the sandwich cookies remove the filling (save it for snacking) and dip the chocolate wafers into your mint chocolate mixture. It is a crunchy shortcut that tastes surprisingly authentic.
Special Diets:
For my friends asking about thin mint cookie keto options you can swap the sugar for a granulated erythritol blend and use almond flour instead of wheat flour. The texture will be slightly nuttier but still delicious. For gluten free thin mint cookies just ensure your flour blend has xanthan gum included. If you are looking for other minty inspirations you might enjoy my Andes Mint Chocolate Cookies which pack a similar minty punch.
Make Them Sparkle: For a holiday twist sprinkle crushed candy canes on top before the chocolate sets. It adds a festive crunch that reminds me of Peppermint Mocha Cookies. If you want to go fully decorative you can even drizzle white chocolate over the dark chocolate for a tuxedo look.
Thin Mint Cookies Serving Suggestions
While I am guilty of eating these standing over the kitchen sink they do deserve a proper presentation. These cookies are incredibly versatile and can be transformed into elegant desserts fitting for any gathering.
The Classic Combo: Serve these frozen with a hot cup of coffee or a tall glass of cold milk. The temperature contrast is delightful. If you are holding a winter gathering place them on a platter alongside Mint Chocolate Checkerboard Cookies for a visually stunning minty theme.
Dessert Mashups: Crushed Thin Mints make an incredible topping. Sprinkle them over vanilla bean ice cream or stir them into a milkshake. I have even used them as a crust for a cheesecake. If you are interested in more no bake desserts that pair well on a platter consider making some classic no bake cookies to go with them. The texture contrast between the oats and the crisp cracker is fantastic.
Holiday Gifts: These sturdy cookies travel very well. Stack them in cellophane bags tie them with a green ribbon and you have the perfect neighbor gift. I usually pair a bag of these with a batch of holiday cookie bars for a complete sweet treat package.
Thin Mint Cookies Storage & Reheating
Storage is where this thin mint cookie dessert truly shines. In my opinion these are the only cookies that actually improve with age and cold temperatures.
Room Temperature: You can store these in an airtight container at room temperature for up to two weeks. Keep them in a cool dry place away from direct sunlight so the chocolate coating does not bloom or melt.
Freezing: This is the gold standard. Place the set cookies in a freezer safe bag or container. They will last for up to 3 months. Eating them straight from the freezer gives you that iconic snap that defines the thin mint cookie experience. I hide a bag at the back of the freezer behind the frozen peas so the kids do not find them immediately.
Reheating: Unlike soft baked cookies you generally do not want to reheat these. The chocolate coating would melt and get messy. However if you want to use them in a thin mint cookie cake or warm dessert chop them up and fold them into your batter right before baking.
FAQ about Thin Mint Cookies
Can I make this a gluten free thin mint cookie recipe?
Absolutely. Simply replace the all purpose flour with a high quality measure for measure gluten free flour blend. The texture remains surprisingly crisp. I have friends who actually prefer the gluten free version because it tends to start a bit crunchier.
How do I get the chocolate coating smooth?
The secret is adding a fat to your melting chocolate. I use about one teaspoon of coconut oil or vegetable shortening per cup of chocolate chips. This thins the chocolate slightly making it easier to coat the cookie without it becoming a thick glumpy mess. Also tap your dipping fork vigorously to remove excess chocolate before setting it down.
What is the best chocolate to use for thin mint cookies?
I recommend using semi sweet chocolate or dark chocolate with around 60 percent cocoa. Milk chocolate tends to be too sweet and doesn’t offer that classic contrast with the peppermint. If you want a really professional finish you can use dipping chocolate wafers (often found at craft stores) like Ghirardelli melting wafers.
Can I make vegan thin mint cookies?
Yes you can. The cookie base does not use eggs so you only need to swap the butter for a vegan butter stick (not a tub spread) and ensure your white sugar is vegan certified. For the coating choose dairy free chocolate chips. It is actually one of the easiest cookies to make vegan without compromising flavor.
Final Thoughts
There is something deeply satisfying about cracking the code on a favorite childhood treat. Making Thin Mint Cookies at home is not just about saving money or avoiding the seasonal wait. It is about the ritual of rolling the dough the scent of peppermint filling the kitchen and the pride of watching your family enjoy something you made with your own hands.
Cooking is a language of love and every time I see Adams sneak one of these from the freezer or watch Emily enjoy one with her evening tea I am reminded why I love being in the kitchen. It is these small sweet moments that build our life together. I hope this recipe brings as much joy to your home as it has to mine. If you try it please leave a comment below and let me know how it turned out or tag us on social media. I would love to see your creations. Happy baking friends!
Homemade Thin Mint Cookies
Ingredients
Equipment
Method
- Cream the Butter and Sugar: In a large bowl, beat softened butter and granulated sugar with a hand mixer on medium speed until creamy and smooth, about 2 minutes.
- Add Flavor: Mix in peppermint extract and vanilla extract until fully incorporated.
- Mix Dry Ingredients: In a separate bowl, whisk together flour, cocoa powder, and salt. Gradually add to the butter mixture and mix until dough forms. It will start crumbly but come together into a firm, dark dough.
- Roll and Chill: Divide dough into two discs and roll each between two sheets of parchment paper to 1/8-inch thickness. Freeze for 15–20 minutes for clean cuts.
- Preheat and Cut: Preheat oven to 350°F. Remove dough from freezer and cut into 2-inch rounds using a cookie cutter. Place on parchment-lined baking sheets.
- Bake: Bake cookies for 10–12 minutes until dry on top. Cool completely on baking sheet—they crisp up as they cool.
- Melt Chocolate: In a microwave-safe bowl, melt chocolate chips and coconut oil in 30-second intervals, stirring between bursts until smooth.
- Add Mint to Coating: Stir in additional peppermint extract into the melted chocolate for layered flavor.
- Dip Cookies: Using a fork, dip each cooled cookie into chocolate, flip to coat evenly, then lift and tap fork to remove excess. Transfer to fresh parchment paper.
- Set Chocolate: Let cookies set at room temperature or speed up by refrigerating for 15 minutes.