Introduction
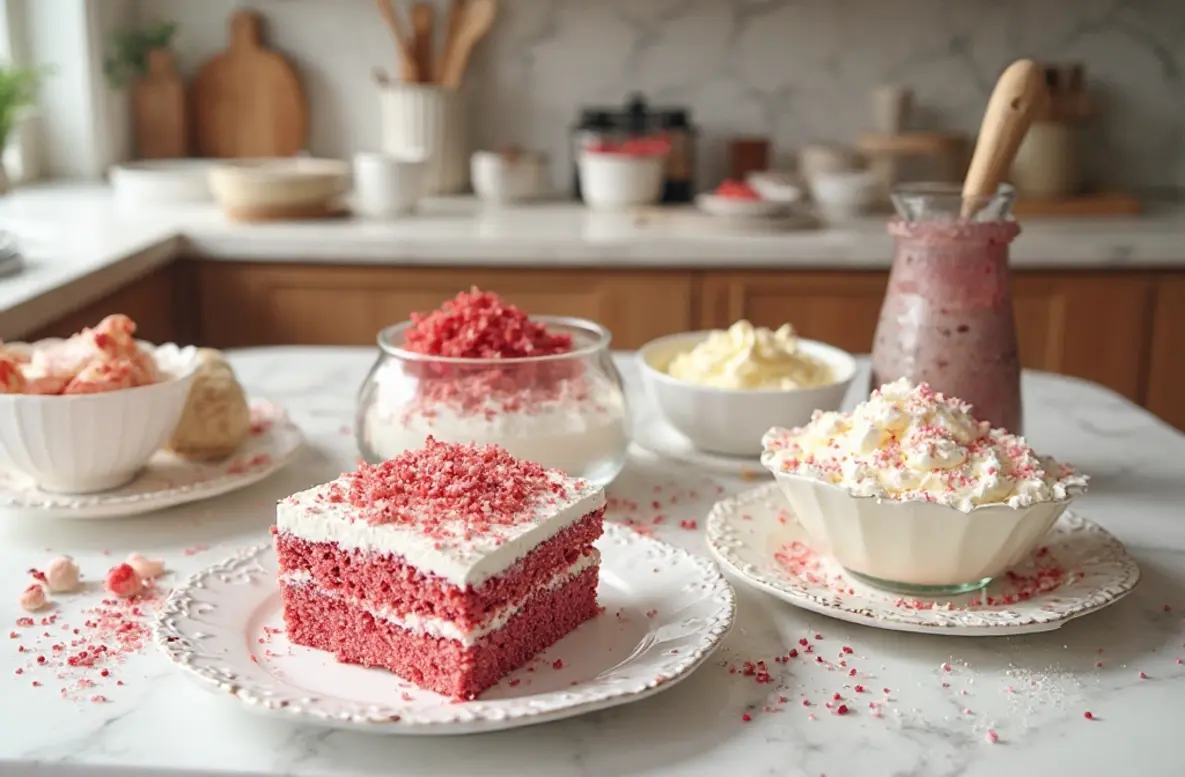
Have you ever wondered if a single bite of dessert could capture the nostalgic charm of a classic velvet cake while delivering the creamy luxury of a gourmet cheesecake? While many people believe that making professional grade desserts at home requires years of culinary training, I am here to tell you that these Pink Velvet Cheesecake Bites prove otherwise. I still remember the first time I truly fell in love with cooking in my grandmother’s kitchen, and these little pink treats remind me exactly of that joy. They are the perfect blend of a vibrant visual and a taste that feels like a warm hug.
I’m Benjamin Sharif, and on my blog Mister Recipes, I love sharing food that connects people. These cheesecake bites are not just a recipe; they are a human experience. Whether you are prepping for a birthday, a school bake sale, or just a quiet Sunday with the kids, these bites are designed to be approachable and absolutely delicious. They bring a splash of color to your table and a smile to everyone who tries them. We are talking about a velvety texture, a hint of cocoa, and that unmistakable tang of cream cheese frosting that makes every bite memorable.
Why You’ll Love This Pink Velvet Cheesecake Bites
- They are perfectly portioned for snacking or parties, making them a great choice for mini cheesecake bites game day desserts.
- The vibrant pink color makes them a visual standout for any occasion like Valentine’s Day or baby showers.
- You can make them ahead of time, which is a lifesaver for busy parents and home cooks.
- The recipe uses simple ingredients that you likely already have in your pantry.
- They offer a sophisticated flavor profile with very little effort, much like my favorite strawberry cheesecake cookies recipe.
- Kids love the bright color and the creamy texture, making it a family favorite.
Ingredients for Pink Velvet Cheesecake Bites
To get that perfect texture and hue, you will need a few key components. Here is what you should gather before you grab your apron:
- 1 ½ cups Graham cracker crumbs
- ¼ cup melted unsalted butter
- 1 tablespoon granulated sugar
- 16 oz cream cheese (two blocks), softened to room temperature
- ½ cup granulated sugar for the filling
- 2 large eggs
- 1 teaspoon vanilla extract
- 1 tablespoon unsweetened cocoa powder (the secret to that velvet flavor)
- Pink food coloring (gel works best for a vibrant shade)
- Optional: White chocolate drizzle or whipped cream for topping
If you are looking for a dairy free option, you can substitute the cream cheese and butter with high quality vegan alternatives. The results are still incredibly creamy!
How to Make Pink Velvet Cheesecake Bites
Step-by-Step Instructions
- Preheat your oven to 325 degrees Fahrenheit and line a square baking pan with parchment paper, leaving an overhang for easy removal.
- In a small bowl, combine the Graham cracker crumbs, melted butter, and one tablespoon of sugar. Stir until it looks like wet sand.
- Press the crumb mixture firmly into the bottom of your prepared pan to create an even crust. Bake for about 8 minutes, then remove and let cool.
- In a large mixing bowl, beat the softened cream cheese and sugar together until the mixture is smooth and fluffy. Scrape down the sides of the bowl to ensure no lumps remain.
- Add the eggs one at a time, beating on low speed just until combined. Be careful not to overmix, as this can cause cracks.
- Stir in the vanilla extract, cocoa powder, and a few drops of pink food coloring. Continue adding color until you reach your desired shade of pink.
- Pour the pink cheesecake batter over the cooled crust and smooth the top with a spatula.
- Bake for 25 to 30 minutes, or until the edges are set but the center still has a slight jiggle.
- Let the pan cool completely at room temperature, then refrigerate for at least 3 hours (or overnight) before slicing into bite sized squares.
Pro Tips & Variations
To ensure your dessert looks as good as it tastes, follow these professional tips for the best results. First, always use room temperature ingredients. Cold cream cheese is the enemy of a smooth batter! If you want a more intense flavor, consider adding a teaspoon of espresso powder to the crust. It won’t taste like coffee, but it will make the cocoa in the pink velvet pop. If you enjoy this flavor profile, you might also love my mothers day pink velvet cake recipe for a larger celebration.
For variations, try a “Pink Marble” effect. Reserve a little bit of the white cheesecake batter before adding the dye and cocoa, then swirl it into the pink batter with a toothpick before baking. This creates a beautiful artistic look. You can also swap the Graham cracker crust for a crushed Oreo crust if you prefer a chocolatey base. If you are a fan of quick handheld treats, check out this strawberry cheesecake crunch bites guide for more inspiration.
Serving Suggestions
These bites are stunning on their own, but pairing them correctly can elevate the whole dessert experience. I love serving these on a wooden platter alongside fresh berries or even some pink chocolate dipped strawberries. For a full dessert spread, pair them with lightweight treats like perfect meringue kisses recipe. If you are hosting a festive gathering, these look beautiful next to a spread of valentines decorated sugar cookies. A cold glass of milk or a hot cup of coffee is the perfect companion to cut through the richness of the cheesecake.
Storage & Reheating for Pink Velvet Cheesecake Bites
Since these are dairy based, they must be stored in the refrigerator. Place them in an airtight container with layers of parchment paper between them to prevent sticking. They will stay fresh and delicious for up to 5 days. For longer storage, you can freeze these bites! Simply flash freeze them on a tray first, then transfer them to a freezer bag. They can last for up to 2 months. When you are ready to eat, simply thaw a few in the fridge for an hour. There is no need for reheating as cheesecake is best enjoyed chilled.
FAQ about Pink Velvet Cheesecake Bites
Can I use liquid food coloring instead of gel?
Yes, you can, but gel provides a much more vibrant pink without thinning out the batter. If using liquid, you may need more drops to achieve the right color.
Why did my cheesecake bites crack on top?
Cracks usually happen due to overbeating the eggs or overbaking. Try to mix only until the ingredients are combined and check the oven a few minutes early.
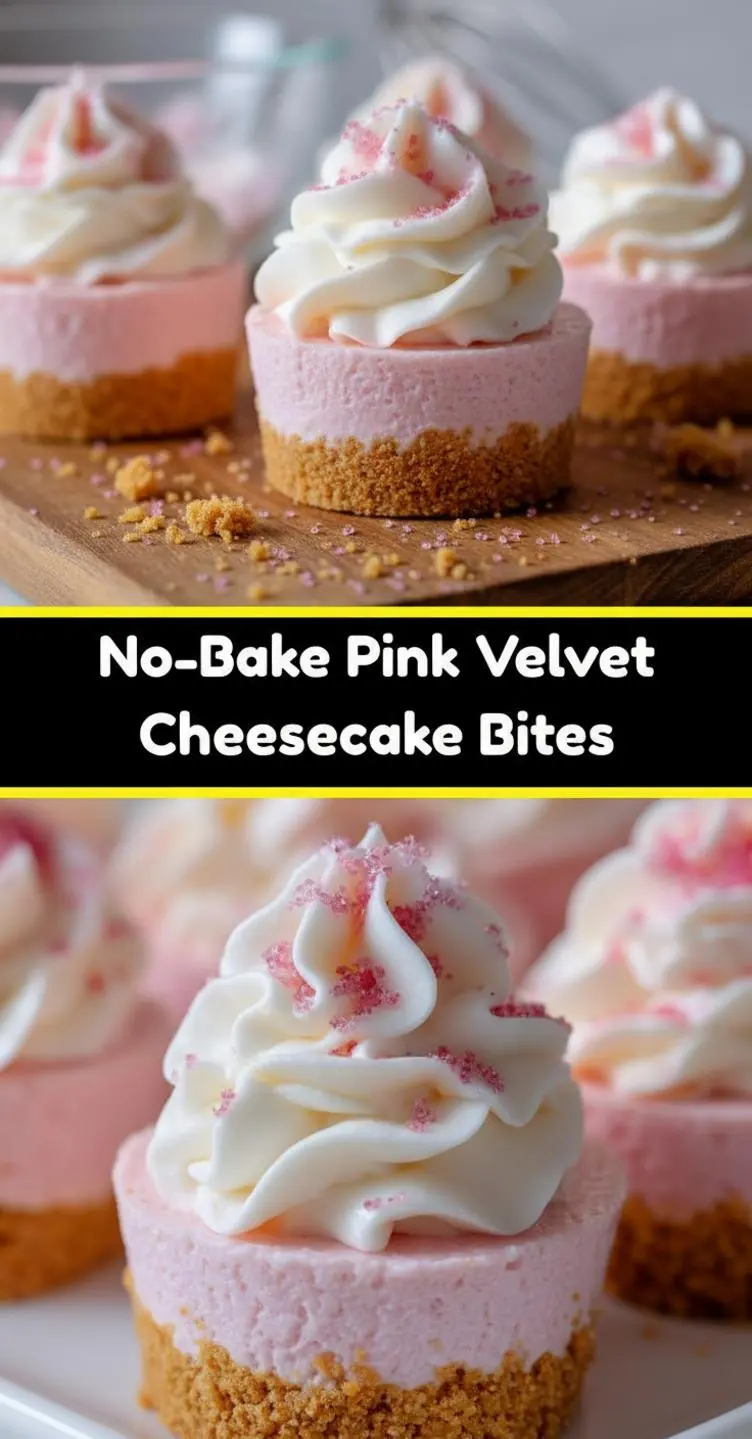
Can I make these no bake?
This specific recipe requires baking to set the eggs, but for a similar no bake version, you can check out this no bake pink velvet cheesecake alternative.
Final Thoughts on Pink Velvet Cheesecake Bites
Cooking is about making people happy, and these Pink Velvet Cheesecake Bites do exactly that. They are simple, elegant, and filled with the love of a home cooked meal. I hope you enjoy making these as much as my family does. If you try this recipe, please leave a comment below or save it to your favorite Pinterest board so others can find it too! Don’t forget to subscribe to our newsletter for more kitchen hacks and family favorites. Grab your apron, and let’s get cooking!
Pink Velvet Cheesecake Bites
Ingredients
Equipment
Method
- Preheat your oven to 325 degrees Fahrenheit and line a square baking pan with parchment paper, leaving an overhang for easy removal.
- In a small bowl, combine the Graham cracker crumbs, melted butter, and one tablespoon of sugar. Stir until it looks like wet sand.
- Press the crumb mixture firmly into the bottom of your prepared pan to create an even crust. Bake for about 8 minutes, then remove and let cool.
- In a large mixing bowl, beat the softened cream cheese and sugar together until the mixture is smooth and fluffy. Scrape down the sides of the bowl to ensure no lumps remain.
- Add the eggs one at a time, beating on low speed just until combined. Be careful not to overmix, as this can cause cracks.
- Stir in the vanilla extract, cocoa powder, and a few drops of pink food coloring. Continue adding color until you reach your desired shade of pink.
- Pour the pink cheesecake batter over the cooled crust and smooth the top with a spatula.
- Bake for 25 to 30 minutes, or until the edges are set but the center still has a slight jiggle.
- Let the pan cool completely at room temperature, then refrigerate for at least 3 hours (or overnight) before slicing into bite sized squares.