
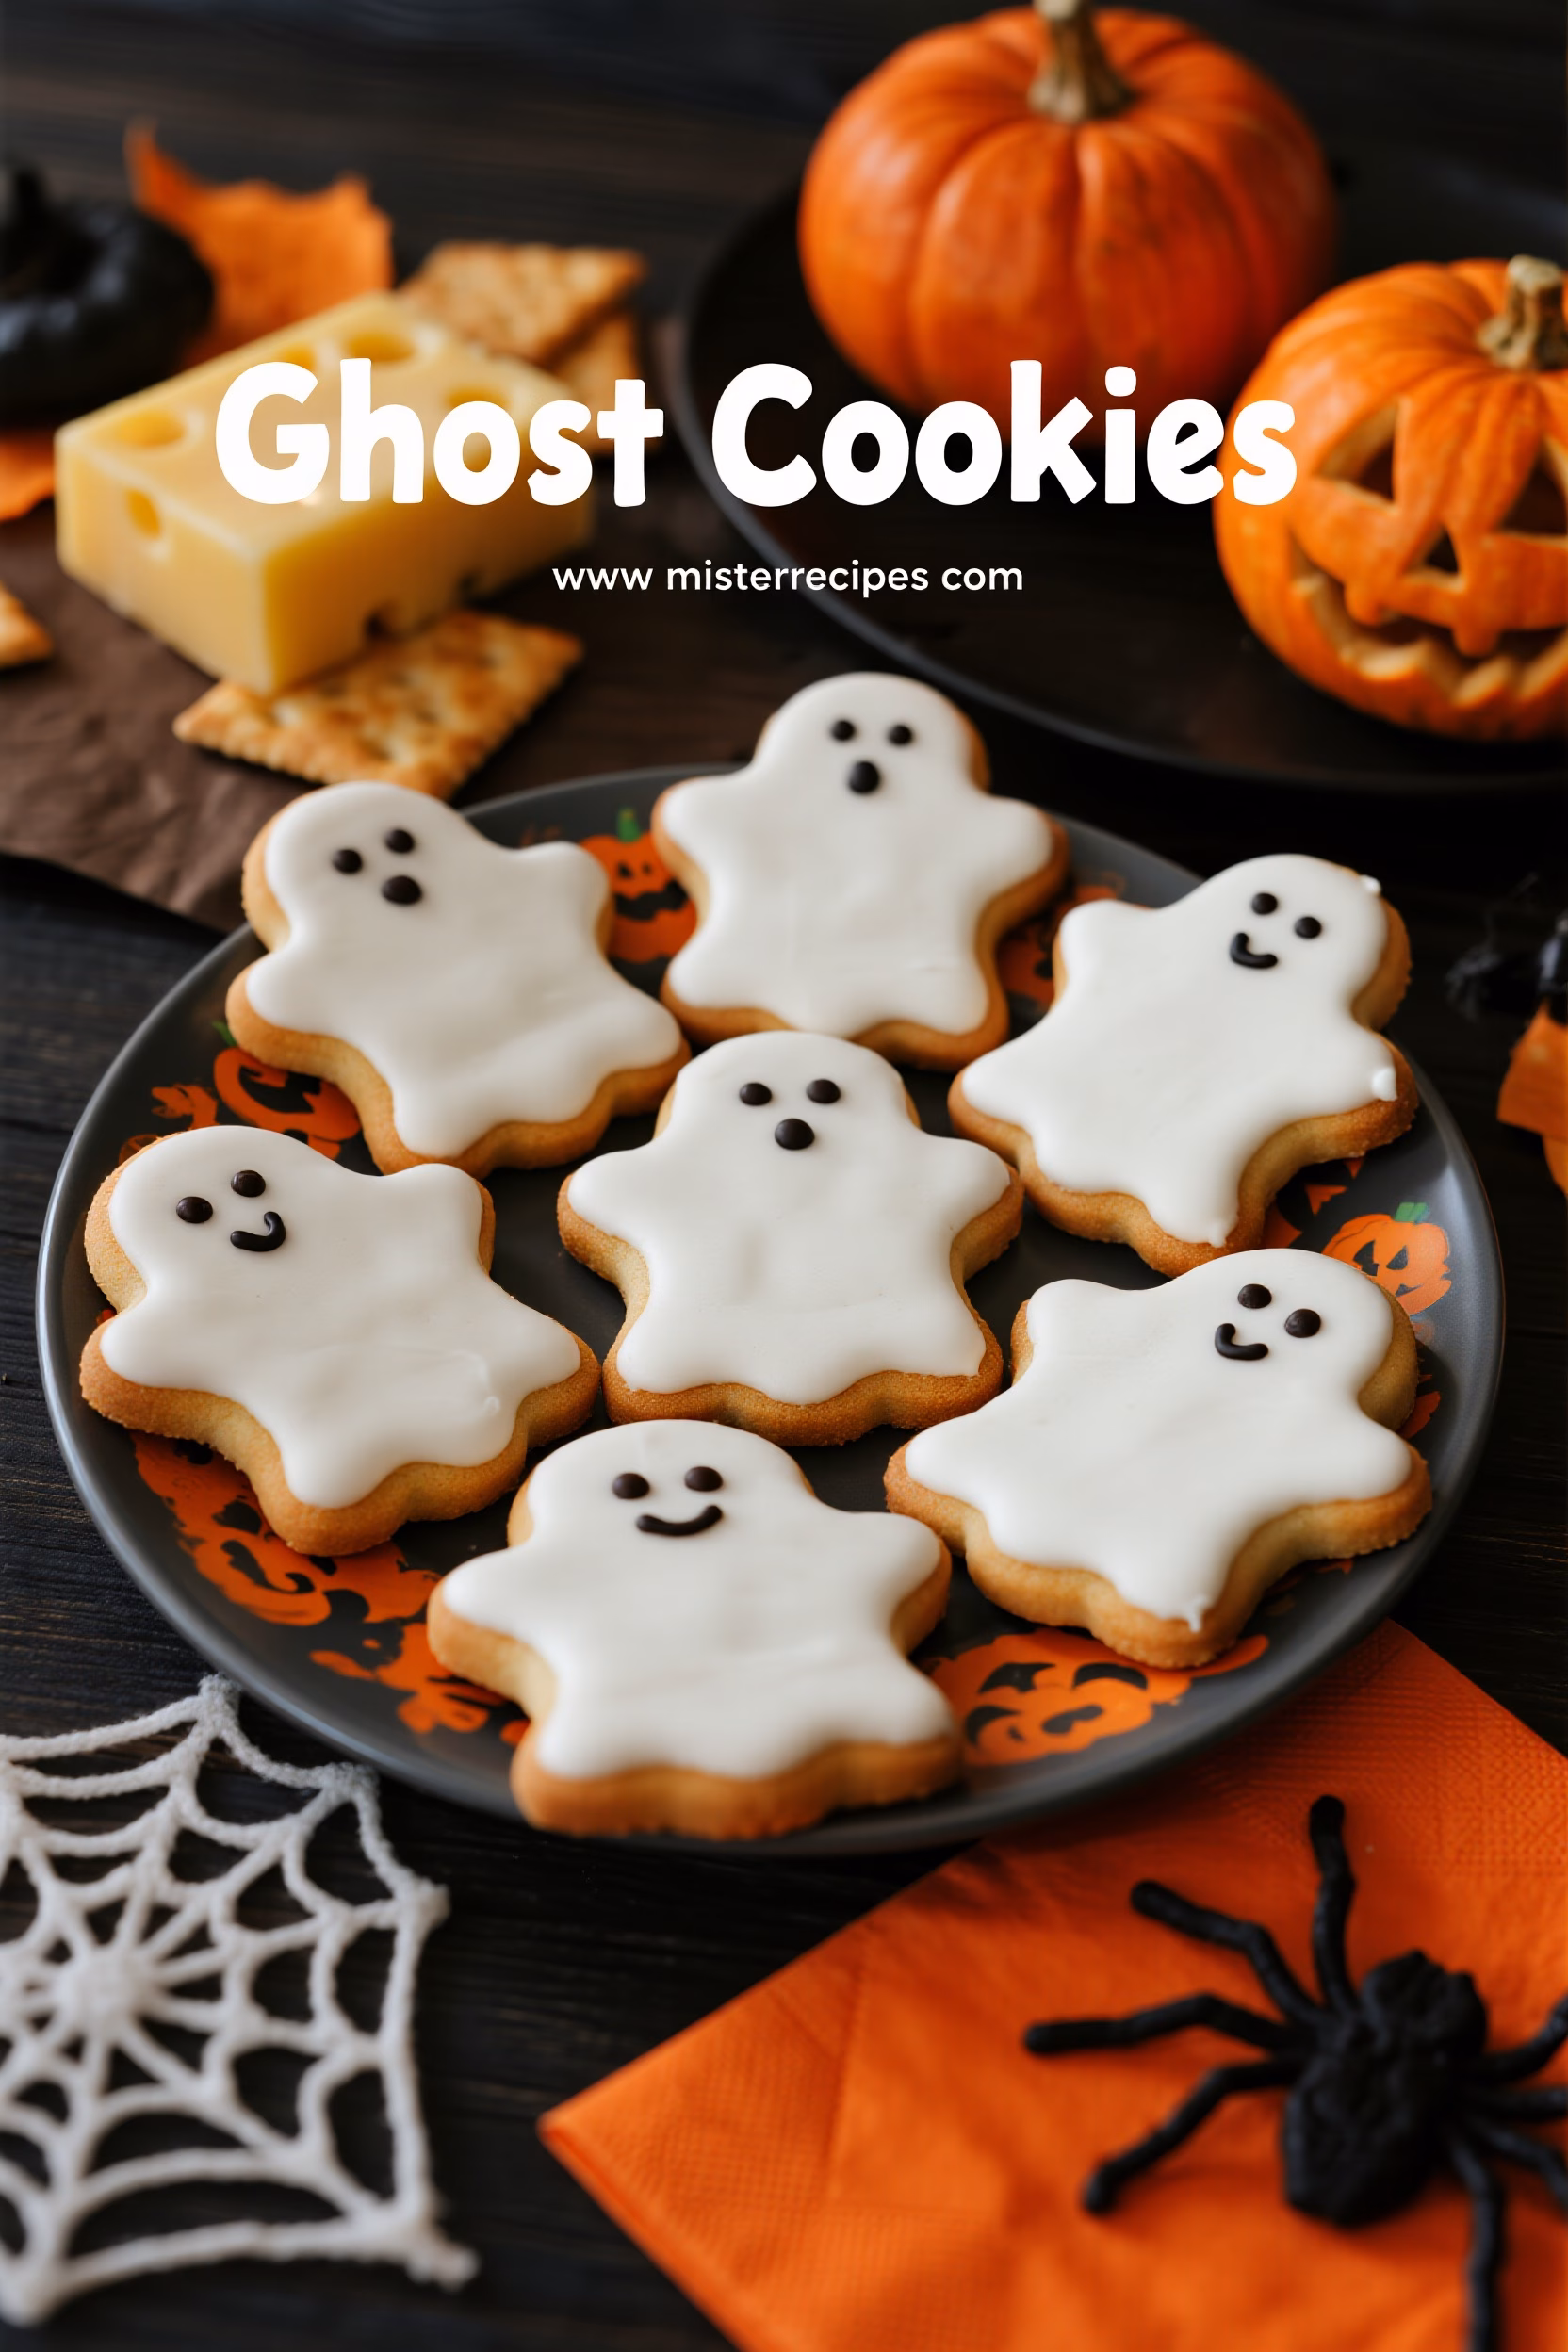
Spooktacularly Cute Ghost Cookies for Halloween!
Get ready to bake up some Halloween fun with these adorable Ghost Cookies! They’re incredibly easy to make, perfect for getting the kids involved, and guaranteed to be a hit at any Halloween party. Whether you’re looking for spooky snacks, Halloween food ideas for parties, or a simple, festive treat, these cookies are your answer. These delightful treats bring a touch of magic to your fall season gatherings. They are far better than your standard Halloween candy!
Why You’ll Love This Ghost Cookies
- Super Easy: Even beginner bakers can make these with minimal effort.
- Kid-Friendly: A fantastic activity to do with kids, making memories (and messes!) together.
- Customizable: Get creative with different cookie shapes and decorations.
- Perfect for Parties: A crowd-pleasing treat that everyone will love at your Halloween bash.
- So Cute!: Who can resist these little ghosties?
Ingredients for Ghost Cookies
- Sugar Cookie Dough: You can use store-bought or your favorite homemade recipe.
- Powdered Sugar: For making the royal icing.
- Milk: To thin the royal icing to the right consistency.
- Vanilla Extract: For flavor in the royal icing. Almond extract works well too.
- Mini Chocolate Chips (or Black Edible Markers): For the ghost’s eyes and mouth.
Substitution Tip: If you’re short on time, use pre-made royal icing. For a vegan option, look for vegan sugar cookie dough and use plant-based milk.
How to Make Ghost Cookies

Step-by-Step Instructions
- Prepare the Cookie Dough: Roll out your sugar cookie dough to about 1/4 inch thickness.
- Cut Out the Shapes: Use a ghost-shaped cookie cutter (or any fun Halloween shape) to cut out the cookies.
- Bake the Cookies: Place the cookies on a baking sheet lined with parchment paper and bake according to the cookie dough recipe instructions, usually around 8-10 minutes at 350°F (175°C).
- Cool the Cookies: Let the cookies cool completely on a wire rack before decorating. This is super important so the icing doesn’t melt.
- Make the Royal Icing: In a bowl, whisk together the powdered sugar, milk, and vanilla extract until smooth. Add milk gradually until you reach a consistency that’s thin enough to spread but thick enough NOT to run off the sides of the cookie. Think white school glue.
- Decorate the Cookies: Spread the royal icing evenly over each cookie.
- Add the Eyes and Mouth: While the icing is still wet, place two mini chocolate chips for the eyes and optional mouth. If you prefer, use a black edible marker to draw the faces after the icing has dried.
- Let the Icing Set: Allow the icing to dry completely before serving or storing, about 1-2 hours.
Pro Tips & Variations
- Icing Consistency is Key: The consistency of your royal icing is crucial. Too thick, and it will be hard to spread. Too thin, and it will run off the cookie.
- Use Parchment Paper: Parchment paper makes cleanup a breeze and prevents the bottoms of the cookies from getting too brown.
- Get Creative: Don’t limit yourself to just ghosts! Experiment with other Halloween shapes like pumpkins, bats, or cats. These are great and easy Halloween food ideas!
Variations:
- Gluten-Free Ghost Cookies: Use gluten-free sugar cookie dough for a gluten-free version.
- Colored Icing: Add food coloring to the royal icing for different colored ghosts.
Serving Suggestions
These Ghost Cookies are the perfect addition to your Halloween spread! Here are a few ideas to make it extra special:
- Halloween Party Platter: Arrange the cookies on a platter with other Spooky Snacks like “monster” grapes, cheese and cracker “spiderwebs,” or themed muffins.
- Halloween Dinner Ideas: Serve these cookies as a dessert following a savory Halloween Dinner such as pumpkin pasta or themed pizzas.
- Fall Snacks: Enjoy these cookies with apple cider, hot chocolate, or a pumpkin spice latte for a cozy fall treat.
Storage & Reheating
Store the decorated Ghost Cookies in an airtight container at room temperature for up to 3-5 days. It is best to store them in a single layer to prevent any cracking or sticking! They do not need to be refrigerated or reheated.
FAQ about Ghost Cookies
Here are some frequently asked questions about these adorable cookies
- Q: Can I use store-bought icing instead of making royal icing?
- A: Absolutely! Store-bought icing can save you time and is a great option if you are short on time.
- Q: How do I keep the cookies from spreading while baking?
- A: Chilling the dough for at least 30 minutes before baking helps prevent spreading.
- Q: What other Halloween Food Recipes are good to try?
- A: Pumpkin spice cookies, monster eye cookies, and witch finger pretzel rods. There are many easy Halloween food options!
- Q: Can I freeze these cookies?
- A: It’s best to freeze the undecorated cookies. Thaw completely before decorating.
Final Thoughts on Ghost Cookies
These Ghost Cookies are the perfect way to add a touch of spooky sweetness to your Halloween celebrations! They’re fun to make, delicious to eat, and sure to be a hit with everyone. Whether you’re whipping them up as a quick and easy activity with the kids or as a centerpiece for your Halloween party, these Halloween themed food are a fantastic choice.
Don’t forget to save this recipe to Pinterest for later, leave a comment below to let me know how yours turn out, and subscribe to our newsletter for more fun and delicious recipes every week!
Ghost Cookies
Ingredients
Equipment
Method
- Roll out your sugar cookie dough to about 1/4 inch thickness.
- Use a ghost-shaped cookie cutter (or any fun Halloween shape) to cut out the cookies.
- Place the cookies on a baking sheet lined with parchment paper and bake according to the cookie dough recipe instructions, usually around 8-10 minutes at 350°F (175°C).
- Let the cookies cool completely on a wire rack before decorating to prevent icing from melting.
- In a bowl, whisk together the powdered sugar, milk, and vanilla extract until smooth. Add milk gradually until you reach a spreadable but non-runny consistency.
- Spread the royal icing evenly over each cookie.
- While the icing is still wet, place two mini chocolate chips for the eyes and optional mouth. Alternatively, use a black edible marker to draw faces after the icing has dried.
- Allow the icing to dry completely before serving or storing, about 1-2 hours.


Comments are closed.