Introduction
Have you ever wondered if there’s a single cookie that can effortlessly bridge generations, evoke cherished memories, and still be surprisingly simple to make? In a world filled with complex recipes and culinary trends, it’s easy to overlook the enduring magic of classics. But what if I told you that the humble Jam Thumbprints cookie, with its buttery base and jewel-toned center, holds the key to both delectable indulgence and heartfelt connection? Here at Mister Recipes, we believe that cooking is more than just following instructions; it’s about crafting smiles, sharing stories, and creating those irreplaceable moments around the kitchen table. And these Jam Thumbprints are a perfect vehicle for doing just that.
This recipe isn’t just about baking a batch of cookies; it’s about rekindling the joy of home-baking, inviting little hands to help in the kitchen, and savoring the simple pleasure of a homemade treat. These Thumbprint Cookies are famously straightforward, making them accessible even for novice bakers, yet yielding a sophisticated result that feels special enough for any occasion. They are a testament to the power of traditional baking a simple cookie that has stood the test of time, beloved by many, and now, ready to become a cherished part of your family’s culinary tradition. If you’re looking for a delightful treat that’s easy to make but leaves a lasting impression, you’ve come to the right place.
Why You’ll Love These Jam Thumbprints
There are countless reasons why these delightful Jam Thumbprints will quickly become a cherished favorite in your household. They embody everything we love about homemade treats: warmth, nostalgia, and pure, unadulterated deliciousness.
- Effortlessly Simple, Gorgeously Delicious: Don’t let their elegant appearance fool you! These Easy Jam Thumbprint Cookies are incredibly simple to make, requiring basic pantry ingredients and straightforward steps. Yet, they produce a stunning result that tastes delightfully sophisticated.
- A Taste of Nostalgia: For many, including myself, these Old-Fashioned Jam Thumbprint Cookies instantly transport you back to childhood, to Grandma’s kitchen, filled with the aroma of freshly baked goods. There’s something deeply comforting about a classic like this, a true testament to the timeless appeal of a good Jam Cookie.
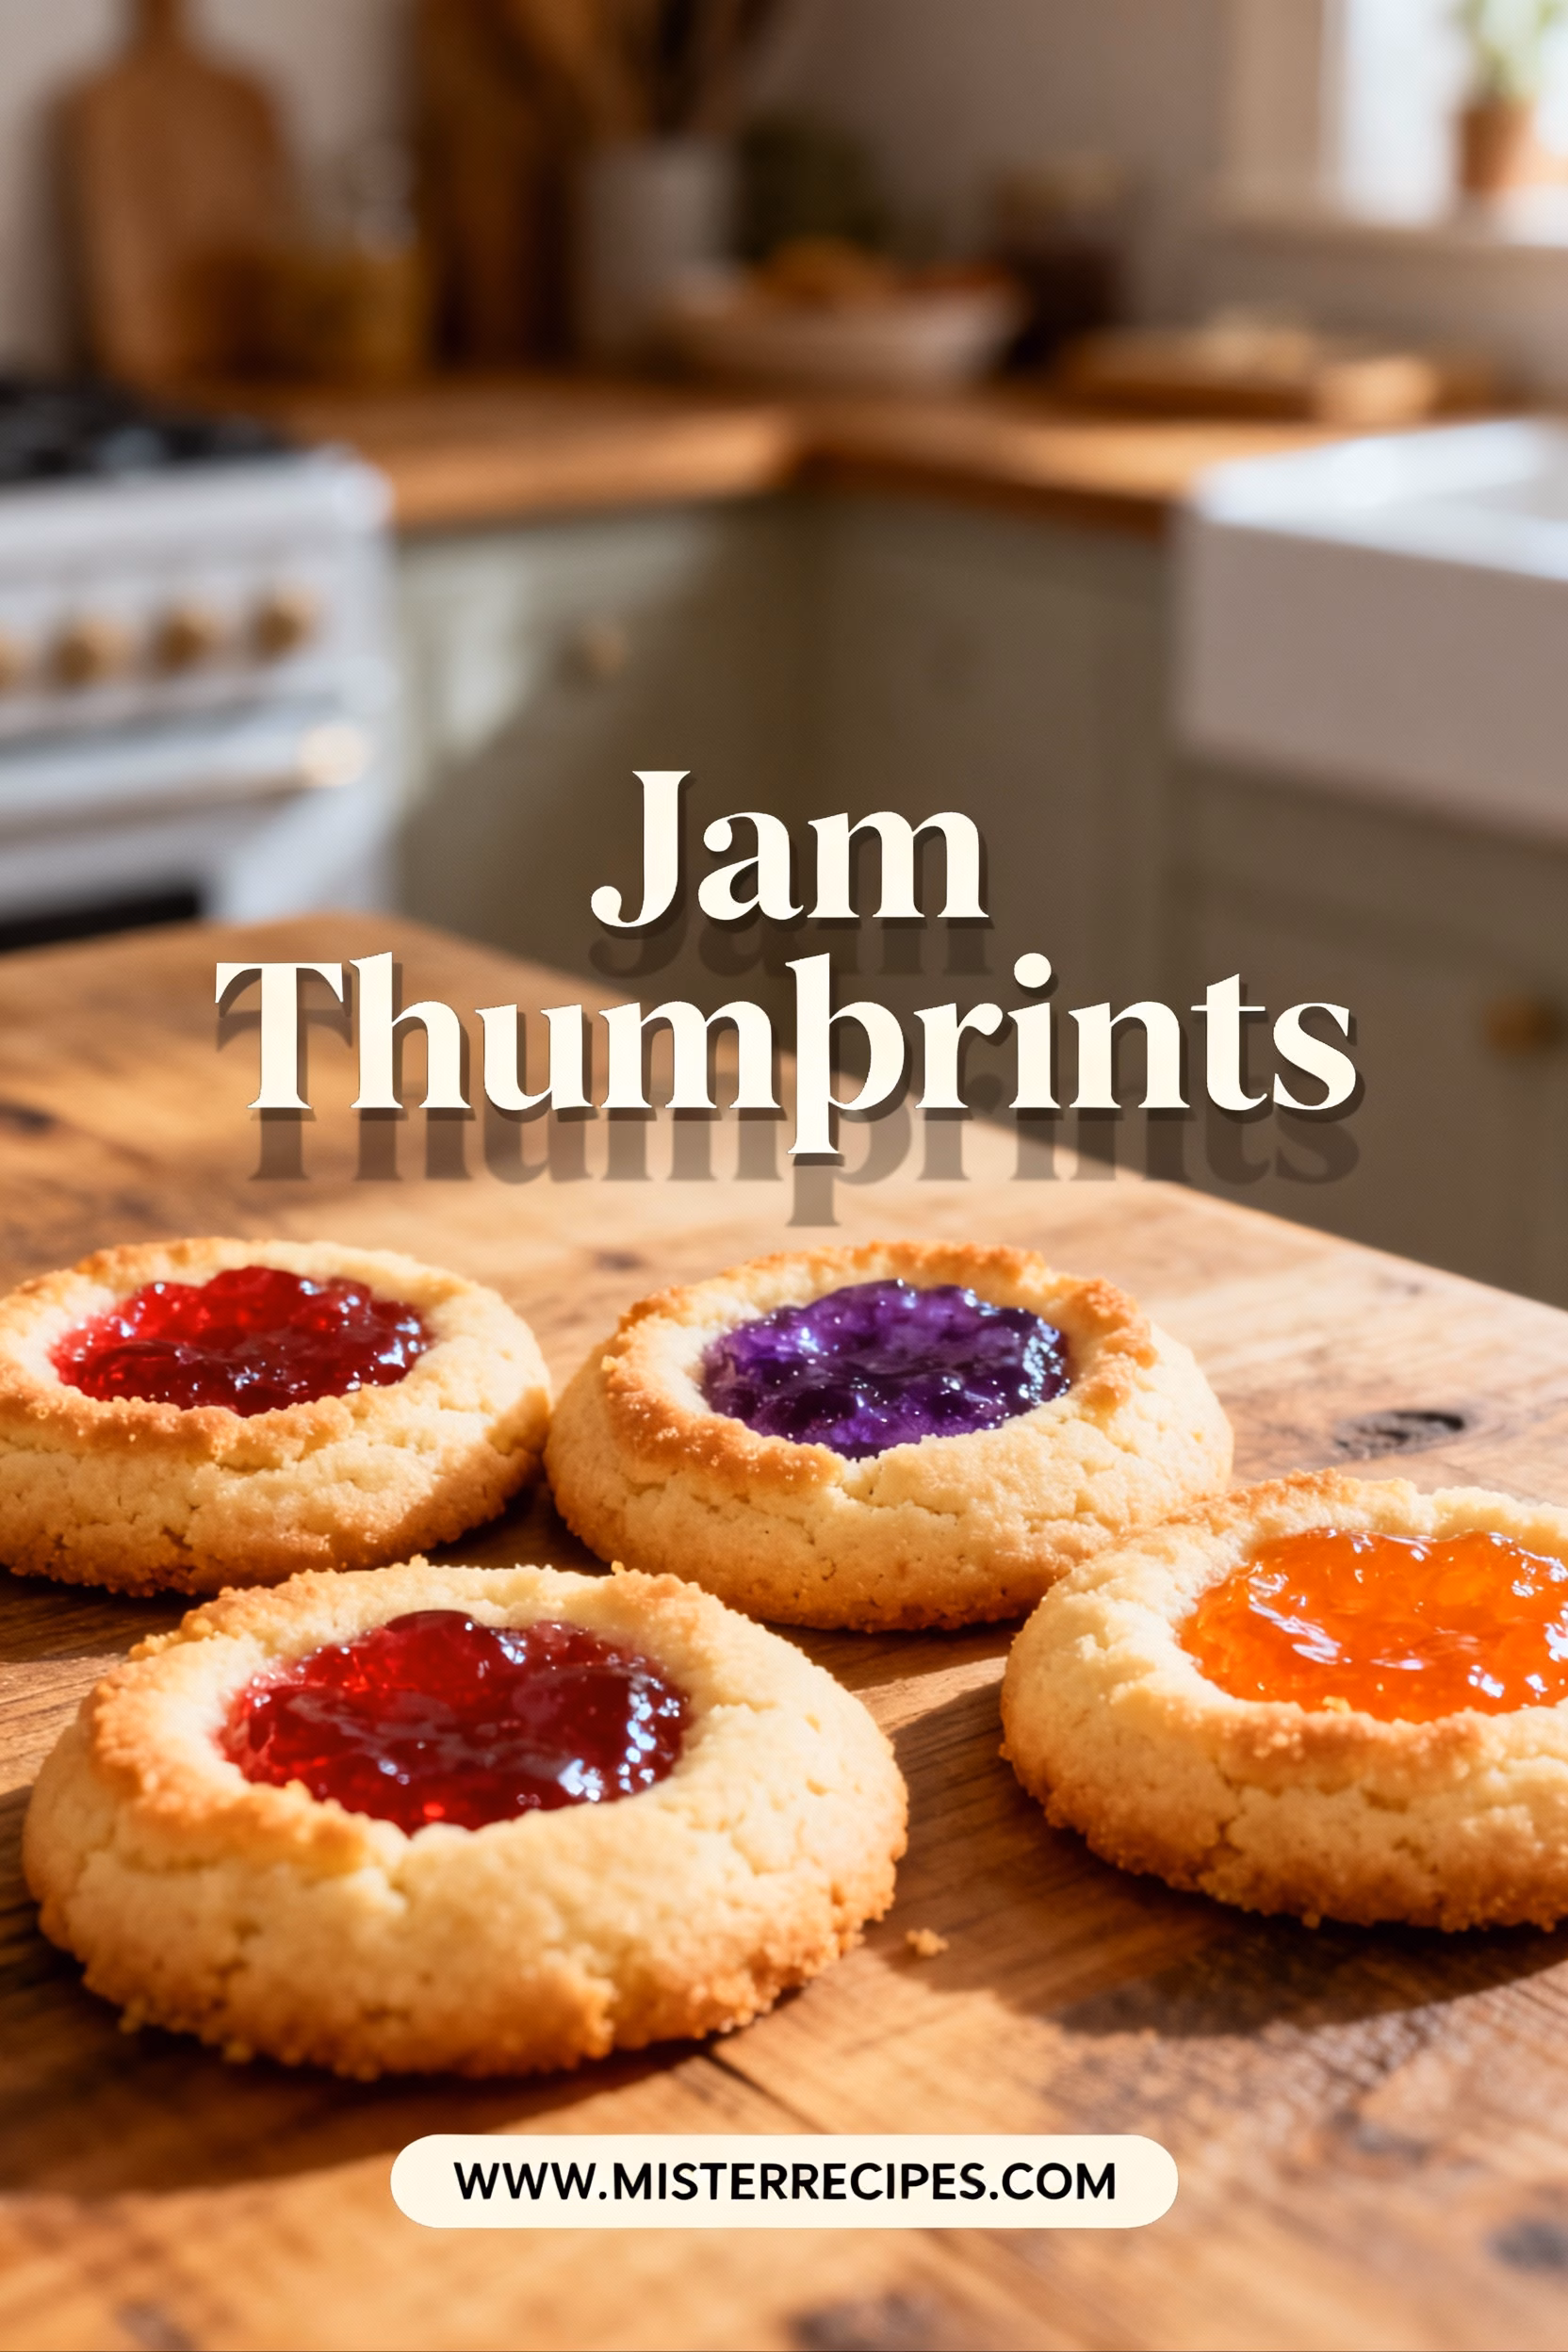
- Customizable for Every Palate: The beauty of Jam Thumbprints lies in their versatility. Whether you prefer the sweet tang of Raspberry Jam Thumbprint Cookies, the bright burst of apricot, or even a spicy pepper jelly, you can choose your favorite flavor to fill these lovely cookies.
- Perfect for Every Occasion: From a casual afternoon snack to a festive holiday spread, these cookies fit right in. They’re sweet enough for dessert, delicate enough for a tea party, and sturdy enough for a school lunchbox. They are especially popular as Holiday Cookies.
- Family-Friendly Fun: Making these cookies is an activity in itself! Kids love helping to roll the dough and, of course, pressing their adorable little thumbprints into each cookie. It’s a wonderful way to bond and create lasting memories in the kitchen.
- Pantry-Staple Ingredients: You likely have most of the ingredients on hand already. Butter, sugar, flour, an egg, and some vanilla extract form the simple base, making these an easy go-to when a cookie craving strikes. Just grab your favorite jam and you’re good to go!
These aren’t just cookies; they’re tiny canvases for flavor, moments of joy, and edible hugs. Get ready to fall in love with the ultimate comfort classic!
Ingredients for Jam Thumbprints
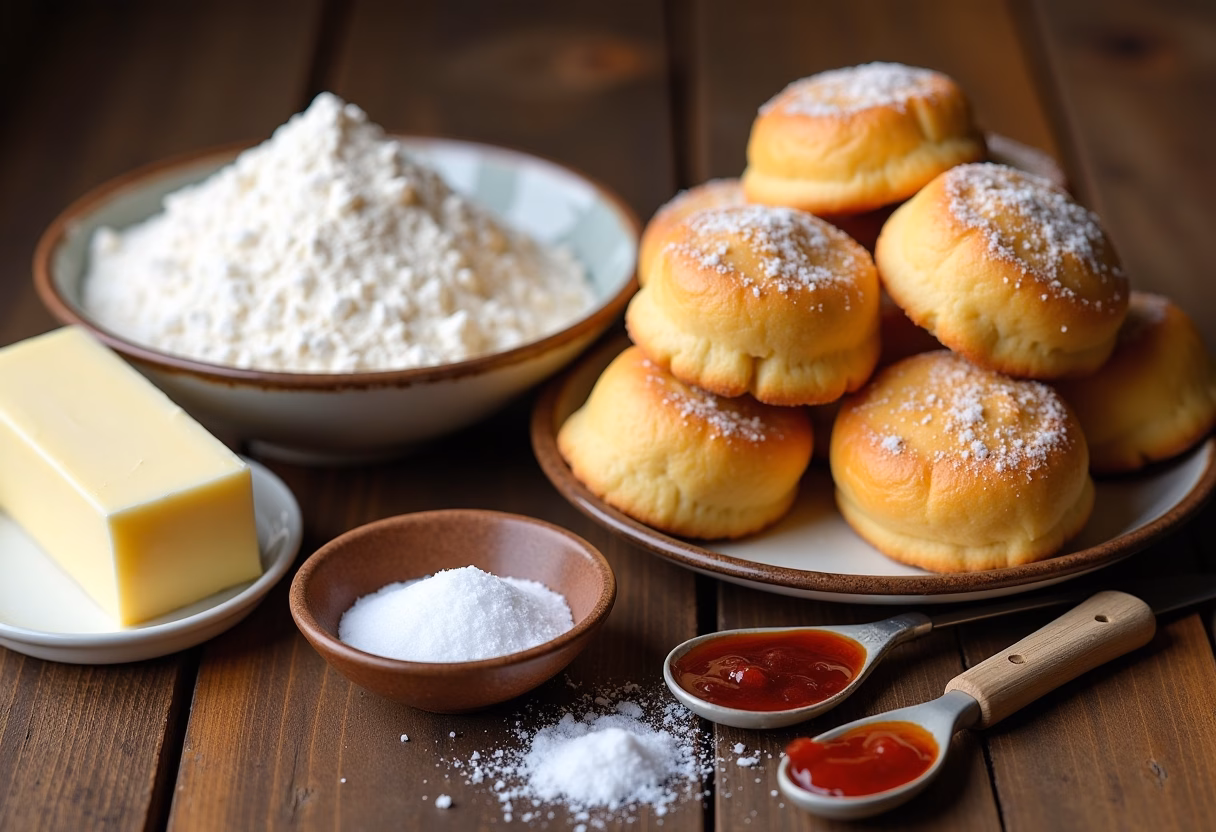
Gathering your ingredients is the first step to creating these delightful Jam Thumbprints! For the best results, try to use high-quality ingredients, especially butter and your favorite jam.
- 1 cup (2 sticks) unsalted butter, softened
- Substitution: For a dairy-free version, use a high-quality vegan butter stick substitute.
- ½ cup granulated sugar
- 2 large egg yolks (reserve the whites for another recipe, or discard)
- Substitution: For Vegan Jam Thumbprint Cookies, you can use 2 tablespoons of applesauce or a flax egg (1 tbsp ground flaxseed mixed with 3 tbsp water, let sit for 5 minutes) per yolk.
- 1 teaspoon vanilla extract
- 2 cups all-purpose flour
- ½ teaspoon salt
- ⅔ cup of your favorite jam (raspberry, strawberry, apricot, or even a mixed berry work wonderfully!)
How to Make Jam Thumbprints
Ready to bake some magic? This Thumbprint Cookie Recipe is designed to be straightforward and enjoyable, even for beginner bakers. Follow these detailed steps to create perfect Homemade Jam Thumbprints every time.
Step-by-Step Instructions
- Prepare Your Workspace: Start by preheating your oven to 350°F (175°C). Line two baking sheets with parchment paper or silicone baking mats. This ensures your cookies won’t stick and makes for easy cleanup.
- Cream the Butter and Sugar: In a large mixing bowl, using an electric mixer (or by hand with a whisk), cream together the softened butter and granulated sugar until the mixture is light, fluffy, and pale yellow. This usually takes about 2-3 minutes. This step is crucial for developing the proper texture in your Butter Cookies.
- Add Egg Yolks and Vanilla: Beat in the egg yolks one at a time, mixing well after each addition. Then, stir in the vanilla extract. Scrape down the sides of the bowl to ensure everything is well combined. The mixture should smell wonderfully aromatic at this point.
- Combine Dry Ingredients: In a separate medium bowl, whisk together the flour and salt. It’s important to combine these thoroughly before adding them to the wet ingredients to ensure even distribution.
- Gradually Add Dry to Wet: With the mixer on low speed, gradually add the dry ingredients to the wet ingredients, mixing until just combined. Be careful not to overmix the dough, as this can lead to tough cookies. The dough should be soft but manageable.
- Shape the Cookies: Roll the dough into 1-inch balls. You can use a small cookie scoop for uniformity. Place the dough balls about 1-2 inches apart on your prepared baking sheets.
- Create the “Thumbprints”: Dip your thumb or the back of a small measuring spoon (like a ½ teaspoon) into flour to prevent sticking, and then gently press an indentation into the center of each cookie dough ball. Don’t press all the way through, just enough to create a small well for the jam.
- Fill with Jam: Carefully spoon a small amount of your chosen jam into the center of each thumbprint. Don’t overfill, as the jam will spread slightly during baking.
- Bake to Perfection: Bake for 12-15 minutes, or until the edges of the cookies are lightly golden. The jam should be bubbly and set. Keep an eye on them towards the end of the baking time, as ovens can vary.
- Cool and Enjoy: Let the cookies cool on the baking sheets for a few minutes before transferring them to a wire rack to cool completely. This helps them firm up and prevents them from breaking. Once cooled, serve and enjoy your delicious Jam-Filled Cookies!
Pro Tips & Variations
Making Jam Thumbprints is a joyous process, and these tips and variations will help you elevate your baking game and truly make these cookies your own.
- Chill the Dough for Stability: If you find your dough is too soft to handle, especially in a warm kitchen, cover it and refrigerate for 20-30 minutes. This will make it easier to roll and prevent the cookies from spreading too much during baking. A little chill can make all the difference, especially for Homemade Jam Thumbprints.
- Flour Your Thumb (or Spoon!): When creating the indentation, lightly flour your thumb or the back of a small measuring spoon to prevent the dough from sticking. This ensures a clean, defined well for your jam.
- Don’t Overfill the Jam: It’s tempting to add a lot of jam, but remember that it will bubble and spread slightly while baking. A generous teaspoon per cookie is usually perfect. If your jam is very thick, you can warm it slightly before spooning it into the cookies to make it more pliable.
- Embrace Different Jams: While Raspberry Jam Thumbprint Cookies are a classic, don’t be afraid to experiment! Apricot, strawberry, blackberry, or even marmalade can offer delightful new flavor profiles. For a gourmet touch, try a fig jam or a spiced apple butter. These simple Shortbread Cookies are a fantastic canvas for any jam!
- Nutty Variations: For an added layer of flavor and texture, roll the scooped dough balls in finely chopped nuts (like pecans, walnuts, or almonds) before making the indentation. This creates a wonderful nutty crust for your Gourmet Jam Thumbprint Cookies.
- Spice it Up for the Holidays: Add 1/2 teaspoon of ground cinnamon or cardamom to your flour mixture for a warm, spicy note, especially if you’re making Christmas Jam Thumbprint Cookies. It pairs beautifully with berry jams.
- Gluten-free Jam Thumbprint Cookies: Substitute the all-purpose flour with a 1:1 gluten-free baking flour blend. Make sure your blend contains xanthan gum for best results.
- Vegan Jam Thumbprint Cookies: As mentioned in the ingredients, swap butter for vegan butter and egg yolks for a flax egg or applesauce. The texture will be slightly different but still delicious.
- Chocolate Drizzle: Once cooled, you can melt some semi-sweet chocolate chips and drizzle it over the cookies for an extra special treat. This works exceptionally well if you used a complementary jam like cherry or orange marmalade. You might also enjoy our Easy Chocolate Crinkle Cookies, which offers a similar rich chocolate flavor. Or even our Cream Cheese Crinkle Cookies for a tangy twist.
Serving Suggestions
These versatile Jam Thumbprints are a delight on their own, but they also pair beautifully with a variety of beverages and accompaniments to create a truly memorable experience. Their delicate sweetness and buttery texture make them perfect for many settings.
- Classic Coffee or Tea: Nothing beats a classic pairing! Serve your Jam Thumbprints alongside a freshly brewed cup of coffee or your favorite hot tea. The warmth of the beverage complements the sweet, jammy goodness and buttery cookie perfectly, making for a serene afternoon treat.
- Milk for the Kids (and Adults!): A tall, cold glass of milk is the ultimate companion for any classic cookie, and Jam Thumbprints are no exception. This simple pairing brings out the nostalgic, wholesome comfort of these Grandma’s Jam Thumbprint Cookies.
- Holiday Dessert Platter: These cookies shine brightly on any holiday spread. Arrange them on a platter with other festive treats like Peanut Butter Cookies, Snickerdoodles, or our Easy Peanut Butter Blossoms Cookies. Their vibrant colors and inviting aroma make them a standout addition to your Holiday Cookies selection.
- Brunch or Breakfast Treat: Feeling fancy? These Artisanal Jam Thumbprint Cookies are delightful with a light brunch. Serve them alongside fresh fruit, yogurt, or even a mimosa for a touch of elegance.
- DIY Cookie Gift Jars: Layer these beautiful cookies in clear jars with ribbon for a thoughtful, homemade gift. They transport well and are always appreciated, especially when you’ve taken the time to make Homemade Jam Thumbprints.
- Ice Cream Topping: Crumbled Jam Thumbprints over a scoop of vanilla bean ice cream adds a wonderful textural contrast and bursts of fruity flavor. A truly decadent way to enjoy them!
Storage & Reheating
Ensuring your Jam Thumbprints stay fresh and delicious is key to enjoying them long after they’ve cooled from the oven. Here’s how to best store and even reheat them if you wish.
- Countertop Storage: Once completely cooled, store your Jam Thumbprints in an airtight container at room temperature for up to 3-5 days. To prevent them from sticking together, you can place a piece of parchment paper between layers of cookies if stacking.
- Refrigerator Storage: While not strictly necessary for this type of cookie, you can store them in an airtight container in the refrigerator for up to a week, especially if your kitchen is very warm. Allow them to come to room temperature before serving for the best flavor and texture.
- Freezer Storage (Baked Cookies): These cookies freeze beautifully! Once fully cooled, arrange them in a single layer on a baking sheet and freeze until solid, about 1-2 hours. Then, transfer the frozen cookies to a freezer-safe airtight container or freezer bag. They will keep well for up to 2-3 months. Thaw at room temperature for a few hours before serving.
- Freezer Storage (Dough): You can also freeze the unbaked dough balls. Roll the dough into balls, make the thumbprint indentations, and then freeze them on a baking sheet until solid. Transfer them to a freezer-safe bag. When you’re ready to bake, place the frozen dough balls on a prepared baking sheet, fill with jam, and bake as directed, adding a few extra minutes to the baking time.
- Reheating: While these Jam Thumbprints are best enjoyed at room temperature, if you desire a warm, soft cookie, you can gently reheat them. Place them on a baking sheet in a preheated oven at 275°F (135°C) for about 5-7 minutes, or until just warmed through. Be careful not to overheat or the jam may become too sticky. You can also microwave them for 10-15 seconds, but this might alter the texture slightly.
FAQ About Jam Thumbprints
Here are some common questions about making and enjoying Jam Thumbprints, complete with clear and engaging answers to help you master this classic treat.
- Q: What kind of jam is best for Jam Thumbprints?
A: The best jam is your favorite! Raspberry Jam Thumbprint Cookies are very popular, but strawberry, apricot, and even mixed berry jams work wonderfully. For something unique, try fig jam or a citrus marmalade. Just make sure it’s a good quality jam that you enjoy eating on its own! The flavor of the jam truly makes these Jam-Filled Cookies sing. - Q: My cookies spread too much! What happened?
A: Several factors can cause spreading. The most common are: your butter was too soft (next time, ensure it’s just softened, not melted), the oven wasn’t preheated properly, or you overmixed the dough, developing too much gluten. Chilling the dough for 20-30 minutes before baking can also help control spreading and ensure nice, plump Thumbprint Cookies. - Q: Can I use whole eggs instead of just egg yolks?
A: While using whole eggs will still yield a cookie, the egg yolks are crucial for the classic rich, tender, and somewhat crumbly texture of these Shortbread Cookies. Using whole eggs can make them a bit chewier and less delicate. For the authentic Old-Fashioned Jam Thumbprint Cookies experience, stick with the yolks. - Q: How do I prevent the jam from baking dry or burning?
A: The key is not to overfill the indentation and to bake at the correct temperature for the recommended time. If your jam seems too thick, you can warm it slightly before spooning it in to help it settle. If your oven runs hot, you might reduce the temperature slightly or shorten the baking time. - Q: Can I customize these for dietary needs?
A: Absolutely! For Gluten-free Jam Thumbprint Cookies, simply substitute the all-purpose flour with a 1:1 gluten-free baking flour blend. For Vegan Jam Thumbprint Cookies, use a high-quality vegan butter substitute and replace the egg yolks with a flax egg or unsweetened applesauce. These modifications allow everyone to enjoy these delicious treats.
Final Thoughts on Jam Thumbprints
There’s a special kind of magic that unfolds when you bake Jam Thumbprints. It’s more than just mixing butter, sugar, and flour; it’s about creating something beautiful and delicious that brings people together. From the moment the sweet aroma fills your kitchen to the first bite of a tender, buttery cookie with its bright, fruity center, these cookies speak to the heart. They are a timeless reminder that some of the greatest joys in life come from the simplest pleasures and the love poured into homemade treats.
So, whether you’re whipping up a batch for a special occasion, introducing a new generation to a classic, or simply indulging your own sweet tooth, these Jam Thumbprints are sure to delight. They are a testament to the enduring appeal of traditional baking, proving that a truly good cookie never goes out of style. I encourage you to grab your apron, gather your favorite jam, and embark on this delicious baking adventure. Don’t forget to experiment with different jam flavors and perhaps even some of the nutty variations. And remember, every cookie you bake is a little act of love.
Now that you’ve discovered the joy of making these wonderful Jam Thumbprints, I’d love to hear from you! Please save this recipe to your Pinterest board so you can easily find it again, leave a comment below with your favorite jam flavor or any tips you’ve discovered, and don’t forget to subscribe to Mister Recipes for more delicious, family-friendly recipes and kitchen inspiration delivered right to your inbox. Let’s keep the baking magic alive, together!
Jam Thumbprints
Ingredients
Equipment
Method
- Preheat your oven to 350°F (175°C). Line two baking sheets with parchment paper or silicone baking mats.
- In a large mixing bowl, using an electric mixer (or by hand with a whisk), cream together the softened butter and granulated sugar until the mixture is light, fluffy, and pale yellow. This usually takes about 2-3 minutes.
- Beat in the egg yolks one at a time, mixing well after each addition. Then stir in the vanilla extract. Scrape down the sides of the bowl to ensure everything is well combined.
- In a separate medium bowl, whisk together the flour and salt. Combine these thoroughly before adding them to the wet ingredients.
- With the mixer on low speed, gradually add the dry ingredients to the wet ingredients, mixing until just combined. Be careful not to overmix the dough, as this can lead to tough cookies.
- Roll the dough into 1-inch balls. Place the dough balls about 1-2 inches apart on your prepared baking sheets.
- Dip your thumb or the back of a small measuring spoon into flour to prevent sticking, and then gently press an indentation into the center of each cookie dough ball.
- Carefully spoon a small amount of your chosen jam into the center of each thumbprint. Don’t overfill; a generous teaspoon per cookie is usually perfect.
- Bake for 12-15 minutes, or until the edges of the cookies are lightly golden. The jam should be bubbly and set.
- Let the cookies cool on the baking sheets for a few minutes before transferring them to a wire rack to cool completely.