
Introduction
Ever wonder why some cherry pies taste like a burst of summer in every bite while others fall flat? Is it just luck, or could there be a science behind the perfectly balanced sweet and tart filling and the flawlessly flaky crust? The truth is, mastering the Cherry Pie Recipe is an art and a science, and this guide is your roadmap to pie perfection.
Forget everything you thought you knew about baking the perfect cherry pie. This isn’t your grandma’s recipe (unless your grandma was a pastry chef!). We’re diving deep into the secrets of achieving that perfect balance, the optimal crust texture, and the overall wow factor that will make your cherry pie the star of any table. Baking a Cherry Pie Recipe is simpler than you think, perfect for any occasion, especially thanksgiving desserts.
This recipe isn’t just about following instructions; it’s about understanding the ‘why’ behind each step. We’ll explore the role of each ingredient, the importance of temperature, and the techniques that will elevate your pie from good to unforgettable. Whether you are looking for thanksgiving entertaining ideas or a thanksgiving menu, this pie will fit right in.
Making a cherry pie doesn’t have to be a daunting task. In fact, this recipe is designed to be family-friendly, easy to follow, and undeniably delicious. It’s all about creating a memorable thanksgiving gathering with a homemade touch.
Perfect for any thanksgiving menu ideas or even holiday thanksgiving meals, this Cherry Pie Recipe is so simple and sure to bring joy to everyone!
Why You’ll Love This Cherry Pie Recipe
- Effortless Elegance: Impress your family and friends with a dessert that looks like it took hours, but really didn’t! This recipe simplifies the process without sacrificing flavor or visual appeal.
- Perfectly Balanced Flavors: The combination of sweet cherries and a hint of almond extract creates a symphony of flavors that will tantalize your taste buds. The flaky crust provides the perfect counterpoint to the juicy filling. Making this one of the best desserts pies you will ever make
- Kid-Friendly Fun: Get the whole family involved! From pitting cherries to crimping the crust, this recipe offers plenty of opportunities for kids to participate and learn in the kitchen. Why not enjoy this pie with other thanksgiving treats?
- Versatile for Any Occasion: Whether it’s a summer barbecue, a thanksgiving dinner, or a cozy night in, this cherry pie is always a crowd-pleaser. You can even adapt the recipe to suit different dietary needs or preferences. The perfect dish to add to your thanksgiving dinner table
- Freezer-Friendly: Make ahead and freeze for a stress-free dessert option. This is perfect for those busy weeknights or when you need a last-minute treat. And it’s also great as one of your thanksgiving food ideas.
- Guaranteed Success: With clear instructions and helpful tips, this recipe is designed to ensure your cherry pie turns out perfectly every time. Say goodbye to soggy bottoms and burnt crusts! Adding this one to your thanksgiving recipes will wow everyone!
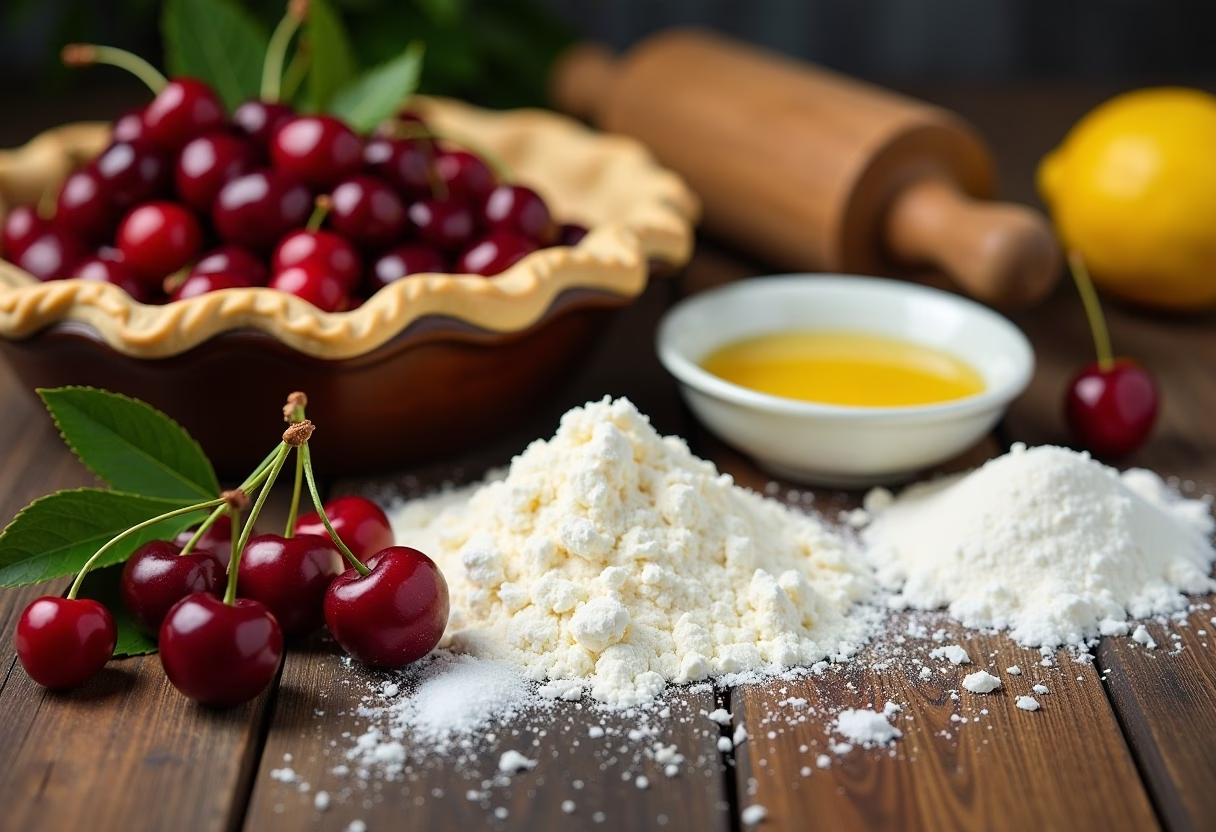
Ingredients for Cherry Pie Recipe
For the Crust:
- 2 ½ cups all-purpose flour
- 1 teaspoon salt
- 1 cup (2 sticks) unsalted butter, very cold and cut into cubes
- ½ cup ice water
For the Filling:
- 6 cups pitted fresh or frozen cherries (if using frozen, do not thaw)
- ¾ cup granulated sugar (adjust to taste depending on cherry sweetness)
- ¼ cup cornstarch
- 2 tablespoons lemon juice
- 1 teaspoon almond extract (optional, but highly recommended)
- 2 tablespoons butter, cut into small pieces
For the Egg Wash (optional):
- 1 large egg, beaten
- 1 tablespoon milk or water
- Coarse sugar, for sprinkling (optional)
Substitutions:
- Gluten-Free: Use a gluten-free all-purpose flour blend for the crust. Adjust liquid as needed.
- Vegan: Use vegan butter substitute for the crust and omit the egg wash.
- Sweetener: Substitute the granulated sugar with an equal amount of coconut sugar or your preferred sugar substitute.
How to Make Cherry Pie Recipe
Step-by-Step Instructions
Prepare the Dough:
- In a large bowl, whisk together the flour and salt.
- Add the cold, cubed butter to the flour mixture. Use a pastry blender or your fingertips to cut the butter into the flour until the mixture resembles coarse crumbs with pea-sized pieces of butter. This creates the flaky layers we want in our pie crust.
- Gradually add the ice water, one tablespoon at a time, mixing gently after each addition, until the dough just comes together. Be careful not to overmix; a slightly shaggy dough is perfectly fine.
- Divide the dough in half, flatten each half into a disc, wrap tightly in plastic wrap, and refrigerate for at least 30 minutes, or up to 2 hours. This chilling time allows the gluten to relax, resulting in a more tender crust. Preparing the dough with chilled, high-quality ingredients is a great base for your thanksgiving dinner ideas!
Make the Filling:
- In a large bowl, combine the pitted cherries, granulated sugar, cornstarch, lemon juice, and almond extract (if using). Gently stir until the cherries are evenly coated. The cornstarch will help thicken the filling as it bakes.
- Let the mixture sit for about 15 minutes to allow the cherries to release some of their juices and the cornstarch to dissolve. This prevents the filling from being too watery.
Assemble the Pie:
- On a lightly floured surface, roll out one of the dough discs into a 12-inch circle. Carefully transfer the dough to a 9-inch pie plate. Trim the edges, leaving about a 1-inch overhang.
- Pour the cherry filling into the pie crust and dot the top with small pieces of butter. Butter adds richness and flavor to the filling, making this simple thanksgiving food taste even better.
- Roll out the second dough disc into a 12-inch circle. Either place it over the filling and trim, seal, and crimp the edges, or cut the dough into strips to create a lattice top. If using a full top crust, make a few slits to allow steam to escape. No thanksgiving holiday is complete without a homemade pie!
- For a golden, glossy crust, brush the top with the egg wash (if using) and sprinkle with coarse sugar (optional).
Bake the Pie:
- Preheat your oven to 400°F (200°C). Place the pie on a baking sheet to catch any drips.
- Bake for 45-55 minutes, or until the crust is golden brown and the filling is bubbly. If the crust starts to brown too quickly, cover the edges with foil or a pie shield. Nothing says thanksgiving like the smell of a homemade pie baking in the oven.
- Let the pie cool completely on a wire rack before slicing and serving. This allows the filling to set and prevents it from being too runny. This Cherry Pie Recipe is perfect for a thanksgiving feast.
Pro Tips & Variations
- Use Cold Ingredients: The key to a flaky pie crust is to keep all the ingredients cold. Use cold butter, cold water, and even chill your flour if possible. This prevents the butter from melting into the flour, which can result in a tough crust.
- Don’t Overmix the Dough: Overmixing develops the gluten in the flour, leading to a tough crust. Mix the dough just until it comes together, and then stop.
- Blind Bake for a Crisper Bottom Crust: If you struggle with a soggy bottom crust, try blind baking the crust before adding the filling. To do this, prick the bottom of the crust with a fork, line it with parchment paper, and fill it with pie weights or dried beans. Bake at 375°F (190°C) for 15-20 minutes, then remove the weights and paper and bake for another 5-10 minutes until lightly golden.
- Vegan Cherry Pie:
- Crust: Use a high-quality vegan butter substitute, ensuring it’s very cold just like regular butter.
- Filling: The cherry filling as described is naturally vegan!
- Egg Wash: Skip the egg wash, or brush the crust with a little plant-based milk for a golden finish. You can add this delicious vegan thanksgiving recipes to your thanksgiving spread.
- Add a Touch of Spice: For a warming twist, add a pinch of ground cinnamon or nutmeg to the cherry filling.
Serving Suggestions
- Vanilla Ice Cream: A classic pairing that never disappoints. The cold, creamy ice cream complements the warm, tart cherry pie perfectly. Serve this pie with a scoop of vanilla ice cream for an unforgettable thanksgiving dessert.
- Whipped Cream: A dollop of freshly whipped cream adds a light and airy sweetness that enhances the cherry flavor.
- Cheddar Cheese: A slice of sharp cheddar cheese alongside a warm slice of cherry pie might sound unusual, but the salty and savory cheese balances the sweetness of the pie beautifully.
- Coffee or Tea: A cup of hot coffee or tea is the perfect accompaniment to a slice of cherry pie. The warmth helps to bring out the flavors of the pie. Serve this special thanksgiving pie with your favorite hot beverage.
- Pair with a Cocktail: A sparkling wine or a cherry-infused cocktail will enhance the flavor of the cherry pie.
Storage & Reheating
Storage:
- Room Temperature: Cherry pie can be stored at room temperature for up to 2 days, provided it is covered to prevent drying out.
- Refrigerator: For longer storage, keep the pie in the refrigerator for up to 4 days. Cover it tightly with plastic wrap or place it in an airtight container. Your thanksgiving food table will not be complete without this thanksgiving dessert ideas.
- Freezer: To freeze cherry pie, wrap it tightly in plastic wrap, then place it in a freezer bag or container. It can be frozen for up to 3 months. Thaw the pie in the refrigerator overnight before reheating.
Reheating:
- Oven: Preheat your oven to 350°F (175°C). Place the pie on a baking sheet and bake for 15-20 minutes, or until heated through.
- Microwave: Reheat individual slices in the microwave for 30-60 seconds.
- Toaster Oven: For crispier crust, reheat slices in a toaster oven at 350°F (175°C) for 5-10 minutes.
FAQ about Cherry Pie Recipe
Q: Can I use canned cherry pie filling instead of making my own?
A: While homemade is always best, you can definitely use canned cherry pie filling in a pinch. Just be aware that the flavor and texture might not be as fresh or balanced as with a homemade filling. And to give your thanksgiving celebration that special homey touch, it is always best to choose homemade!
Q: How can I prevent my pie crust from getting soggy?
A: Several factors can contribute to a soggy crust. Make sure to use cold ingredients, don’t overmix the dough, and blind bake the crust if necessary. Also, ensure that the filling isn’t too watery by letting it sit for a while before pouring it into the crust. Serve delicious thanksgiving dishes with this secret technique!
Q: Can I make the dough ahead of time?
A: Absolutely! In fact, making the dough ahead of time is a great way to save time on the day you want to bake the pie. The dough can be stored in the refrigerator for up to 2 days or in the freezer for up to 3 months. Just be sure to wrap it tightly to prevent it from drying out.
Q: Can I use a store-bought pie crust?
A: Yes, you can use a store-bought pie crust if you’re short on time. Just make sure to choose a high quality crust that you enjoy the taste and texture of.
Final Thoughts on Cherry Pie Recipe
So, there you have it a comprehensive guide to baking the perfect cherry pie! With a little practice and these tips, you’ll be creating show stopping desserts in no time. This Cherry Pie Recipe is guaranteed to be a hit and will quickly become one of your favorite thanksgiving recipes side dishes.
Don’t forget to save this recipe on Pinterest for future reference and to share it with your friends and family. We’d love to hear about your baking adventures, so leave a comment below and let us know how your cherry pie turned out!
And if you enjoyed this recipe and want to stay up to date on all things baking and cooking, be sure to subscribe to our newsletter. Happy baking! Whether you’re planning a thanksgiving meal or simply craving a delicious dessert, this cherry pie is sure to impress!
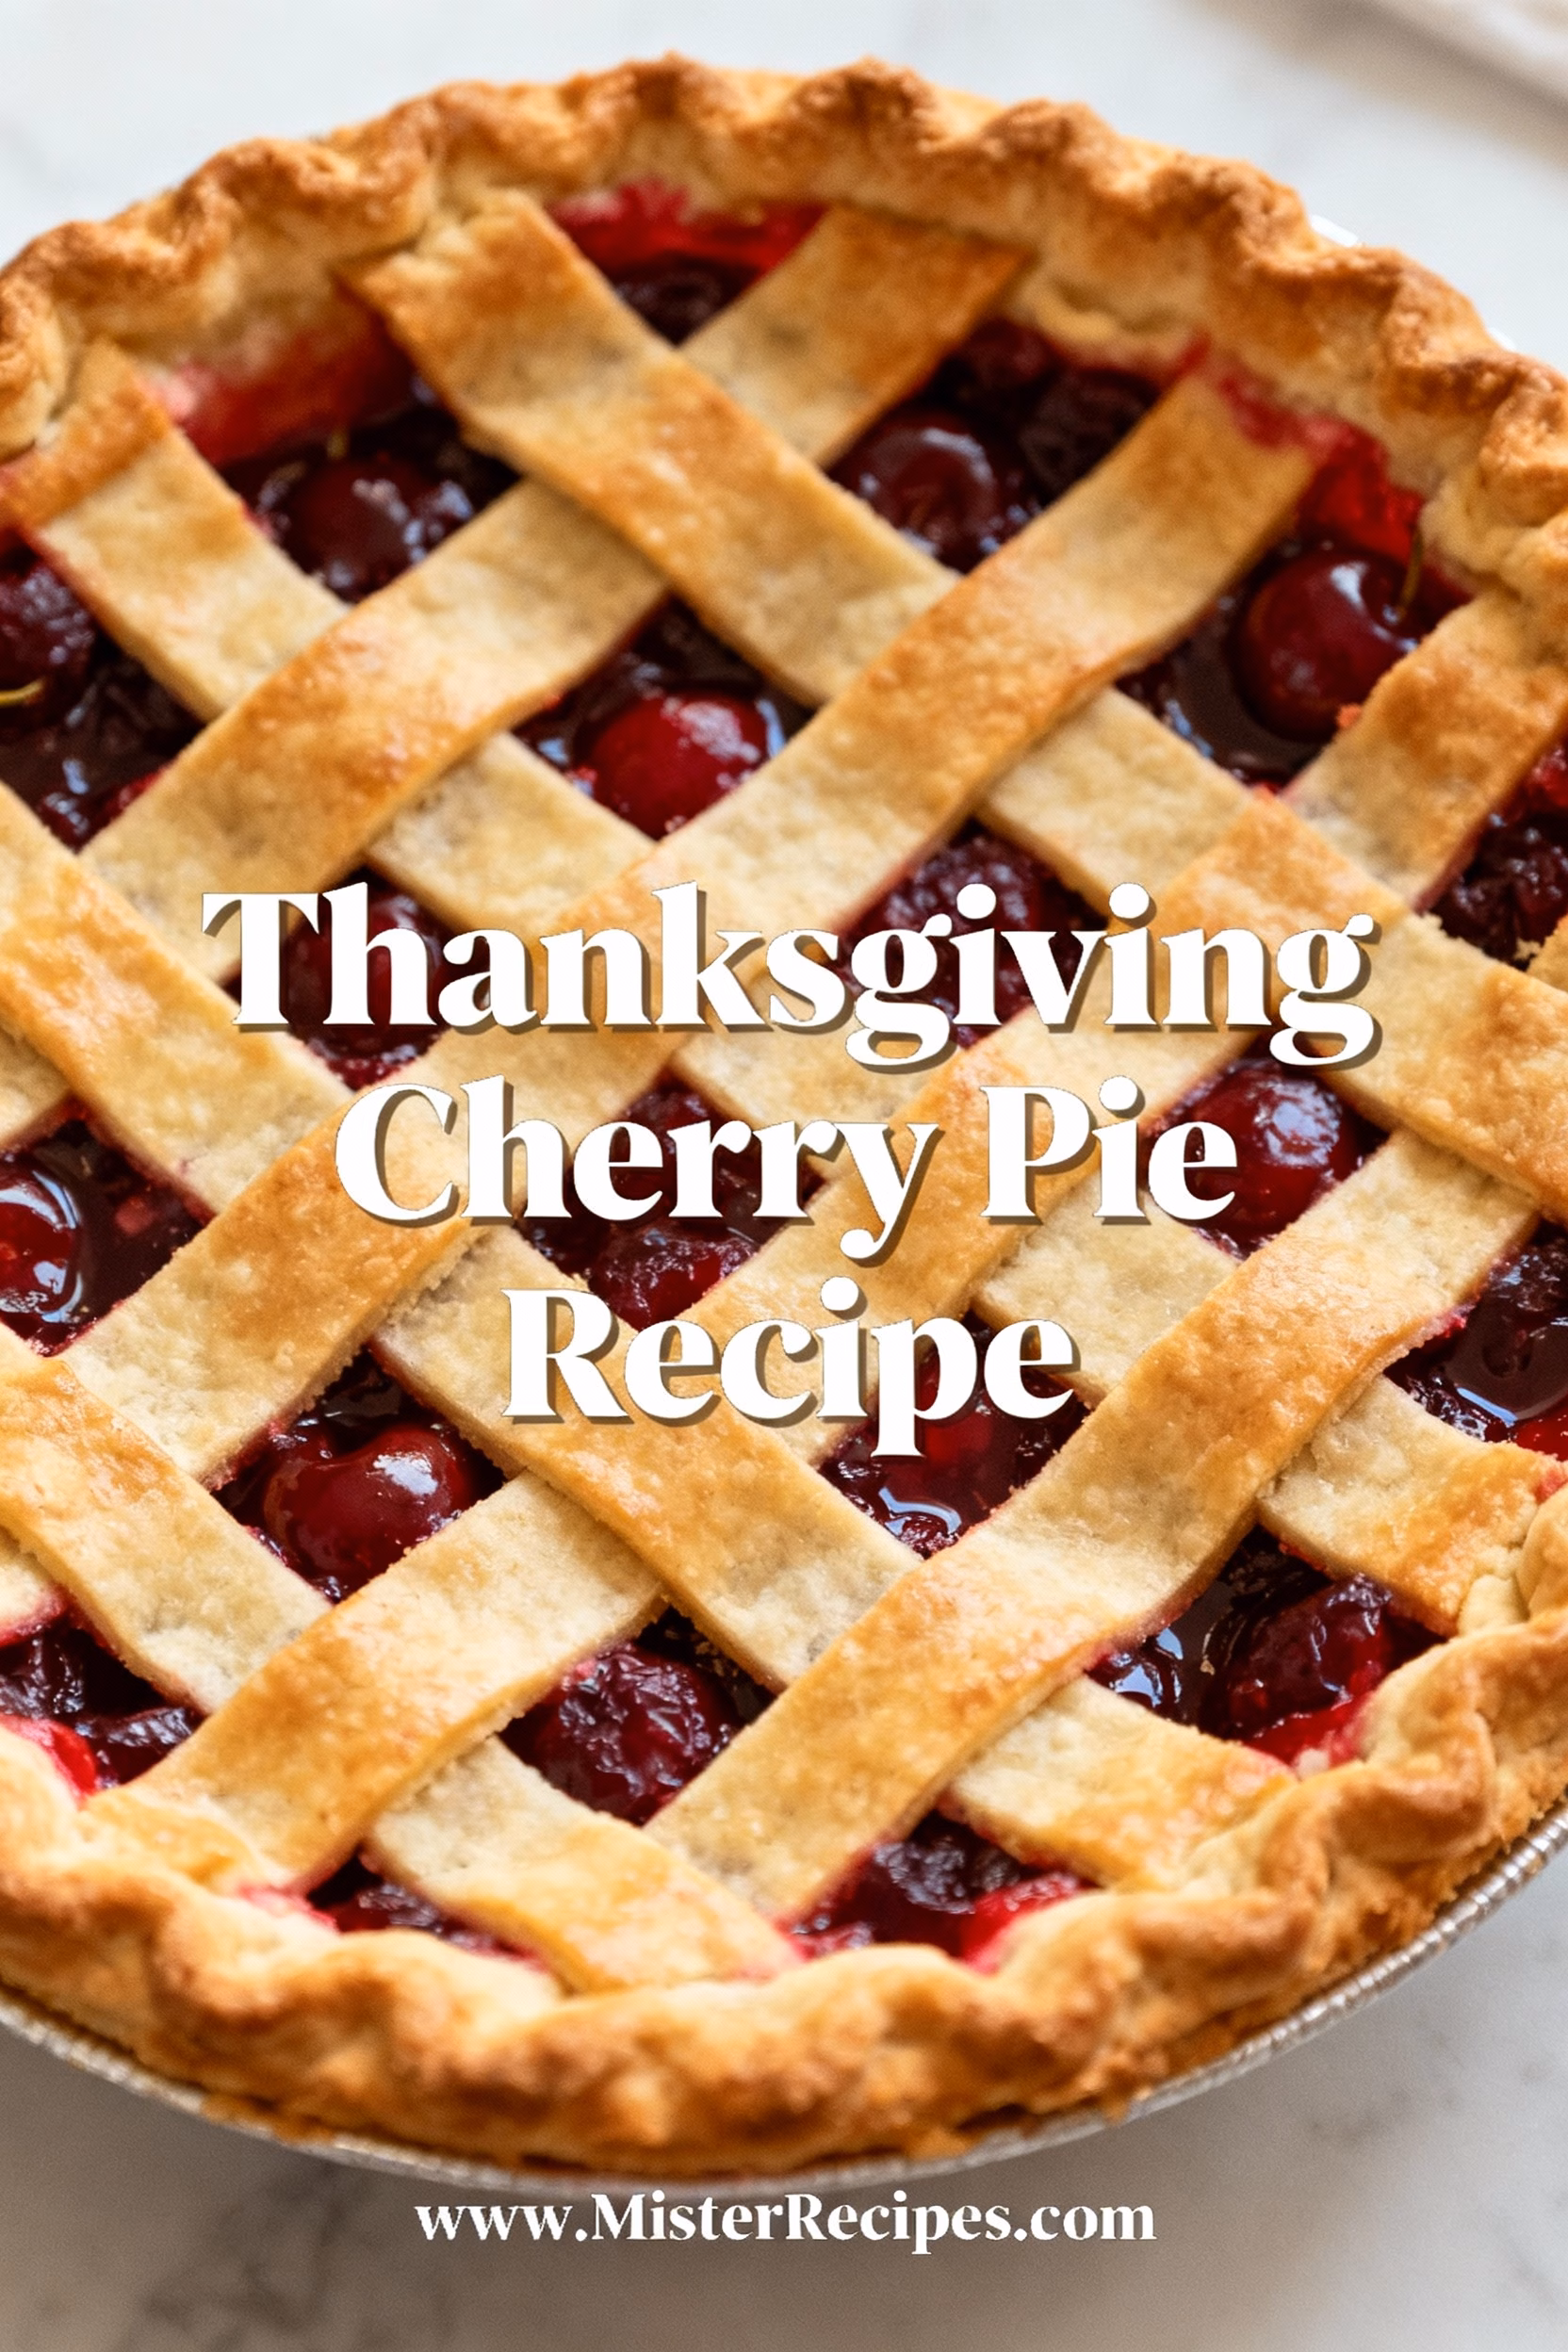
Cherry Pie Recipe
Ingredients
Equipment
Method
- In a large bowl, whisk together the flour and salt.
- Add the cold, cubed butter to the flour mixture. Use a pastry blender or your fingertips to cut the butter into the flour until the mixture resembles coarse crumbs with pea-sized pieces of butter. This creates flaky layers in the crust.
- Gradually add the ice water, one tablespoon at a time, mixing gently until the dough just comes together. Avoid overmixing; a slightly shaggy dough is fine.
- Divide dough in half, flatten each half into a disc, tightly wrap with plastic wrap, refrigerate at least 30 minutes or up to 2 hours to relax gluten and ensure tenderness.
- In a large bowl, combine pitted cherries, sugar, cornstarch, lemon juice, and almond extract (if using). Stir gently to coat evenly.
- Allow mixture to sit for 15 minutes so cherries release juices and cornstarch dissolves, preventing watery filling.
- On a floured surface, roll out one dough disc into a 12-inch circle. Transfer to a 9-inch pie plate. Trim edges, leaving a 1-inch overhang.
- Pour cherry filling into crust. Dot with small butter pieces to add richness.
- Roll out second dough disc into 12-inch circle. Place as full top or create lattice top over filling. Trim, seal, and crimp edges. For full top, cut slits to release steam.
- Brush top crust with egg wash and sprinkle coarse sugar if desired for golden, glossy finish.
- Preheat oven to 400°F (200°C). Place pie on baking sheet to catch drips.
- Bake for 45-55 minutes until crust is golden brown and filling is bubbly. Cover edges with foil or pie shield if browning too fast.
- Cool completely on wire rack before slicing to let filling set and avoid runniness.


