
From Our Kitchen to Yours: A Savory Tribute in the Shape of a Skull
Have you ever stopped to wonder how a simple meal can become a vessel for our most cherished memories? How the scent of simmering spices alone can transport you back to a crowded kitchen, filled with laughter and the clatter of familiar pots and pans? It’s a question that follows me around my own kitchen here in Bend, where the scent of pine often mingles with whatever is baking in the oven. We live our lives in meals, marking time with Sunday morning pancakes and celebratory birthday cakes. But what about the quieter moments, the times of reflection and remembrance? This question led me to develop this heartfelt Enchilada Skulls recipe. It’s more than just a dish; it’s a conversation between generations, a delicious way to honor the past while creating new traditions with the people you love today.
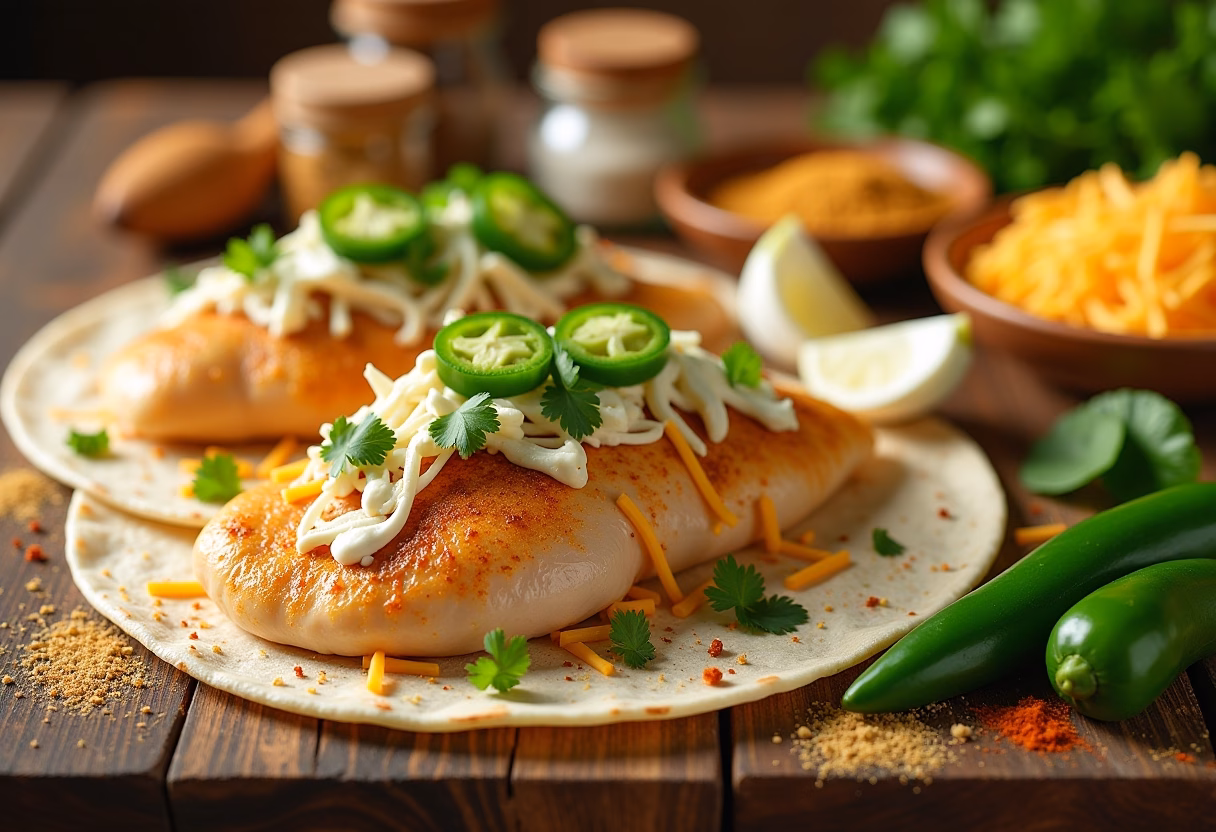
The idea first flickered to life one crisp October afternoon. The golden light slanted through the kitchen window, illuminating the dust motes dancing in the air. My children, Olivia and James, were chattering about costumes and candy, their excitement a joyful buzz in our home. As I listened, my thoughts drifted to my own grandmother, whose hands were rarely still, always rolling dough or stirring a pot of something fragrant and mysterious. Her kitchen was the heart of our family, a place where stories were told and comfort was always on the menu. I wanted to capture that feeling, that blend of festivity and soulful reflection, especially as we neared the season of remembrance. I wanted to create something that could be both a playful centerpiece for a Halloween gathering and a meaningful nod to Dia de los Muertos food ideas. The result is this recipe for skull shaped enchiladas, a dish that transforms a beloved comfort food into a beautiful, edible work of art. It’s a way to say, “We remember, and we celebrate,” all in one savory, cheesy, wonderful bite.
Why You’ll Love This Enchilada Skulls Recipe
This isn’t just another enchilada recipe; it’s an experience. From the moment you begin shaping the tortillas to the final, triumphant reveal from the oven, you’re creating something truly special. Here in our Oregon home, this enchilada skull dish has become a treasured autumn tradition, and I am absolutely certain it will find a beloved place in your kitchen, too. Ethan, my husband, always says his favorite part is the photography, capturing the moment the kids see their creations come to life. But for me, it’s the quiet connection that happens around the table.
-
A Celebration of Creativity and Tradition. This recipe is your canvas. It embraces the festive spirit of Halloween and the beautiful, reflective traditions of Dia de los Muertos. It’s one of the most unique calavera food recipes you’ll find, turning a classic dinner into an unforgettable centerpiece. You’re not just making dinner; you’re crafting a memory, a story your family will tell for years. It’s a chance to talk about heritage, family, and the people we hold dear, all while enjoying a delicious meal together.
-
Surprisingly Simple and Fun to Make. Don’t let the impressive final result intimidate you! The process of how to shape enchiladas into skulls is wonderfully straightforward and incredibly fun, especially with little helpers. I’ve broken down every step to ensure your success. It’s the perfect weekend project or a family friendly halloween dinner activity that gets everyone involved. James loves being in charge of spooning the filling, while Olivia carefully presses the tortilla edges together. It’s a guaranteed way to make kitchen time a joyful, collaborative experience. For more fun in the kitchen with your kids, you can try this recipe for stuffed pizza skulls.
-
Incredibly Delicious and Comforting. At its heart, this is a recipe for exceptional enchiladas. We use a savory, perfectly spiced shredded chicken filling, corn tortillas softened until perfectly pliable, a rich and vibrant enchilada sauce, and of course, a generous blanket of melted cheese. Every bite is a comforting hug of flavor and texture. It’s modern comfort food at its finest, a dish that satisfies the soul as much as the appetite. It has all the familiar warmth of a classic enchilada casserole but with a presentation that elevates it to something extraordinary.
-
Fully Customizable to Your Tastes. This recipe is a fantastic starting point. You can easily adapt it to suit your family’s preferences. Craving a hearty beef filling? Go for it! Looking for vegetarian enchilada skulls? A savory mix of black beans, corn, and spiced sweet potatoes is absolutely divine. You can adjust the spice level, swap the cheeses, or even make your own homemade enchilada sauce. This flexibility makes it a go to recipe you can return to again and again, tweaking it each time to make it your own.
-
The Perfect Make Ahead Party Dish. Planning a gathering can be stressful, but this recipe is designed to make your life easier. You can prepare the filling and even assemble the make ahead enchilada skulls a day in advance. Simply cover and refrigerate, then pop them in the oven when you’re ready. They bake up beautifully, filling your home with an irresistible aroma just as your guests arrive. It’s an impressive but easy party food that lets you enjoy the celebration without being stuck in the kitchen.
Ingredients for Enchilada Skulls
-
For the Shredded Chicken Filling:
- 2 cups cooked and shredded chicken (rotisserie chicken works beautifully)
- 1 cup shredded Monterey Jack cheese
- 1/2 cup finely chopped white onion
- 1/4 cup chopped fresh cilantro
- 1 teaspoon ground cumin
- 1/2 teaspoon smoked paprika
- Salt and black pepper to taste
-
For Assembly:
- 12 corn tortillas (6 inch size)
- 1 (28 ounce) can red enchilada sauce, divided
- 2 cups shredded Mexican cheese blend (a mix of Monterey Jack, Cheddar, and Asadero)
- Cooking spray or a little oil for the baking dish
-
For Garnish (Optional):
- Sliced black olives (for eyes and nose)
- Sour cream or Mexican crema, thinned with a little milk for drizzling
- Fresh cilantro sprigs
- Sliced jalapeños or bell pepper strips (for details)
Ingredient Substitutions:
- Chicken: Feel free to substitute with shredded beef, ground turkey, or pulled pork. For a delicious vegetarian enchilada skulls version, use a mixture of black beans, corn, and diced sweet potato.
- Cheese: Any good melting cheese will work. Pepper Jack adds a nice kick, while a simple sharp cheddar is also delicious.
- Tortillas: Corn tortillas give the most authentic flavor, but flour tortillas can also be used if preferred. Just be sure to warm them well to prevent tearing.
How to Make Enchilada Skulls
Step-by-Step Instructions
Making these Enchilada Skulls is a gentle, rewarding process. It’s less about perfection and more about the simple joy of creating something beautiful with your hands. I like to put on some quiet music, pour a cup of tea, and let the rhythm of the kitchen take over. Think of it as a mindful activity, a small meditation before the meal. The key is to work gently with the tortillas and have fun with the shaping.
1. Prepare Your Workspace and Preheat:
First things first, let’s get everything in order. Preheat your oven to 375°F (190°C). Lightly grease a large 9×13 inch baking dish with cooking spray or a thin layer of oil. This will prevent the enchiladas from sticking and make cleanup so much easier. Pour about 1/2 cup of your red enchilada sauce into the bottom of the dish and spread it around to create an even layer. This creates a wonderful, flavorful base for our skulls to nestle into.
2. Mix the Savory Filling:
In a medium sized bowl, it’s time to create the heart of our enchiladas. Combine the 2 cups of shredded chicken, 1 cup of Monterey Jack cheese, the finely chopped white onion, and the fresh cilantro. Sprinkle in the ground cumin and smoked paprika, then season generously with salt and pepper. Give everything a good stir until it’s evenly mixed. Take a moment to smell the ingredients coming together; that savory, slightly smoky aroma is the promise of the deliciousness to come. This is the perfect step for kids to help with.
3. Soften the Tortillas:
This is the most crucial step for successful shaping. Cold, stiff tortillas will crack and break. We need them to be warm and pliable. To do this, wrap the stack of 12 corn tortillas in a slightly damp paper towel. Microwave them for about 45 to 60 seconds, or until they are soft and steamy. This makes them flexible and easy to work with, much like handling soft clay. Work with them while they’re warm. If they start to cool and stiffen, you can always pop them back in the microwave for a few seconds.
4. Shape the Enchilada Skulls:
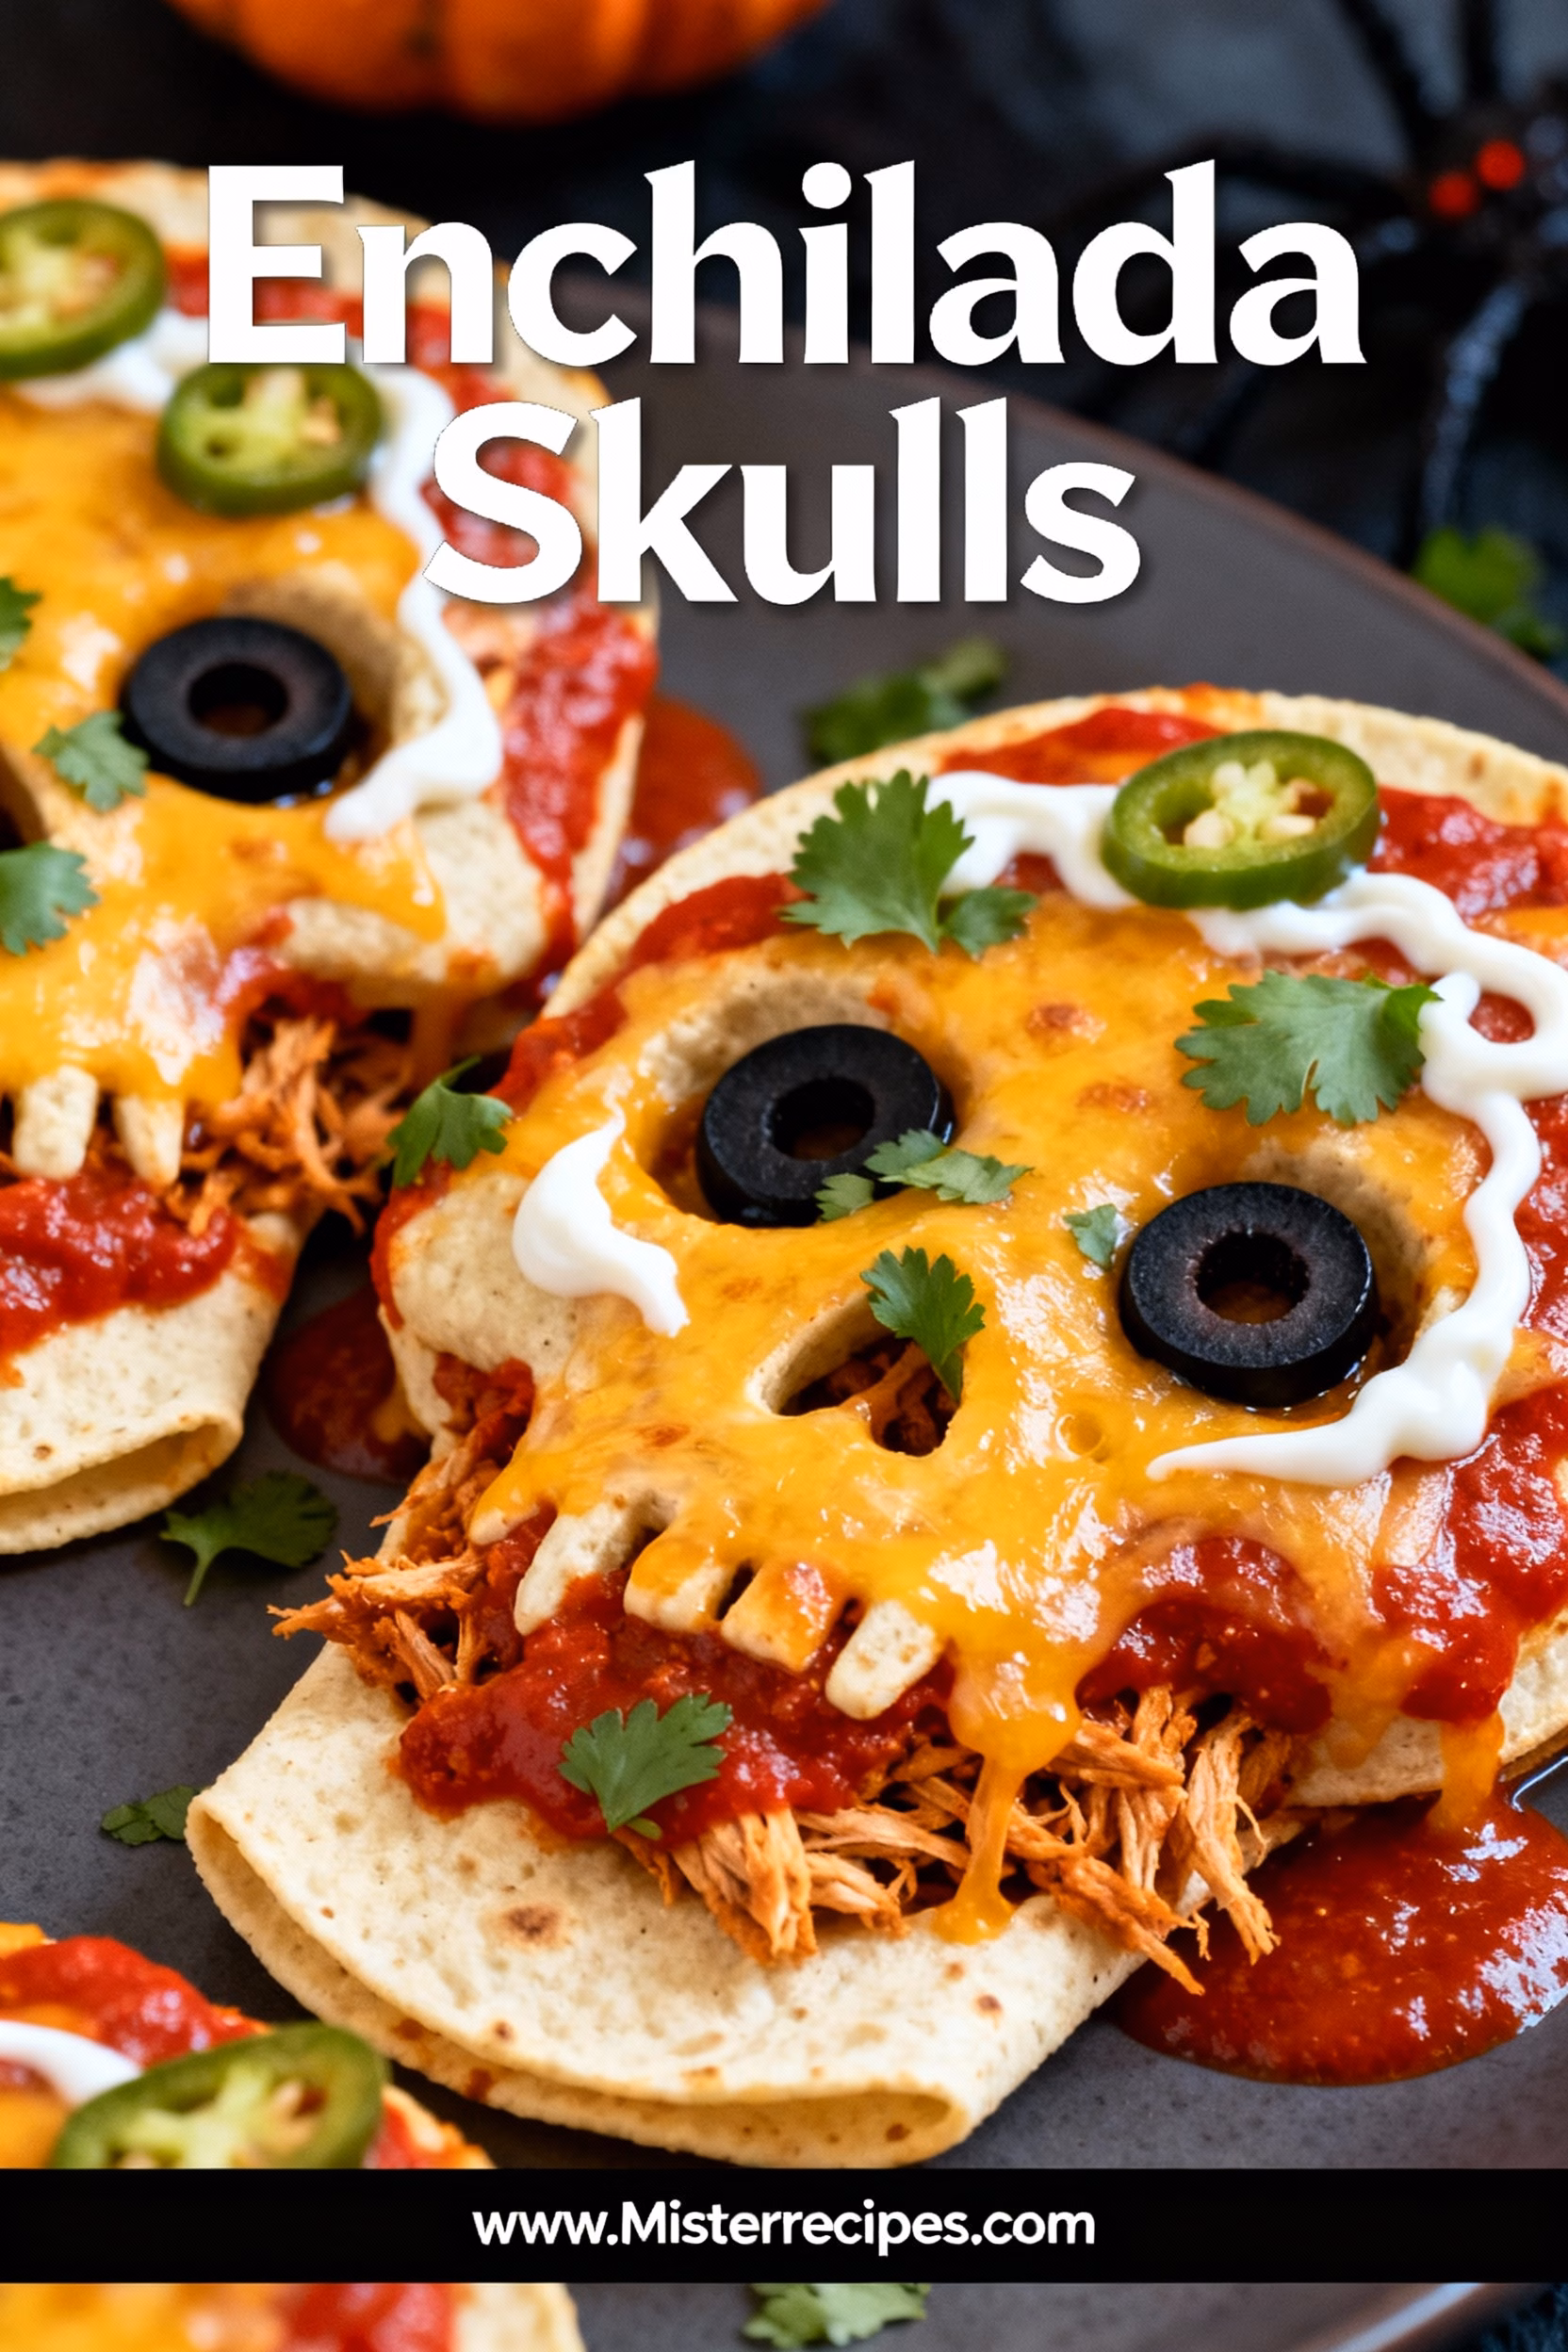
Now for the magical part. Lay one warm tortilla on a clean work surface. Spoon about 2 to 3 tablespoons of the chicken filling into the center. Don’t overfill, or it will be difficult to seal. Now, gently fold the tortilla in half over the filling, but instead of a perfect half moon, create a slightly oval shape that’s wider at the top and tapers toward the bottom, mimicking a skull. Gently press down around the filling to create the general shape. Next, use your fingers to gently pinch and indent the sides below the widest part to create “cheekbones.” Then, press a small indentation at the bottom to form the jaw. There’s no need for perfection here; each one will have its own unique personality, and that’s the charm. This is a key part of how to make enchilada skulls. It takes a little practice, but you’ll get the hang of it quickly.
5. Assemble in the Baking Dish:
As you shape each skull, carefully place it in your prepared baking dish on top of the sauce. Arrange them in a single layer, nestled snugly next to each other. You should be able to fit all 12 in the dish comfortably.
6. Sauce and Bake to Perfection:
Once all your skulls are arranged in the dish, pour the remaining enchilada sauce evenly over the top, making sure to coat each one. Now, for the final glorious layer, sprinkle the 2 cups of shredded Mexican cheese blend all over the top. This cheesy blanket will melt into a bubbly, golden brown crust that is simply irresistible. Place the dish in your preheated oven and bake for 20 to 25 minutes, or until the sauce is bubbling and the cheese is completely melted and lightly golden. For some other spooky dinner ideas check out our spooky dinner ideas for halloween night.
7. Decorate and Serve:
Let the enchiladas rest for a few minutes after you take them out of the oven. This allows them to set up and makes serving easier. Now, bring your calavera food recipes to life! Use sliced black olives to create eyes and a nose on each skull. You can thin some sour cream with a bit of milk and drizzle it over the top to create intricate designs, or simply serve it on the side. Garnish with fresh cilantro and enjoy the beautiful, delicious results of your work.
Pro Tips & Variations
Over the years, I’ve made this Enchilada Skulls recipe dozens of times, and I’ve picked up a few little secrets along the way. These tips will help ensure your skulls are as delicious as they are beautiful, and the variations will inspire you to make this recipe your own creative masterpiece. Remember, the goal is always connection, not perfection.
My Best Pro Tips:
-
Don’t Skip Warming the Tortillas: I know I mentioned it in the instructions, but it bears repeating because it is the single most important step for getting the perfect skull shaped enchiladas. Cold tortillas will tear every time. Taking that extra minute to warm them properly in damp paper towels makes them soft and pliable, which is essential for pinching and shaping them without frustration. If you notice them getting stiff as you work, just pop them back in the microwave for 15 seconds.
-
Taste Your Filling: Before you start assembling, take a tiny taste of your chicken filling. Is it seasoned enough? Does it need a little more cumin for earthiness or a pinch more salt to make the flavors pop? Adjusting the seasoning at this stage is easy and ensures every single bite of your final dish is perfectly balanced and flavorful.
-
Embrace the Imperfections: Your first few skulls might look a little more abstract than you’d like, and that is perfectly okay! Part of the beauty of homemade enchilada skulls is that each one has its own character. This is especially true when you have kids helping. Let go of the need for them all to look identical and just have fun with the process. Some of our most memorable creations have been the lopsided, quirky ones that made us all laugh.
-
Use a Quality Enchilada Sauce: While any canned red enchilada sauce will work, using a high quality one can elevate the dish from good to great. Look for brands that have a rich, deep red color and minimal preservatives. Or, if you’re feeling ambitious, making your own is surprisingly simple and allows you to control the spice and flavor completely. A great sauce is the soul of a great enchilada.
Fun Variations to Try:
-
Spicy Beef Enchilada Skulls: For a richer, spicier version, swap the chicken for one pound of ground beef. Brown it with the onion, drain the fat, and then stir in a chopped jalapeño and a teaspoon of chili powder along with the other spices. It’s a hearty and satisfying twist. A great base recipe for any enchilada dish can be found in this classic Chicken Enchiladas recipe from Allrecipes, which you can easily adapt.
-
Creamy Green Chile Chicken Version: If you love green enchilada sauce (salsa verde), this is a wonderful alternative. Use shredded Monterey Jack or pepper jack cheese, and add a 4 ounce can of diced green chiles to your chicken filling. Top with green enchilada sauce and a Mexican crema drizzle after baking for a tangy, creamy, and utterly delicious dish.
-
Hearty Vegetarian Enchilada Skulls: To make this recipe vegetarian, create a filling with one 15 ounce can of black beans (rinsed and drained), one cup of frozen or fresh corn, and one cup of roasted, diced sweet potato. Season with the same spices, and perhaps add a little extra smoked paprika for a savory, smoky depth. It’s a wonderfully flavorful, satisfying, and colorful option.
-
Add a “Brainy” Topping: For a really fun and spooky Halloween party food enchiladas idea, you can create a “brain” topping. After the skulls are baked, mix some sour cream with a little pureed fresh cilantro or a pinch of spinach powder to make it slightly green. Transfer it to a piping bag with a small round tip and pipe squiggly lines on top of one or two of the skulls for a delightfully creepy effect that kids and adults will love.
Serving Suggestions
Once your beautiful Enchilada Skulls come out of the oven, bubbling and fragrant, the final step is to build a meal around them that feels like a true celebration. A great main dish deserves equally wonderful companions. In our house, we like to create a colorful, festive spread that allows everyone to customize their plates. This dish is the star, the centerpiece of the table, and these serving suggestions are designed to complement its rich, savory flavors without overshadowing it. Think of creating a balance of textures, temperatures, and tastes that will make the entire meal a memorable experience.
-
Cilantro Lime Rice: This is a classic and for good reason. The bright, zesty flavor of fresh lime juice and the fresh, herbaceous notes of cilantro cut through the richness of the enchiladas perfectly. A scoop of fluffy cilantro lime rice next to a cheesy enchilada skull is a match made in culinary heaven. It’s light, refreshing, and adds a beautiful splash of green to the plate. It’s easy to make while the enchiladas are baking.
-
Quick Black Bean and Corn Salad: For a fresh, crunchy contrast, I love to whip up a simple salad of canned black beans (rinsed well), sweet corn (frozen and thawed works great), diced red onion, and chopped red bell pepper. Toss it all with a simple vinaigrette of lime juice, olive oil, and a dash of cumin. It’s a vibrant, textured side that adds a healthy and flavorful element to the meal. You can serve it cold or at room temperature, making it an easy party side.
-
Creamy Avocado Crema or Guacamole: You can never go wrong with avocado. A simple guacamole or a smooth avocado crema provides a cool, creamy counterpoint to the warm, spiced enchiladas. For a quick crema, simply blend one ripe avocado with a half cup of sour cream or Greek yogurt, the juice of one lime, and a pinch of salt until smooth. It’s perfect for dolloping on top of each serving.
-
A Simple Mexican Slaw: For another layer of crunch, a bright and tangy slaw is a fantastic choice. Shred some green and red cabbage and carrots, then toss with a light, vinegar based dressing instead of a heavy mayo one. A dressing made with apple cider vinegar, a touch of honey, and some chopped cilantro provides the perfect acidic bite to balance the cheesy goodness of the main dish.
-
Setting the Festive Table: To make it a truly special occasion, think beyond the food. Serve with a variety of toppings in small bowls so everyone can decorate their own skulls: extra sour cream, fresh pico de gallo, sliced jalapeños for the brave, and plenty of fresh cilantro. It turns dinner into an interactive and fun experience, especially when serving this as part of a collection of our best Halloween party food recipes. These small touches are what transform a simple meal into a lasting memory. Want more inspiration? Check out our creepy halloween party finger foods.
Storage & Reheating
This Enchilada Skulls recipe is fantastic for leftovers, if you have any! The flavors actually meld and deepen overnight, making the next day’s lunch something to look forward to.
Storing in the Refrigerator:
Allow the enchiladas to cool to room temperature. You can either cover the entire baking dish tightly with plastic wrap or foil, or transfer individual portions to an airtight container. They will keep well in the refrigerator for up to 3 days.
Freezing for Later:
This is a great make ahead enchilada skulls dish for freezing. For best results, assemble the enchiladas in a freezer safe baking dish but do not bake them. Cover the dish tightly with a layer of plastic wrap and then a layer of aluminum foil. Label with the date and they can be frozen for up to 3 months. When you’re ready to eat, you can bake them directly from frozen. Just add about 20 to 25 minutes to the original baking time, and make sure they are hot and bubbly all the way through.
Best Reheating Methods:
- Oven (Recommended): The best way to reheat enchiladas is in the oven. This helps keep the tortillas from getting soggy and re melts the cheese beautifully. Preheat your oven to 350°F (175°C). Place the leftovers in an oven safe dish, cover with foil to prevent drying out, and bake for 15 to 20 minutes, or until heated through.
- Microwave: For a quick single serving, the microwave works just fine. Place an enchilada on a microwave safe plate and cover with a damp paper towel. Heat in 60 second intervals until hot. The texture won’t be quite as good as the oven method, but it’s perfect for a speedy lunch.
FAQ about Enchilada Skulls
Can I use flour tortillas instead of corn?
Yes, you absolutely can! Flour tortillas are naturally softer and more pliable, which can make the shaping process a little easier, especially if it’s your first time. Just be aware that the flavor and texture will be slightly different from traditional enchiladas. Corn tortillas offer that classic, slightly earthy flavor.
How do I keep my corn tortillas from breaking when I shape them?
The key is heat and moisture. Make sure you wrap the tortillas in a damp paper towel before microwaving. This steams them, making them very flexible. Work with them while they are still warm and pliable. If they start to cool down and get stiff, just pop them back in the microwave for a few more seconds. Also, be careful not to overfill them, as this can put stress on the tortilla and cause it to tear.
Can I make these Enchilada Skulls ahead of time?
Definitely! This is one of the best things about this impressive but easy party food. You can assemble the entire dish up to 24 hours in advance. Prepare the skulls, place them in the baking dish, cover tightly with foil or plastic wrap, and store in the refrigerator. When you’re ready to eat, just remove the cover and bake as directed, adding maybe 5 to 10 extra minutes to the baking time since you’re starting from cold.
What are some other filling ideas besides chicken?
The possibilities are endless! For a delicious beef enchilada skull recipe, use seasoned ground beef or shredded beef barbacoa. For an amazing vegetarian enchilada skulls option, a mix of black beans, corn, roasted sweet potatoes, and spinach is fantastic. You could also try chorizo and potato, or a simple but delicious filling of cheese and onions.
My skulls don’t look perfect. Any tips?
Embrace them! The charm of homemade food is in its beautiful imperfections. Each skull will have its own unique personality. Think of them as rustic and full of character. The most important thing is to have fun with it. Once they are covered in sauce and melted cheese and decorated with olives, they will look festive and amazing, no matter how perfectly they are shaped. You can even consider making one big enchilada skull casserole if shaping is too much hassle.
Final Thoughts on Enchilada Skulls
In my kitchen, I don’t chase perfection; I chase connection. This Enchilada Skulls recipe is a perfect example of that philosophy. It’s a dish that invites you to slow down, to play with your food, and to create something that’s as full of meaning as it is of flavor. Watching Olivia and James carefully place the olive “eyes” on their creations, their faces lit with a mixture of concentration and pure delight, is a memory I will always treasure. This is more than just dinner; it’s a moment of togetherness, a savory story told with tortillas and cheese. It’s a gentle reminder that the most profound rituals often happen right at our own kitchen tables, with the people we love most.
I truly hope this recipe brings as much joy to your home as it does to ours. Whether you’re making it as a kid friendly dia de los muertos recipe or as the star of your next Halloween party, I hope you feel the love and warmth baked into every single bite.
If you make these Enchilada Skulls, I would be so honored if you’d leave a comment below to let me know how they turned out. And don’t forget to save this recipe to your favorite Pinterest board so you can find it again next year! Wishing you a season filled with warmth, memory, and delicious food. For more Halloween ideas, check out these jalapeno popper mummies.
Enchilada Skulls
Ingredients
Equipment
Method
- Preheat your oven to 375°F (190°C). Lightly grease a large 9×13 inch baking dish with cooking spray or a thin layer of oil.
- Pour about 1/2 cup of your red enchilada sauce into the bottom of the dish and spread it around to create an even layer.
- In a medium-sized bowl, combine the shredded chicken, 1 cup of Monterey Jack cheese, the finely chopped white onion, and the fresh cilantro. Sprinkle in the ground cumin and smoked paprika, then season generously with salt and pepper. Stir until evenly mixed.
- Wrap the stack of 12 corn tortillas in a slightly damp paper towel. Microwave them for about 45 to 60 seconds, or until they are soft and steamy.
- Lay one warm tortilla on a clean work surface. Spoon about 2 to 3 tablespoons of the chicken filling into the center. Gently fold the tortilla in half over the filling to create a slightly oval shape that’s wider at the top and tapers toward the bottom, mimicking a skull.
- Gently press down around the filling to create the general shape. Use your fingers to gently pinch and indent the sides below the widest part to create ‘cheekbones.’ Press a small indentation at the bottom to form the jaw.
- Place each shaped skull in the prepared baking dish on top of the sauce. Arrange them in a single layer, nestled snugly next to each other.
- Pour the remaining enchilada sauce evenly over the top, making sure to coat each one. Sprinkle the 2 cups of shredded Mexican cheese blend all over the top.
- Place the dish in your preheated oven and bake for 20 to 25 minutes, or until the sauce is bubbling and the cheese is completely melted and lightly golden.
- Let the enchiladas rest for a few minutes after baking. Use sliced black olives to create eyes and a nose on each skull. You can also thin some sour cream with a bit of milk and drizzle it over the top to create intricate designs or serve it on the side.