
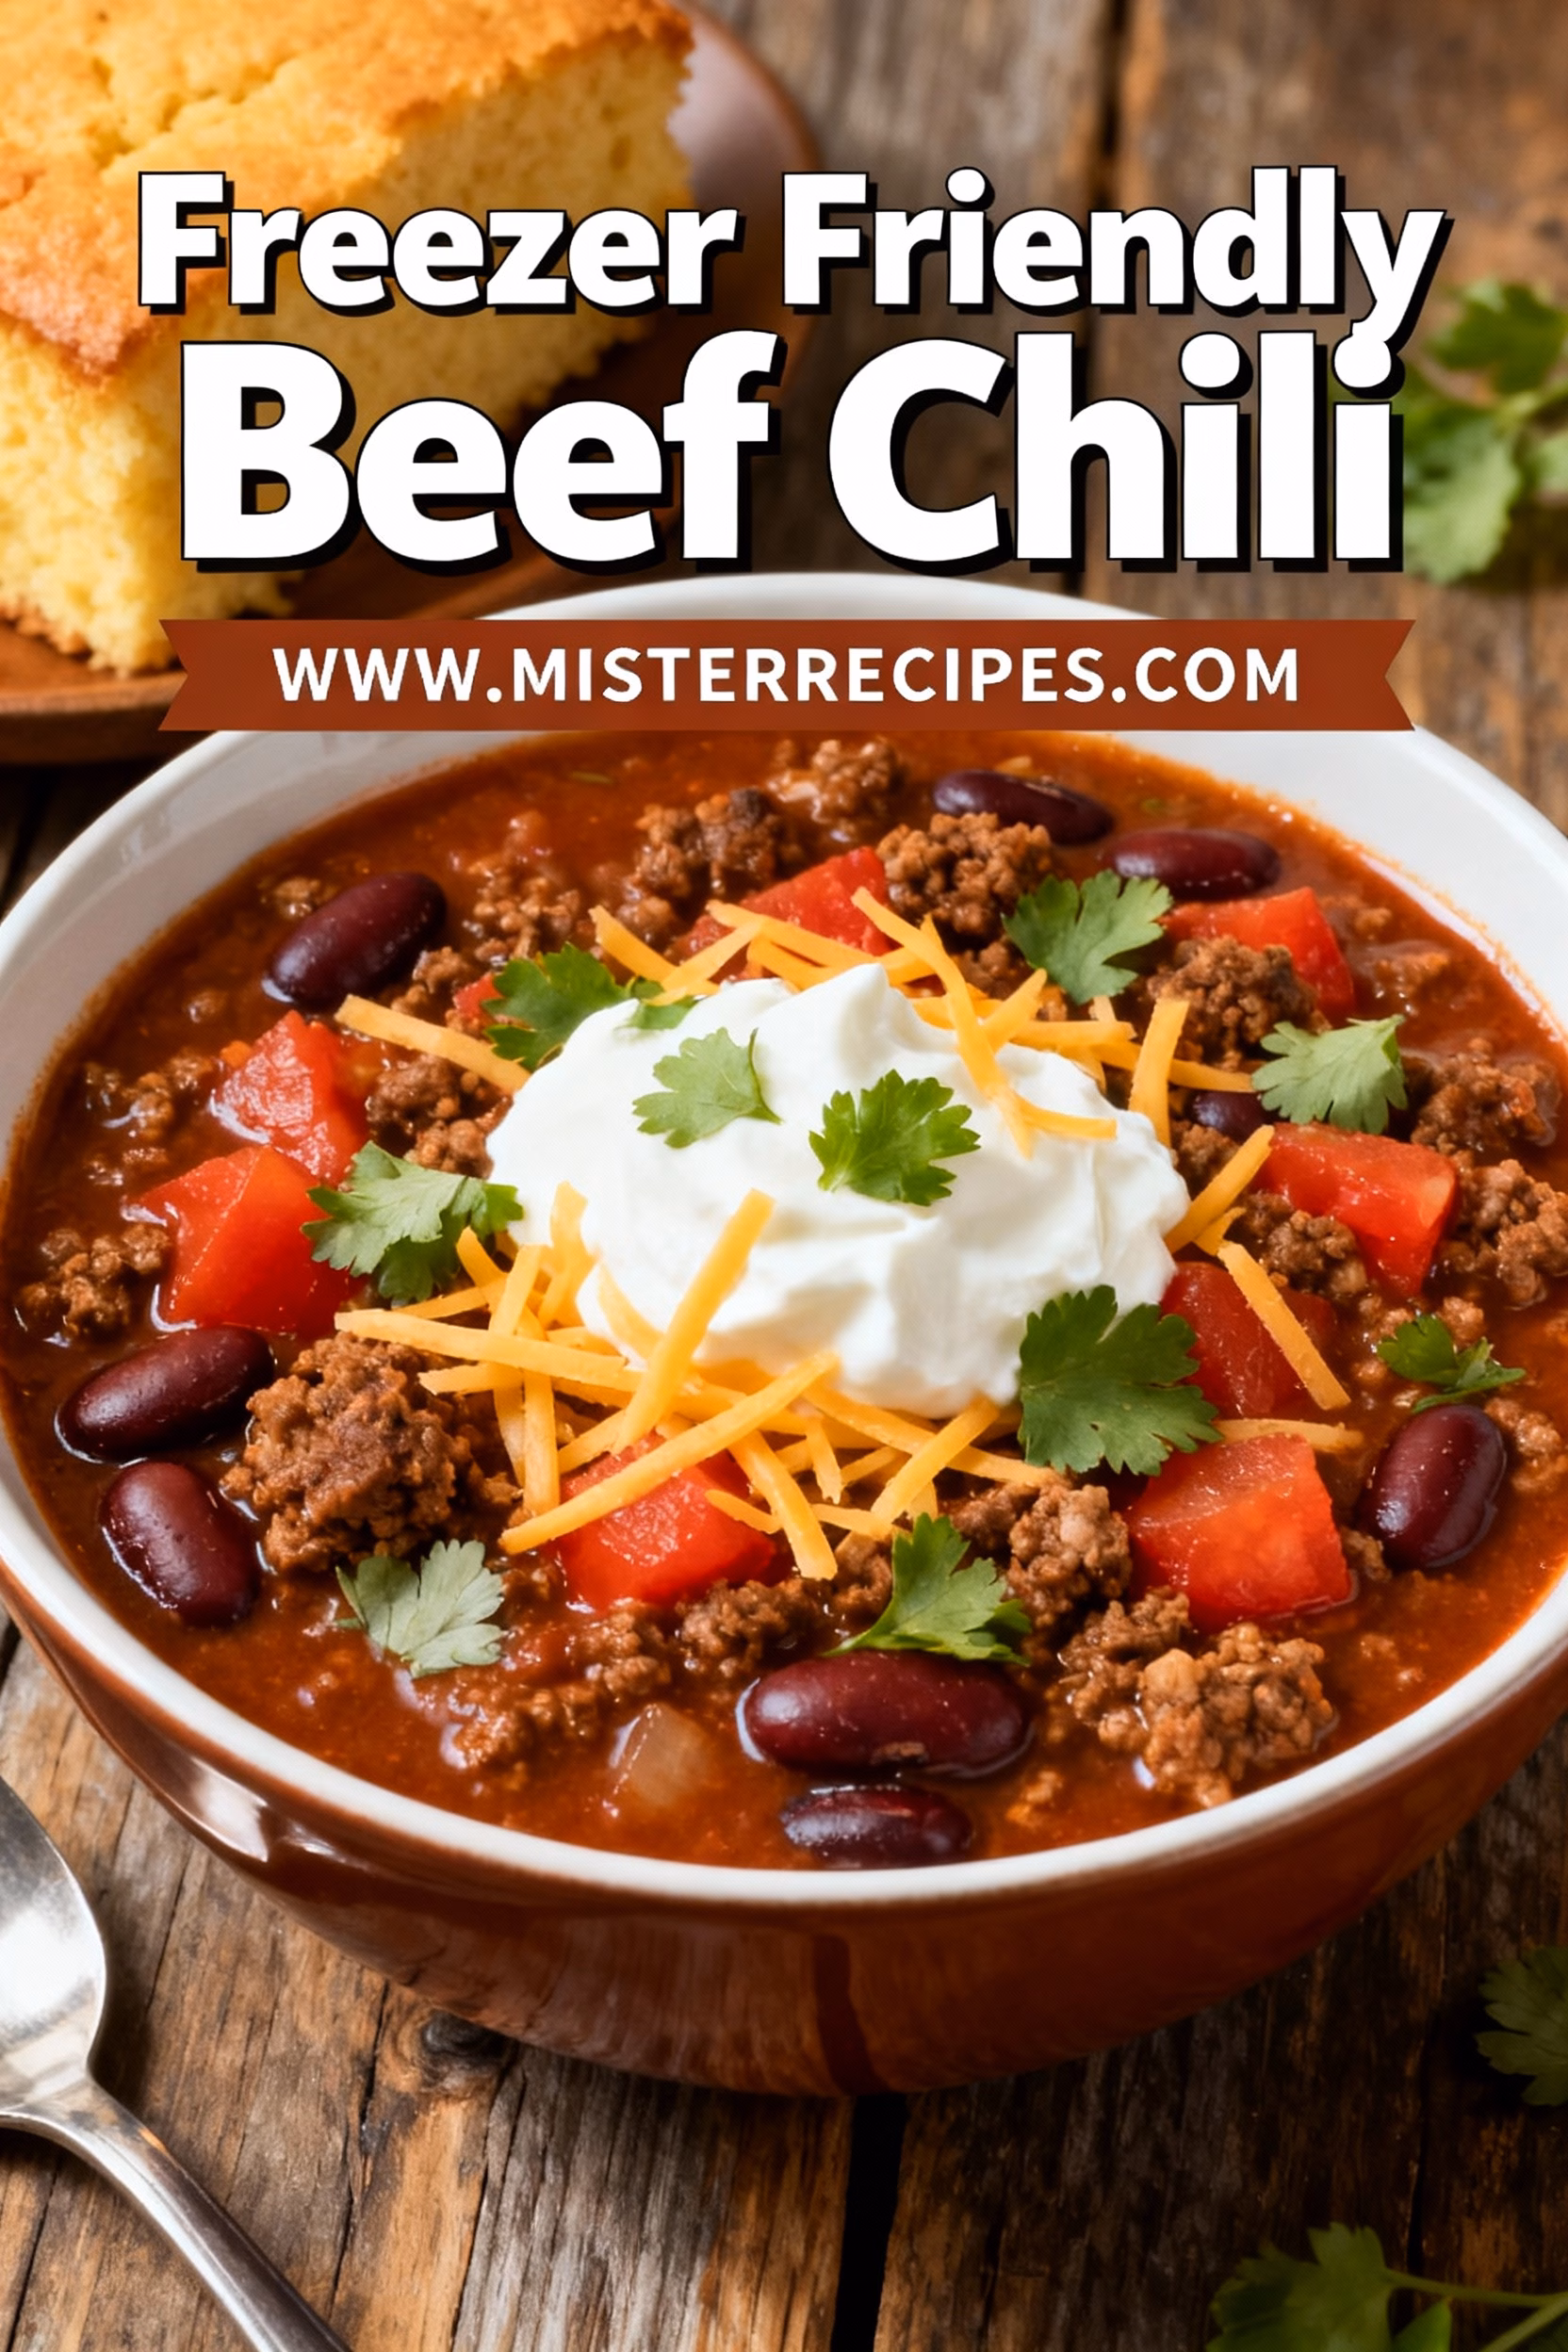
Freezer Friendly Beef Chili: Batch Cooking Comfort for Busy Brooklyn Nights
How many times have you stared into the refrigerator at 6 PM, utterly exhausted, wishing a warm, hearty meal would simply materialize? It happens to the best of us, especially with two energetic twins and a full publishing schedule. My solution to the weeknight scramble has always been to lean hard into freezer meals. After all, the best cooking happens with intention, but the best *eating* often happens via convenience. Today, I am sharing my tried and true recipe for Freezer Friendly Beef Chili, a comforting, rich, and deeply flavored pot of goodness that is specifically designed for storage. This isn’t just any chili, this is the best ground beef chili to freeze for later, a staple in our home that brings the warmth of my mother’s kitchen right to your freezer door. This recipe embraces the concept of batch cooking chili, yielding a generous portion that ensures a stress free dinner is always just a microwave away, whether you’re serving a single person or a hungry family.
Growing up in Queens, my mother never cooked small. Everything was an event, prepared with the assumption that half the neighborhood might drop by. That lesson never left me. When I make chili now, I make enough to feed an army, knowing that the leftovers, stored properly, are gold. This particular make ahead beef chili embodies what I preach, intention in the preparation, relaxation in the consumption. Forget those bland convenience foods, we are making a flavorful, thick, tomato based beef chili that gets even better after a deep freeze, truly making it a pillar of our family friendly chili selection. Let’s make easy freezer friendly beef chili that tastes like a hug.
Table of Contents
- Why You’ll Love This Freezer Friendly Beef Chili
- Ingredients for Freezer Friendly Beef Chili
- How to Make Freezer Friendly Beef Chili
- Pro Tips & Variations
- Freezer Friendly Beef Chili Serving Suggestions
- Freezer Friendly Beef Chili Storage & Reheating
- FAQ about Freezer Friendly Beef Chili
- Final Thoughts
Why You’ll Love This Freezer Friendly Beef Chili
This easy freezer friendly beef chili recipe isn’t just a meal, it’s a weeknight insurance plan. It’s the culinary equivalent of putting money in the bank, except instead of money, you get deeply satisfying flavor waiting for you later. Lena, my wife, often jokes that our freezer is filled with ‘future happiness’ because of recipes like this. Here’s why this version of ground beef chili transcends the others and became our go to:
- Ultimate Convenience and Meal Prep: This recipe is specifically formulated for Freezer Meals 101. Making a large batch means you invest an hour or two now, and save countless hours of cooking later. It’s the ideal meal prep chili, offering hearty portions that eliminate decision fatigue during the busiest work week. Whether you choose the slow cooker beef chili freezer meal route or the stovetop, the resulting flavor is unmatched.
- It Improves with Age: Unlike some dishes that wilt after freezing, chili, particularly this rich tomato-based beef chili, excels. The spices meld deeper, the beef becomes more tender, and the flavors harmonize in a way that freshly cooked chili simply can’t achieve. This makes it the chili that freezes well and truly tastes better reheated.
- Robust, Classic Flavor: We rely on simple, classic ingredients like ground cumin, dark red chili powder, and robust beef broth. We incorporate both kidney beans and black beans for texture and substance, making this a high protein freezer chili that satisfies the heartiest appetite. The depth comes from a good sauté of onions and garlic, followed by the richness of tomato paste and diced tomatoes.
- Budget and Family Friendly: Using ground beef makes this an incredibly economical meal. It’s a budget friendly ground beef freezer chili that stretches a single pound of meat impressively far when combined with beans and vegetables. Plus, it’s a wonderful gateway dish for even picky eaters, especially if you opt for a mild freezer friendly beef chili for kids by choosing a milder chili powder.
- Versatility is Key: This is a powerful, flexible base. You can serve it over rice, with cornbread, as a topping for baked potatoes, or even alongside our easy ground beef tacos in 20 minutes for a fun buffet night. It’s truly a game day chili you can freeze, perfect for entertaining or just a quiet night at home.batch cook chili.
- Simplicity for Storing: We simplify the process of how to freeze chili with beans and beef. Unlike tricky soups, chili is thick and dense, meaning it separates less upon thawing. You can freeze it in small freezer meal containers for single serve frozen chili portions, or in large bags for a family size chili when friends visit.
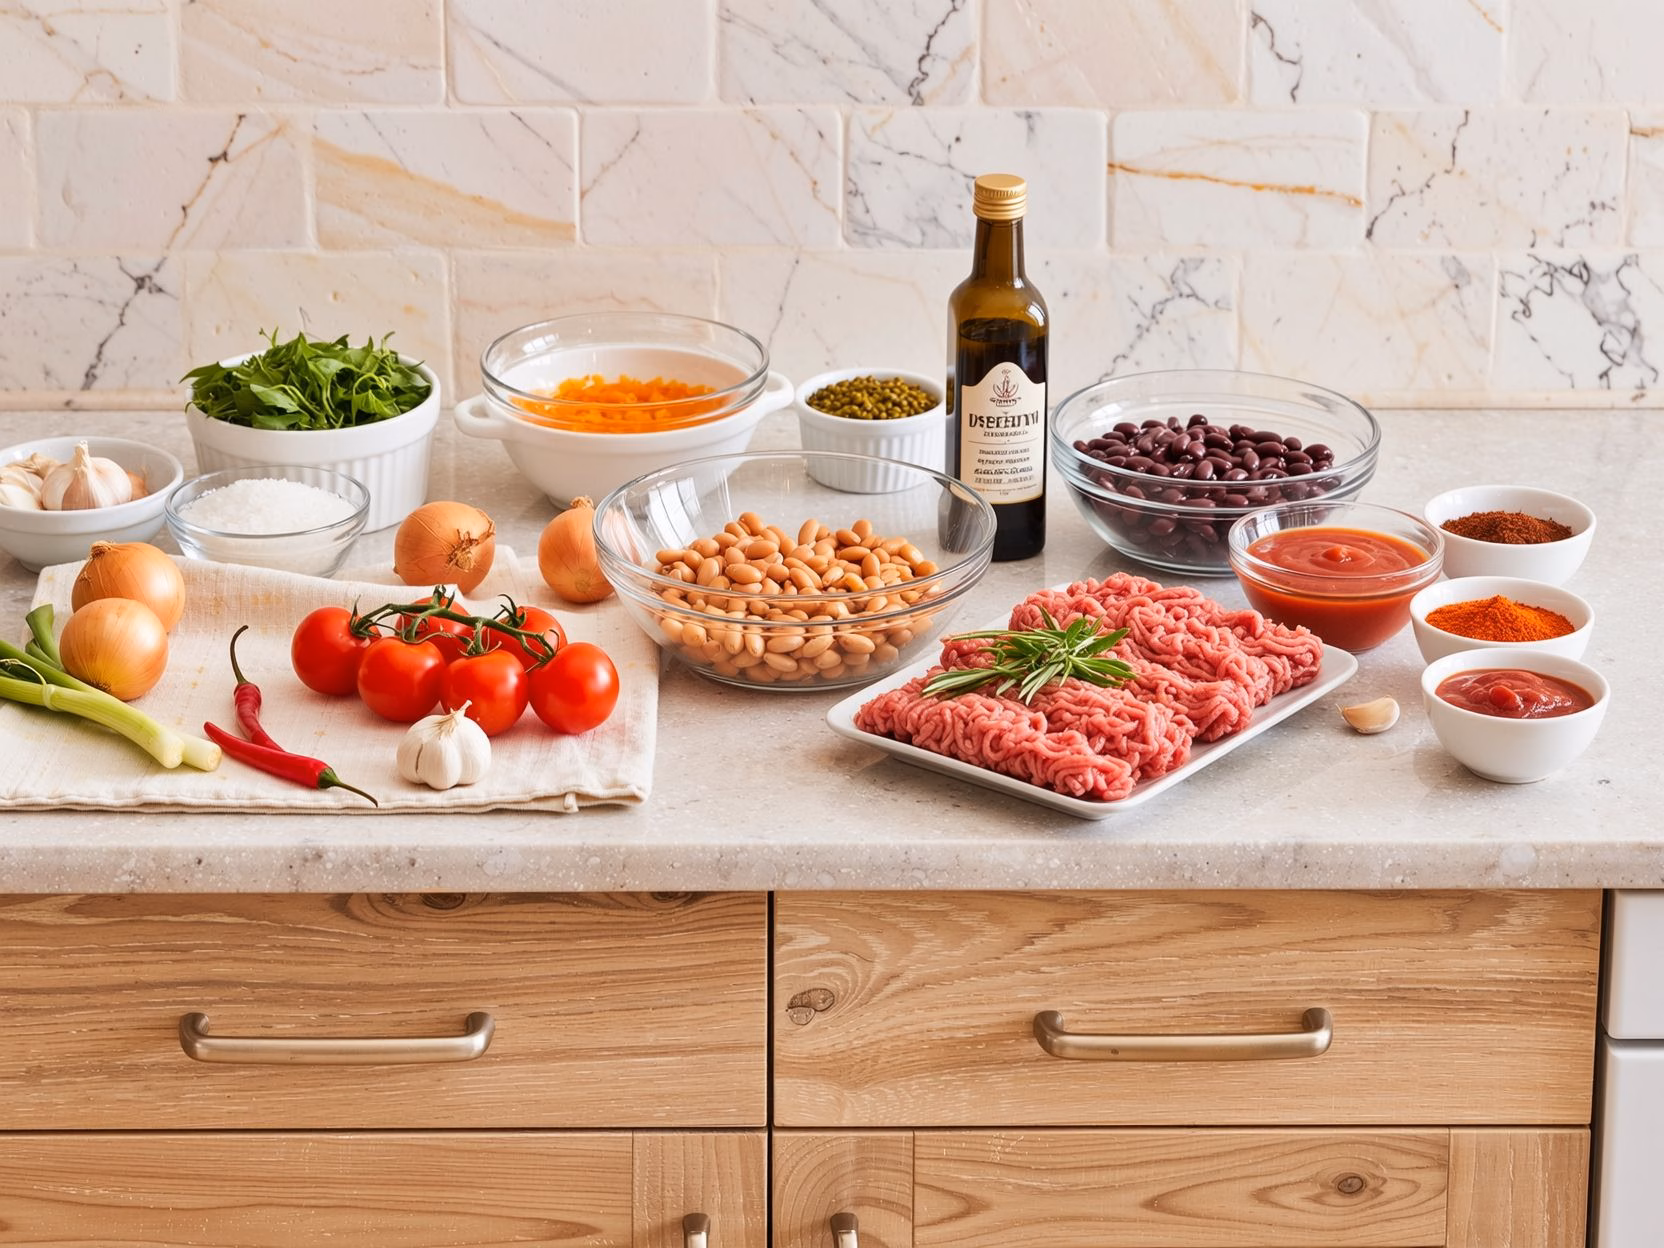
Ingredients for Freezer Friendly Beef Chili
We keep the ingredients list simple and focused on maximum flavor that withstands the freezing process. Trust me, the smokiness of the paprika is non-negotiable here!
- The Meat: 2 lbs lean ground beef (85/15 preferred for flavor).
- The Aromatics: 1 large yellow onion, diced; 4 cloves garlic, minced.
- The Peppers: 1 large red or green bell pepper, diced; 1 jalapeño, seeded and minced (optional, for heat).
- The Canned Goods: Two 15 oz cans kidney beans, drained and rinsed; One 15 oz can black beans, drained and rinsed; One 28 oz can diced tomatoes (canned); One 15 oz can tomato sauce; 2 tablespoons tomato paste.
- The Liquid: 2 cups beef broth or stock (use low sodium if available).
- The Spice Blend (The Heart of the Chili): 4 tablespoons quality chili powder; 2 tablespoons ground cumin; 1 tablespoon smoked paprika; 1 teaspoon dried oregano; 1 teaspoon salt; 1/2 teaspoon black pepper; 1/2 teaspoon onion powder.
- Optional Enhancers: 1 tablespoon Worcestershire sauce; a pinch of brown sugar or honey to balance acidity.
How to Make Freezer Friendly Beef Chili
The beauty of this freezer friendly chili is that it follows a traditional, simple process. We build layers of flavor slowly, ensuring that the finished product is rich and robust enough to handle the freeze and thaw cycle without losing its soul. This recipe is designed to be a large batch beef chili for the freezer.
Step-by-Step Instructions
- Brown the Beef: In a very large Dutch oven or heavy-bottomed pot, heat 1 tablespoon of olive oil over medium-high heat. Add the ground beef. Break it up with a wooden spoon and brown thoroughly, draining off excess fat once cooked. Transfer the browned beef to a separate bowl, leaving 1 tablespoon of rendered fat in the pot.
- Sauté the Aromatics: Reduce the heat to medium. Add the diced onion and bell pepper. Sauté for 5 to 7 minutes until the onion is translucent and soft. The house should start smelling warm and savory, a true sign of comfort food beginning. Add the minced garlic and minced jalapeño (if using) and cook for just 1 minute until fragrant. Do not burn the garlic!
- Bloom the Spices: This is a crucial step for achieving deep flavor. Stir in the tomato paste, chili powder, ground cumin, smoked paprika, oregano, onion powder, salt, and pepper directly into the cooked vegetables. Cook, stirring constantly, for 1 to 2 minutes. The heat helps ‘bloom’ the spices, intensifying their flavor before they hit the liquid.
- Build the Base: Return the browned ground beef to the pot. Stir in the diced tomatoes (undrained), tomato sauce, and beef broth. Add the Worcestershire sauce and the pinch of sugar. Bring the mixture to a low boil, then immediately reduce the heat to low.
- Simmer for Depth: Cover the pot partially and let the chili simmer gently for at least 60 minutes, or up to 90 minutes. The longer it simmers, the more the flavors marry and the chili thickens naturally into a substantial make ahead beef chili. Stir occasionally to prevent sticking.
- Add the Beans: During the last 15 minutes of simmering, stir in the rinsed kidney beans and black beans. If you want truly soft beans, you can add them at the 30-minute mark, but adding them later keeps their structure more intact, which I prefer for a chili that freezes well. Taste and adjust seasoning, adding more salt or chili powder as needed.
- Cool Down and Package: Remove the chili from the heat and let it cool completely before freezing. This is vital to prevent crystallization and ensures maximum flavor preservation. Now you have a huge batch of the best freezer chili recipe with ground beef, ready for packaging! (See Storage Section for best freezing methods).
Pro Tips & Variations
Making a recipe freezer friendly often requires a few tactical adjustments. These are my go to moves for ensuring this large batch beef chili is perfect every single time, whether eaten today or six months from now.
Batch Cooking & Flavor Boosts
- The Double Bloom: Don’t skip step 3. Toasting the spices and the tomato paste in oil for a minute before adding liquid is the secret to deep, complex flavor that holds up in the freezer.
- Adding Fat: For an extra layer of smoky flavor, cook 2 slices of chopped bacon until crisp, remove the bacon, and use the rendered bacon fat to sauté the onions in step 2. You can crumble the bacon and stir it in at the end for pure decadence, transforming it into a richer, more powerful version of classic meatloaf with perfect glaze.
- Moisture Control: Since chili can sometimes become watery upon thawing, ensure you really let this chili simmer down until it’s very thick before cooling. Avoid adding excess water or broth; we want a dense, bean and beef chili base.
- Instant Pot Conversion: You can absolutely make this an instant pot freezer friendly beef chili. Follow steps 1-3, then combine all remaining ingredients (except maybe adding slightly less broth, perhaps 1.5 cups). Cook on High Pressure for 15 minutes, then perform a 10-minute natural pressure release before venting.
Dietary Adjustments & Swaps
- Low Sodium Adaptation: To make this low sodium freezer beef chili, use salt free broth and unsalted canned beans and tomatoes. You can add salt to taste after thawing and reheating, as salt content can shift during freezing.
- Adding Vegetables: This recipe is fantastic for sneaking in extra nutrients. Try adding diced zucchini, shredded carrots, or even corn (add the corn right at the end since freezing makes it mushy). This makes it the best veggie-loaded ground beef chili. You can read more about healthy additions to ground beef dishes in our recipe for healthy ground beef stuffed peppers.
- Gluten-Free & Dairy-Free: This recipe is naturally gluten free freezer beef chili and dairy free freezer chili. Just ensure your beef broth and Worcestershire sauce are certified GF, if necessary.
- Bean Swaps: Not a fan of kidney beans? Use only black beans or swap one can for pinto beans or chili beans. Any combination works great, but ensure you include 3 cans total for the right consistency.
Freezer Friendly Beef Chili Serving Suggestions
Chili is a blank canvas for toppings, and honestly, the toppings are half the fun! When I pull a bag of this easy make ahead chili out of the freezer, I like to present it with a spread of fresh-tasting additions to bring it back to life.
The Classic Toppings Bar
- Dairy Delight: Shredded cheddar or Mexican blend cheese (pre-shredded freezes poorly, so stick to fresh). A dollop of sour cream or Greek yogurt (the tanginess cuts through the richness beautifully).
- Fresh & Crisp: Sliced green onions, fresh cilantro, or even finely diced red onion.
- Heat Seekers: Pickled jalapeño slices, a few dashes of your favorite hot sauce, or a sprinkle of chipotle powder when reheating.
Beyond the Bowl
- Cornbread Companion: Nothing screams comfort like a slice of sweet, warm cornbread dipped into thick chili.
- Chili Mac: Stir the chili into cooked elbow macaroni and top with cheese, baking until bubbly. Or skip the boiling and try our one pot beefaroni recipe for similar one-pan convenience.
- Chili Dogs or Nachos: Use the chili as the perfect savory topping for hot dogs, or spread over a bed of tortilla chips with melted cheese for epic, easy nachos. This is excellent for a casual dinner focused on game day chili you can freeze.
- Stuffed Sweet Potatoes: Reheat the chili and ladle it generously over baked sweet potatoes, topping with a little cheese and Greek yogurt for a surprisingly healthy and filling meal. A great way to use this budget friendly ground beef freezer chili.
Freezer Friendly Beef Chili Storage & Reheating
The goal is a perfect thaw, no freezer burn, and flavor preservation, which ensures this remains the best freezer chili you’ve ever stored. Proper storage is essential for any freezer meal.
How to Freeze Cooked Beef Chili
- Cool Completely: This is the absolute most important step! Chili must be fully cooled (less than 40°F) before being sealed. Freezing hot food lowers the temperature of everything around it and invites crystallization.
- Select Containers: For single serve frozen chili portions, use sturdy, airtight plastic containers with minimal headspace. For a larger batch, use heavy-duty freezer bags. If using bags, measure out 2 to 3-cup portions, seal almost all the way (leaving a small gap), lay the bag flat on the counter and press out as much air as possible, then seal completely.
- Freeze Flat: Lay the sealed freezer bags flat on a baking sheet until fully frozen. Once solid, you can stand them upright to save space—a great trick for anyone learning how to prep chili for the freezer. Properly stored, chili is good for up to 6 months.
Best Reheating Methods
- Overnight Thaw (Recommended): Transfer the frozen chili to the refrigerator the night before you plan to eat it. Thawing slowly preserves the texture and prevents separation.
- Stovetop: Once thawed, transfer the chili to a saucepan and heat over medium-low heat, stirring occasionally, until heated through (about 15 to 20 minutes). If it seems too thick, add a splash of beef broth or water.
- Emergency Thaw: If you forget to thaw, you can place the frozen block of chili directly into a pot with a tiny splash of water or broth at the very bottom. Cover and heat on the lowest setting, flipping the block every 15 minutes as it starts to melt, until fully heated. You can also use an instant pot chili from frozen setting if your appliance has one, following the manufacturer’s guidelines, often requiring 15 minutes of high pressure.
FAQ about Freezer Friendly Beef Chili
Can I use other meats instead of ground beef in this freezer chili?
Absolutely! This recipe works beautifully with ground turkey or chicken instead of ground beef for a lighter result. Just be sure to season well, as poultry can sometimes lose flavor in the freezing process. Alternatively, you can use pre-cooked stew meat pieces if you prefer a chunkier, more traditional chili texture, bringing it closer to a true classic beef chili.
What is the best way to store large amounts of chili in a small freezer?
For maximizing space, I highly recommend freezing the chili in gallon-size, heavy-duty freezer bags laid flat. Once frozen, these flat blocks of chili act like files, allowing you to stack them easily. This is the optimal method for small freezer meal containers chili.
Should I add extra seasoning when reheating frozen chili?
It’s a good practice to taste chili after reheating. Sometimes freezing can dull the salt and acid flavors. I often add a tiny splash of vinegar or lime juice and a dash of extra salt and pepper to perk up a thawed batch, ensuring you maintain the complex flavor of this easy make ahead chili you can freeze.
Can I use dried beans instead of canned beans?
Yes, but you must completely cook the dried beans separately before adding them to the chili base. Uncooked or partially cooked beans can become hard and gritty after the prolonged simmer and freezing process. For a quick recipe, canned beans (especially chili style beans) are best, but fully cooked dried beans work fine for a deeper, earthier flavor.
Final Thoughts
There’s a silent satisfaction that comes from looking in your freezer and seeing a stack of these chili bags waiting. It’s more than just preparedness; it’s a profound feeling of caring for my family’s future, even if that future is just Tuesday night. This Freezer Friendly Beef Chili isn’t just a recipe, it’s an act of love, distilled, cooled, and hermetically sealed. It’s a way to ensure that even when the day has been long and the patience is thin, there will still be warmth, spice, and comfort waiting on the dinner table. Try this simple recipe, and embrace the joy of giving your future self a break. We’ve found such comfort in these quick dinners, almost as much as we love the unexpected ease of our creamy high-protein beef pasta for cozy nights. Let me know in the comments how you choose to top your chili!
Freezer Friendly Beef Chili
Ingredients
Equipment
Method
- In a very large Dutch oven or heavy-bottomed pot, heat 1 tablespoon of olive oil over medium-high heat. Add the ground beef. Break it up with a wooden spoon and brown thoroughly, draining off excess fat once cooked. Transfer the browned beef to a separate bowl, leaving 1 tablespoon of rendered fat in the pot.
- Reduce the heat to medium. Add the diced onion and bell pepper. Sauté for 5 to 7 minutes until the onion is translucent and soft. Add the minced garlic and minced jalapeño (if using) and cook for just 1 minute until fragrant.
- Stir in the tomato paste, chili powder, ground cumin, smoked paprika, oregano, onion powder, salt, and pepper directly into the cooked vegetables. Cook, stirring constantly, for 1 to 2 minutes.
- Return the browned ground beef to the pot. Stir in the diced tomatoes (undrained), tomato sauce, and beef broth. Add the Worcestershire sauce and the pinch of sugar (if using). Bring the mixture to a low boil, then immediately reduce the heat to low.
- Cover the pot partially and let the chili simmer gently for 60 to 90 minutes. Stir occasionally to prevent sticking.
- During the last 15 minutes of simmering, stir in the rinsed kidney beans and black beans. Taste and adjust seasoning, adding more salt or chili powder as needed.
- Remove the chili from the heat and let it cool completely before freezing. Package into portions and store in the freezer.


