
Introduction
Have you ever wondered if a simple dessert could hold the secret to unlocking joy and wonder, especially around Halloween? For me, the answer is a resounding yes! There’s something truly magical about turning humble ingredients into something whimsical and delightful, and that’s precisely what these incredible Ghost Meringues do. Every autumn, as the leaves turn golden and a crisp chill fills the Minneapolis air, my kids, Olivia and James, start asking for them. It’s more than just a sweet treat; it’s a tiny, edible moment of pure, unadulterated fun that stitches memories into the fabric of our family life.
I remember the first time I tried to make a batch. It was a bustling Saturday morning, still early enough that the kitchen was bathed in that soft, blue-gray light before sunrise. Ethan, my husband, was still asleep, but the kids were already up, their excitement for Halloween Meringues palpable. I gathered the egg whites, granulated sugar, and a whisper of vanilla extract, feeling that familiar flutter in my chest that comes with a new kitchen adventure. The idea of these little spectral sweets, airy and delicate, dancing on our dessert table, felt utterly charming. But like many first attempts, it wasn’t without its challenges. The first few Ghost Shaped Meringues looked more like amorphous blobs than friendly spirits! We giggled, of course, because in our kitchen, perfection is rarely the goal; connection is.
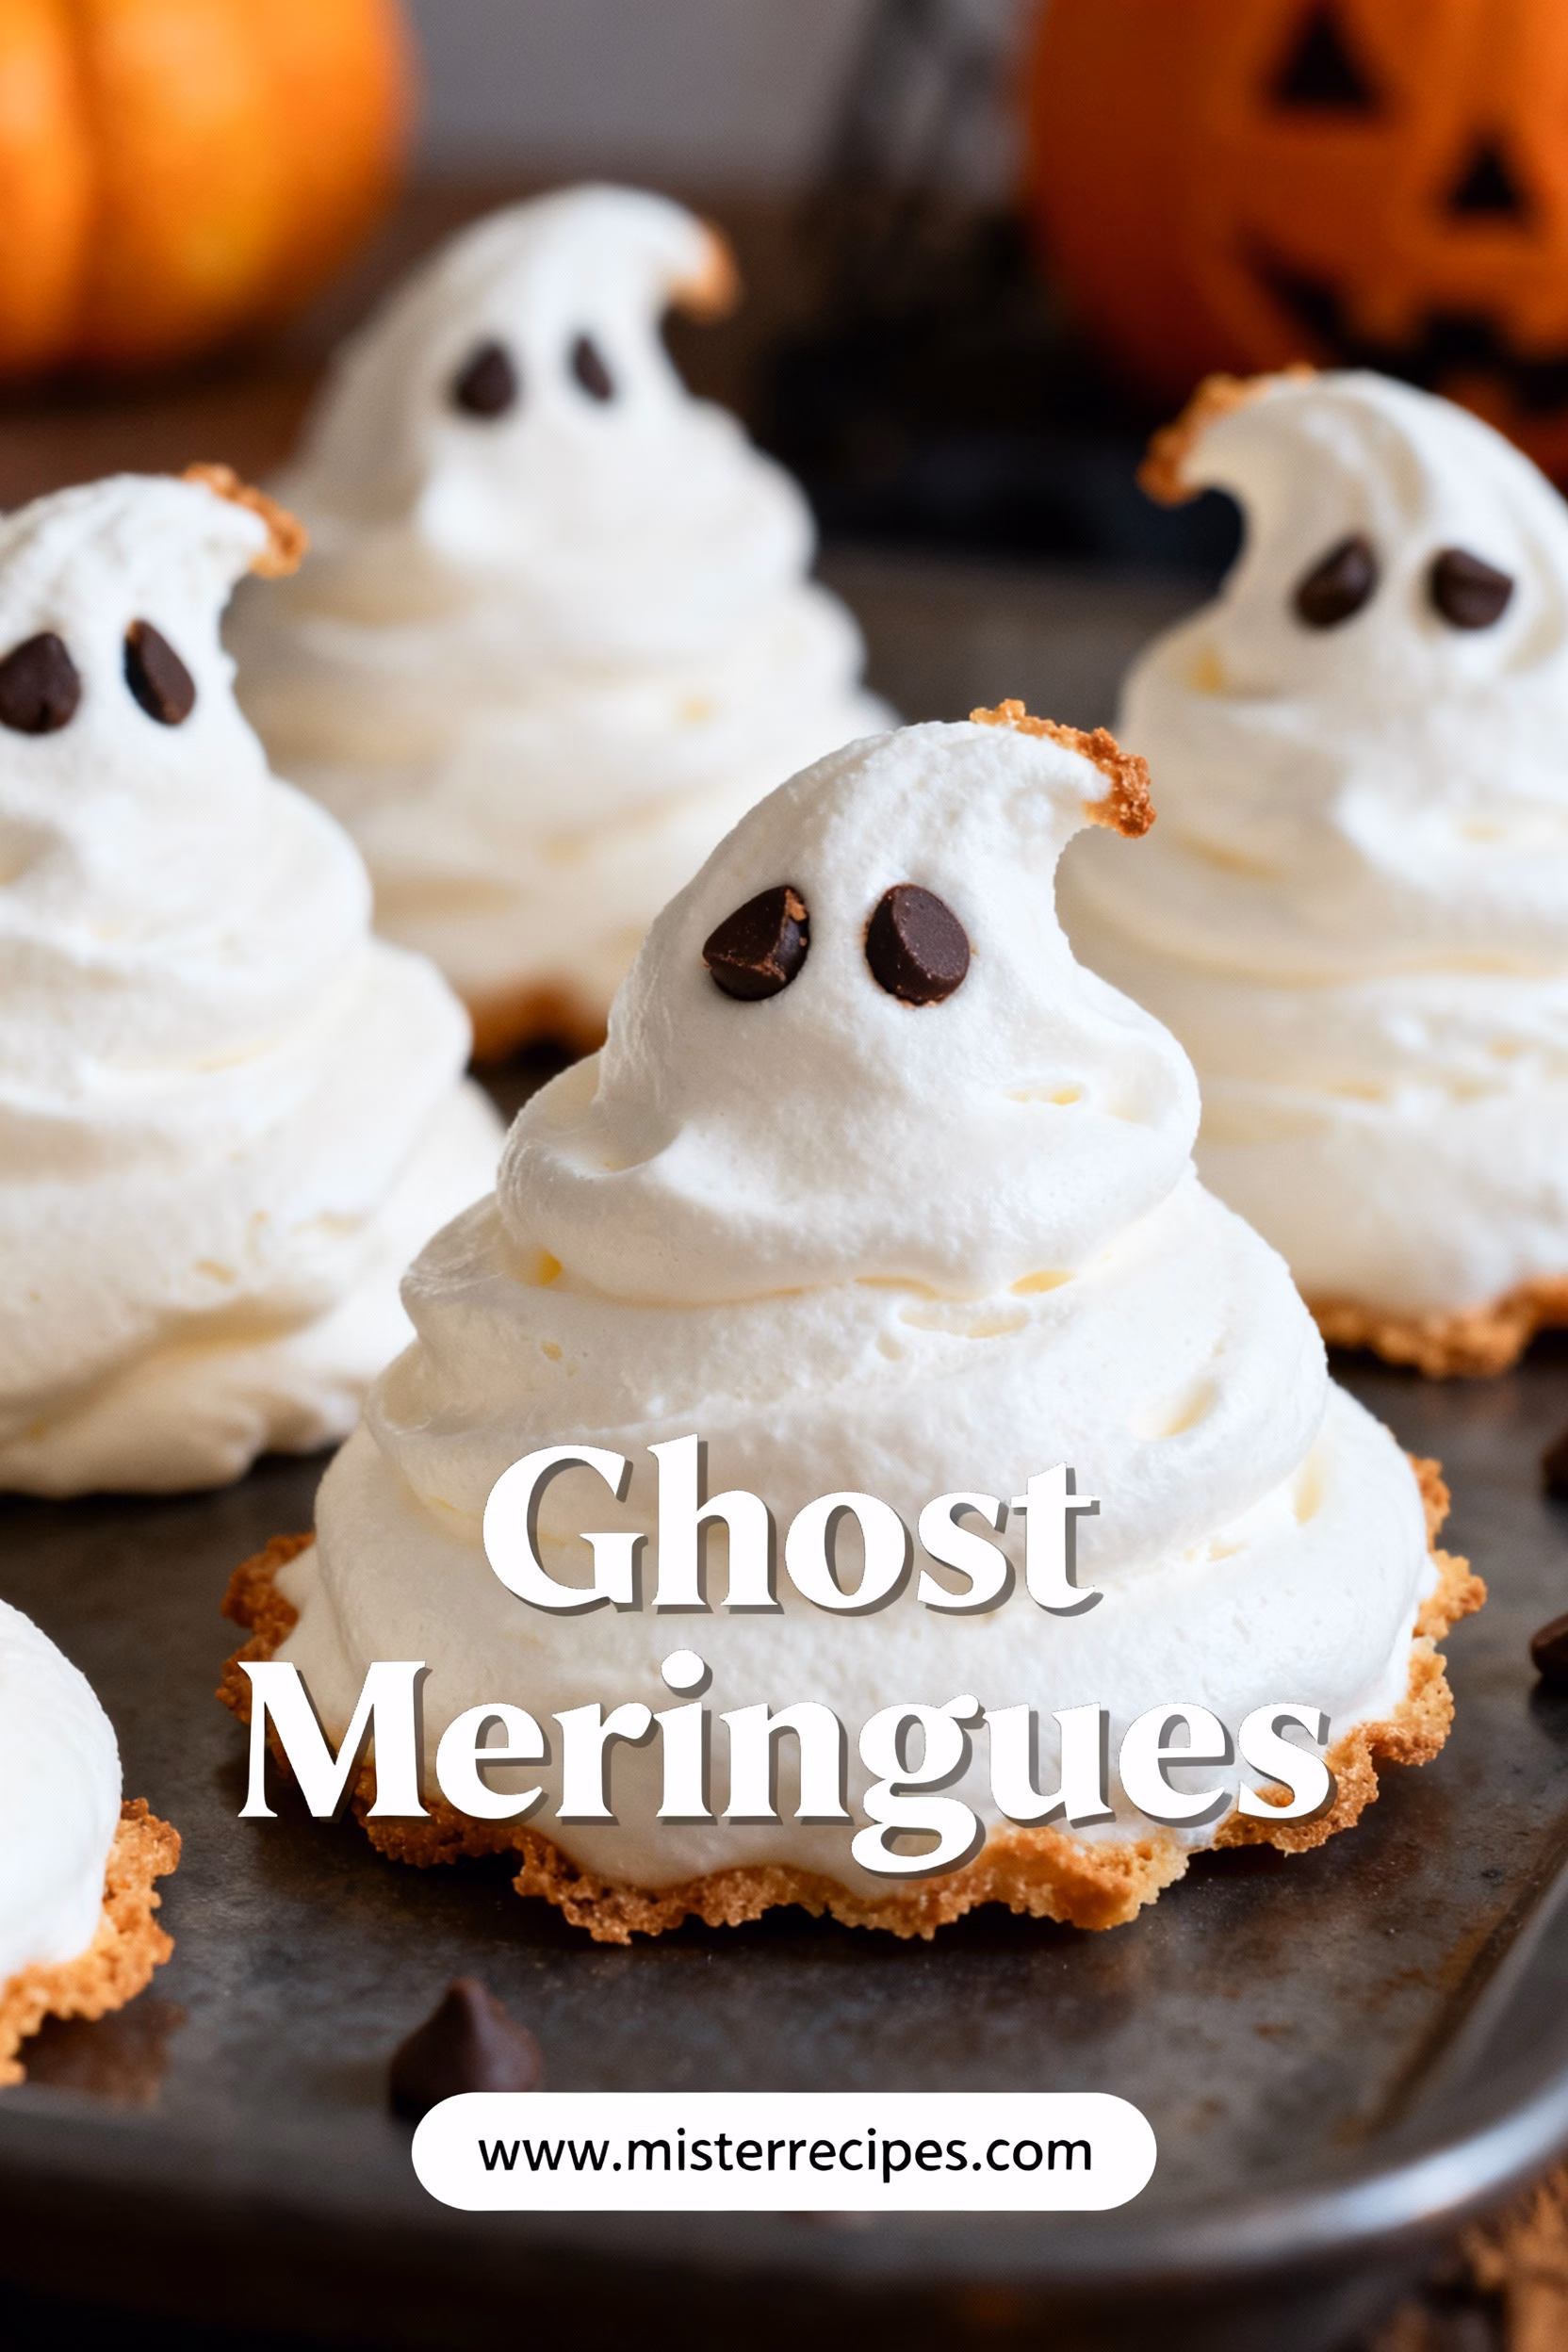
What I’ve learned over the years, and what I want to share with you today, is that making Ghost Meringues doesn’t have to be intimidating. It’s a dance between patience and precision, but mostly, it’s about embracing the joy of creation. These aren’t just cookies; they’re little canvases for imagination. They stand tall, crisp, and ethereal, with their tiny dark chocolate chip eyes peeking out, inviting smiles and playful scares. This recipe isn’t just about whisking and baking; it’s about crafting edible memories, about slowing down just enough to appreciate the simple pleasures, and about creating something truly special with your own two hands. So, if you’ve ever imagined your kitchen filled with the sweet scent of vanilla and the delightful sight of homemade Ghost Meringues, then this is the perfect guide for you. Trust me, the smiles they bring are worth every single whisk.
Why You’ll Love This Ghost Meringues
There’s a special kind of magic that unfolds in the kitchen when you make these Ghost Meringues. It’s not just about the outcome; it’s about the process, the shared laughter, and the sweet anticipation that fills the air. Here’s why these Spooky Meringue Cookies will quickly become a cherished tradition in your home, just as they have in ours:
- Effortlessly Whimsical: These aren’t just desserts; they’re conversation starters. The moment these Ghost Shaped Meringues appear on a platter, everyone’s eyes light up. They bring a playful, spooky charm to any gathering, especially for Halloween parties. They prove that you don’t need elaborate decorations to create a festive mood.
- Simple Ingredients, Stunning Results: You’d be surprised what you can achieve with just a few pantry staples: egg whites, granulated sugar, a touch of cream of tartar, and a hint of vanilla extract. These basic components transform into something so light, so crisp, and so utterly delightful, it feels like a culinary feat, yet it’s incredibly accessible.
- Kid-Friendly Fun: Olivia and James absolutely adore helping with these! From drawing the tiny dark chocolate chips eyes to watching the meringue mixture transform in the mixer, there’s a role for every little helper. It’s an activity that sparks creativity and builds wonderful family memories. Plus, they get to eat their adorable creations! You can even make them into Mini Ghost Meringues for tiny hands.
- Light-as-Air Texture: There’s nothing quite like the delicate, melt-in-your-mouth experience of a perfectly baked meringue. These Ghost Meringues are crisp on the outside, delightfully chewy on the inside, and have a beautiful airy quality that makes them feel like a dream. It’s an indulgence without being overly heavy.
- Versatile Decoration: These little ghosts aren’t just for eating; they make fantastic Meringue Ghost Decorations. You can use them as Ghost Meringue Cake Toppers, perch them on cupcakes, or even turn them into Ghost Meringue Pops! They add a charming, edible element to any autumnal dessert spread.
- A Touch of Nostalgia: For me, cooking is about weaving stories, and these Meringue Ghosts Recipe always takes me back to my own childhood, to simpler times filled with imagination and wonder. Sharing these with my children feels like passing on a sweet, edible legacy, a little piece of our heart through food. There’s a comfort in knowing that a simple treat can connect generations.
They are an Easy Ghost Meringues recipe that allows you to embrace the spirit of the season without stress, making them perfect for busy parents or anyone looking for a delightful project.
Ingredients for Ghost Meringues
Gathering the right ingredients is like assembling a small cast for a play – each one has its role in creating our ethereal little Ghost Meringues. Here’s what you’ll need from your pantry, along with some thoughts on substitutions.

The Essentials for Your Spooky Meringue Cookies:
- Egg Whites: (4 large) These are the very soul of our meringues, providing the structure and airiness. Make sure they are at room temperature; this helps them whip up to their glorious, voluminous best.
- Substitution Note: For Vegan Ghost Meringues, you can use aquafaba (the liquid from a can of chickpeas). You’ll need about 6 tablespoons of aquafaba for every 2 egg whites. Whip it just as you would egg whites. The texture will be slightly different, but still delightful!
- Granulated Sugar: (1 cup) This isn’t just for sweetness; it stabilizes the egg whites, helping them hold their shape and creating that beautiful crisp exterior.
- Substitution Note: For Sugar-Free Ghost Meringues, you can use a granulated sugar substitute like erythritol or a stevia blend. Keep in mind that sugar substitutes can sometimes affect the texture, making the meringues a bit more fragile or slightly less crisp.
- Cream of Tartar: (½ teaspoon) My little secret weapon! This acidic powder helps to stabilize the egg whites even further, ensuring they whip to maximum volume and hold their stiff peaks beautifully. It also helps to prevent weeping and gives the meringues a lovely, bright white color.
- Vanilla Extract: (1 teaspoon) For that warm, comforting aroma and flavor. It’s what gives them that classic, inviting taste.
- Dark Chocolate Chips: (¼ cup, mini preferred) These are for the adorable ghost eyes! The mini ones work perfectly for creating those sweet, slightly mischievous expressions.
- Substitution Note: If you don’t have mini chocolate chips, you can use regular ones and roughly chop them, or even use a food-safe black marker or edible gel food coloring applied with a toothpick for the eyes.
How to Make Ghost Meringues
Making these Homemade Ghost Meringues is a dance of gentle movements and watchful waiting, a kitchen ballet that results in ethereal, melt-in-your-mouth treats. It’s a process that brings me such joy, especially when Olivia and James are peeking over the counter, eager to see our little spirits take shape. This Meringue Ghosts Recipe is truly an art, but a very forgiving one if you follow these steps.
Step-by-Step Instructions
- Preparation, My Dear Friends: Before anything else, let’s set the stage. Preheat your oven to a gentle 200°F (95°C). Meringues love a low, slow bake, which helps them dry out beautifully without browning. Line two large baking sheets with parchment paper. This is crucial for preventing sticking and making sure your Ghost Meringues lift off effortlessly.
- The Heart of the Meringue – Whipping the Whites: In a very clean, dry large bowl (preferably glass or metal, as plastic can sometimes retain grease), add your four room-temperature egg whites. This is key for maximum volume! Using an electric mixer (stand mixer with a whisk attachment or a hand mixer) on medium speed, begin to beat the egg whites. They’ll start to get frothy and bubbly, reminding me of little clouds forming in the sky.
- Adding the Cream of Tartar: Once the egg whites are foamy (this usually takes a minute or two), sprinkle in the cream of tartar. This little ingredient is our secret stabilizer, helping those delicate egg whites hold their majestic peaks. Continue to beat on medium-high speed.
- The Sweet Drizzle: Now, for the sugar! When soft peaks begin to form (the egg whites will look opaque and hold their shape slightly when you lift the whisk), gradually add the granulated sugar, about a tablespoon at a time. This isn’t a race; patience here is rewarded! Drizzle it in slowly while the mixer is running, allowing each addition to dissolve before adding more. This ensures a glossy, stable meringue.
- Vanilla’s Embrace: Once all the sugar is incorporated, add the vanilla extract. Increase the mixer speed to high and continue beating. You’re looking for what we call “stiff, glossy peaks.” When you lift the whisk, the meringue should stand up tall and firm, holding its shape without flopping over, and have a beautiful, shiny sheen. Test a tiny bit between your fingers – you shouldn’t feel any gritty sugar crystals.
- Piping Our Little Spirits: Spoon the meringue mixture into a large piping bag fitted with a round tip (a Wilton 1A or similar works well). If you don’t have a piping bag, a sturdy Ziploc bag with a corner snipped off will do the trick! Now for the fun part: creating your Ghost Shaped Meringues. Hold the bag perpendicular to the parchment paper and pipe a dollop, then slowly pull up, tapering the meringue to form a little ghost shape. They should be about 1 to 1.5 inches tall. Feel free to vary the sizes to create a whole family of Cute Ghost Meringues! Don’t worry if they aren’t perfect; each one will have its own personality, which is part of their charm. You can get about 25-30 ghostly friends from this recipe.
- Giving Them Eyes: Once you’ve piped all your ghosts, it’s time to give them personalities! Gently press two dark chocolate chips onto each meringue to create the eyes. This is where the magic really happens, transforming blobs into adorable specters.
- The Gentle Bake: Carefully transfer your baking sheets to the preheated oven. Bake for about 1 to 1.5 hours. The key here isn’t browning, but drying. You want them to be firm to the touch when gently pressed.
- Cooling and Crisping: Once baked, turn off the oven but leave the meringues inside with the oven door slightly ajar for at least another hour, or even better, overnight. This slow, cool-down process is what makes them extra crisp and prevents them from cracking. It’s almost like they’re meditating, settling into their perfect ethereal form.
- Enjoying Your Hauntingly Delicious Treats: Once completely cooled, your Ghost Meringues are ready to charm and delight!
Pro Tips & Variations
Crafting these delightful Ghost Meringues is a simple pleasure, but a few insider tricks can elevate your sweet spirits from good to enchanting. And, of course, there’s always room to play and experiment, adapting them to your family’s tastes or specific needs.
Cindy’s Kitchen Wisdom for Perfect Meringue Ghosts:
- Cleanliness is Next to Meringue-ness: I can’t stress this enough – your bowl and whisk attachments must be absolutely grease-free. Even a tiny speck of oil can prevent your egg whites from whipping up properly. I always give my bowl and whisk a quick wipe with a paper towel dampened with lemon juice or white vinegar before starting.
- Room Temperature Eggs Are Your Best Friend: Don’t skip this step! Egg whites at room temperature whip up faster and achieve greater volume than cold ones. If you forget, a quick trick is to place the separated egg whites in a bowl of warm (not hot!) water for 5-10 minutes.
- Patience with the Sugar: Rushing the sugar addition often leads to grainy, weeping meringues. Drizzle it in slowly, giving the granulated sugar time to dissolve into the egg whites. This creates a stable, glossy meringue that holds its shape beautifully.
- The Low-and-Slow Bake: Meringues don’t bake; they dry out. That low oven temperature is crucial for evaporating the moisture without browning them. The long cool-down period in the turned-off oven is equally important for achieving that signature crisp, melt-in-your-mouth texture. Resist the urge to open the oven door too often!
- Pipette for Precision Eyes: For truly Cute Ghost Meringues, if you find pressing chocolate chips a bit tricky, melt a small amount of dark chocolate and use a toothpick or a small piping bag with a tiny hole to dot on the eyes. This gives more control and can lead to even more expressive little faces!
Creative Variations to Explore:
- Vegan Ghost Meringues: As mentioned in the ingredients, aquafaba is a fantastic plant-based alternative. Simply replace the egg whites with an equal amount of well-chilled aquafaba from a can of chickpeas. Whip it with the cream of tartar until foamy, then gradually add the sugar and vanilla. The baking process remains the same.
- Gluten-Free Ghost Meringues & Keto/Low-Carb Options: Meringues are naturally Gluten-Free Ghost Meringues! For those following a keto or low-carb diet, use a suitable granulated sugar substitute like erythritol or monk fruit blend for Keto Ghost Meringues or Low-Carb Ghost Meringues. Just be mindful that the texture might be a little more fragile.
- Flavored Ghosts: While vanilla is classic, feel free to experiment with other extracts! A touch of almond extract pairs beautifully, or for a touch of citrus, a tiny amount of lemon or orange zest (added at the end of whipping) can be divine. Peppermint for a ghostly winter treat? Why not!
- Colored Specters: For a playful twist, add a few drops of gel food coloring to your meringue after it’s whipped to stiff peaks. Gently fold it in until just combined for swirled effects, or mix thoroughly for solid colors. Imagine pastel pink or eerie green Spooky Meringue Cookies!
- Ghost Meringue Kisses: Instead of tall ghost shapes, pipe smaller, round swirls for perfect bite-sized meringue kisses. These are wonderful for a mixed dessert platter.
- Mini Ghost Meringues: For a delicate touch, pipe smaller, more petite ghost shapes. They’re adorable as Ghost Meringues Cake Toppers or scattered amongst a bowl of fruit.
Serving Suggestions
These ethereal Ghost Meringues are delightful on their own, little crispy bites of sweet vanilla air that melt exquisitely on the tongue. But like any good story, they also shine when paired with other wonderful elements, creating a richer, more memorable experience. Here are some of my favorite ways to serve these charming Halloween Meringues, turning a simple treat into a delightful spread.
- A Spooky Centerpiece: Arrange your Ghost Meringues on a multi-tiered stand or a large, dark platter surrounded by autumnal leaves or spooky trinkets. Their bright white against a darker background truly makes them pop, establishing them as the stars of your Halloween party dessert table. They’re perfect as Meringue Ghost Decorations!
- Alongside Warm Drinks: Imagine a crisp autumn evening, a roaring fire (or a cozy blanket!), and a mug of warm spiced cider or a rich hot chocolate. A Ghost Meringue floating atop the foam of a hot cocoa or nestled beside a mug of pumpkin spice latte is a little piece of heaven. The delicate crunch perfectly complements the creamy warmth of the drink.
- Deconstructed Eton Mess: For an elegant yet simple dessert, gently crush a few Ghost Meringues and layer them with fresh berries (strawberries, raspberries, or even dark cherries for a “bloody” effect!), and dollops of freshly whipped cream. It’s a textured delight that’s visually stunning and incredibly delicious.
- Cupcake Toppers: Pipe your Mini Ghost Meringues directly onto frosted cupcakes before baking, or make them separately and gently press them into the frosting after your cupcakes have cooled. This transforms ordinary cupcakes into festive, Ghost Meringue Cupcakes in an instant! They make charming Ghost Meringue Cake Toppers as well.
- With Fresh Fruit: The sweetness of the meringues is beautifully balanced by the tartness and juiciness of fresh fruit. A bowl of mixed berries, sliced kiwi, or even vibrant passion fruit coulis makes for a refreshing and light pairing. The contrast in textures is simply divine.
- Ice Cream Companions: My kids love to crumble a few broken Ghost Meringues over a bowl of vanilla bean or chocolate ice cream. The cold, creamy treat combined with the airy crunch of the meringue is a textural dream that always brings smiles.
- Dessert Charcuterie Board: For a fun, interactive dessert, create a Halloween themed dessert board. Include your Ghost Meringues alongside other spooky treats like Halloween Rice Krispie Treats, chocolate-covered pretzels, candy corn, and small bowls of fruit and melted chocolate for dipping. It encourages guests to choose their own adventure!
Storage & Reheating
Once your adorable Ghost Meringues have cooled completely and their little chocolate chip eyes are staring up at you, you’ll want to know how to keep them perfectly crisp and delightful. Good meringues are all about being dry and airy, so proper storage is key to maintaining that wonderful texture.
Storage:
- Airtight and Dry is Best: The enemy of a crisp meringue is moisture. Always store your Ghost Meringues in an airtight container at room temperature. A cookie tin or a plastic container with a tight-fitting lid works perfectly.
- Keep Them Away from Humidity: Avoid storing them in the refrigerator, as the moisture and humidity in there can quickly turn your delicate meringues sticky and chewy (not in a good way!). A cool, dry pantry is ideal.
- Shelf Life: When stored properly, these Homemade Ghost Meringues will stay wonderfully crisp for up to 1-2 weeks. Beyond that, they might start to absorb too much moisture from the air, losing their characteristic snap.
- Layer with Parchment: If stacking your meringues (especially if they are different sizes), place a piece of parchment paper between the layers to prevent them from sticking or damaging their delicate forms.
Reheating (or rather, Reviving):
- Avoid True Reheating: Meringues aren’t really “reheated” in the traditional sense, as they would melt or become gummy. Their crispness relies on dryness.
- To Refresh a Slightly Softened Meringue: If your Ghost Meringues have softened a bit due to humidity, you can try to “dry them out” again. Place them on a baking sheet lined with parchment paper and put them in a very low oven (around 200°F or 95°C) for about 10-15 minutes, or until they feel crisp to the touch. Then, turn off the oven and let them cool completely inside with the door slightly ajar. Be very careful not to let them brown!
- Freezing is Not Recommended: I don’t recommend freezing meringues. The thawing process introduces a lot of moisture, which will almost certainly make them sticky and ruin their texture. It’s better to enjoy them fresh within their storage window.
FAQ about Ghost Meringues
I often get questions from my lovely readers about various baking adventures, and these Ghost Meringues are no exception! It’s wonderful to hear your curiosity. Here are some of the most common questions I hear about making these Spooky Meringue Cookies and my tried-and-true answers.
Q1: Why are my Ghost Meringues sticky or chewy instead of crisp?
Ah, the common meringue lament! The most frequent culprit here is moisture. This can happen for a few reasons:
* **Undercooking/Under-drying:** Meringues need a long, slow bake and an even longer cool-down *inside* the oven. If you pull them out too early, they haven’t had enough time to dry out completely.
* **Humidity:** Meringues are incredibly sensitive to humidity. If it’s a particularly damp day, they can absorb moisture from the air. Try baking on a drier day if possible.
* **Sugar Not Fully Dissolved:** If the **granulated sugar** isn’t completely dissolved into the egg whites, your meringues can turn out grainy and may weep or become sticky. Ensure you’re adding the sugar slowly and whipping until no grittiness remains.
* To remedy slightly sticky meringues, you can try putting them back in a 200°F (95°C) oven for another 15-20 minutes, then letting them cool completely inside the turned-off oven.
Q2: Can I make Ghost Meringues ahead of time for a Halloween party?
Absolutely! These **Ghost Meringues** are perfect for making in advance. Because they need to dry out completely and store well at room temperature, they are an ideal make-ahead treat for special occasions like Halloween. Just follow the storage instructions carefully: store them in an airtight container in a cool, dry place. They’ll stay crisp and delightful for at least a week, sometimes two! This makes them a wonderfully stress-free addition to your Halloween spread.
Q3: My egg whites aren’t whipping up to stiff peaks. What went wrong?
This is usually due to one of two things:
* **Grease Contamination:** Even a tiny trace of egg yolk, oil, or grease in your bowl or on your beaters can prevent egg whites from whipping properly. Ensure all your equipment is impeccably clean and dry.
* **Cold Egg Whites:** While some recipes can get away with cold egg whites, for meringues, room temperature is best. It helps them reach their full, glorious volume.
* **Over-whipping:** While less common than under-whipping, sometimes too much whipping after stiff peaks are formed can cause the meringue to break down and become less stable. Aim for stiff, glossy peaks that hold their shape.
Q4: Can I use a different type of sugar (e.g., powdered sugar) for Meringue Ghosts?
While **granulated sugar** is traditional and recommended for its stabilizing properties and crisp texture, you can use superfine sugar (caster sugar) if you have it, as it dissolves even more quickly. I generally don’t recommend powdered sugar (confectioners’ sugar) for classic meringues like these. Powdered sugar contains cornstarch, which can results in a chewier, softer meringue that might not hold its shape as well or get as crisp as desired for **Ghost-Shaped Meringues.**
Final Thoughts on Ghost Meringues
As the last tray of these whimsical Ghost Meringues cools in the kitchen, filling our home with the sweet, delicate scent of vanilla, I’m reminded once again of the simple magic that comes from cooking with intention. These aren’t just sugary delights; they are little edible narratives, each one a testament to the joy of creation, the warmth of family, and the quiet satisfaction of making something beautiful with your own two hands. From the initial whisk of egg whites to the delicate placement of dark chocolate chips for eyes, every step is a small act of love.
They remind me of those crisp autumn evenings in my Midwestern childhood, the air alive with laughter and the promise of sweet treats. Now, seeing Olivia and James’s faces light up as they pick out their favorite Cute Ghost Meringues, I feel that familiar sense of connection, that culinary thread woven through generations. This Easy Ghost Meringues recipe isn’t about perfection; it’s about making memories, embracing a little playful spookiness, and finding meaning in shared moments around the kitchen table.
So, whether you’re crafting these for a festive Halloween gathering, a quiet family evening, or simply for the pure delight of it, I hope they bring as much joy and wonder to your home as they do to ours. Don’t chase perfection; chase connection. Happy baking, my friends.
If these little specters have captured your heart, I’d be absolutely delighted if you’d save this recipe to your Pinterest boards! Pin it, share it, and let the gentle spirits of these meringues haunt your feed in the sweetest way. And please, if you make them, come back and leave a comment below. I love hearing about your kitchen adventures, your triumphs, and even your comical mishaps. They’re all part of the story! For more heartwarming recipes and tales from my kitchen, make sure to subscribe to MisterRecipes.com we’d love to have you in our culinary family.
Ghost Meringues
Ingredients
Equipment
Method
- Preheat your oven to 200°F (95°C). Line two large baking sheets with parchment paper.
- Using an electric mixer, beat the room temperature egg whites on medium speed until frothy.
- Add the cream of tartar and continue beating on medium-high speed until the mixture becomes foamy.
- Gradually add the granulated sugar, one tablespoon at a time, while the mixer is running. Ensure sugar dissolves completely.
- Once all sugar is incorporated, add vanilla extract. Increase mixer speed to high and beat until stiff, glossy peaks form.
- Transfer the meringue mixture into a piping bag fitted with a round tip. Pipe ghost shapes about 1 to 1.5 inches tall onto the prepared baking sheets.
- Gently press two dark chocolate chips onto each meringue to form the eyes.
- Bake for 1 to 1.5 hours, or until firm to the touch. Turn off oven and leave meringues inside with the door slightly open for about an hour or overnight.
- Allow meringues to cool completely before storing in an airtight container at room temperature for up to 2 weeks.