

or ‘ introduction’ or ‘why you ll love this ‘ , just the name and nothing else.
Grave Digger Sliders: A Recipe for Joyful Chaos
Have you ever stood in the quiet of your kitchen, the only light coming from the oven, and felt a deep, swelling sense of purpose amid the impending chaos of a child’s birthday party? The house is still asleep, but you know that in a few hours, it will be filled with the thunderous sound of small feet, laughter, and pure, unadulterated joy. For me, those pre party moments are a form of meditation. It’s in the rhythmic chop of an onion, the soft sizzle of beef in a pan, and the warm, yeasty scent of bread that I find my center. This is where the magic begins, long before the first guest arrives. It was in one of these quiet mornings that the idea for these Grave Digger Sliders was born. My son, James, was entering his monster truck phase with the kind of all consuming passion only a six year old can muster. His world was all about big wheels, loud engines, and the legendary Grave Digger. So, when it came time to plan his birthday party, I knew the food had to be just as epic as his obsession. I wanted to create more than just a meal; I wanted to make an edible centerpiece, something that would make his eyes light up. These sliders are the result. They are more than just mini sandwiches; they are a story you can eat. They represent the beautiful, messy, and wonderful chaos of childhood. They are proof that food is about connection, about showing love in a way that is both tangible and delicious. This is my best Grave Digger Sliders recipe, a dish that turns a simple meal into an unforgettable memory. It’s about finding the heart in home cooking, even when that cooking involves recreating a monster truck in sandwich form. And as my husband Ethan says while snapping photos, it’s these little, creative acts of love that tell the biggest stories.
Why You’ll Love This Grave Digger Sliders Recipe
This isn’t just another slider recipe. This is a recipe for fun, for laughter, and for making memories that will stick around long after the last crumb is gone. When I first made these, the look on James and Olivia’s faces was pure gold. They weren’t just looking at dinner; they were looking at an adventure on a plate. That’s the real magic here. Ethan had his camera ready, capturing the way their little hands reached for the “muddy” tops, and I knew this was a recipe that our family, and hopefully yours, would come back to again and again. It’s become a staple for our monster truck birthday party menu, and I have a feeling it will for you, too.
Here’s why you’ll fall in love with these Grave Digger Sliders:
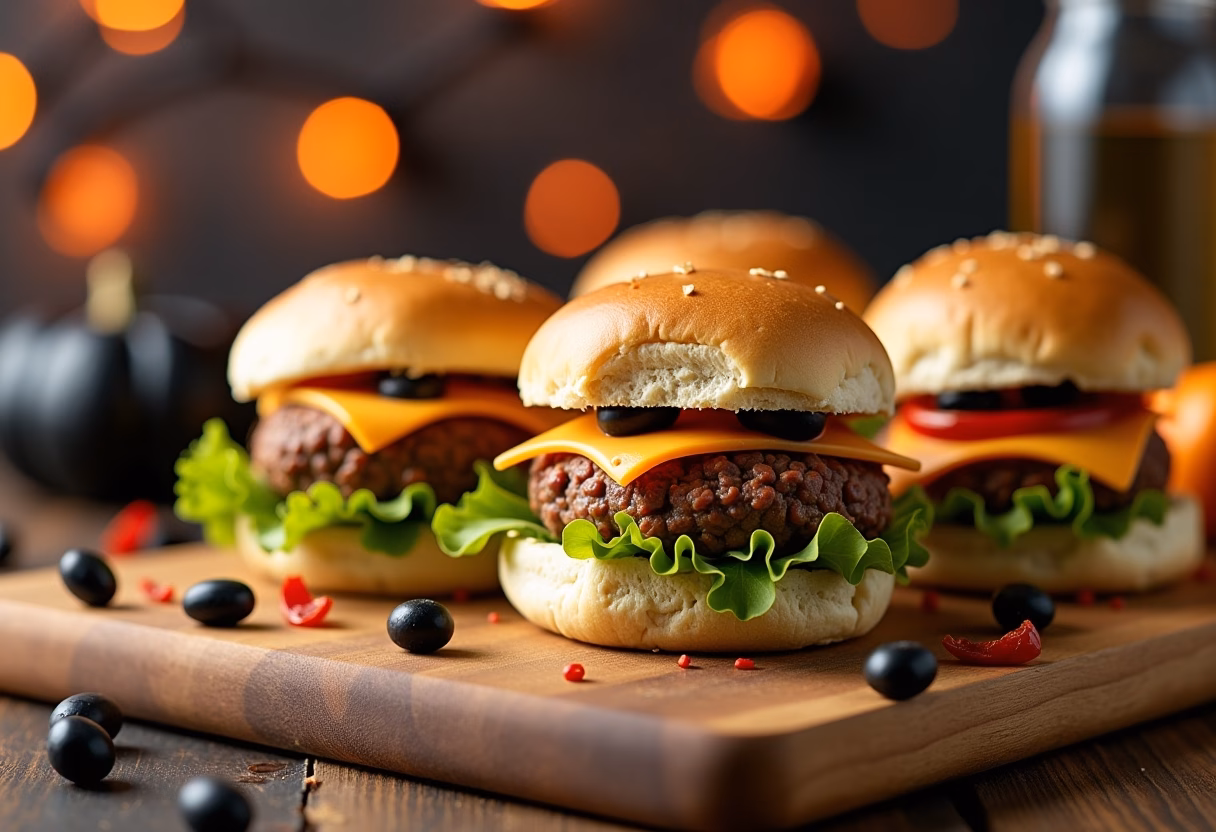
An Adventure in a Bite: These sliders are designed to spark imagination. The dark, savory poppy seed and onion topping perfectly mimics the look of dirt and mud, making them the ultimate themed party food. Watching the kids’ eyes widen as they recognize their favorite monster truck in food form is a reward in itself. It transforms mealtime from a necessity into an event, making it one of the best Monster Jam party food ideas sliders you can find. It’s a full sensory experience, from the savory smell to the fun, rugged look.
Deceptively Simple to Assemble: I know what you’re thinking. They look impressive, so they must be complicated, right? Not at all. That’s the secret beauty of this Grave Digger Sliders recipe easy enough for a busy weeknight but special enough for a celebration. We use a slab of sweet Hawaiian rolls, which means no tedious shaping of individual patties or buns. You build the sliders in one big sheet, bake, and then slice. It’s a genius shortcut that saves time and sanity, especially when you’re in the middle of party prep. Even the signature “mud” topping is just a simple mixture brushed on top before baking. It’s all about working smarter, not harder.
Classic Flavors Everyone Loves: At its heart, this is a fantastic cheeseburger sliders recipe. We’re talking juicy, seasoned ground beef, gooey melted American cheese, and soft, sweet rolls toasted with a savory garlic butter. These are flavors that appeal to both kids and adults. There are no fancy, unapproachable ingredients here, just pure, unadulterated comfort. They are the kind of kid friendly Grave Digger sliders that even the pickiest eaters at the party will devour. It's the comforting, familiar taste of a great burger, just packed into a fun, party ready format.
The Ultimate Party Food MVP: Whether you’re planning a birthday, a Halloween get together, or even some Monster Jam tailgate food, these sliders are guaranteed to be the star of the show. They are easy to make in a large batch, simple to serve, and can be eaten with one hand, which is essential for any bustling party environment. They hold up well on a buffet table and are just as delicious at room temperature as they are warm from the oven. For another fun party idea, you could even pair them with some monster treats for a full themed dessert table.
Ingredients for Grave Digger Sliders
The beauty of this recipe lies in its simplicity. The Grave Digger Sliders ingredients are all easy to find and come together to create something truly special.
For the Sliders:
- 1 lb lean ground beef (90/10 is perfect)
- 1 teaspoon garlic powder
- 1 teaspoon onion powder
- 1/2 teaspoon smoked paprika
- Salt and black pepper, to taste
- 12 slider buns, preferably a pull apart slab like King's Hawaiian rolls
- 8 slices American cheese or mild cheddar
For the "Grave Digger" Topping:
- 1/4 cup unsalted butter, melted
- 1 tablespoon poppy seeds
- 1 tablespoon dried minced onion
- 1/2 teaspoon Worcestershire sauce
A Note on Substitutions: Don’t have ground beef? Ground turkey or even a plant based crumble works wonderfully. For a gluten free Grave Digger sliders version, simply use your favorite gluten free slider buns. For the cheese, feel free to use provolone, Swiss, or pepper jack for a little kick. The Hawaiian roll sliders base is classic, but any soft dinner roll will do.
How to Make Grave Digger Sliders
Here is my method for how to make Grave Digger Sliders. I like to think of this process as building something, layer by layer, just like the stories we tell. Put on some music, pour yourself a cup of coffee, and let’s make some memories in the kitchen.
Step-by-Step Instructions
Brown the "Mud" (The Beef): In a large skillet over medium high heat, add the ground beef. As it starts to cook, break it apart with a wooden spoon. There’s something so grounding about the sizzle of beef in a pan, isn’t there? It’s the soundtrack of so many family dinners. Once it's mostly browned, sprinkle in the garlic powder, onion powder, smoked paprika, salt, and pepper. Continue to cook until the beef is no longer pink. Drain off any excess grease and set it aside. The kitchen should be starting to smell incredible right about now.
Prepare the Buns: Preheat your oven to 350°F (175°C). Take your slab of slider buns and, without separating them, carefully slice the entire slab in half horizontally with a long serrated knife. It’s like opening a book. Place the bottom half of the rolls into a 9×13 inch baking dish. The connected nature of the rolls is what makes this recipe so wonderfully easy.
Assemble the Sliders: Spoon the cooked ground beef mixture evenly over the bottom half of the rolls, spreading it all the way to the edges. Next, lay the slices of cheese over the beef, overlapping them slightly to ensure every single bite is cheesy and gooey. Once the cheese is in place, cover it with the top half of the slider buns.
Create the Grave Digger Topping: In a small bowl, whisk together the melted butter, poppy seeds, dried minced onion, and Worcestershire sauce. This mixture is what creates the signature “muddy” look. The poppy seeds and minced onion provide that wonderful, gritty texture that makes these sliders so visually fun. This is a great step for little hands to help with; Olivia loves being in charge of the whisking.
Brush and Bake: Gently brush the butter mixture all over the tops of the slider buns. Be generous! Make sure to get it into all the nooks and crannies. This buttery topping is not just for looks; it adds an incredible layer of savory flavor and helps the tops get beautifully golden and crisp.
Bake to Perfection: Cover the baking dish with foil and bake for 15 minutes. This allows the cheese to melt and the sliders to get heated through without the tops browning too quickly. Then, remove the foil and bake for another 5 to 10 minutes, or until the tops are golden brown and slightly crisp. The moment you pull them from the oven, with the cheese bubbling at the edges and the topping fragrant and toasty, is pure kitchen magic. Let them rest for a minute before slicing them into individual sliders.
Pro Tips & Variations
Over the years, I’ve made these sliders dozens of times, and I’ve learned a few things along the way. These little tips and variations are my gift to you, passed from my kitchen to yours, to help make your sliders absolutely perfect.
Don't Press the Meat: When you’re browning the ground beef, just break it apart gently. Don't press it down into the pan. This helps keep the meat tender and juicy, preventing it from becoming tough and dry. It's a small detail that makes a big difference in the final texture of your Grave Digger Sliders.
A Quick Toast for the Buns: For an extra layer of texture and to prevent the bottom buns from getting soggy, you can lightly toast the bottom slab of buns before adding the meat. Just pop them in the oven for 2 to 3 minutes until very lightly golden. It creates a subtle barrier that keeps everything perfectly intact.
Make Ahead for a Stress Free Party: You can easily prep these sliders ahead of time. Cook the beef mixture and store it in an airtight container in the fridge for up to 2 days. You can also mix the butter topping and keep it separate. When you’re ready to bake, just assemble and go. It’s a lifesaver for making party day feel more like a party and less like a frantic race. It's the secret to being a relaxed host.
Variations:
Spicy "Tire Fire" Sliders: For those who like a little heat, add a finely diced jalapeño to the ground beef mixture as it cooks. You can also add a pinch of red pepper flakes to the garlic butter topping for a spicy kick that warms you from the inside out.
BBQ Pulled Pork Sliders: For a different take that still fits the "muddy" theme, substitute the ground beef with about 2 cups of your favorite BBQ pulled pork. The smoky, sweet flavor of the pork is incredible with the savory topping. It’s a delicious twist on the classic.
Vegetarian "Mud Pit" Sliders: Creating a vegetarian Grave Digger sliders version is easy! Sauté 8 ounces of finely chopped cremini mushrooms with a can of drained and rinsed black beans, mashing them slightly. Season with the same spices as the beef version for a hearty and delicious vegetarian filling that is surprisingly “meaty” and full of flavor.
Serving Suggestions
A platter of Grave Digger Sliders is a showstopper on its own, but pairing it with the right sides can turn it into a full blown feast. Think of your table as a story, with each dish playing a part. When I'm planning a monster truck birthday party food menu, I love to keep the theme going. It’s all about creating an immersive, fun experience.
Waffle Fry "Tire Treads": What goes better with sliders than fries? Serve a big bowl of crispy waffle fries and call them "Tire Treads." They are perfect for dipping and their shape fits the theme perfectly. A simple, crowd pleasing side.
"Monster Muck" Veggie Dip: To get some veggies on the table, I love to make a simple dip. A ranch or a creamy dill dip with a few drops of green food coloring becomes "Monster Muck." Serve it with an array of "Dip Sticks" like carrot sticks, cucumber spears, and bell pepper strips. It’s a fun way to encourage everyone, especially the kids, to eat their vegetables.
A Simple, Fresh Side Salad: For the adults at the party, or just to add a bit of freshness, a simple green salad with a light vinaigrette is the perfect counterpoint to the rich, savory sliders. It cleanses the palate and adds a pop of color to the table.
A Themed Party Spread: To round out your menu, consider adding other fun, themed dishes. A platter of monster burgers could offer a larger alternative, while a bowl of dirt cups for dessert would be the perfect sweet finish. The more you lean into the theme, the more memorable the party becomes. For another savory option, this graveyard taco dip is always a huge hit.
Storage & Reheating
If you happen to have any leftovers which, I’ll be honest, is rare in our house you’ll want to store them properly to enjoy later.
Storage: Let the sliders cool completely, then place them in an airtight container. They will keep in the refrigerator for up to 3 days.
Reheating: The best way to reheat sliders and keep the buns from getting soggy is in the oven or an air fryer. Place them on a baking sheet and warm them in a 350°F (175°C) oven for about 10 minutes, or until heated through. The air fryer works even faster, at 350°F for about 3 to 5 minutes. I’d avoid the microwave if possible, as it can make the bread tough and chewy.
FAQ about Grave Digger Sliders
I get a lot of questions about this recipe, so I've gathered a few of the most common ones here. My hope is to make this recipe as approachable and foolproof as possible for you.
How do I keep my Grave Digger Sliders from getting soggy on the bottom?
This is a great question! The key is to make sure you drain the ground beef mixture very well after cooking. Any excess grease is the main culprit for soggy bottoms. Additionally, you can try my pro tip of lightly toasting the bottom slab of buns for a few minutes before assembling. This creates a small barrier that works wonders.Can I use ground turkey or chicken instead of beef?
Absolutely! Ground turkey or chicken are excellent, leaner alternatives. Just be sure to cook them through and season them well, as they are milder in flavor than beef. The garlic powder, onion powder, and smoked paprika will ensure they are still packed with flavor.What's the secret to making them really look like "Mud and tires" party food?
The visual magic is all in the topping! Don’t be shy with the poppy seed and minced onion mixture. The combination of the dark poppy seeds and the lighter dried onion creates a wonderful, textured look that really mimics dirt and gravel. Brushing it evenly over the tops ensures every slider has that signature Grave Digger food presentation.What are the best Grave Digger Sliders ingredients to use for picky eaters?
The classic ground beef and American cheese combination is usually a home run with kids. If you have particularly sensitive eaters, you can leave the dried minced onion out of the topping and just use the melted butter and poppy seeds. The flavor is so familiar and comforting, it's one of those kid's party finger foods that even the most discerning little one will usually enjoy.
Final Thoughts on Grave Digger Sliders
In the end, this recipe isn’t really about monster trucks. It’s about the smiles on your kids’ faces. It’s about the shared laughter over a fun meal. It’s about the memory you create in the kitchen and around the table. For me, the sight of these little Grave Digger Sliders fresh out of the oven, all golden and bubbly, takes me right back to that feeling of happy anticipation before my son’s party. It’s a reminder that the best parts of life are often found in these small, deliberate acts of love. I’ve always believed that I don’t chase perfection in food, I chase connection. And a recipe like this, one that is playful, a little messy, and made with so much heart, is all about connection. It's a reminder that cooking for those we love is one of the most profound and simple ways to tell them they matter.
I truly hope you and your family have as much fun making and eating these sliders as we do. A good story, like a good soup, needs time to simmer. And a good recipe, like a good story, is meant to be shared.
If you make these sliders, I would absolutely love to hear about it! Please leave a comment below and let me know how they turned out. And don’t forget to save this recipe to your favorite party board on Pinterest so you can find it again. From my kitchen to yours, happy cooking.