
Introduction
Have you ever wondered what separates a good Halloween party from a legendary one? Data from recent consumer surveys suggests that while costumes and decorations set the mood, the most memorable element is often the food. With countless hosts searching for unique and impressive dishes, the pressure is on to deliver something that’s both delicious and delightfully spooky. What if you could serve a dessert that’s elegant, easy to make, and perfectly themed, all without turning on your oven? These Graveyard Tiramisu Cups are the answer to all your spooky season culinary prayers. Forget generic brownies and store bought cookies; this recipe transforms a sophisticated Italian classic into a hauntingly beautiful individual dessert that will have your guests gasping with delight before they even take their first bite.
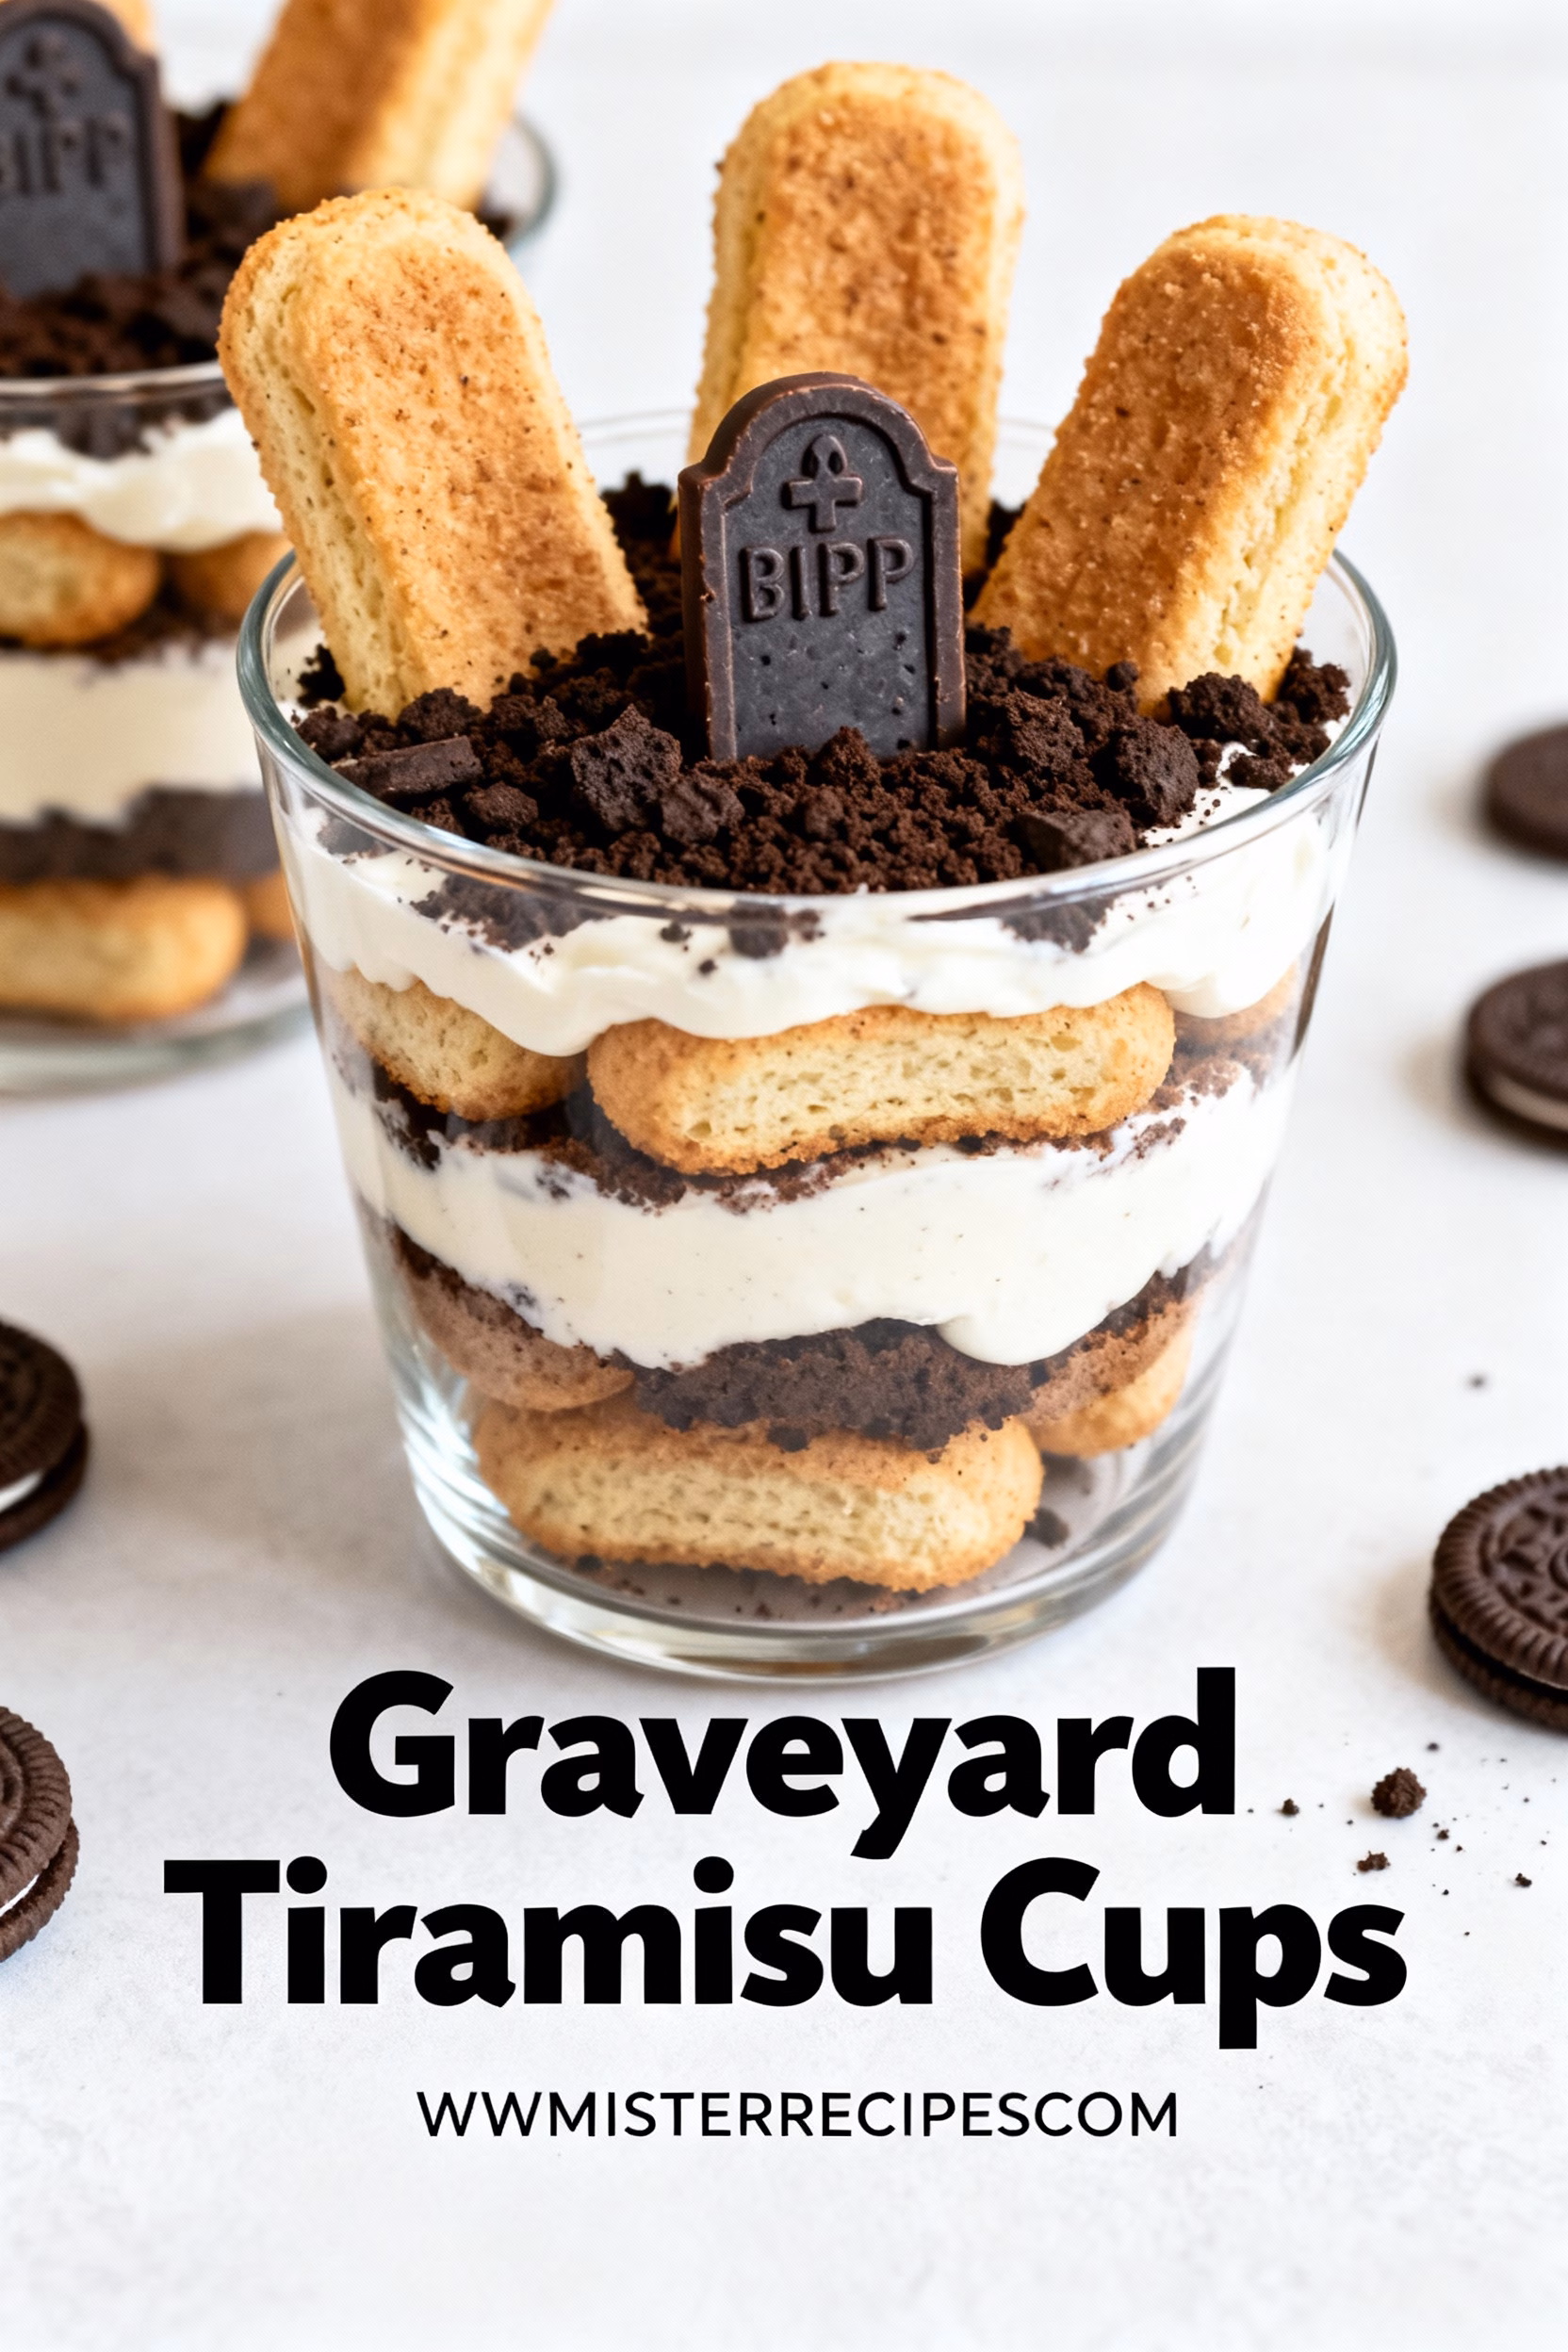
This isn’t just another dessert; it’s a centerpiece. It’s an interactive, creative addition to your spread that looks like it took hours of complex pastry work, but in reality, it comes together with surprising ease. We’re taking the beloved flavors of tiramisu, the rich mascarpone cream, the coffee soaked ladyfingers, and the hint of cocoa, and giving them a ghoulishly gourmet makeover. Each cup is a personal little cemetery, complete with crumbled cookie “dirt” and a cookie “tombstone” peeking out. It’s the ultimate conversation starter and the perfect solution for anyone looking for standout halloween food. This recipe is designed to be approachable for bakers of all skill levels, ensuring you can create a showstopper dessert that’s as fun to make as it is to eat. Whether you’re hosting a full blown costume bash, a cozy family movie night, or just want to treat your loved ones to something special, these tiramisu cups are your ticket to a five star Halloween experience.
Why You’ll Love This Graveyard Tiramisu Cups
This recipe is destined to become your go to Halloween dessert, and there are so many reasons why you’ll fall in love with it. It perfectly balances spooky aesthetics with sophisticated flavor, making it a hit with both kids and adults. It solves the common party problem of serving a messy cake by offering perfectly portioned, easy to handle individual cups. Here’s a deeper dive into why these Graveyard Tiramisu Cups are a must make this season.
-
No Bake, No Stress: This entire recipe requires zero oven time. This is a huge win during busy party prep when your oven is likely occupied with other dishes. It also means you don’t have to worry about overbaking, underbaking, or cakes that don’t rise. The process is simple: mix, dip, and layer. It is one of the best no bake halloween recipes out there because it delivers a huge “wow” factor with minimal culinary effort. You can focus your energy on your costume and decorations, knowing you have a killer dessert chilling in the fridge.
-
Perfectly Portioned and Party Ready: Serving dessert at a party can be chaotic. Cutting a cake or pie evenly is tricky, and it often leads to a messy serving table. These individual cups eliminate that entire problem. Each guest gets their own personal graveyard, making serving a breeze. They are easy to grab and enjoy while mingling, and the presentation remains pristine throughout the event. This single serving format feels more special and luxurious than a slice of a larger dessert, elevating your party spread instantly.
-
A Sophisticated Spooky Treat: While there’s a time and place for gummy worms and candy eyeballs, this dessert offers a more grown up take on the Halloween theme. Tiramisu is a classic, beloved for its creamy texture and rich coffee flavor. By giving it a spooky twist, you create something that appeals to a more refined palate while still being incredibly fun. It’s the perfect bridge between whimsical and elegant, making it suitable for an adult costume party, a work event, or a family gathering where you want to impress.
-
Customizable and Creative: This recipe is a fantastic canvas for your creativity. It’s a truly fun halloween food to prepare. You can get the kids involved in crumbling the Oreo “dirt” or writing “RIP” on the cookie tombstones. Want to make it completely kid friendly? Simply use a non alcoholic coffee or even chocolate milk for dipping the ladyfingers. You can play with the toppings too, adding gummy worms crawling out of the dirt, or a sprinkle of green sanding sugar to simulate moss. The possibilities are endless, allowing you to tailor the recipe to your specific audience and theme.
-
Make Ahead Magic: As any good host knows, the key to a stress free party is to do as much as possible in advance. These Graveyard Tiramisu Cups are the ideal make ahead dessert. In fact, they taste even better after chilling for at least 6 hours, as this gives the flavors time to meld together and the ladyfingers a chance to soften into a perfect cake like texture. You can assemble them a full day before your event, leaving you with nothing to do on party day except add the cookie tombstones just before serving.
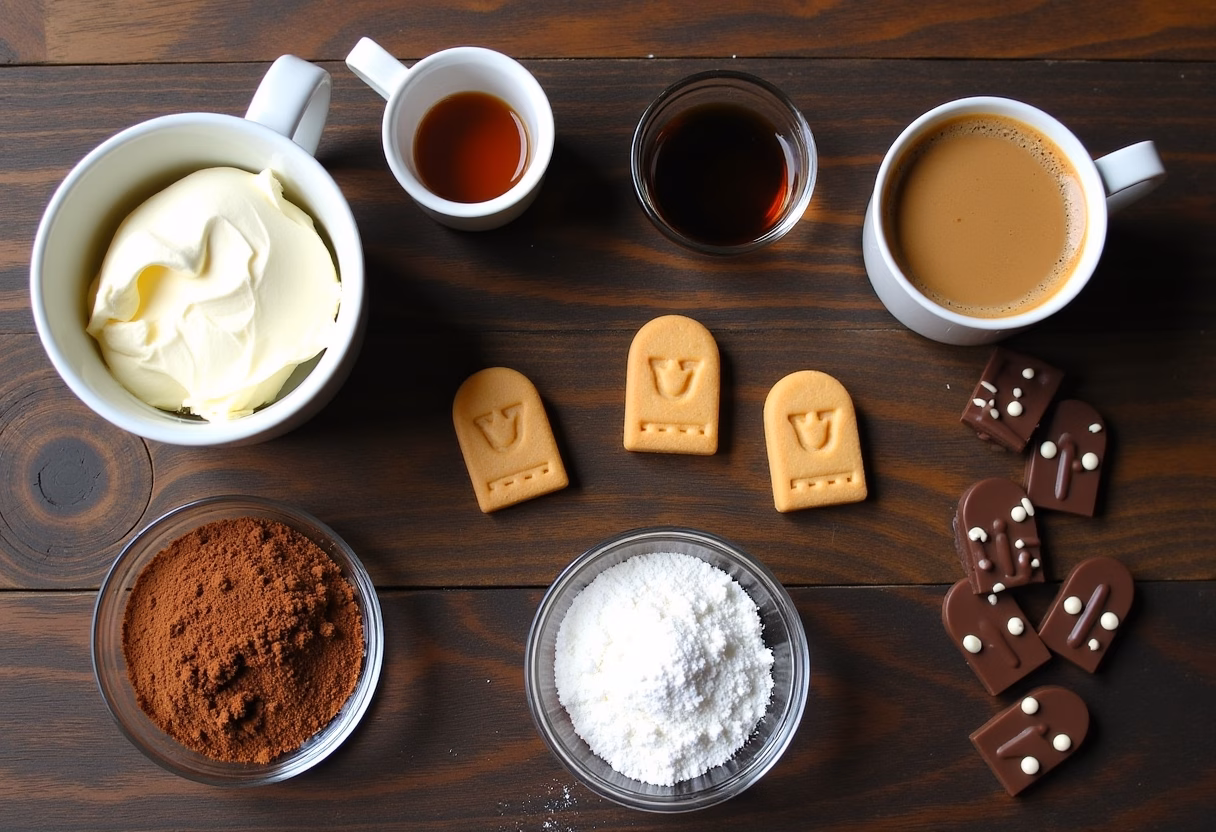
Ingredients for Graveyard Tiramisu Cups
-
For the Tiramisu Cream:
- 1 ½ cups heavy whipping cream, cold
- 16 ounces mascarpone cheese, room temperature
- ¾ cup granulated sugar
- 1 teaspoon vanilla extract
- 2 tablespoons coffee liqueur (like Kahlua) or dark rum (optional)
-
For the Assembly:
- 1 ½ cups strong brewed coffee or espresso, cooled
- 24–30 ladyfinger cookies (Savoiardi)
- 15 Oreo cookies, for the “dirt” topping
- 8–10 Milano cookies, for the “tombstones”
- 1 tube black decorating gel or melted dark chocolate, for writing on tombstones
Ingredient Substitutions:
- Mascarpone: If you cannot find mascarpone, you can make a substitute by mixing 14 ounces of full fat cream cheese with ¼ cup of heavy cream and 2 tablespoons of sour cream until smooth. The texture and flavor will be slightly different but still delicious.
- Ladyfingers: For a gluten free version, use gluten free ladyfingers, which are available in many specialty stores or online.
- Coffee Liqueur: To make it non alcoholic and kid friendly, simply omit the liqueur. You can add an extra teaspoon of vanilla or a splash of coffee extract for more flavor if desired.
- Oreo Cookies: Any dark chocolate sandwich cookie will work. For a different look, you could use chocolate graham cracker crumbs.
How to Make Graveyard Tiramisu Cups
Step-by-Step Instructions
- Prepare the Mascarpone Cream: In a large mixing bowl, pour in the cold heavy whipping cream. Using an electric hand mixer or a stand mixer with the whisk attachment, beat the cream on medium high speed until stiff peaks form. This means when you lift the beaters out of the cream, the peak that forms holds its shape. Be careful not to overbeat, or it will turn into butter. Set the whipped cream aside.
- Combine Cream Ingredients: In a separate large bowl, add the room temperature mascarpone cheese and granulated sugar. Mix them together with the electric mixer on low speed until just combined and smooth. It’s important that the mascarpone is at room temperature to prevent lumps. Add the vanilla extract and optional coffee liqueur, and mix again until everything is fully incorporated.
- Fold the Cream: Gently fold the whipped cream into the mascarpone mixture in three additions. Use a rubber spatula and a gentle hand, scraping from the bottom of the bowl up and over the top. The goal is to keep the mixture light and airy. Continue folding until no white streaks of whipped cream remain. Cover the bowl with plastic wrap and place it in the refrigerator while you prepare the other components.
- Prepare the “Dirt” and “Tombstones”: Place the Oreo cookies in a zip top bag and crush them with a rolling pin until they resemble coarse dirt. You can also pulse them a few times in a food processor. For the tombstones, use the black decorating gel or melted dark chocolate in a piping bag with a small tip to write “RIP” on the top half of each Milano cookie. Set them aside.
- Set Up Your Assembly Station: You’ll need your serving cups (about 8 to 10 small glasses or jars), the bowl of mascarpone cream, the cooled coffee in a shallow dish, and the ladyfinger cookies.
- Assemble the First Layer: Working one at a time, dip a ladyfinger cookie into the coffee for just 1 to 2 seconds per side. You want it to absorb some coffee but not become completely saturated and fall apart. Break the dipped ladyfinger in half and place the pieces in the bottom of a cup to form the first layer.
- Add the Cream Layer: Spoon a generous layer of the mascarpone cream over the ladyfingers in the cup, spreading it evenly to the edges.
- Repeat the Layers: Repeat the process by adding another layer of quickly dipped and broken ladyfingers on top of the cream.
- Add the Final Cream Layer: Top the second layer of ladyfingers with a final, smooth layer of mascarpone cream, filling the cup to about half an inch from the rim.
- Chill the Cups: Cover each cup with plastic wrap and refrigerate for at least 6 hours, or preferably overnight. This chilling time is crucial for the flavors to meld and for the ladyfingers to soften into a delicious, cake like texture.
- Decorate and Serve: Just before serving, remove the cups from the refrigerator. Sprinkle a generous layer of the crushed Oreo “dirt” over the top of each tiramisu. Gently press one Milano cookie “tombstone” into the back of each cup so it stands upright. Serve immediately and watch your guests’ eyes light up!
Pro Tips & Variations
To ensure your Graveyard Tiramisu Cups are a terrifying triumph, keep these professional tips and creative variations in mind. Small adjustments in technique can make a big difference in the final product, turning a good dessert into a great one.
Pro Tips
- Use Room Temperature Mascarpone: This is the most important tip for a smooth, lump free cream. Cold mascarpone is very stiff and will not blend well with the sugar, resulting in a grainy texture. Take it out of the fridge at least 30 to 45 minutes before you begin.
- Don’t Oversoak the Ladyfingers: A quick dip is all you need. We’re talking one or two seconds max. Ladyfingers are like little sponges; if they absorb too much liquid, they will turn to mush at the bottom of your cup, creating a soggy layer instead of a delicate, cake like one. A brief dip gives them enough coffee flavor without compromising their structure.
- Chill is Crucial: Do not skip the chilling time! This dessert needs at least 6 hours, but overnight is even better. This period allows the ladyfingers to soften perfectly and the flavors of the coffee, cream, and liqueur to meld into the classic tiramisu taste we all love. Rushing this step will result in a dessert with crunchy cookies and less developed flavor.
- Add Toppings Just Before Serving: For the best texture and appearance, add the Oreo “dirt” and the Milano cookie tombstones right before you plan to serve. If you add them too early, the Oreo crumbs will absorb moisture from the cream and become soft, and the cookie tombstone could also lose its crispness.
Fun Variations
- Pumpkin Spice Graveyard: Embrace the flavors of fall by adding ½ cup of pumpkin puree and 1 teaspoon of pumpkin pie spice to the mascarpone cream mixture. This creates a festive variation that’s perfect for the entire autumn season, not just Halloween.
- Gluten Free Tiramisu Cups: Making this recipe gluten free is incredibly simple. Just swap the regular ladyfingers for a gluten free variety. Most other ingredients are naturally gluten free, but always double check your labels on things like Oreo style cookies to be safe.
- Ultimate halloween food for kids Version: To make this recipe completely kid approved, omit the coffee liqueur entirely. For the dipping liquid, you can use decaffeinated coffee or even swap it out for chocolate milk. Kids will love the chocolatey flavor and the fun graveyard theme. You can also let them decorate the tombstones and sprinkle the dirt.
- Mocha Dirt Cups: For the chocolate lovers, enhance the chocolate flavor by folding ½ cup of unsweetened cocoa powder into the mascarpone cream mixture. You can also add a layer of mini chocolate chips between the cream and ladyfinger layers for extra texture and chocolatey goodness.
Serving Suggestions
These Graveyard Tiramisu Cups are a showstopping dessert that can stand proudly on their own. However, building a cohesive and exciting Halloween party menu around them will take your event to the next level. Since the tiramisu is a sweet, creamy, and no bake treat, it pairs wonderfully with savory, warm, and crunchy dishes. Think about creating a balance of flavors and textures for your guests. You could start with some spooky appetizers and a hearty main course before revealing these dessert cups as the grand finale.
For a truly memorable spread, consider serving these cups alongside a full menu of easy halloween food for party. Imagine your guests enjoying savory bites like spooky spider web pizzas or bloody eyeball meatballs. The contrast between the savory appetizers and the sweet, coffee infused dessert is a classic pairing that always satisfies. You could also offer a lighter, healthier option like a creatively arranged skull veggie platter with a dip, giving your guests a break from the richer foods. To drink, a bubbling cauldron of Halloween punch or a warm mug of spiced apple cider would complement the creamy tiramisu beautifully. The goal is to create a diverse buffet that has a little something for everyone, with your Graveyard Tiramisu Cups as the star of the show.
Storage & Reheating
Storage: These tiramisu cups are perfect for making ahead and should be stored in the refrigerator. After assembling but before adding the toppings, cover each cup tightly with plastic wrap. They will keep well in the fridge for up to 3 days. The flavors will actually deepen and improve by the second day.
Freezing: You can also freeze the tiramisu cups for longer storage. Assemble them completely but leave off the cookie dirt and tombstones. Wrap each cup securely in plastic wrap and then a layer of aluminum foil to prevent freezer burn. They can be frozen for up to one month. To serve, thaw them in the refrigerator overnight. Once thawed, add the fresh Oreo dirt and the cookie tombstones just before serving for the best texture.
Reheating: This is a chilled dessert and is not meant to be reheated. It should always be served cold, straight from the refrigerator.
FAQ about Graveyard Tiramisu Cups
Can I make these Graveyard Tiramisu Cups ahead of time?
Absolutely! In fact, it’s highly recommended. This dessert needs to chill for at least 6 hours to allow the ladyfingers to soften and the flavors to meld together perfectly. You can easily make them a full day in advance. Just assemble the cups, cover them, and store them in the fridge. Wait to add the crushed Oreo “dirt” and Milano cookie tombstones until just before serving to keep them crisp and fresh.
What can I use instead of coffee liqueur or rum?
Making a non alcoholic version is very simple. You can just omit the alcohol entirely; the dessert will still be delicious. If you want to add a bit of extra flavor, you can add an extra teaspoon of vanilla extract or even a ½ teaspoon of rum extract to the mascarpone cream. For the ladyfinger dip, just use the strong brewed coffee on its own.
Are these tiramisu cups safe for kids to eat?
Yes, with a few small adjustments. The main concerns for kids are the caffeine from the coffee and the optional alcohol. To make a 100% kid friendly version, use decaffeinated coffee for dipping the ladyfingers and omit the coffee liqueur from the cream. For an even more kid approved flavor, you can replace the coffee entirely with chocolate milk for dipping. Kids absolutely love the spooky graveyard theme and the Oreo “dirt” topping.
My mascarpone mixture is lumpy. What did I do wrong?
Lumps in the cream are almost always caused by using mascarpone cheese that is too cold. The cold, stiff cheese doesn’t blend smoothly with the sugar and other ingredients. To prevent this, make sure your mascarpone is at room temperature before you start. If you’ve already mixed it and it’s lumpy, you can try setting the bowl over a pot of warm (not hot) water and whisking gently for a minute or two to warm the cheese slightly, which may help smooth it out.
Final Thoughts on Graveyard Tiramisu Cups
There you have it a spectacularly spooky and sinfully delicious recipe for Graveyard Tiramisu Cups! This dessert is more than just a sweet treat; it’s an experience. It’s the perfect blend of playful Halloween fun and sophisticated flavor, guaranteed to be the talk of your party. The beauty of this recipe lies in its simplicity. With no baking required and steps that are easy for anyone to follow, you can create a truly impressive dessert without any of the stress. From the rich and airy mascarpone cream to the coffee soaked ladyfingers and the crunchy Oreo dirt, every bite is a perfectly balanced delight.
I am so excited for you to bring these little graveyards to life in your own kitchen. They are perfect for any Halloween occasion, from a big costume bash to a quiet and festive night in. Get creative with it, and don’t be afraid to add your own personal touches.
If you make these Graveyard Tiramisu Cups, I would absolutely love to see them! Please leave a comment below and let me know how they turned out, or tag me in your photos on social media. And if you loved this recipe, don’t forget to save it to your favorite Halloween board on Pinterest so you can find it again next year. For more fun and festive recipes, be sure to subscribe to our newsletter! Happy Haunting and Happy Halloween
Graveyard Tiramisu Cups
Ingredients
Equipment
Method
- In a large bowl, beat the cold heavy whipping cream with a mixer until stiff peaks form. Set aside.
- In another large bowl, mix room temperature mascarpone cheese with granulated sugar on low speed until smooth. Add vanilla extract and optional coffee liqueur, mixing until fully combined.
- Gently fold the whipped cream into the mascarpone mixture in three additions, using a rubber spatula to keep the mix light and airy. Cover and refrigerate.
- Crush Oreo cookies into coarse crumbs to make “dirt.” Write “RIP” on Milano cookies with black decorating gel or melted chocolate for “tombstones.” Set aside.
- Prepare serving cups, the mascarpone cream, cooled coffee in a shallow dish, and ladyfinger cookies for assembly.
- Dip each ladyfinger cookie quickly (1-2 seconds) in coffee, break in half, and place the pieces in the bottom of each cup as the first layer.
- Spread a generous layer of mascarpone cream over the ladyfingers in each cup.
- Repeat with another dipped and broken layer of ladyfingers on top of the cream layer.
- Add a final layer of mascarpone cream, filling cups to about half an inch from the rim.
- Cover cups and refrigerate for at least 6 hours or overnight to allow ladyfingers to soften and flavors to meld.
- Before serving, sprinkle crushed Oreo “dirt” on top, insert one Milano “tombstone,” and serve immediately.