
Unearthing the Magic: Your Guide to the Best Haunted Forest Brownie Bark
Have you ever found yourself craving a treat that’s both deliciously decadent and delightfully eerie? Something that perfectly captures the whimsical spookiness of a moonlit forest just before Halloween? If so, then prepare to have your taste buds enchanted. Today, we’re diving deep into the mystical realm of Haunted Forest Brownie Bark, a stunning and simple creation that’s about to become your new favorite obsession. Forget complicated patisserie – this recipe is designed for ease, maximum impact, and a whole lot of spooky fun. It challenges the common belief that Halloween desserts have to be overly intricate or require hours in the kitchen. In fact, you’ll be amazed at how quickly you can transform everyday ingredients into a forest floor wonderland, complete with edible moss, glowing mushrooms, and shadowy trees. This isn’t just another dessert; it’s an experience, a conversation starter, and a true indulgence that caters to both the eye and the palate.
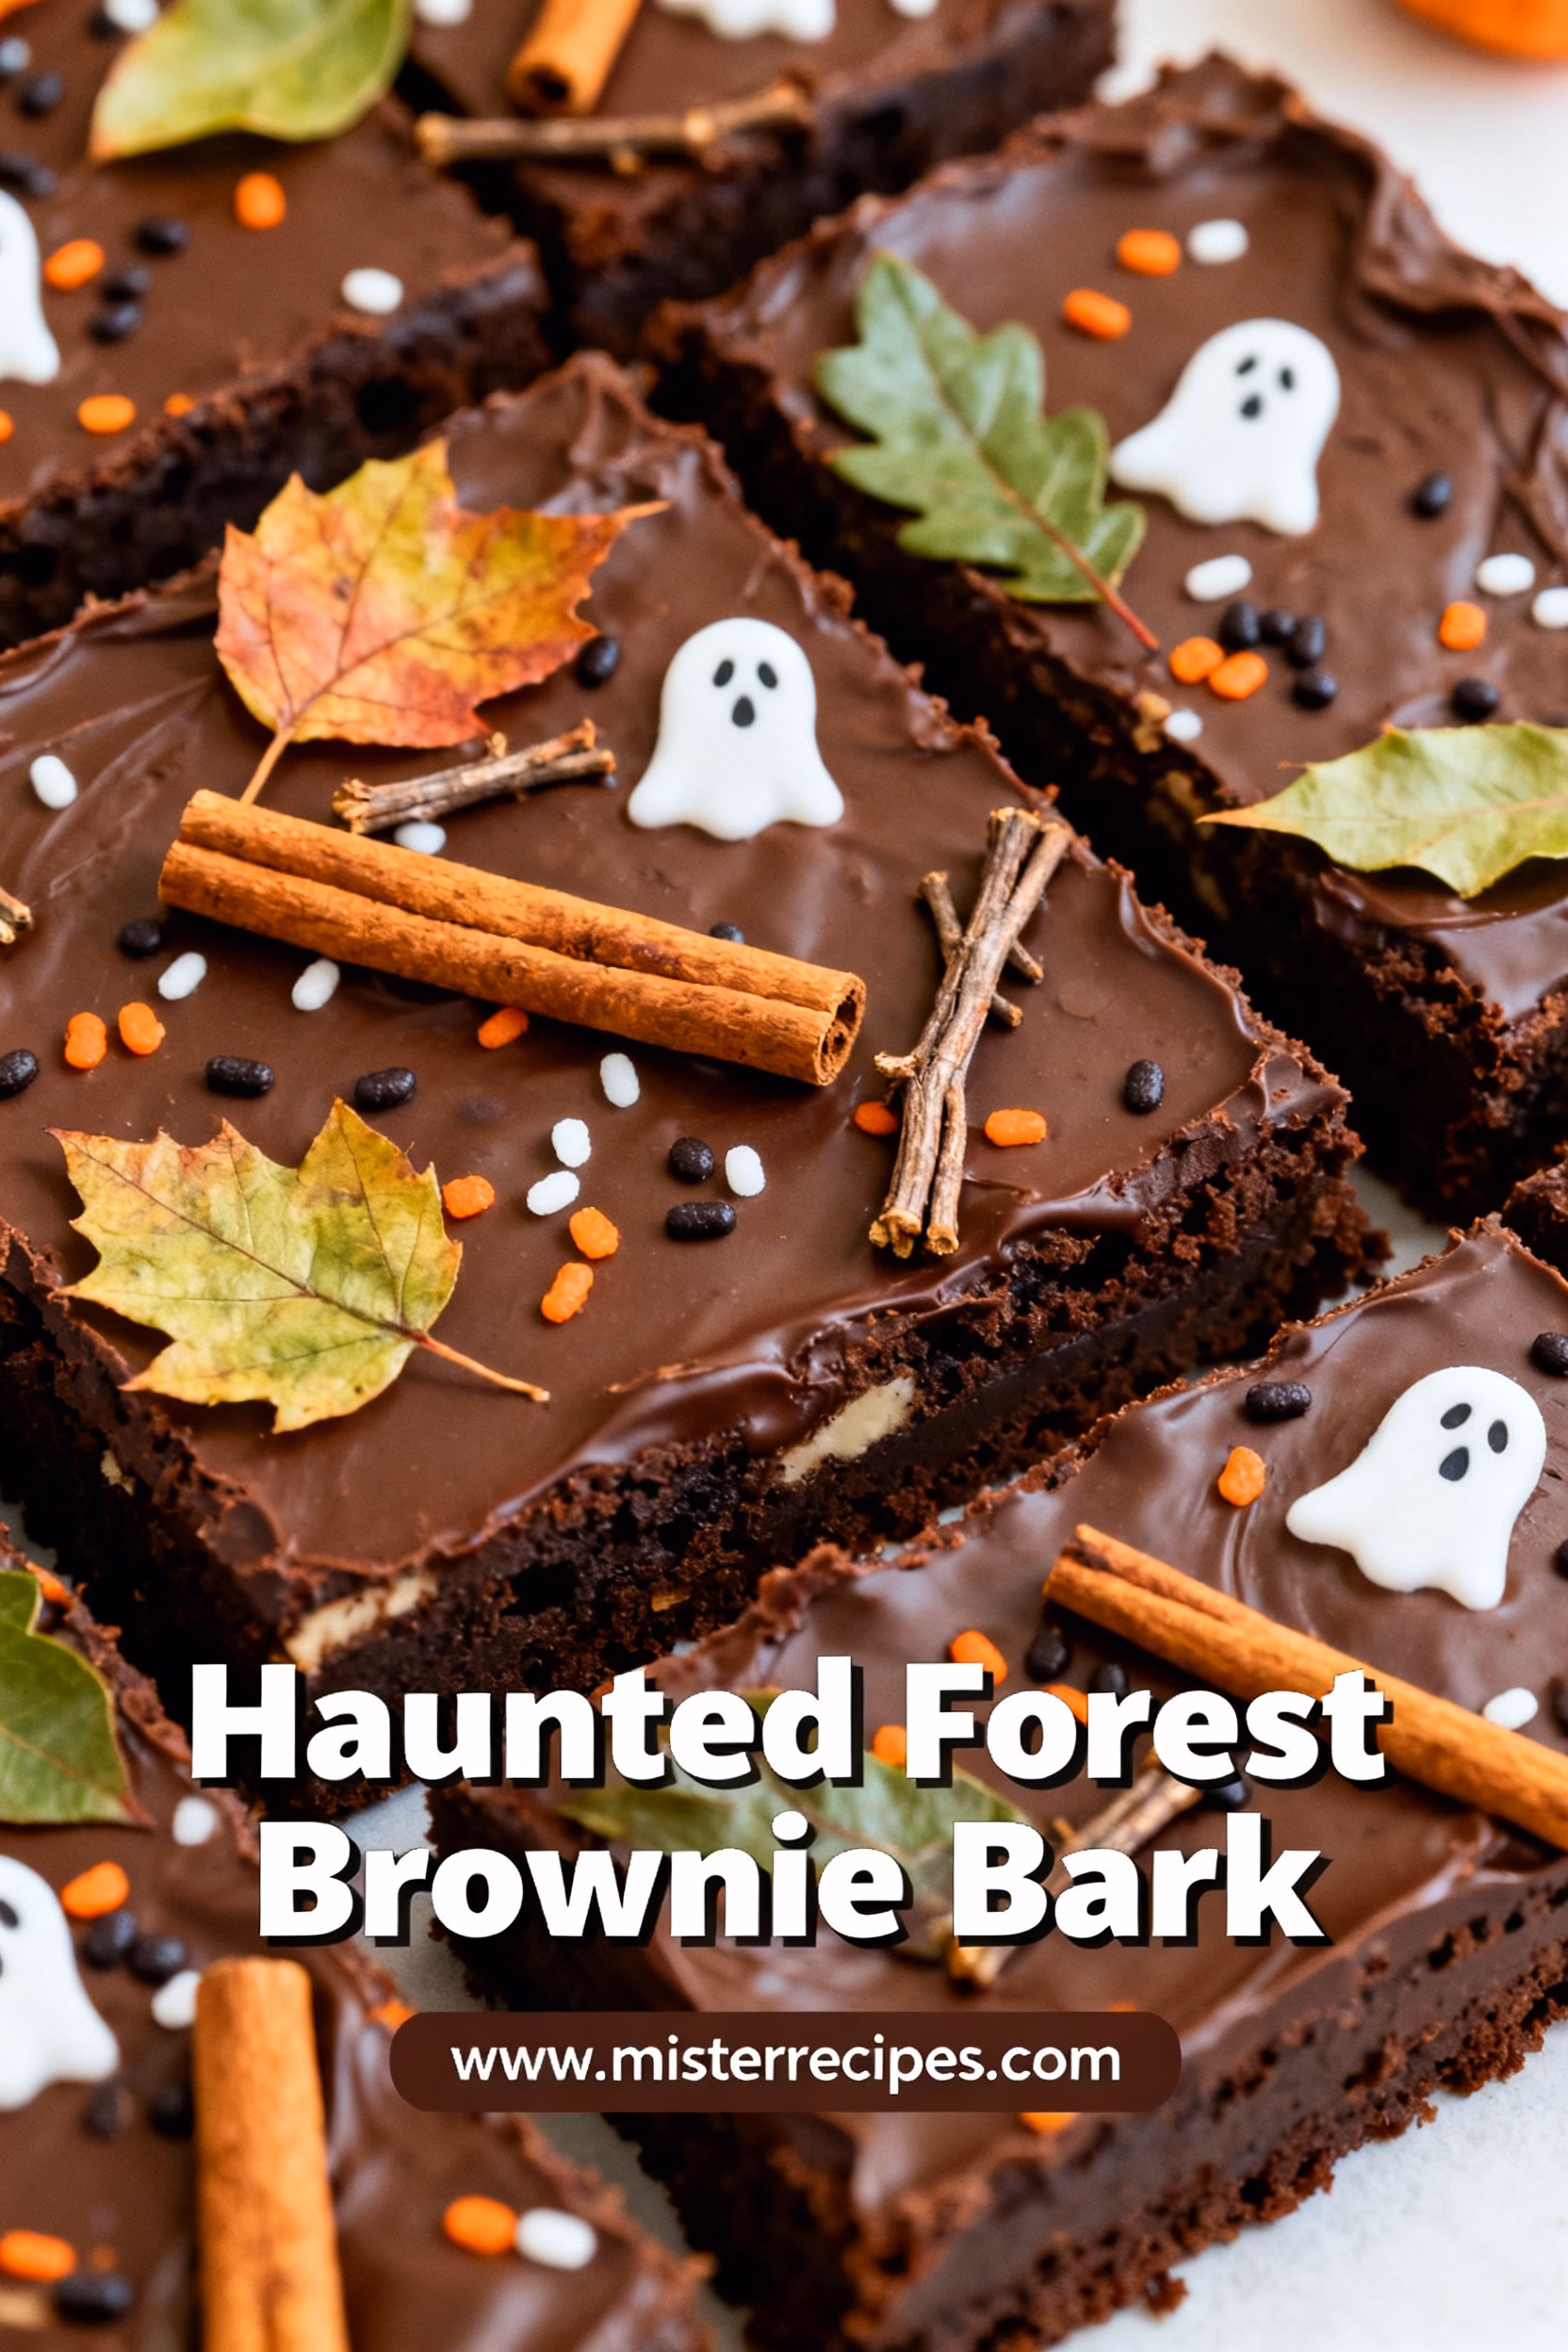
What makes Haunted Forest Brownie Bark so unique isn’t just its striking appearance; it’s the ingenious simplicity behind it. We’re talking about a rich, fudgy brownie base, transformed into a shatteringly crisp bark, adorned with edible embellishments that evoke the mysterious beauty of an enchanted, slightly ominous wood. It’s the kind of treat that looks like it took hours of painstaking effort, but in reality, comes together with surprising speed. Perfect for bustling weeknights, last-minute party preparations, or simply when you want to impress without the stress. This recipe is an absolute game-changer for anyone looking for easy halloween baking ideas that truly stand out. Whether you’re a seasoned baker or just dipping your toes into the world of spooky treats, this guide will walk you through every step, ensuring your Haunted Forest Brownie Bark is a hauntingly good success. Get ready to create edible art that tastes even better than it looks!
Why You’ll Love This Haunted Forest Brownie Bark
Prepare to fall head over heels for this Haunted Forest Brownie Bark! It’s more than just a recipe; it’s an experience designed to bring joy, ease, and a touch of magic to your kitchen. Here’s why this spooky brownie bark will become your go-to whenever the craving for something both delicious and visually stunning strikes:
- Effortlessly Impressive: This bark looks incredibly intricate and professional, making everyone believe you’ve spent hours slaving away in the kitchen. The truth? It’s deceptively simple! You’ll achieve a show-stopping dessert with minimal effort, perfect for when you want to impress without the stress. It’s an ideal halloween dessert for parties where presentation is key.
- Irresistibly Delicious: At its heart, this is a phenomenal brownie bark. We’re talking rich, fudgy chocolate goodness in every crisp, satisfying bite. The combination of textures – the firm bark, the creamy frosting, the crunchy decorations – creates a symphony of flavor that will have everyone reaching for another piece. It’s the quintessential dark chocolate halloween treat.
- Kid-Friendly Fun: Involving little ones in the decoration process is pure joy! From crumbling cookies for “dirt” to placing edible mushrooms and candy pumpkins, this recipe provides a fantastic opportunity for kid friendly haunted forest brownie bark creation and quality time in the kitchen. It’s an interactive project that’s just as fun to make as it is to eat.
- Customizable & Creative: The “forest” theme offers endless possibilities for personalization. Want a more eerie woods brownie bites feel? Add some gummy worms! Prefer an enchanted forest halloween treats vibe? Go wild with edible glitter and brighter colors. This recipe is a canvas for your imagination, allowing you to tailor it to your specific spooky vision.
- Perfect for Any Spooky Occasion: Whether you’re hosting a grand Halloween bash, looking for a unique treat for a school bake sale, or simply want a festive dessert for a cozy movie night, this Haunted Forest Brownie Bark fits the bill perfectly. It’s a versatile halloween brownie bark that always gets rave reviews. Its striking appearance also makes it a great candidate for unique halloween desserts for sale or as a thoughtful gift.
- Fantastic Shelf Life: Unlike some delicate desserts, brownie bark holds up beautifully. It’s excellent for making ahead of time, freeing you up on the day of your event. Plus, it transports well, making it ideal for sharing the spooky goodness with friends and family. This also means you can enjoy the best haunted forest brownie bark for days!
With all these benefits, it’s clear why this haunted forest brownie bark recipe is a must-try. It combines the ease of a simple baking project with the visual impact of a professional creation, all while delivering incredible flavor. Get ready to unleash your inner forest guardian and create a dessert that will haunt taste buds in the best possible way.
Ingredients for Haunted Forest Brownie Bark
To bring your Haunted Forest Brownie Bark to life, you’ll need a combination of classic baking staples and some fun decorative elements. Don’t worry, most items are readily available!
- For the Brownie Bark Base:
- 1 (18.3 oz) box brownie mix (plus ingredients called for on the box, typically eggs, oil, and water) – Substitution: If you prefer, a homemade haunted forest brownie bark recipe from scratch can be used, ensuring it bakes thinly and crisply.
- ¼ cup all-purpose flour (this helps the bark crisp up beautifully)
- ½ cup semi-sweet chocolate chips
- ½ cup milk chocolate chips
- For the “Forest Floor” & Decorations:
- 1 cup white chocolate chips or candy melts
- Green gel food coloring
- ¼ cup crushed chocolate sandwich cookies (like Oreos, without the cream) – This is perfect for creating edible “dirt” or moss for your forest themed desserts.
- Assorted Halloween candies: candy pumpkins, gummy worms, edible candy eyes, mini chocolate mushrooms, sprinkles in autumnal or spooky colors, etc. – Get creative here! Think about halloween party food ideas with a forest twist.
- Pretzel sticks or Pirouettes for “tree stumps” or “logs”
- Black licorice strings or chocolate frosting in a piping bag with a fine tip, for “branches” or “spiderwebs” – Excellent for spooky halloween treats detailing.
How to Make Haunted Forest Brownie Bark
Get ready to embark on a culinary adventure that transforms simple ingredients into an enchanting and slightly spooky masterpiece! This step by step haunted forest brownie bark recipe is designed for everyone, from beginners to seasoned bakers.
Step-by-Step Instructions
- Preheat & Prep: Preheat your oven to the temperature specified on your brownie mix box (usually 325-350°F / 160-175°C). Line a large baking sheet (around 13×18 inches) with parchment paper, leaving an overhang on the sides. This ensures easy removal of your brownie bark for Halloween. Lightly spray the parchment paper with non-stick cooking spray.
- Mix the Brownie Batter: In a large bowl, prepare the brownie mix according to package directions, adding the specified amounts of eggs, oil, and water. Here’s our little secret to a perfect bark: gently fold in the ¼ cup of all-purpose flour. This addition helps create a thinner, crispier bark texture that’s essential for this easy brownie bark. Once the batter is smooth, stir in the semi-sweet and milk chocolate chips.
- Spread the Bark: Pour the brownie batter onto your prepared baking sheet. Using an offset spatula or the back of a spoon, carefully spread the batter evenly across the entire sheet, aiming for a thin, uniform layer. The thinner you spread it, the crispier your bark will be. This is a crucial step for achieving that satisfying “bark” texture in your haunted forest brownie bark.
- Bake to Perfection: Place the baking sheet in your preheated oven. Bake for approximately 15-20 minutes. Keep a close eye on it! The brownie bark should be set around the edges and appear slightly firm in the center. Avoid overbaking, as this can make the bark too brittle. A great way to check doneness for quick haunted forest brownie bark is to gently tap the center; if it springs back slightly, it’s done.
- Cool Down: Once baked, remove the brownie bark from the oven. Let it cool completely on the baking sheet on a wire rack. This is super important! Do not try to move or decorate it while warm, or it will break. Patience is a virtue here, ensuring your homemade haunted forest brownie bark is robust enough for the next steps.
- Create the Mossy Green Swirl: While the brownie bark cools, melt the white chocolate chips or candy melts in a microwave-safe bowl in 30-second intervals, stirring until smooth. Add a few drops of green gel food coloring and stir until you achieve your desired “mossy” green shade. You want an organic, earthy green for your forest themed desserts.
- Decorate the Forest Floor: Once the brownie bark is completely cool, carefully lift it off the baking sheet using the parchment paper overhang and place it on a clean flat surface. Drizzle the green melted chocolate haphazardly over the cooled brownie bark, creating an abstract, organic pattern. Before the green chocolate sets, sprinkle the crushed chocolate sandwich cookies over portions of the green chocolate and directly onto the brownie where you want “dirt” or “moss.”
- Add the Forest Elements: Now for the fun part – assembling your eerie forest treats! Arrange your pretzel sticks or Pirouettes to resemble tree stumps or fallen logs. Place candy pumpkins, gummy worms, edible candy eyes, and any other spooky candies strategically across your bark. If using black licorice strings or chocolate frosting, pipe thin lines to create intricate branches or spiderweb-like patterns for an extra touch of spookiness. [easy spider-web pizza]
- Set & Snap: Allow all the decorations and melted chocolate to set completely. You can speed this up by placing the baking sheet in the refrigerator for 10-15 minutes. Once hardened, your haunted forest brownie bark is ready!
- Break & Serve: Once completely set, gently break the bark into irregular pieces, mimicking the natural, rugged look of a forest floor. Use varying sizes to create an authentic feel. Serve immediately and watch as your guests are captivated by your spooky brownie bark creation! [haunted meatball skewers]
Pro Tips & Variations
Mastering your Haunted Forest Brownie Bark is all about getting creative and having fun! Here are some pro tips and delightful variations to make your creation truly unforgettable
Pro Tips for the Perfect Haunted Forest Brownie Bark:
- Don’t Overmix the Brownie Batter: For a truly fudgy and crisp bark, mix the brownie batter just until combined. Overmixing develops the gluten, leading to a tougher texture. Remember, we’re aiming for a delicate, easily breakable chocolate brownie bark.
- Even Spreading is Key: Take your time spreading the batter. A uniform thickness ensures even baking and consistent crispiness throughout. Thicker spots might remain chewy, while thinner spots could burn. This precision contributes to the best haunted forest brownie bark recipe.
- Cool Completely Before Decorating: Patience is a virtue! Attempting to decorate warm bark will result in melted chocolate layers and soft, crumbly pieces. Ensure the brownie layer is completely cooled and firm before adding your melted white chocolate and toppings. This also applies to making your halloween brownie bark ahead of time.
- Get Creative with “Moss”: For a more realistic “moss” effect, crush green pistachios or even use a tiny amount of matcha powder mixed into your white chocolate. You can also mix a touch of brown food coloring with green for a more earthy, murky look. Think eerie forest treats!
- Use High-Quality Chocolate: The quality of your chocolate directly impacts the taste. For the brownie base and the melted chocolate, choose brands you enjoy eating on their own. This elevates your gourmet halloween brownie bark.
Variations for Every Palette and Preference:
- Gluten-Free Haunted Forest Brownie Bark: Easily make this recipe gluten-free by using a certified gluten-free brownie mix. Ensure all your decorative candies are also verified gluten-free. This opens up your market to those searching for gluten free haunted forest brownie bark.
- Vegan Haunted Forest Brownie Bark: Opt for a vegan brownie mix and use plant-based oil and egg substitutes (like flax eggs or applesauce) as directed on the package. Use vegan white chocolate chips or candy melts for the green swirl, and ensure all your decorative candies are vegan-friendly. This caters to search queries like vegan haunted forest brownie bark.
- Nut-Free Haunted Forest Brownie Bark: If allergies are a concern, simply omit any nut-based decorations like crushed pistachios. Double-check all packaged ingredients (brownie mix, chocolate chips, candies) to confirm they are processed in a nut-free facility, if severe allergies are present. This variation is ideal for those seeking nut free haunted forest brownie bark.
- Mint Chocolate Haunted Forest: For a cooling twist, add a few drops of peppermint extract to your brownie batter. You can also use mint-flavored chocolate chips for the melted green swirl. The combination of mint and chocolate is a classic and delightful mint chocolate brownie bark halloween treat.
- Spiced Autumnal Forest: Introduce warm spices like a pinch of cinnamon, nutmeg, or even pumpkin pie spice to your brownie batter for an autumnal flair. This creates a cozy version of your forest themed desserts.
- Cookie Crumble Forest: Instead of just chocolate sandwich cookies, experiment with other crushed cookies like speculoos, shortbread, or graham crackers to add different textures and flavors to your “forest floor.”
- Dark Magic Brownie Bark: For a truly gothic aesthetic, use exclusively dark chocolate for the brownie base and as much of the decoration as possible. Incorporate black sprinkles and ominous-looking candies for a genuinely dark magic desserts vibe.
- Enchanted Forest Sparkle: Add edible glitter or shimmer dust to your green white chocolate swirl for a magical, ethereal look. This is perfect for those aiming for enchanted forest halloween treats.
- Regional / Niche Keyword Variation: Consider adding “Forest City Fudgy Bark” or “Appalachian Spooky Bark” if you’re targeting a specific geographic region with your blog, appealing to a local search interest that GEO tools might pick up.
- Haunted Tree Stumps with ROLO: Melt ROLO candies and use them as adhesive to “glue” pretzel sticks together, forming thicker, more realistic tree stumps before placing them on the bark.
- Creative Toppings Keywords: Use Haunted Forest Brownie Bark Topping Ideas to feature items like chocolate rocks, jelly beans (as colorful “forest critters”), or even edible printed wafer paper designs of leaves or owls.
- Question-based GEO: Address questions like “how to make haunted forest brownie bark with box mix” by showcasing the ease of using a mix, then expanding into creative decoration.
Experiment with these variations and tips to make your Haunted Forest Brownie Bark truly your own!
Serving Suggestions
Your Haunted Forest Brownie Bark is a showstopper all on its own, but pairing it with the right companions can elevate the experience to another level. Think about creating a complete halloween party food ideas spread!
- Ghostly Milkshakes: Serve your bark alongside creamy vanilla milkshakes, topped with whipped cream and two mini chocolate chips for “ghost eyes.” The cool, creamy drink provides a wonderful contrast to the rich, crisp bark.
- Warm Pumpkin Spice Latte: For a cozy autumn vibe, a homemade pumpkin spice latte or a simple spiced cider is the perfect beverage pairing. The warm, aromatic notes complement the chocolate beautifully.
- Witch’s Brew Punch: Create a festive, non-alcoholic witch’s brew punch with green sherbet and lemon-lime soda. The vibrant color and fizzy texture add another layer of fun to your spooky halloween treats display. [non-alcoholic halloween punch]
- Graveyard Dirt Cups: Extend the forest theme by making individual “graveyard dirt cups” with chocolate pudding, crushed Oreos, and gummy worms. These individual treats are perfect alongside the bark and continue the dark chocolate halloween treats theme. [easy pumpkin patch dirt cups]
- Assorted Halloween Candies: Create an entire halloween candy bark table by surrounding your Haunted Forest Brownie Bark with bowls of extra candy corn, candy pumpkins, and other themed sweets. This offers variety and enhances the visual appeal of your spooky spread.
Storage & Reheating
Ensuring your Haunted Forest Brownie Bark stays fresh and delicious is key to enjoying this spooky treat for longer!
- Storage: Once completely cooled and set, store your Halloween brownie bark in an airtight container at room temperature for up to 3-4 days. Separation with parchment paper between layers can prevent sticking if you stack pieces. For longer freshness, you can also store it in the refrigerator for up to a week.
- Freezing: Yes, you can freeze haunted forest brownie bark! Place the bark pieces in a single layer on a parchment-lined baking sheet and freeze until solid (about 1-2 hours). Once frozen, transfer the pieces to a freezer-safe, airtight container or a heavy-duty freezer bag, separating layers with parchment paper. It can be frozen for up to 2-3 months.
- Reheating: This bark is designed to be eaten at room temperature, or even slightly chilled, so reheating isn’t typically necessary or recommended, as it can soften the crisp texture. If frozen, simply remove the desired amount from the freezer and let it thaw at room temperature for about 15-30 minutes before serving. This maintains the integrity of your best haunted forest brownie bark.
FAQ about Haunted Forest Brownie Bark
Got questions about this magical Haunted Forest Brownie Bark? We’ve got answers to help you navigate your baking journey and ensure your spooky brownie bark is a smashing success!
Q1: Can I make Haunted Forest Brownie Bark ahead of time?
A1: Absolutely! This is one of the best features of this easy brownie bark. You can prepare the entire bark, including decorations, up to 3 days in advance and store it in an airtight container at room temperature. This makes it a fantastic option for halloween party food ideas, as it frees up your time on the day of your event. If you want to make it even further in advance, you can freeze it (see storage instructions above).
Q2: What if I don’t have all the specific candies for decoration?
A2: No problem at all! The beauty of Haunted Forest Brownie Bark lies in its versatility. Think of your bark as a canvas for creative Halloween dessert ideas. Use whatever spooky-themed candies, sprinkles, or even small chocolate figures you can find. Gummy worms, candy corn, mini chocolate chips, or even chopped nuts (if no allergies) can all contribute to your “forest floor.” The key is to create a visually interesting and textured landscape that evokes a forest. This allows for truly personalized themed brownie gifts. [sweet and spooky halloween dessert recipes]
Q3: How do I ensure my brownie bark is truly crispy and not soft?
A3: Several factors contribute to a perfectly crispy haunted forest brownie bark:
- Adding Flour: Don’t skip the ¼ cup of all-purpose flour to the brownie mix; it significantly helps in crisping.
- Thin Layer: Spread the batter as thinly and evenly as possible on the baking sheet.
- Proper Baking: Bake until the edges are set and the center barely gives when lightly pressed. A slightly longer, slow bake is better than a short, hot bake for crispness.
- Complete Cooling: Allow the bark to cool completely at room temperature before handling or decorating. Warm bark will be soft. Following these tips will give you the best haunted forest brownie bark.
Q4: Can I use different colored chocolate for the “moss”?
A4: While green gives that iconic “haunted forest” look, you can certainly experiment! Brown or orange melted chocolate could create an autumnal forest floor. Purple or black would lean into a more mystical or dark magic desserts vibe. Feel free to unleash your creativity and make it your own!
Final Thoughts on Haunted Forest Brownie Bark
As we wrap up our journey through the spooky woods of Haunted Forest Brownie Bark, I hope you’re feeling inspired and excited to create this enchanting treat. This isn’t just a recipe; it’s a doorway to a world of delicious imagination, where rich chocolate meets whimsical decorations in a symphony of flavors and textures. From the crisp snap of the Halloween brownie bark to the delightful crunch of the “forest floor” toppings, every bite is a little adventure.
We’ve explored how simple ingredients can be transformed into a visually stunning spooky brownie bark that will captivate everyone who lays eyes (and hands!) on it. Whether you’re a seasoned baker looking for new creative halloween dessert ideas or a complete novice seeking an easy brownie bark project, this recipe delivers on all fronts. It’s perfect for Halloween party food ideas, gifting, or simply enjoying a moment of festive indulgence by yourself.
So go ahead, gather your ingredients, unleash your inner forest baker, and let your creativity run wild. Don’t be afraid to experiment with different candies, colors, or even a touch of edible glitter to make your eerie forest treats truly unique.
If you’ve enjoyed this haunted forest brownie bark recipe, please consider sharing it with your friends and family. Pin it on Pinterest to save it for your next spooky gathering, leave a comment below to tell us about your forest creations, or better yet, subscribe to our newsletter for more magical and delicious recipes delivered straight to your inbox! We love hearing from our community and seeing your amazing creations. Until next time, happy haunting and happy baking!
Haunted Forest Brownie Bark
Ingredients
Equipment
Method
- Preheat oven to 325-350°F (160-175°C). Line a large baking sheet (~13×18 inches) with parchment paper, leaving an overhang. Spray lightly with non-stick spray.
- Prepare brownie mix according to package directions (eggs, oil, water). Gently fold in ¼ cup all-purpose flour to help crisp the bark. Stir in semi-sweet and milk chocolate chips.
- Pour batter onto baking sheet and spread evenly using an offset spatula into a thin, uniform layer to ensure crispiness.
- Bake for 15-20 minutes until edges are set and center is slightly firm. Avoid overbaking to prevent brittleness.
- Remove from oven and cool completely on wire rack before decorating to ensure bark is firm.
- Melt white chocolate chips or candy melts in microwave in 30-second intervals, stirring until smooth. Stir in green gel food coloring to desired mossy green shade.
- Lift cooled bark using parchment overhang and place flat on surface. Drizzle green melted chocolate abstractly over bark. Before it sets, sprinkle crushed chocolate sandwich cookies on green chocolate and other spots for moss and dirt.
- Arrange pretzel sticks or Pirouettes as tree stumps/logs and place assorted Halloween candies (pumpkins, gummy worms, candy eyes, chocolate mushrooms, sprinkles) across bark. Use black licorice strings or piped chocolate frosting to create branches or spiderweb patterns.
- Let all decorations and melted chocolate set completely, optionally refrigerate for 10-15 minutes to hasten setting.
- Break bark into irregular pieces mimicking a forest floor. Serve immediately and enjoy your spooky brownie masterpiece!