
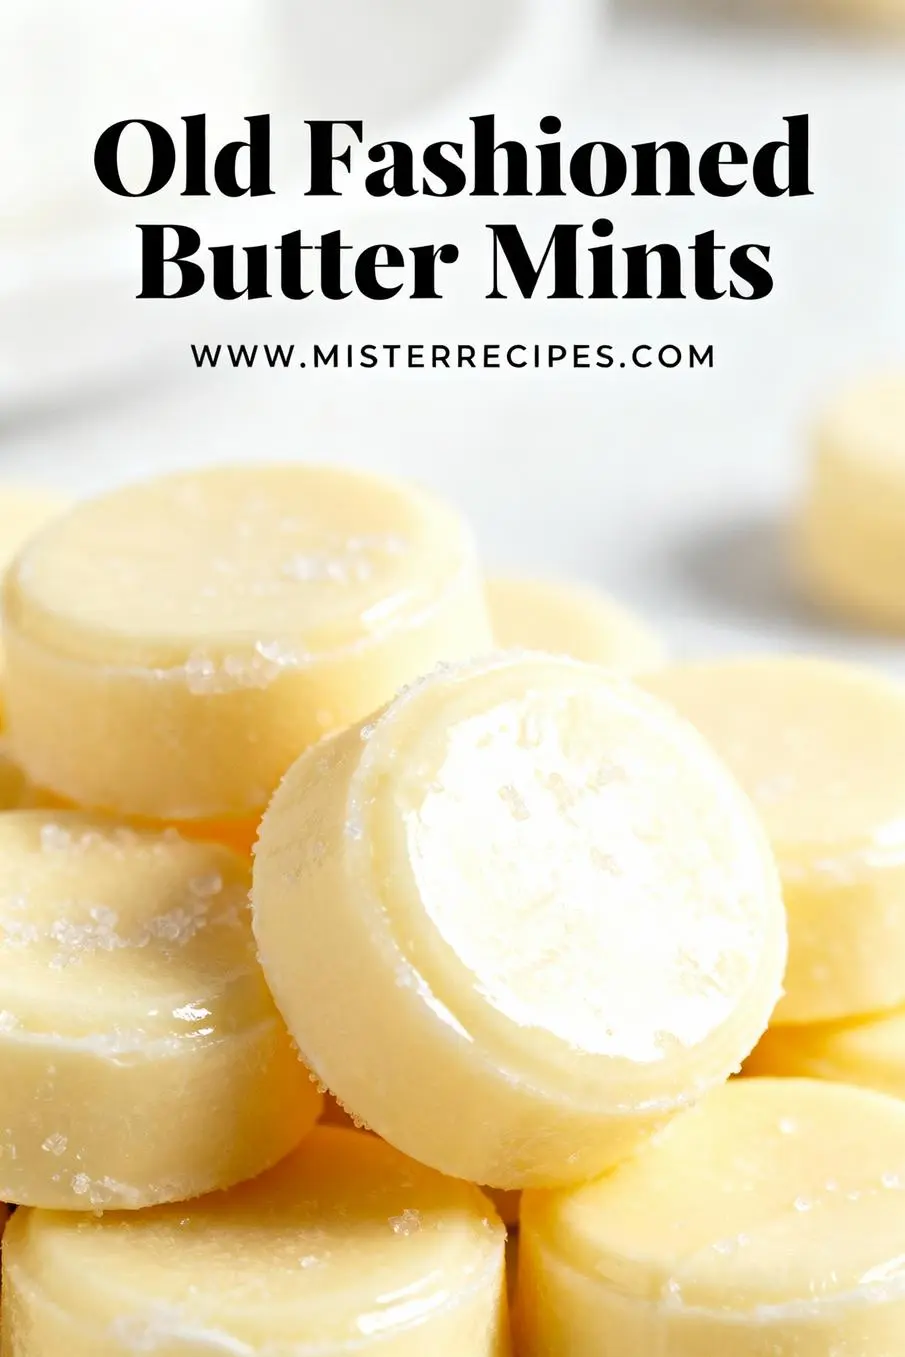
The Sweet Nostalgia of My Grandmother’s Old-Fashioned Butter Mints
Do you remember the tiny, pastel colored treats that used to sit in a crystal dish at your grandmother’s house during the holidays? I certainly do. Every time I smell peppermint, I am transported back to my grandmother’s kitchen in Texas. She always said that Cooking isn’t just about food; it’s about making people happy, and nothing made us happier than her Old-Fashioned Butter Mints. These aren’t just candies; they are little clouds of soft melt in your mouth butter mints that dissolve the moment they hit your tongue. My wife Emily and I recently decided to bring this tradition back into our own home, much to the delight of Adams and Jana. Watching my kids’ eyes light up as they helped roll out the peppermint candy dough mints brought back so many memories of my own childhood. Today, I want to show you how to make old fashioned butter mints so you can create these sweet moments with your own family.
Table of Contents
- Why You’ll Love This Old-Fashioned Butter Mints
- Ingredients for Old-Fashioned Butter Mints
- How to Make Old-Fashioned Butter Mints
- Pro Tips & Variations
- Old-Fashioned Butter Mints Serving Suggestions
- Old-Fashioned Butter Mints Storage & Reheating
- FAQ about Old-Fashioned Butter Mints
- Final Thoughts
Why You’ll Love This Old-Fashioned Butter Mints
There is a reason why homemade butter mints have stood the test of time. In a world of store bought hard candies, these vintage butter mints offer a texture that is uniquely creamy and delicate. Here is why you and your family will fall in love with this easy homemade butter mints recipe:
- Pure Nostalgic Bliss: This is a true grandma’s butter mints recipe. One bite takes you back to Christmas butter mints served at family reunions and holiday parties.
- Kitchen Bonding: This is an incredible project for kids. Adams and Jana love the hands on nature of kneading the dough. It feels more like play than cooking.
- Budget Friendly Elegance: You only need a few pantry staples like powdered sugar and butter to create something that looks like it came from a high end confectionary shop.
- Versatile Flavors: While we love the classic peppermint butter mints, you can easily adapt this to become after dinner mints or even wedding mints for a special occasion.
- Perfect for Gifting: Much like my Easy Homemade Butter Toffee Pretzels, these mints make a wonderful gift when packed in a glass jar with a ribbon.
Ingredients for Old-Fashioned Butter Mints
The beauty of the classic homemade butter mints lies in its simplicity. We are using rich fats and sweet sugar to create a luxurious texture. Grab your apron and let’s get these ingredients ready!
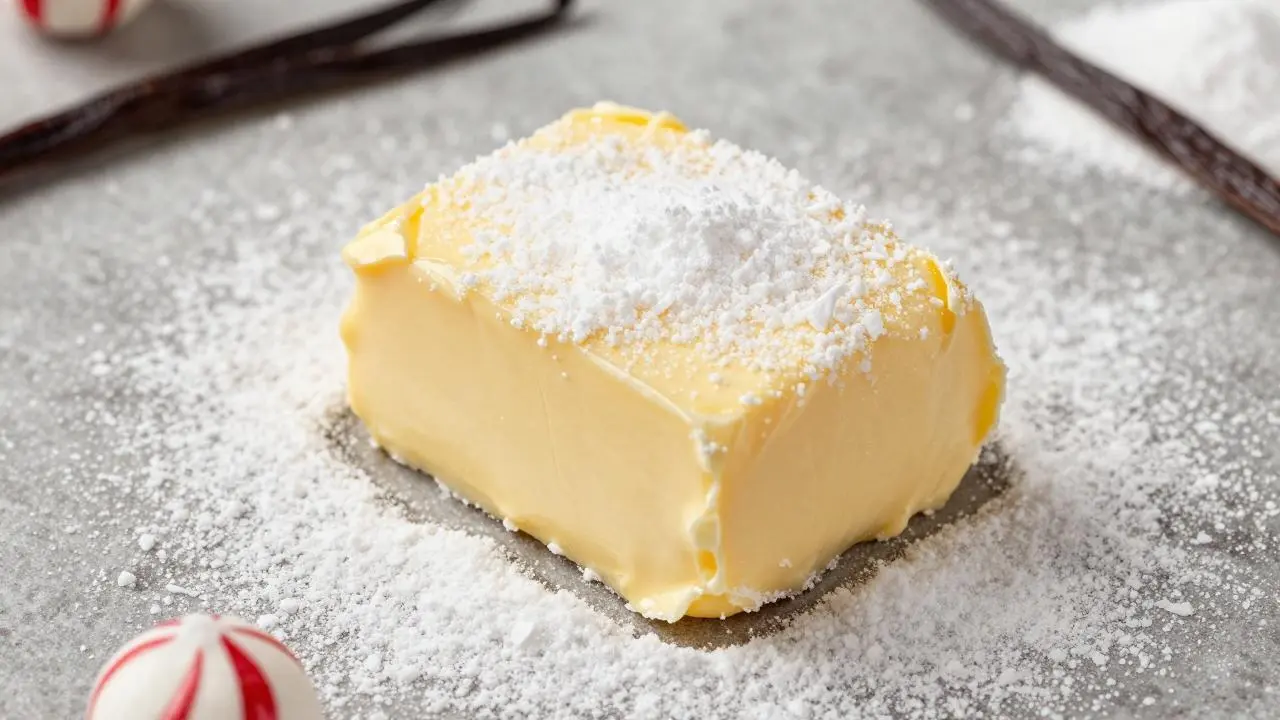
- Unsalted Butter: Make sure it is softened to room temperature. This is the heart of the butter mints recipe.
- Powdered Sugar: Also known as confectioners’ sugar. Sift it if you want the smoothest possible result.
- Heavy Cream: This provides the creamy, southern butter mints texture. You can also use half and half or sweetened condensed milk for a richer finish.
- Peppermint Extract: Use a high quality pure extract for that crisp, clean flavor.
- Salt: Just a pinch to balance the intense sweetness.
- Food Coloring: Optional, but gel colors work best to achieve those classic pastel pinks, greens, and yellows.
How to Make Old-Fashioned Butter Mints
Step-by-Step Instructions
- Cream the Butter: In a large mixing bowl, beat the softened butter until it is smooth and pale. I like to use a stand mixer for this, but a hand mixer works just as well. You want it to be light and airy.
- Incorporate the Sugar: Slowly add the powdered sugar one cup at a time. The mixture will look crumbly at first. This is where the magic happens.
- Add Liquids: Pour in the heavy cream, peppermint extract, and salt. Continue mixing on low speed until a dough begins to form. If it feels too sticky, add a little more sugar. If it is too dry, add a teaspoon of cream.
- Knead and Color: Turn the dough out onto a surface lightly dusted with confectioners’ sugar. If you are using food coloring, divide the dough and add a tiny drop to each portion. Knead it by hand until the color is uniform. This is Jana’s favorite part.
- Roll into Ropes: Take a small piece of dough and roll it into a long, thin rope about the thickness of a pencil.
- Cut the Mints: Use a sharp knife or a bench scraper to cut the rope into small, half inch pieces.
- The Drying Phase: Transfer the mints to a parchment lined baking sheet. Now comes the hard part. Patience. These need to air dry for at least 24 to 48 hours. This allows the outside to develop a slight crust while the inside stays soft and creamy.
Pro Tips & Variations
After many batches of these old fashioned holiday butter mints, I have learned a few tricks to ensure they turn out perfectly every time. If you enjoy making candies, you might also like my Classic Homemade Orange Candy Recipe for a citrusy twist.
- Temperature Matters: Don’t melt the butter. If the butter is melted, the mints won’t hold their shape and will greasy. Softened is the goal.
- Cream Cheese Twist: Many recipes, like those found on Sugar Spun Run, use cream cheese mints as a variation. Simply swap half the butter for cream cheese for a tangier, denser mint.
- Vegan Option: You can make these dairy free by using a high quality vegan butter stick and coconut cream.
- Flavor Exploration: While peppermint is king, you can try wintergreen, spearmint, or even vanilla extract for a different profile.
- Size Consistency: Try to keep the mints the same size so they dry at the same rate. Professional bakers sometimes use a small piping bag to create uniform shapes.
Old-Fashioned Butter Mints Serving Suggestions
These Old-Fashioned Butter Mints are the ultimate multi taskers. I love serving them alongside a spread of Christmas butter mints and other treats. They pair beautifully with a cup of hot cocoa or coffee after a big meal.
For a festive party, try arranging them on a tray with Perfect Meringue Kisses. The contrasting textures of the crunchy meringue and the soft melt in your mouth butter mints is heavenly. If you are hosting a summer gathering, these mints are a refreshing palate cleanser after a heavy meal. They even look beautiful on a dessert board next to Strawberry Cheesecake Cookies.
Old-Fashioned Butter Mints Storage & Reheating
Proper storage is key to keeping your homemade butter mints fresh and delicious. Since these are high sugar candies, they actually store quite well. Do not attempt to reheat these, as they will melt into a sugary puddle.
- Room Temperature: Once fully dried, store them in an airtight container at room temperature for up to 2 weeks.
- Refrigeration: If your house is warm, you can keep them in the fridge for up to a month. Just make sure the container is tightly sealed to prevent them from absorbing other fridge odors.
- Freezing: These freeze beautifully. Place them in a freezer bag and they will last for up to 3 months. Emily likes to eat them straight from the freezer for an extra refreshing treat.
FAQ about Old-Fashioned Butter Mints
How to make old fashioned butter mints that don’t crumble?
The secret is the balance of moisture. If your dough is too crumbly while you are rolling it, add a few drops of heavy cream. If the finished mints are crumbling, they may have dried too fast or didn’t have enough fat. Stick to the ratio in this easy homemade butter mints recipe for the best results.
Why are my butter mints still soft after 24 hours?
Humidity is the enemy of candy making. If it is a rainy day, your mints might need an extra 24 hours to develop that signature crust. You can also refer to guides like Averie Cooks for more troubleshooting on texture.
Can I use granulated sugar instead of powdered sugar?
No. The fine texture of confectioners’ sugar is essential for the melt in your mouth quality. Granulated sugar will result in a grainy, crunchy candy that lacks the elegance of a true southern butter mint.
Final Thoughts
Making Old-Fashioned Butter Mints is more than just a baking project. It is a way to preserve a piece of history and share it with the next generation. Every time I sit at the table with Adams and Jana, rolling out these mint ropes, I feel a connection to my grandmother. Cooking is about those quiet moments of togetherness and the joy of creating something by hand. I hope these mints bring as much sweetness to your home as they do to mine. Don’t forget to save this recipe on Pinterest and let me know in the comments how your batch turned out. Happy cooking! Grab your apron!
Old-Fashioned Butter Mints
Ingredients
Equipment
Method
- In a large mixing bowl, beat the softened butter using a stand mixer or hand mixer until it is smooth and pale, about 2-3 minutes.
- Slowly add the powdered sugar one cup at a time, mixing on low speed until incorporated. The mixture may look crumbly at first.
- Pour in the heavy cream, peppermint extract, and salt. Continue mixing on low speed until a dough forms. If it's too sticky, add a little more sugar; if too dry, add a teaspoon of cream.
- Turn the dough out onto a surface lightly dusted with powdered sugar. If using food coloring, divide the dough and knead in a tiny drop to each portion until uniform.
- Take a small piece of dough and roll it into a long, thin rope about the thickness of a pencil.
- Use a sharp knife to cut the rope into small, half-inch pieces.
- Transfer the mints to a parchment-lined baking sheet. Let them air dry for at least 24 to 48 hours, or until the outside develops a slight crust while the inside remains soft and creamy.


