
Introduction
Do you ever taste something that instantly teleports you back to being eight years old, sitting on a linoleum kitchen floor while the afternoon sun streams through the window? For me, that memory is inseparable from the bright, fluffy, and undeniably pink coconut snowball cake bars that my grandmother used to make. She called them her little clouds of heaven. Growing up in Texas, everything was bigger, including the flavors. While her BBQ was legendary, her ability to whip up easy pink coconut snowball cake bars for a church potluck or a rainy Tuesday afternoon was what truly cemented her as a kitchen wizard. I remember Jana, my nine year old, asking me just last week why we do not have pink food more often. It made me realize that I had not shared this specific bit of nostalgia with her or Adams yet. Cooking is not just about filling stomachs. It is about making people happy and passing down those sweet, sticky threads of family history. These pink coconut cake bars are a total Hostess SnoBall copycat cake experience, but elevated with a homemade touch that makes Emily smile every time she grabs one from the counter. Grab your apron, because we are making memories today.
Table of Contents
- Why You’ll Love This Pink Coconut Snowball Cake Bars
- Ingredients for Pink Coconut Snowball Cake Bars
- How to Make Pink Coconut Snowball Cake Bars
- Pro Tips & Variations
- Pink Coconut Snowball Cake Bars Serving Suggestions
- Pink Coconut Snowball Cake Bars Storage & Reheating
- FAQ about Pink Coconut Snowball Cake Bars
- Final Thoughts
Why You’ll Love This Pink Coconut Snowball Cake Bars
When I think of the perfect family dessert, I look for three things. It has to be fun, it has to be delicious, and it has to be approachable. These coconut snowball dessert bars check every single box. Whether you are looking for easy holiday desserts or pink coconut snowball cake bars for baby showers and parties, this recipe adapts to the occasion beautifully. It is essentially a nostalgic pink coconut snowball dessert that feels sophisticated enough for a dessert table but simple enough for a weeknight treat with the kids.
- Total Crowd Pleaser: I have never met a kid, or a grown man like myself, who can resist a pink snowball cake. The texture of the shredded or desiccated coconut against the soft crumb is unbeatable.
- Quick and Convenient: This version is one of those quick family dessert ideas that uses simple pantry staples. You do not need a degree in pastry arts to master the creamy pink coconut snowball cake bars look.
- Customizable Bases: While I love a classic vanilla, you can easily turn these into pink coconut snowball cake bars with chocolate base if you are craving that deep cocoa contrast.
- Perfect for Gifting: Much like my buttery pecan snowballs recipe, these bars wrap up perfectly in parchment paper for neighbors and friends.
- No Special Equipment Required: You just need a standard baking pan and a couple of bowls. It is the definition of easy coconut cake recipes made for real life.
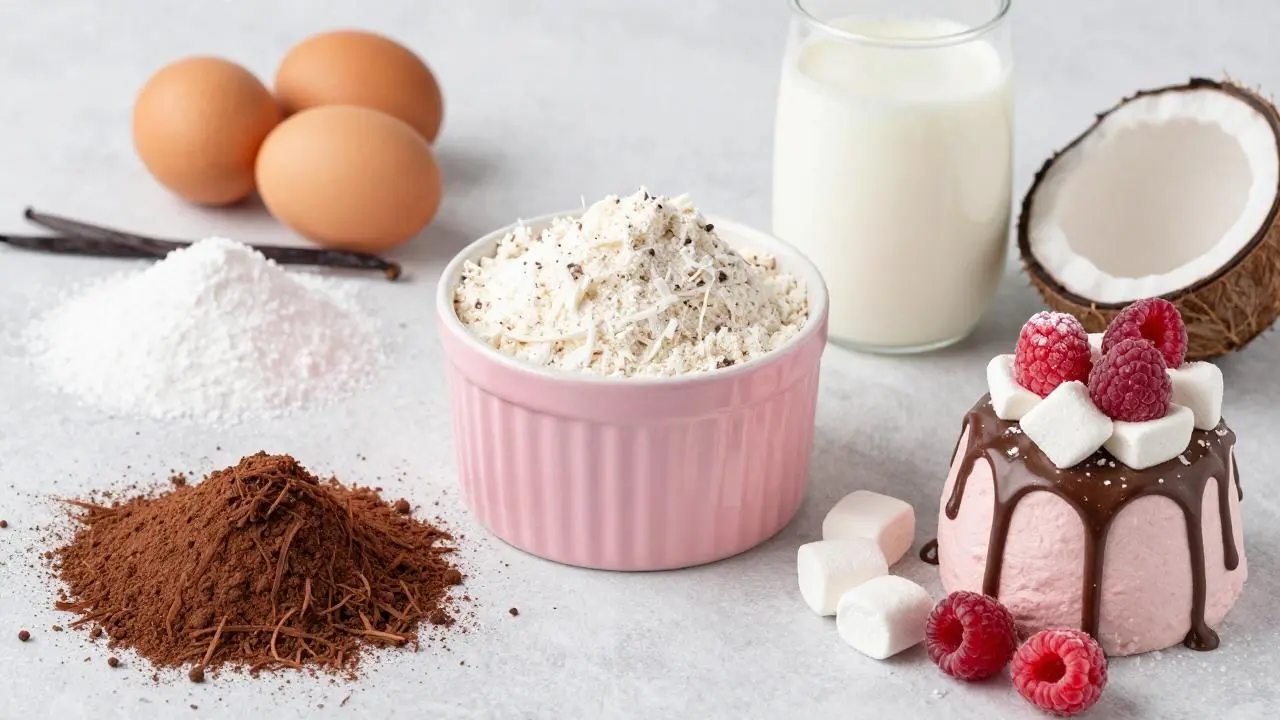
Ingredients for Pink Coconut Snowball Cake Bars
Getting your ingredients ready is half the fun. I always involve Adams in this part. He is twelve now and takes his job as Head Ingredient Measurer very seriously. To make these homemade cake bar recipes work perfectly, we need a balance of moisture and structure. This recipe leans on the traditional pink coconut snowball cake bars with cocoa powder or a light vanilla sponge depending on your mood. We are going with the light sponge today for that classic look.
- All-purpose flour: The backbone of our coconut snowball cake bars. It provides the perfect crumb that is not too heavy.
- Granulated sugar: For that essential sweetness that makes these festive holiday pink coconut snowball dessert bars shine.
- Unsalted butter: Softened to room temperature. This gives us that rich, buttery mouthfeel.
- Large eggs: These provide the lift and structure for our coconut cake squares aka snowballs.
- Baking powder: Ensuring our bars are light and airy, not like a brick.
- Vanilla extract: Use the good stuff if you can. It elevates the pink coconut marshmallow cake vibe.
- Buttermilk: This is my secret ingredient for moisture. If you don’t have it, a splash of coconut milk works wonders too.
- Pink food coloring: Just a drop or two of gel color to get that iconic pink coconut topping just right.
- Shredded coconut: You can use sweetened or unsweetened, but grandma always used sweetened for that extra treat factor.
- Marshmallow cream: This creates that marshmallow frosting snowball cake layer that makes these truly legendary.
How to Make Pink Coconut Snowball Cake Bars
Step-by-Step Instructions
Making pink coconut snowball cake bars with cream cheese layer or a simple marshmallow top is a process that fills the whole house with the smell of sweet butter and tropical coconut. It is the kind of aroma that brings Emily into the kitchen to see what is happening before the timer even goes off. Follow along, and remember, baking should be a joy, not a chore.
- Prep Your Space: Preheat your oven to 350 degrees. Grease a 9×13 baking pan with extra butter or a quick spray. I like to line mine with parchment paper so I can lift the pink coconut snowball dessert bars right out for easy slicing.
- Cream the Butter and Sugar: In a large bowl, beat your softened butter and granulated sugar until it is light and fluffy. This usually takes about three minutes. You want it to look like pale clouds.
- Add the Eggs: Beat in the eggs one at a time. The mixture should look silky. Stir in your vanilla extract. If you are going for a pink coconut snowball cake bars with chocolate base and cream layer, this is where you would traditionally add your sifted cocoa powder, but today we are keeping it bright and light.
- Dry and Wet Alternation: Sift your flour and baking powder together. Add about a third of the flour to the butter mixture, then splash in some buttermilk. Continue alternating until everything is just combined. Do not overmix, or your snowball cake bars recipe results will be tough.
- Bake to Perfection: Pour the batter into the pan and smooth the top. Bake for 25 to 30 minutes. You will know it is ready when a toothpick comes out clean and the edges just start to pull away from the sides. Let it cool completely. This is the hardest part for Jana and Adams!
- The Marshmallow Layer: Spread a thick, generous layer of marshmallow cream or marshmallow frosting snowball cake over the cooled bars. This acts as the glue for our pink coconut topping.
- Create the Pink Coconut: In a small bowl, toss your shredded coconut with a drop of pink food coloring. Rub it between your fingers until the color is even. Sprinkle this gorgeous pink layer over the marshmallow. It should look like a winter wonderland in pink.
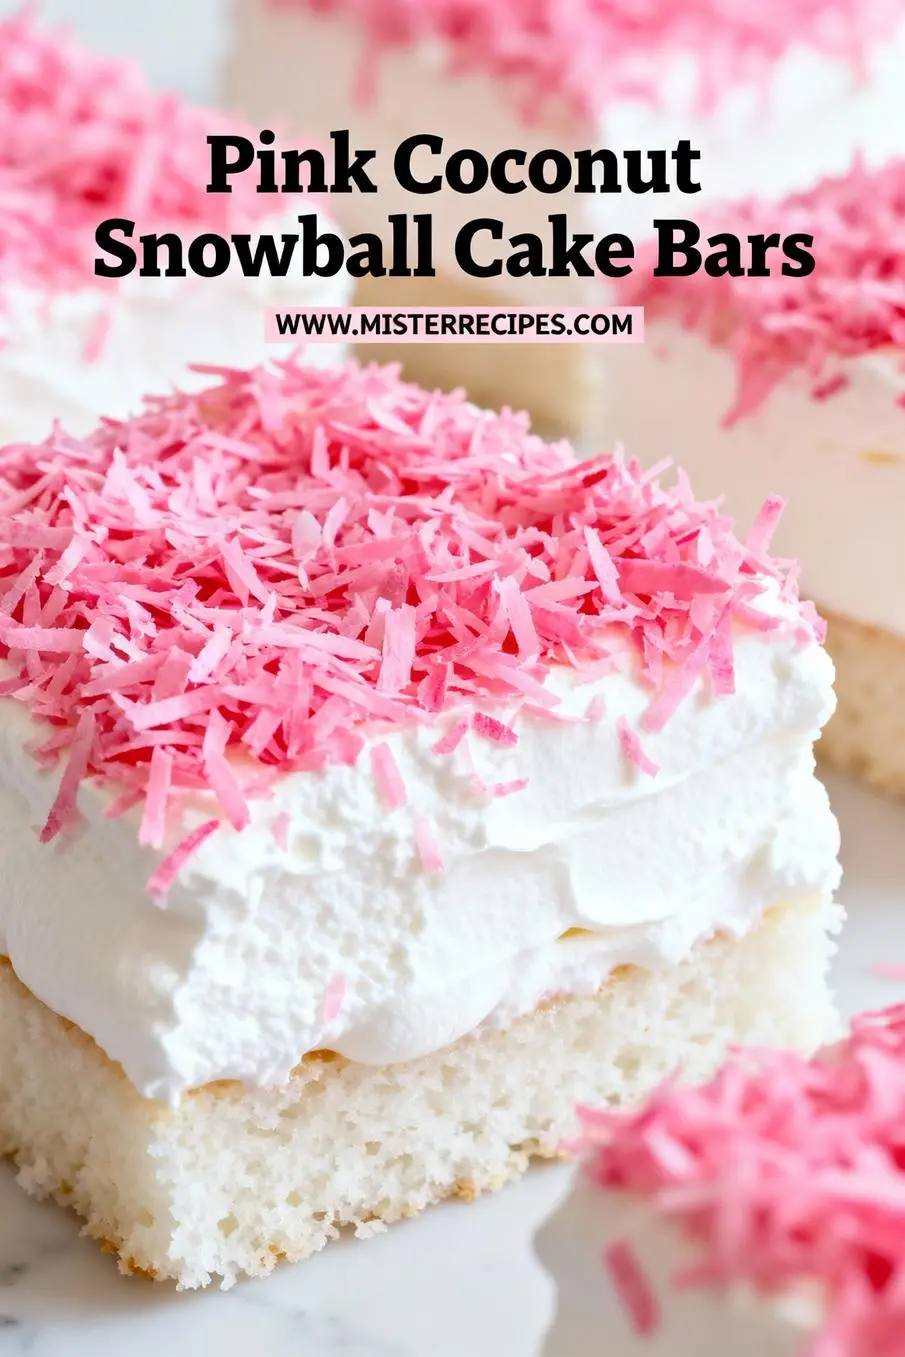
- Slice and Serve: Carefully lift the coconut cake squares out of the pan and cut into even bars. I love seeing the layers of white cake, white marshmallow, and pink coconut.
Pro Tips & Variations
Every home cook has their own little secrets. Over the years, I have learned a few tricks to make these pink coconut snowball cake bars using boxed brownie mix if I am in a real rush, but the from scratch version always wins on flavor. If you want more inspiration for small treats, check out my valentines brownie bites recipe for another pink themed favorite.
- Natural Coloring: If you want to avoid artificial dyes, try using beetroot powder or freeze dried raspberries to color your coconut. It gives a beautiful blush and a tiny hint of berry flavor.
- Gluten-Free Option: You can easily make gluten free pink coconut snowball cake bars with almond flour or a high quality 1 to 1 gluten free blend. Just ensure your baking powder is also gluten free.
- Dairy-Free Twist: Swap the butter for a vegan alternative and use coconut milk cake bars techniques by utilizing full fat coconut cream for the moisture.
- The Chocolate Base: For those who love the Hostess snowball cake contrast, use a dark cocoa powder in the base recipe to create chocolate coconut bars that look stunning under the pink topping.
- Storage Tip: These stay incredibly moist thanks to the marshmallow. If you find the marshmallow is too sticky to cut, pop the whole tray in the fridge for twenty minutes before slicing.
- Try a Fruit Glaze: Following some ideas from Daily Easy Meals, you can even add a thin raspberry jam layer under the marshmallow for extra zing.
Pink Coconut Snowball Cake Bars Serving Suggestions
These pink coconut snowball cake bars are pretty enough to stand on their own, but they love company. Since they are quite sweet and rich, I like to balance them out with something a bit more savory or a crisp beverage. When we host our neighborhood game night, I often serve these alongside my chocolate chip cookie bars game day desserts to give people a variety of textures.
For a sophisticated dessert tray, pair these with some tart fruit. A bowl of fresh raspberries or sliced strawberries complements the pink coconut dessert bars perfectly. If you are serving these as a holiday pink coconut snowball dessert bars treat, a hot cup of black tea or a strong espresso provides a wonderful bitter contrast to the sugary marshmallow frosting. Jana loves them with a glass of cold milk, which is a classic for a reason. If you want to go all out for a party, arrange them on a platter with some soft chewy pink velvet sugar cookies for a monochromatic pink dessert theme that looks professional and festive.
Pink Coconut Snowball Cake Bars Storage & Reheating
Keeping your creamy pink coconut snowball cake bars fresh is easy, but there are a few things to keep in mind regarding that marshmallow layer. Marshmallow can be a bit finicky in high humidity, so storage matters.
- Room Temperature: You can keep these in an airtight container at room temperature for up to 3 days. Just make sure they are in a cool, dry spot.
- Refrigeration: If your house is warm, I highly recommend storing your coconut snowball cake bars in the fridge. They will last up to a week this way. Some people even prefer them cold as it makes the marshmallow layer a bit Chewier.
- Freezing: These freeze surprisingly well! Wrap individual coconut cake squares in plastic wrap and then place them in a freezer bag. They will stay fresh for up to 3 months. Let them thaw at room temperature before eating.
- Reheating: Honestly, these are best served cool or at room temperature. I do not recommend microwaving them, as the marshmallow will melt into a sticky puddle and lose that beautiful Hostess snowball copycat cake structure.
FAQ about Pink Coconut Snowball Cake Bars
Can I make these no bake?
While this specific recipe requires baking the base, you can certainly make a no-bake pink coconut snowball bars version using a base of crushed graham crackers and melted butter, similar to a cheesecake crust. Just press it down firmly before adding your layers.
How do I get the coconut so pink?
The secret is using gel food coloring rather than liquid. Gel is more concentrated and won’t make your pink coconut topping soggy. Just a tiny toothpick dab is all you need for a bright, festive pink.
Can I use a cake mix instead?
Absolutely. If you are in a pinch, using a white cake mix as the base for your pink coconut snowball cake bars works perfectly. Just bake according to the package directions in a 9×13 pan, let it cool, and then proceed with the marshmallow and coconut steps.
Are these the same as Hostess Snoballs?
They are a tribute to them! These Hostess SnoBall copycat cake bars offer the same flavor profile but with a much better texture because we are using real butter and fresh ingredients. It is a retro pink coconut cake bars experience that tastes better than the original.
Final Thoughts
Baking these pink coconut snowball cake bars always reminds me that the best things in life are often the simplest ones. It is not about the most expensive ingredients or the most complicated techniques. It is about the smile on Jana’s face when she sees the pink coconut, the way Adams tries to sneak a piece before dinner, and the quiet moment Emily and I share over a plate of treats after the kids are in bed. These winter coconut snowball treats are a way to bring a little bit of grandmother’s Texas kitchen into my own home here in the modern day. I hope they bring as much joy to your family as they do to mine. If you make these, please come back and leave a comment or share a photo on Pinterest. I love seeing what you are cooking up in your own kitchens. Remember, cooking is about people. Happy baking!
Pink Coconut Snowball Cake Bars
Ingredients
Equipment
Method
- Preheat your oven to 350°F (175°C). Grease a 9x13-inch baking pan or line it with parchment paper for easy removal.
- In a large mixing bowl, beat the softened butter and granulated sugar with a hand mixer until light and fluffy, about 3 minutes.
- Add the eggs one at a time, beating well after each addition. Stir in the vanilla extract.
- In a separate bowl, sift together the flour and baking powder.
- Alternately add the flour mixture and buttermilk to the butter mixture, starting and ending with the flour. Mix until just combined; do not overmix.
- Pour the batter into the prepared pan and smooth the top. Bake for 25-30 minutes, or until a toothpick inserted in the center comes out clean.
- Allow the cake to cool completely in the pan on a wire rack.
- Spread a generous layer of marshmallow cream evenly over the cooled cake.
- In a small bowl, combine the shredded coconut and 1-2 drops of pink food coloring. Gently toss until evenly colored.
- Sprinkle the pink coconut mixture over the marshmallow cream layer.
- Lift the cake out of the pan using the parchment paper and cut into 24 even bars. Serve immediately or store as directed.


