
Have you ever wondered if a single cookie could capture the entire magic of the holiday season? It sounds like a tall order, but data from Pinterest suggests that searches for “showstopper Christmas cookies” have skyrocketed by over 300% in the last two years. People aren’t just looking for something tasty; they’re searching for a recipe that creates a memory, a tradition, an experience. This is where the enchanting Stained Glass Window Cookies come in. Long before I started Mister Recipes, my holiday baking was all about connecting with my family. I remember my son Adam, then just a little boy, pressing his face against the oven door, his eyes wide with wonder as the crushed candies melted into gleaming, jewel toned windows. That moment, that pure, unfiltered joy, is baked into the very heart of this recipe.
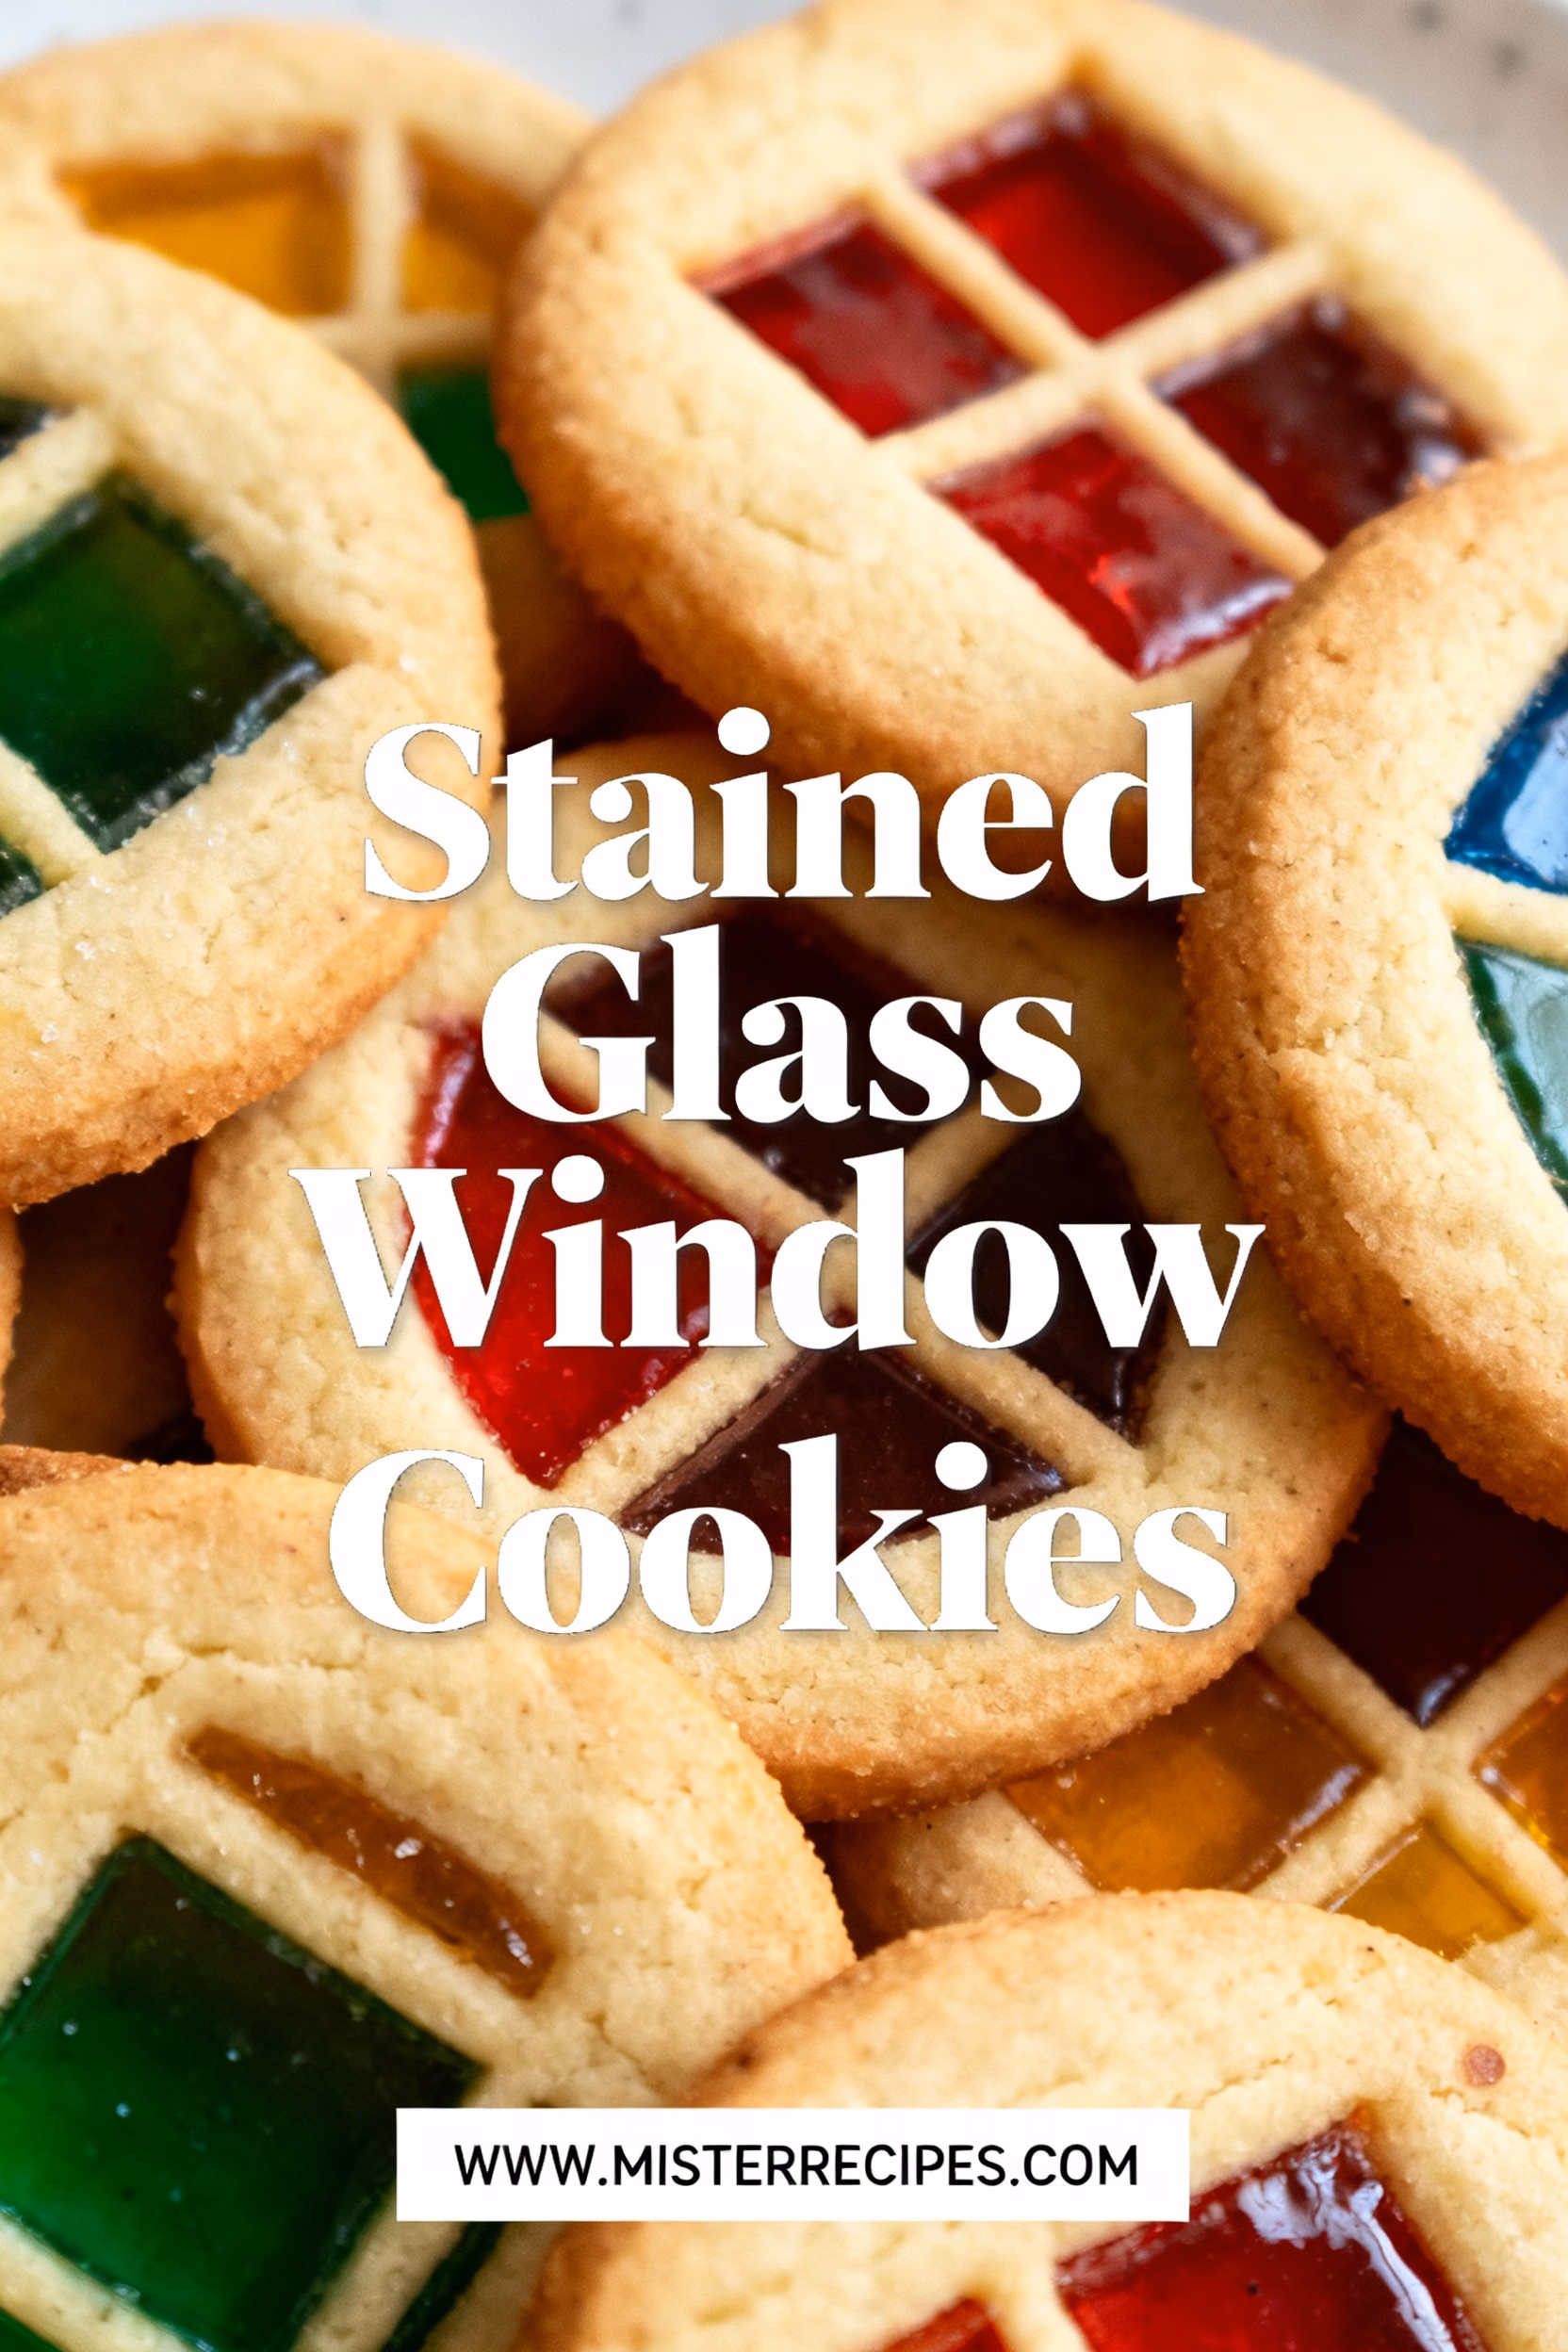
These aren’t just any Christmas cookies; they are a delightful craft and a delicious treat all in one. The concept is simple yet brilliant: a buttery, crisp sugar cookie acts as a frame for a beautiful, translucent candy “glass” center. When you hold them up to the light, they genuinely look like miniature stained glass windows, casting colorful light that seems to dance. They transform your cookie platter from a simple dessert offering into a centerpiece of edible art. For me, making these cookies is a cherished holiday tradition, a way to slow down during a busy season and create something truly beautiful with my kids. It’s more than a recipe; it’s a way to weave new memories, one sparkling cookie at a time. Whether you’re a seasoned baker or just starting out, I promise these cookies will bring a touch of wonder to your kitchen.
Why You’ll Love This Stained Glass Window Cookies
- They Are Incredibly Beautiful: Let’s be honest, these cookies are showstoppers. The vibrant, translucent candy centers look like real stained glass, especially when they catch the light. They will be the most talked about treat on your holiday cookie platter, guaranteed.
- A Fun and Magical Baking Project: This is the perfect recipe to make with kids. They love the “magic” of watching hard candies melt into a smooth, glassy window. From crushing the candies (a great way to let out some energy!) to cutting the shapes, it’s an interactive and memorable activity for the whole family.
- Deliciously Simple Flavor: Beyond their stunning looks, these cookies are genuinely delicious. The cookie itself is a rich, buttery sugar cookie that’s firm enough to hold its shape but tender enough to be enjoyable. It’s the perfect neutral, sweet frame for the fruity candy center.
- Perfect for Gifting: Because they are so unique and beautiful, Stained Glass Window Cookies make exceptional gifts. You can package them in clear bags tied with a ribbon or even hang them as edible ornaments on a Christmas tree. They show a level of care and creativity that store bought gifts just can’t match. For other giftable cookie ideas, check out these Chocolate Crinkle Cookies or some festive Red Velvet Kiss Cookies.
Ingredients for Stained Glass Window Cookies
- 1 cup (226g) unsalted butter, softened
- 1 cup (200g) granulated sugar
- 1 large egg
- 1 teaspoon vanilla extract
- 1/2 teaspoon almond extract (optional, but recommended)
- 3 cups (360g) all purpose flour
- 1/2 teaspoon baking powder
- 1/4 teaspoon salt
- 1 cup hard candies (like Jolly Ranchers or Life Savers), sorted by color
Substitutions:
- For Gluten Free: You can substitute the all purpose flour with a good quality 1 to 1 gluten free baking flour blend.
- For Candy: Any translucent hard candy will work. Avoid gummy or chalky candies. For a deeper dive into cookie variations, you might find this article on different candy types for windowpane cookies very helpful.
How to Make Stained Glass Window Cookies
Step-by-Step Instructions
- Crush the Candies: Begin by sorting your hard candies by color. Place each color group into its own heavy duty zip top bag. Using a meat mallet or a rolling pin, carefully crush the candies into small, coarse pieces. You don’t want powder, but you also don’t want large chunks. Set aside.
- Cream Butter and Sugar: In the bowl of a stand mixer fitted with the paddle attachment, or in a large bowl with a hand mixer, beat the softened butter and granulated sugar on medium high speed until light and fluffy, about 3 minutes.
- Add Wet Ingredients: Scrape down the sides of the bowl. Add the egg, vanilla extract, and almond extract. Beat on medium speed until well combined, about 1 minute.
- Combine Dry Ingredients: In a separate medium bowl, whisk together the all purpose flour, baking powder, and salt.
- Form the Dough: With the mixer on low speed, gradually add the dry ingredients to the wet ingredients. Mix until just combined. Be careful not to overmix. The dough will be soft.
- Chill the Dough: Divide the dough in half, flatten each half into a disc, and wrap tightly in plastic wrap. Refrigerate for at least 1 hour, or until firm. This step is crucial for preventing the cookies from spreading too much.
- Preheat and Prep: Preheat your oven to 350°F (175°C). Line two baking sheets with parchment paper. Do not use a silicone mat, as the hot candy can fuse to it.
- Roll and Cut: On a lightly floured surface, roll one disc of dough out to about 1/4 inch thickness. Use a large cookie cutter to cut out your main shapes (stars, circles, etc.). Place them on the prepared baking sheet.
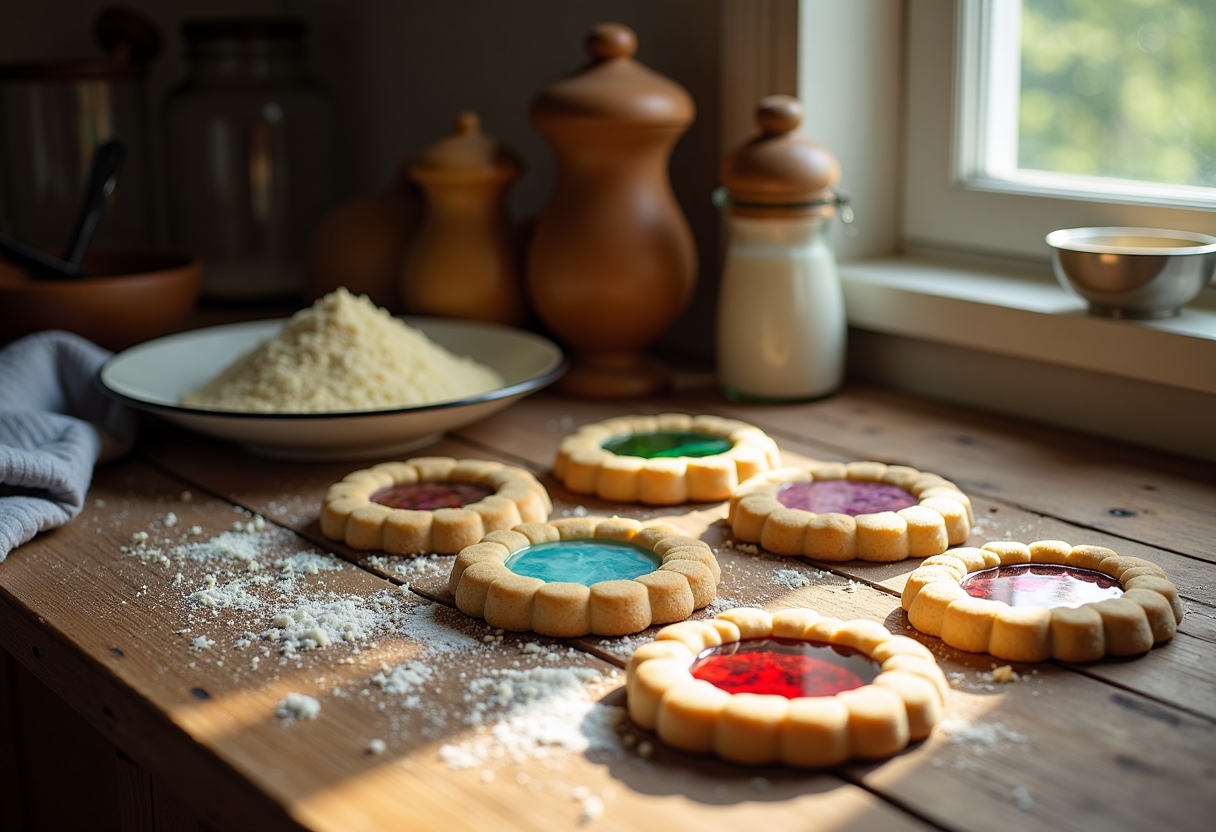
- Create the “Window”: Using a smaller cookie cutter of a similar shape, cut out the center of each cookie. Remove the small center piece of dough.
- Fill with Candy: Carefully spoon the crushed candy into the center cutouts of each cookie. Fill it just up to the level of the dough. Try not to get candy dust on the cookie dough itself, as it can burn.
- Bake: Bake for 9-12 minutes, or until the edges are lightly golden and the candy has fully melted and is bubbling.
- Cool Completely: Let the cookies cool on the baking sheet for at least 10-15 minutes. This allows the melted candy to harden completely. If you try to move them too soon, the hot candy will run out. Once the candy is solid, transfer the cookies to a wire rack to cool completely.
Pro Tips & Variations
- Don’t Skip the Chill: Chilling the dough is essential. Cold dough holds its shape much better and prevents the delicate frames from spreading and breaking during baking.
- Parchment Paper is a Must: Do not use a silicone baking mat or grease the pan. The melted candy can become extremely hot and may permanently bond to silicone. Parchment paper allows for easy, clean removal once the cookies are cool.
- Crush Candy Correctly: Aim for a coarse sand texture when crushing your candies. If the pieces are too large, they might not melt evenly. If they are too fine (like powder), the color can become cloudy.
- Flavor Variations: Feel free to experiment! Add a 1/2 teaspoon of lemon or orange zest to the dough for a citrusy kick. You could also swap the vanilla extract for peppermint extract for a more classic Christmas flavor, similar to our Candy Cane Kiss Cookies.
- Holiday Variations: Use heart shaped cutters for Valentine’s Day or flower shapes for Easter. These cookies are wonderfully adaptable for any occasion that calls for a bit of sparkle.
Serving Suggestions
These Stained Glass Window Cookies are a centerpiece on their own, but they play well with others! Create an unforgettable holiday dessert board by pairing them with other festive treats. The buttery crunch of these cookies is a wonderful contrast to the soft, chewy texture of our Soft Molasses Cookies or the rich, fudgy bite of our famous Andes Mint Chocolate Cookies. For a truly decadent experience, serve them alongside a mug of rich, homemade hot chocolate or a simple glass of cold milk. You can also use them as edible decorations; just poke a small hole in the dough before baking and thread a ribbon through after they have cooled.
Storage & Reheating for Stained Glass Window Cookies
To keep your Stained Glass Window Cookies looking and tasting their best, storage is key. Store them in a single layer in an airtight container at room temperature for up to one week. If you need to stack them, place a sheet of parchment paper between the layers to prevent the candy centers from sticking or scratching. Avoid refrigerating them, as the moisture in the fridge can make the candy centers sticky and cloudy. These cookies are best enjoyed at room temperature and do not require reheating. Due to the hard candy center, freezing is not recommended as the candy can become extremely hard or crack upon thawing.
FAQ about Stained Glass Window Cookies
Why did my candy centers turn out sticky or cloudy?
This usually happens due to humidity. Storing the cookies in the refrigerator or in a humid environment can cause the candy to absorb moisture and become sticky. Always store them in a well sealed, airtight container at room temperature. Cloudiness can also occur if the candy is crushed too finely into a powder.
Can I use different types of cookies as the frame?
While our buttery sugar cookie recipe is optimized for this, you could also try a gingerbread cookie base for a spiced holiday version. For inspiration, check out the dough used in this classic gingerbread recipe. Just ensure the cookie is sturdy and doesn’t spread too much.
Can I make the dough in advance?
Absolutely! The cookie dough can be made and refrigerated for up to 3 days. You can also freeze the dough discs for up to 3 months. Just let the dough thaw in the refrigerator overnight before rolling it out.
Final Thoughts on Stained Glass Window Cookies
Every time I bake a batch of these Stained Glass Window Cookies, I’m transported back to those magical holiday moments with my family. This recipe is more than just a list of ingredients; it’s an invitation to create your own joyful memories. So gather your loved ones, put on some festive music, and fill your kitchen with the sweet scent of baking and the sound of laughter.
If you make these cookies, I would absolutely love to see them! Please leave a comment below and let me know how they turned out, or tag me on social media. And for more recipes that bring families together, don’t forget to subscribe to our newsletter and save this recipe to your favorite Pinterest board!
Stained Glass Window Cookies
Ingredients
Equipment
Method
- Crush the Candies: Begin by sorting your hard candies by color. Place each color group into its own heavy duty zip top bag. Using a meat mallet or a rolling pin, carefully crush the candies into small, coarse pieces. You don’t want powder, but you also don’t want large chunks. Set aside.
- Cream Butter and Sugar: In the bowl of a stand mixer fitted with the paddle attachment, or in a large bowl with a hand mixer, beat the softened butter and granulated sugar on medium high speed until light and fluffy, about 3 minutes.
- Add Wet Ingredients: Scrape down the sides of the bowl. Add the egg, vanilla extract, and almond extract. Beat on medium speed until well combined, about 1 minute.
- Combine Dry Ingredients: In a separate medium bowl, whisk together the all purpose flour, baking powder, and salt.
- Form the Dough: With the mixer on low speed, gradually add the dry ingredients to the wet ingredients. Mix until just combined. Be careful not to overmix. The dough will be soft.
- Chill the Dough: Divide the dough in half, flatten each half into a disc, and wrap tightly in plastic wrap. Refrigerate for at least 1 hour, or until firm. This step is crucial for preventing the cookies from spreading too much.
- Preheat and Prep: Preheat your oven to 350°F (175°C). Line two baking sheets with parchment paper. Do not use a silicone mat, as the hot candy can fuse to it.
- Roll and Cut: On a lightly floured surface, roll one disc of dough out to about 1/4 inch thickness. Use a large cookie cutter to cut out your main shapes (stars, circles, etc.). Place them on the prepared baking sheet.
- Create the “Window”: Using a smaller cookie cutter of a similar shape, cut out the center of each cookie. Remove the small center piece of dough.
- Fill with Candy: Carefully spoon the crushed candy into the center cutouts of each cookie. Fill it just up to the level of the dough. Try not to get candy dust on the cookie dough itself, as it can burn.
- Bake: Bake for 9-12 minutes, or until the edges are lightly golden and the candy has fully melted and is bubbling.
- Cool Completely: Let the cookies cool on the baking sheet for at least 10-15 minutes. This allows the melted candy to harden completely. If you try to move them too soon, the hot candy will run out. Once the candy is solid, transfer the cookies to a wire rack to cool completely.


