
From My Kitchen to Yours: A Spooky, Savory Story of Stuffed Pizza Skulls
Did you ever think you could hold the entire spirit of an October evening in the palm of your hand? Here in Bend, the air gets that particular crispness as soon as the sun dips behind the Cascades, carrying the scent of pine and damp earth. It’s the kind of air that makes you want to pull on a cozy sweater, light a fire, and gather your loved ones close. For our family, it also signals the start of spooky season, when my two kids, Olivia and James, start plotting their Halloween costumes and my husband, Ethan, gets out his camera to capture the golden, moody light. In our kitchen, this feeling translates into a craving for ultimate comfort food, something warm, cheesy, and a little bit magical. That’s how our annual tradition of making Stuffed Pizza Skulls was born.
It started a few years ago when I found a silicone skull mold at a local kitchen shop. I saw it and immediately thought of my family’s deep love for pizza night. What if, I wondered, we could turn our favorite meal into a themed party food? Something more than just a slice, but a little pocket of warmth, a single, perfect bite that was both silly and satisfying. These aren’t just a novelty; they’ve become a part of our story. They represent the laughter that echoes in our kitchen as little hands try to stuff mozzarella into tiny crevices, the smell of baking dough and garlic that fills our home, and the quiet joy of sharing something you made together. This pizza skull recipe is more than instructions; it’s an invitation to create your own delicious memories. It’s a way to transform a simple meal into an experience, proving that the best cooking comes from a place of love and a little bit of spooky fun.
Why You’ll Love This Stuffed Pizza Skulls Recipe
Before we dive in, let me just tell you why this recipe has a permanent spot in my fall rotation. It’s one of those things that feels special enough for a party but is easy enough for a Tuesday night when you just need a little extra fun. When Ethan first photographed these, he said, “They look like something out of a storybook,” and that’s exactly what they feel like. They’re a conversation starter, a guaranteed smile-inducer, and just plain delicious. They embody everything I love about cooking: simplicity, connection, and a touch of whimsy. When you bring a platter of these to the table, steaming and golden, you’re not just serving food; you’re serving a moment of pure, unadulterated joy. It’s the kind of savory Halloween treat that gets everyone, from toddlers to grandparents, excited to take a bite. It’s a small way to make an ordinary day feel like a celebration, a little piece of edible magic that says, “I’m so glad we’re all here together.”
Here’s why I know you’ll fall in love with them too:
- Incredibly Fun and Kid-Friendly: This is the ultimate kid-friendly pizza skulls project. The process is like playing with edible clay. My kids, Olivia and James, love picking their own fillings and pressing the dough into the molds. It’s a wonderful, low-mess way to get them involved in the kitchen and sparks so much creativity. It’s one of my favorite edible crafts for Halloween.
- The Perfect Halloween Appetizer: Are you planning a get together? Look no further. These are the perfect Halloween party food pizza skulls. They are handheld, require no plates or forks, and are incredibly easy for guests to grab and enjoy. They look so impressive on a platter, especially with a side of marinara for dipping. They’re a guaranteed hit for any spooky gathering.
- Endlessly Customizable: The beauty of this pizza skull recipe is its versatility. You can fill them with anything your heart desires. Keep it classic with pepperoni and mozzarella, make a vegetarian pizza skulls recipe with mushrooms, peppers, and olives, or go for a gourmet version with prosciutto and goat cheese. You can truly make them your own.
- Surprisingly Simple to Make: Don’t let the impressive final product fool you; these are genuinely easy pizza skulls to assemble. Using store-bought pizza dough saves a ton of time, and the skull mold does all the heavy lifting for you. It’s a high-impact, low-effort recipe, which is the best kind in my book!
- Great for Making Ahead: You can assemble the skulls ahead of time and bake them just before your guests arrive. This means you get to spend more time enjoying the party and less time stressing in the kitchen. They also reheat beautifully, making them perfect for leftovers.
Ingredients for Stuffed Pizza Skulls
The ingredient list for these little guys is as simple and comforting as the recipe itself. We’re using classic pizza flavors that feel like a warm hug. I always believe in using what you have, so feel free to make swaps based on your family’s favorites.
- Pizza Dough: One 13.8 oz can of refrigerated pizza dough. You can also use your favorite homemade dough or even pizza skulls with crescent roll dough for a flakier texture.
- Marinara Sauce: ½ cup of your favorite marinara or pizza sauce. A thicker sauce works best to prevent the skulls from getting soggy.
- Mozzarella Cheese: 1 cup shredded low-moisture mozzarella cheese. It gives you that classic, glorious cheese pull.
- Mini Pepperoni: ½ cup mini pepperoni slices. If you only have regular pepperoni, just give it a rough chop.
- Italian Seasoning: 1 teaspoon of dried Italian seasoning.
- Garlic Powder: ½ teaspoon of garlic powder for that extra savory kick.
- Egg: 1 large egg, beaten with a splash of water to create an egg wash. This is the secret to that beautiful golden-brown finish.
- Optional Fillings: Cooked sausage, diced bell peppers, chopped black olives, or sautéed mushrooms are all wonderful additions.
How to Make Stuffed Pizza Skulls
This is where the magic happens. Put on some music, pour yourself something nice, and let’s get started. Think of this not as a set of rules, but as a gentle guide. The most important ingredient here is having fun.
Step-by-Step Instructions
- Prepare Your Workspace: First things first, preheat your oven to 400°F (200°C). Lightly grease your silicone skull mold with non-stick cooking spray and place it on a baking sheet. This makes it so much easier to transfer to and from the oven.
- Unroll and Cut the Dough: Unroll your pizza dough onto a lightly floured surface. Using a pizza cutter or a knife, cut the dough into twelve roughly equal squares. Don’t worry about perfection here; rustic is part of the charm.
- Form the Skull Base: Gently press one square of dough into one of the skull cavities in your mold. Use your fingertips to press it down and up the sides, creating a little cup for your fillings. This is the part Olivia loves the most, making little nests out of the dough.
- Fill Them Up: Now for the fun part! Spoon about a teaspoon of marinara sauce into each dough-lined skull. Be careful not to add too much, as this can make them soggy. Sprinkle in a pinch of Italian seasoning and garlic powder, then top with a generous pinch of mozzarella cheese and a few mini pepperonis. The key is to fill them just enough so you can still seal them.
- Seal the Skulls: Take another square of dough and gently stretch it over the top of the filled skull. Press the edges of the top piece of dough firmly onto the edges of the bottom piece to create a seal. This keeps all that cheesy goodness inside while it bakes. Trim any excess dough from around the edges.
- Create Steam Vents: Using a sharp knife or a toothpick, carefully poke a small hole or two in the top of each skull. This allows steam to escape, which is crucial for a crisp crust and a perfectly cooked interior. I like to poke the vents where the eyes would be for an extra spooky pizza skulls recipe effect.
- Give Them a Golden Glow: In a small bowl, whisk your egg with a splash of water. Gently brush this egg wash over the top of each sealed skull. This simple step is what gives them that beautiful, shiny, golden-brown finish. It’s what makes them look truly special.
- Bake to Perfection: Place the baking sheet with the skull mold into your preheated oven. Bake for 13 to 18 minutes, or until the tops are deeply golden brown and the filling is bubbly. The smell that will fill your kitchen is pure comfort.
- Cool and Serve: Carefully remove the baking sheet from the oven. Let the Stuffed Pizza Skulls cool in the mold for about 5 to 10 minutes. This allows them to set and makes them much easier to remove. Gently pop them out of the mold and serve them warm with extra marinara sauce for dipping.
Pro Tips & Variations
Over the years, after making countless batches of these for neighborhood potlucks and cozy movie nights, I’ve learned a few things. A little kitchen chaos is always expected, but these tips will help make your first time making this DIY Halloween food a roaring success.
- Don’t Overfill: I know it’s tempting to pack in as much cheese and pepperoni as possible, but trust me on this one. Overfilling is the number one cause of explosions in the oven. A little goes a long way, and a proper seal is more important for a perfect pizza skull appetizer.
- The Egg Wash is Non-Negotiable: Seriously, don’t skip it! It’s the difference between a pale, doughy-looking skull and a gorgeously bronzed, professional-looking one. It also helps the crust get that satisfyingly crisp texture.
- Pre-Cook Your Veggies: If you’re adding vegetables like bell peppers, onions, or mushrooms, give them a quick sauté first. This removes excess moisture and ensures your skulls don’t get soggy from the inside out. This is one of the best pizza skull filling ideas to elevate the flavor.
- Use Cold Dough: Refrigerated dough is much easier to work with. If it gets too warm and sticky, just pop it back in the fridge for a few minutes to firm up.
Variations to Spark Your Creativity:
- Spicy Diablo Skulls: Add a pinch of red pepper flakes and some chopped jalapeños to the filling for a fiery kick. These are a delicious twist, much like these fun jalapeno popper mummies.
- White Pizza Skulls: Skip the marinara and use a base of ricotta cheese mixed with garlic and herbs. Fill with mozzarella and perhaps some chopped spinach for a sophisticated, creamy version.
- BBQ Chicken Skulls: Use shredded cooked chicken tossed in your favorite BBQ sauce, along with some red onion and cheddar cheese.
- No Skull Mold? No Problem! If you’re wondering how to make pizza skulls without a mold, you can create a similar effect by making small, hand-shaped calzones or pizza pockets. Just place the filling on one side of a dough circle, fold it over, and crimp the edges shut. They won’t be skulls, but they will be just as delicious, similar to a classic Allrecipes.com – Pizza Rolls concept.
Serving Suggestions
For me, how you serve something is part of the story. I love creating a whole scene around a dish, especially for a special occasion like Halloween. These Stuffed Pizza Skulls are the star of the show, but they love having a few friends on the plate with them. I imagine a big, rustic wooden board in the center of the table, piled high with these warm, golden skulls. It’s an invitation for everyone to gather around and dig in. This is the heart of fun Halloween snacks for adults and kids alike; it’s communal, joyful, and utterly delicious. The visual appeal of these skulls makes them a fantastic centerpiece for any Halloween spread.
Here are a few of my favorite ways to serve them:
- A Cauldron of “Blood” Sauce: The most essential pairing is a bowl of warm marinara sauce for dipping. I like to call it a “cauldron of blood” to lean into the spooky theme. It’s classic, simple, and the tangy tomato is the perfect counterpoint to the rich, cheesy filling.
- A “Creepy” Veggie Platter: To balance out the richness, I love serving these alongside a fresh and vibrant veggie platter. Think carrot and celery sticks, cucumber slices, and cherry tomatoes. You could even get creative and arrange them into a fun shape, like a skeleton.
- A Spooky Snack Board: Create an epic Halloween snack board! Surround your Stuffed Pizza Skulls with other Halloween finger food. Some of our family favorites include Easy Mummy Hot Dogs or a playful Easy Spider Web Pizza. For a similar theme, you could even make some Halloween Crescent Wrapped Sausages (Mummy Dogs), which use a similar wrapped dough technique.
- A Simple Green Salad: A simple salad with a light vinaigrette is a wonderful, fresh companion. It cuts through the richness of the pizza skulls and makes the meal feel a bit more balanced, especially if you’re serving them as a main course for a fun Halloween dinner idea for kids.
Storage & Reheating
One of the best things about these pizza skulls is that they are just as good the next day. Sometimes Ethan and I will sneak one cold from the fridge for a midnight snack.
- To Store: Let the skulls cool completely to room temperature. Store them in an airtight container in the refrigerator for up to 3 days.
- To Reheat: For the best results, you want to get that crust crispy again. The microwave will make them soft. Instead, I recommend reheating them in an oven or toaster oven at 350°F (175°C) for 5-7 minutes, or until warmed through and crisp. An air fryer also works wonders, just a few minutes at 350°F will bring them right back to life.
FAQ about Stuffed Pizza Skulls
I love hearing from you all, and I often get some of the same thoughtful questions. Here are some of the most common ones, answered for you.
Can I make these without a silicone skull mold?
Absolutely! While the recipes using silicone skull mold give you that iconic shape, you can easily adapt this. Use a muffin tin to create little pizza cups, or simply fold the dough over into half-moons to make mini calzones. The heart of the recipe is the delicious filling and golden crust, not the shape.
What are the best pizza skull filling ideas?
The possibilities are truly endless! Beyond classic pepperoni, some of our favorites include: cooked Italian sausage with sautéed onions, a “three-cheese” blend of mozzarella, provolone, and parmesan, or a Hawaiian version with ham and pineapple. For a vegetarian option, try roasted red peppers with feta and spinach. Think of your favorite pizza toppings, and you can probably turn them into a filling.
Can I make Stuffed Pizza Skulls ahead of time?
Yes, this is a great make ahead recipe. You can assemble the skulls completely, place them in the mold, cover with plastic wrap, and refrigerate for up to 24 hours. When you’re ready to bake, just remove the plastic wrap, brush with the egg wash, and bake as directed. You might need to add a couple of extra minutes to the baking time since they’ll be cold.
Why did my pizza skulls turn out soggy?
This is a common issue, but easy to fix! The two main culprits are a watery sauce or raw, high-moisture fillings. Be sure to use a thick pizza sauce or marinara. If you’re using vegetables like mushrooms or zucchini, it’s essential to cook them first to release their water before adding them to the filling.
Can I freeze them?
Yes! They freeze beautifully. You can freeze them either baked or unbaked. For baked skulls, let them cool completely, then arrange them on a baking sheet and freeze until solid. Transfer to a freezer bag for up to 3 months. Reheat from frozen in a 350°F oven. For unbaked skulls, assemble them in the mold, freeze until solid, then pop them out and store in a freezer bag. Bake from frozen, adding about 10-15 minutes to the baking time.
Final Thoughts on Stuffed Pizza Skulls
In the end, this recipe is about so much more than just a creepy food recipe. It’s about the laughter shared while making a mess with the dough. It’s about the scent of garlic and oregano that turns a house into a home. It’s about the look on your kids’ faces when they see these ghoulishly delightful treats emerge from the oven, golden and perfect. Food is a language, and recipes like these are the stories we tell. They are love, made edible.
I don’t chase perfection in my kitchen; I chase connection. And these little Stuffed Pizza Skulls are a perfect vessel for that. So I hope you’ll make them. I hope you’ll get your hands dusty with flour, I hope you’ll get a little cheese on the counter, and I hope you’ll create a memory that will warm you long after the last skull has been eaten.
If you make these, I would be so honored if you’d leave a comment below and let me know how they turned out. And if you’re on Pinterest, please save this recipe for later! Seeing your creations in your own kitchens is the greatest joy. From my little kitchen in Oregon to yours, happy cooking.
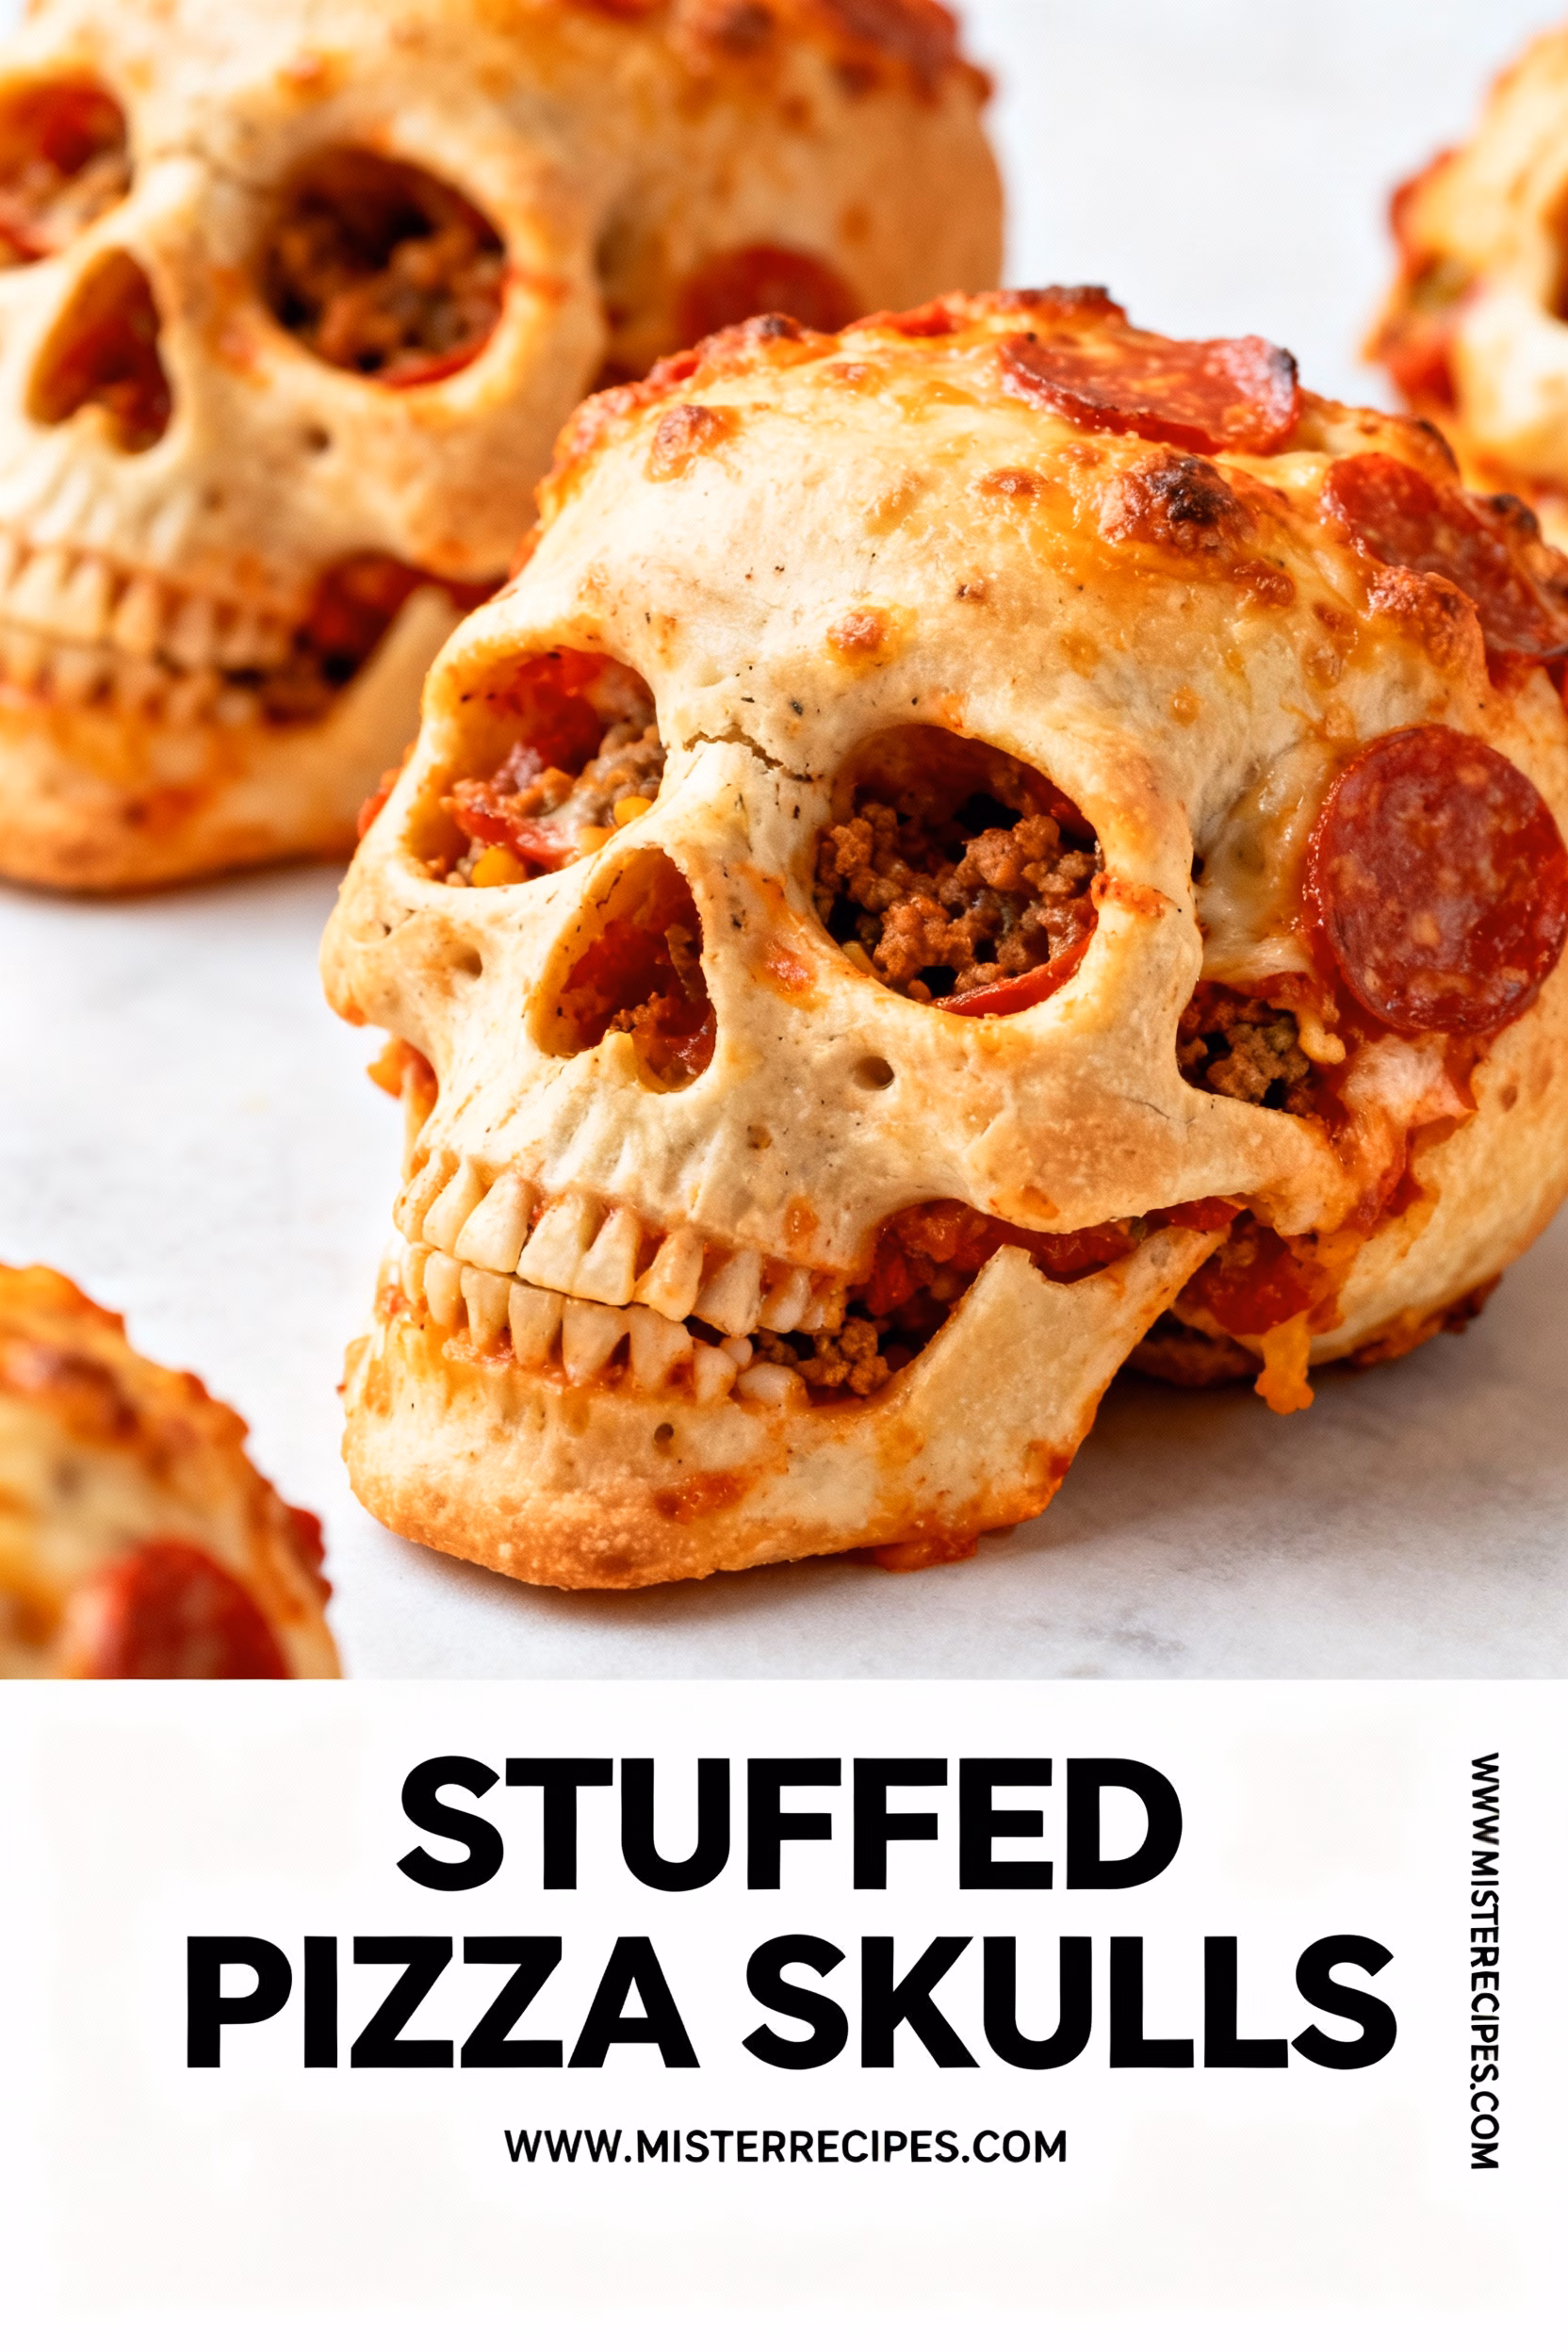
Stuffed Pizza Skulls
Ingredients
Equipment
Method
- Prepare the mold: Preheat your oven to 400°F (200°C). Lightly grease your silicone skull mold with non-stick cooking spray and place it on a baking sheet.
- Unroll and cut dough: Unroll your pizza dough onto a lightly floured surface. Cut the dough into twelve roughly equal squares using a pizza cutter or knife. Aim for a rustic look rather than perfectly uniform pieces.
- Form the base: Gently press one square of dough into one of the skull cavities in your mold. Use your fingertips to press it down and up the sides, creating a small cup that will hold the filling.
- Fill the skulls: Spoon approximately a teaspoon of marinara sauce into each dough-lined skull. Season with Italian seasoning and garlic powder. Add a generous pinch of mozzarella cheese and a few mini pepperoni. Be careful not to overfill as it can lead to soggy results.
- Seal the skulls: Take another square of dough and stretch it over the top of the filled skull. Press the edges firmly to seal, ensuring they’re tight to hold the filling inside. Trim any excess.
- Make steam vents: Using a sharp knife or toothpick, carefully poke one or two small holes in the center of each sealed skull—ideally where the eyes would be for extra spooky effect.
- Apply egg wash: Whisk an egg with a splash of water. Gently brush this egg wash over the top of each skull to give them a beautiful golden-brown finish.
- Bake until golden: Place the baking sheet with the skull mold into your preheated oven. Bake for 13 to 18 minutes, or until the tops are golden and the filling is bubbly.
- Cool and serve: Carefully remove from the oven and let cool in the mold for 5 to 10 minutes to set. Gently pop them out and serve warm with extra marinara sauce for dipping.