
Introduction
Have you ever wondered if it’s possible to capture the fun of St. Patrick’s Day in a dessert that goes beyond just green food coloring? I remember looking for a special treat to make with my kids, Adams and Jana, a few years back. We wanted something more exciting than the usual cupcakes. We craved a dessert that was rich, decadent, and truly celebratory. That’s when the idea for these Chocolate Shamrock Pies For St. Patricks Day was born. We wanted the deep, satisfying flavor of chocolate combined with the festive fun of a shamrock theme, creating a new family tradition right in our own kitchen. This recipe isn’t just about making a dessert; it’s about creating a moment of pure joy and deliciousness that your whole family will remember long after the last crumb is gone. It perfectly balances a rich chocolatey base with a festive, creamy topping, making it the ultimate St. Patrick’s Day indulgence. It’s a way to bring everyone together, share a few laughs, and enjoy a truly spectacular treat. And if you’re looking for more festive ideas, our Vanilla Bean Shamrock Cookies are another huge hit with the kids!
This recipe is designed for home cooks, for busy parents, for anyone who believes that making something special shouldn’t be complicated. It’s a no bake wonder that looks like it came straight from a gourmet bakery but is secretly simple to assemble. The contrast between the dark, crunchy Oreo crust and the silky, two-tone chocolate and minty green filling is absolutely heavenly. I love watching my family’s eyes light up when I bring these mini pies to the table. It’s a little bit of magic, a perfect way to celebrate the day. This isn’t just another recipe; it’s a memory in the making, a new tradition waiting to start in your home. It’s proof that the best moments are often the ones we create ourselves, with simple ingredients and a whole lot of love. And the best part? It’s a crowd pleaser for all ages. Kids love the fun colors, and adults appreciate the rich, complex flavors. Let’s make some memories together!
Why You’ll Love This Chocolate Shamrock Pies For St. Patricks Day
This recipe has quickly become a St. Patrick’s Day staple in my house, and I’m certain it will in yours too. It’s more than just a festive dessert; it’s a delightful experience from start to finish. The combination of rich chocolate, a crunchy cookie crust, and a creamy, vibrant topping makes it an unforgettable treat. Here’s why I think you’ll fall head over heels for these little pies:
- Incredibly Easy and No Bake: This is a huge win for busy parents! There’s no need to turn on the oven. The crust is a simple press in mixture of cookie crumbs and butter, and the filling is a mix and chill dream. It’s a fantastic recipe for getting kids involved in the kitchen without any heat related worries. It’s practically foolproof, which means less stress and more fun.
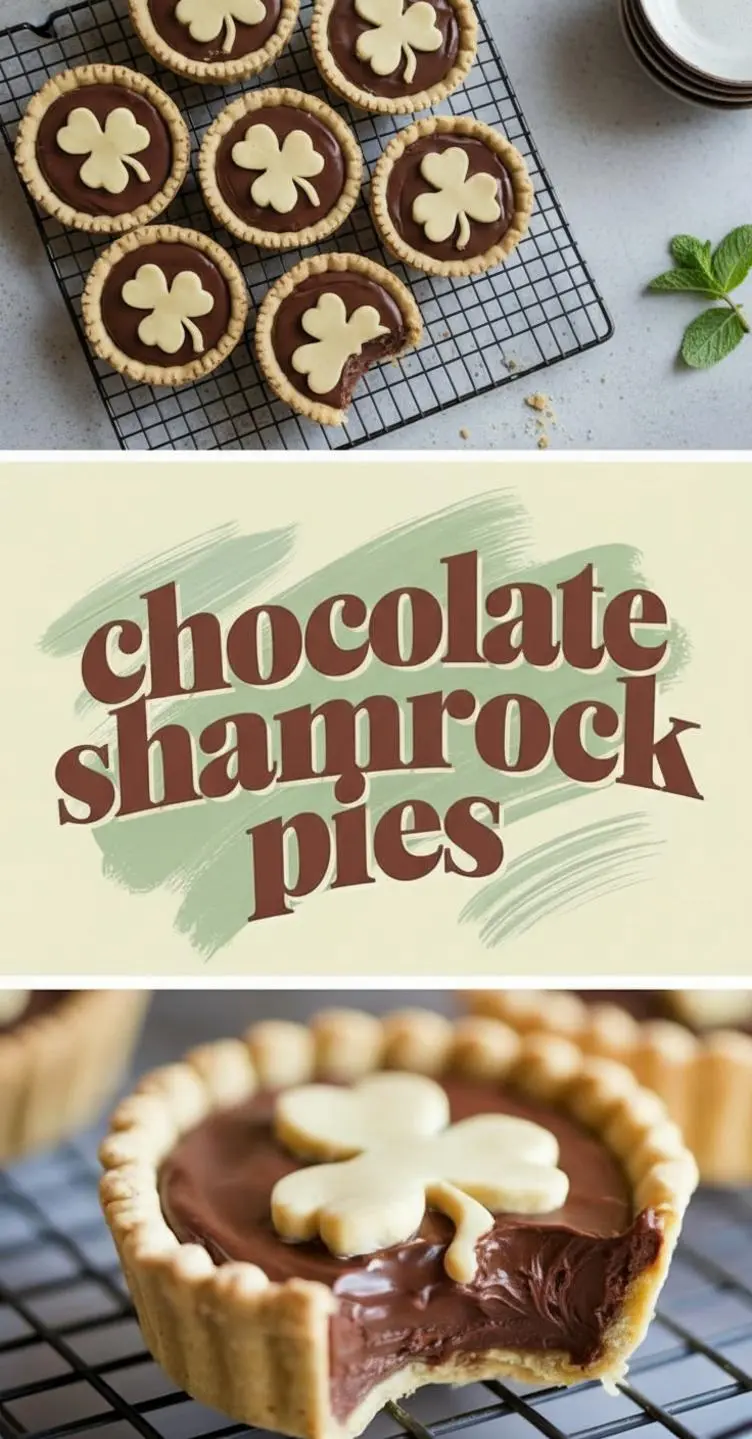
- Perfectly Festive and Fun: The beautiful shamrock design and vibrant green color make these pies a showstopper. They are practically guaranteed to be the centerpiece of your dessert table. It’s a simple way to make the holiday feel extra special and memorable for your family and friends. This design looks intricate but is surprisingly easy to achieve, making you look like a pastry pro.
- Rich, Decadent, and Delicious: Don’t let the fun appearance fool you; this dessert is seriously delicious. The crunchy, dark chocolate cookie crust is the perfect vessel for the ultra creamy, rich chocolate and mint filling. Each bite is a perfect balance of textures and flavors. It feels like an indulgent, gourmet treat you’d get at a fancy dessert shop. Similar recipes, like this delicious chocolate pie, also highlight how wonderful a rich filling can be.
- Great for Making Ahead: This is the ideal dessert for a party because you can prepare it a day or two in advance. Having dessert ready and waiting in the fridge is a game changer for any host. The flavors actually meld and deepen overnight, so it tastes even better when made ahead. This frees you up to enjoy the celebration with your guests instead of being stuck in the kitchen.
- Completely Customizable: This recipe is a wonderful base for your own creative twists. You can adjust the mint flavor, swap the cookie crust for a different kind, or even add a splash of Irish cream for an adults only version. It’s a versatile recipe that invites experimentation. For more St. Paddy’s fun, you could even serve it alongside our Saint Patricks Day Puppy Chow for a full dessert spread.
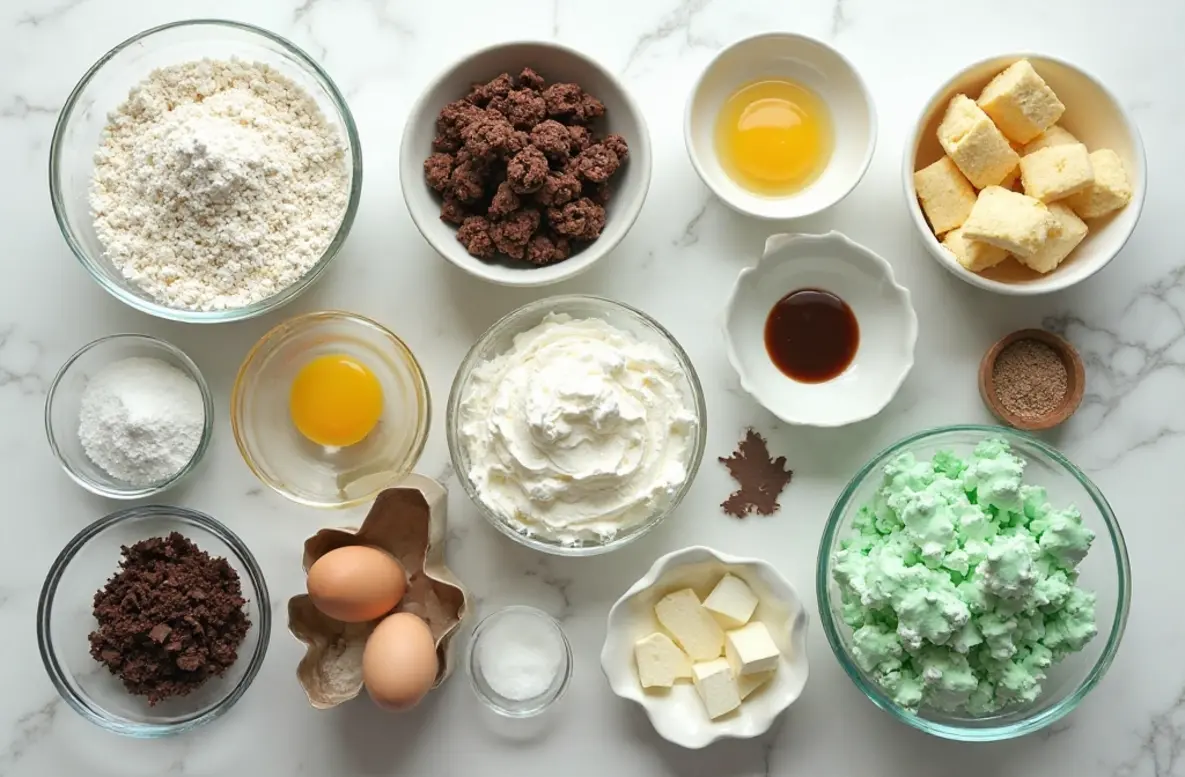
Ingredients for Chocolate Shamrock Pies For St. Patricks Day
- 24 Oreo cookies, finely crushed
- 6 tablespoons butter, melted
- 8 ounces cream cheese, softened to room temperature
- 1 cup powdered sugar
- 1/4 cup cocoa powder
- 4 ounces semi sweet chocolate, melted and cooled
- 1 teaspoon vanilla extract
- 1 1/2 cups heavy whipping cream, cold
- 1/2 teaspoon peppermint extract
- Green food coloring
Substitutions:
- For the crust: You can use chocolate graham crackers or any other chocolate cookie you like. A store bought Oreo crust also works in a pinch!
- For the chocolate: Feel free to use milk chocolate or dark chocolate depending on your preference for sweetness and intensity.
- For the cream cheese: For a lighter tang, you can try using mascarpone cheese.
How to Make Chocolate Shamrock Pies For St. Patricks Day
Step-by-Step Instructions
- Prepare the Crust: In a medium bowl, mix the finely crushed Oreo cookies with the melted butter until the crumbs are fully moistened. The mixture should resemble wet sand. Press the crumb mixture firmly and evenly into the bottom and up the sides of four to six mini tart pans or a single 9 inch pie plate. Place the crust(s) in the freezer to set while you prepare the filling.
- Make the Chocolate Base Filling: In a large bowl, use an electric mixer to beat the softened cream cheese until it’s light and fluffy, with no lumps. Gradually beat in the powdered sugar and cocoa powder until smooth. Add the melted and cooled semi sweet chocolate and the vanilla extract, mixing until everything is well combined and uniform in color.
- Whip the Cream: In a separate, chilled bowl, whip the cold heavy cream with an electric mixer on high speed until stiff peaks form. Stiff peaks mean that when you lift the beaters, the cream holds its shape completely. Be careful not to overbeat, or it will turn into butter.
- Combine for the Filling: Gently fold about one third of the whipped cream into the chocolate cream cheese mixture to lighten it up. Then, carefully fold in the remaining whipped cream until just combined. You want to keep the mixture as airy as possible, so use a spatula and gentle, sweeping motions.
- Divide and Color: Transfer about one third of the filling to a separate bowl. To this smaller portion, add the peppermint extract and a few drops of green food coloring. Stir gently until you achieve a festive shamrock green color.
- Assemble the Pies: Remove the chilled crust(s) from the freezer. Spoon the chocolate filling evenly into the crust(s). Then, drop spoonfuls of the green mint filling over the top of the chocolate layer.
- Create the Shamrock Swirl: Use a toothpick or the tip of a knife to gently drag through the green dollops to create a swirled, shamrock like effect. Have fun with it! There’s no right or wrong way to do this; each pie will be unique. For a different take on shamrock desserts, check out these beautiful pies for more design inspiration.
- Chill and Set: Cover the pies with plastic wrap and refrigerate for at least 6 hours, or preferably overnight. This chilling time is crucial for the pies to set properly and for the flavors to meld together beautifully. Do not skip this step!
Pro Tips & Variations
To make sure your Chocolate Shamrock Pies For St. Patricks Day are absolutely perfect every time, I’ve gathered a few of my favorite tips and tricks. Plus, I’ve included some fun variations to inspire your culinary creativity!
- Chill Your Tools: For the fluffiest whipped cream, pop your mixing bowl and beaters in the freezer for about 15 to 20 minutes before you start. A cold bowl helps the cream whip up faster and holds its volume better, giving your pie filling a light, airy texture.
- Use High Quality Chocolate: The flavor of your pie is heavily dependent on the quality of your ingredients. For the best, most decadent taste, use a good quality semi sweet chocolate that you would enjoy eating on its own. It makes a world of difference compared to standard baking chips.
- Patience is Key for Setting: I know it’s hard to wait, but allowing the pies to chill for at least six hours (or overnight) is non negotiable. This ensures the filling sets up to a firm, sliceable consistency. Rushing this step will result in a soft, soupy pie, and nobody wants that!
Variations:
- Adults Only Irish Cream Version: For a grown up twist, add 2 to 3 tablespoons of Irish cream liqueur to the chocolate filling. It adds a warm, boozy note that pairs beautifully with the chocolate and mint. Reduce the heavy cream by the same amount to maintain the right consistency.
- Gluten Free Adaptation: Making this gluten free is simple! Just use your favorite gluten free chocolate sandwich cookies for the crust. The filling is naturally gluten free, so no other changes are needed.
- Mint Chocolate Overload: If you are a huge fan of mint, feel free to add a half teaspoon of peppermint extract to the entire batch of filling before dividing it. You can also sprinkle crushed mint candies or Andes mints on top for extra flavor and crunch. If you love minty treats, you’ll also adore our Triple Layer Fudgy Mint Oreo Brownies.
Serving Suggestions
These Chocolate Shamrock Pies For St. Patricks Day are a spectacular dessert all on their own, but pairing them with the right accompaniments can elevate the experience even further. After enjoying a traditional holiday meal of corned beef and cabbage, these pies are the perfect sweet finish. The rich chocolate and cool mint provide a wonderful contrast to a savory dinner. I love serving them in individual portions, as it makes everyone feel like they are getting their own special treat. Here are a few of my go to serving ideas to make your dessert presentation truly special.
A generous dollop of freshly whipped cream is a classic and for good reason. It adds another layer of creamy texture and a touch of sweetness that complements the rich pie perfectly. You can even sweeten the whipped cream slightly with a bit of powdered sugar and a splash of vanilla. For a bit of visual flair and texture, sprinkle some chocolate shavings or mini chocolate chips over the top just before serving. It adds a little crunch and enhances the chocolatey goodness. The pies also pair wonderfully with a warm beverage. A hot cup of coffee or a rich espresso cuts through the sweetness beautifully. For the kids, a tall glass of cold milk is the ultimate companion to this chocolatey dessert. If you want another easy, festive dessert option to serve alongside these pies, our Easy Pistachio Lush is always a huge hit and adds more green to your table!
Storage & Reheating for Chocolate Shamrock Pies For St. Patricks Day
One of the best things about this recipe is how well it stores, making it a fantastic make ahead option for any gathering. To store leftover pies, cover them tightly with plastic wrap or place them in an airtight container. They will keep well in the refrigerator for up to 5 days. I often find the flavors are even better on day two as they have more time to meld together.
If you want to store them for longer, these pies freeze beautifully. Wrap the individual pies or the whole pie plate securely in plastic wrap and then a layer of aluminum foil to prevent freezer burn. They can be frozen for up to one month. When you are ready to enjoy a frozen pie, simply transfer it to the refrigerator to thaw for several hours or overnight. Avoid thawing at room temperature, as this can cause the filling to become too soft and the crust to get soggy. Since this is a chilled dessert, no reheating is required. Just thaw and serve for a delicious treat anytime!
FAQ about Chocolate Shamrock Pies For St. Patricks Day
Can I make this as one large pie instead of mini pies?
Absolutely! This recipe works perfectly in a standard 9 inch pie dish. The instructions remain the same; just press the entire crust mixture into the larger dish. The chilling time should also be at least 6 hours to ensure the center is fully set.
What’s the best way to get clean slices from the large pie?
For beautiful, clean slices, use a large, sharp knife. Dip the knife in hot water and wipe it clean between each cut. This little trick helps the knife glide through the filling without smearing the layers.
My filling seems a little soft. What did I do wrong?
This usually happens for one of two reasons. Either the heavy cream was not whipped to stiff peaks, or the pie didn’t chill for long enough. Make sure your cream can hold its shape before folding it in, and be patient with the chilling process. It’s crucial for that perfect, firm texture.
Can I use a different extract instead of peppermint?
Of course! While peppermint is classic for a shamrock theme, you could experiment with other flavors. A touch of almond extract, coconut extract, or even orange extract in the green filling would create a unique and delicious twist.
Final Thoughts on Chocolate Shamrock Pies For St. Patricks Day
I truly hope you and your family enjoy making and eating these Chocolate Shamrock Pies For St. Patricks Day as much as mine does. It’s a recipe born from a desire to create something special and shareable, and it’s become a tradition we look forward to every year. Cooking is about making people happy, and I know this dessert will bring smiles to everyone at your table.
If you try this recipe, I would absolutely love to hear about it! Leave a comment below and let me know how it turned out. And don’t forget to save this recipe to your favorite dessert board on Pinterest so you can find it easily next year! For more family friendly recipes and kitchen inspiration, be sure to subscribe to the Mister Recipes newsletter. Happy St. Patrick’s Day!

Chocolate Shamrock Pies For St. Patricks Day
Ingredients
Equipment
Method
- In a medium bowl, mix the finely crushed Oreo cookies with the melted butter until the crumbs are fully moistened. The mixture should resemble wet sand. Press the crumb mixture firmly and evenly into the bottom and up the sides of four to six mini tart pans. Place the crust(s) in the freezer to set while you prepare the filling.
- In a large bowl, use an electric mixer to beat the softened cream cheese until it's light and fluffy, with no lumps. Gradually beat in the powdered sugar and cocoa powder until smooth. Add the melted and cooled semi sweet chocolate and the vanilla extract, mixing until everything is well combined and uniform in color.
- In a separate, chilled bowl, whip the cold heavy cream with an electric mixer on high speed until stiff peaks form. Stiff peaks mean that when you lift the beaters, the cream holds its shape completely. Be careful not to overbeat, or it will turn into butter.
- Gently fold about one third of the whipped cream into the chocolate cream cheese mixture to lighten it up. Then, carefully fold in the remaining whipped cream until just combined. You want to keep the mixture as airy as possible, so use a spatula and gentle, sweeping motions.
- Transfer about one third of the filling to a separate bowl. To this smaller portion, add the peppermint extract and a few drops of green food coloring. Stir gently until you achieve a festive shamrock green color.
- Remove the chilled crust(s) from the freezer. Spoon the chocolate filling evenly into the crust(s). Then, drop spoonfuls of the green mint filling over the top of the chocolate layer.
- Use a toothpick or the tip of a knife to gently drag through the green dollops to create a swirled, shamrock like effect.
- Cover the pies with plastic wrap and refrigerate for at least 6 hours, or preferably overnight. This chilling time is crucial for the pies to set properly and for the flavors to meld together beautifully.