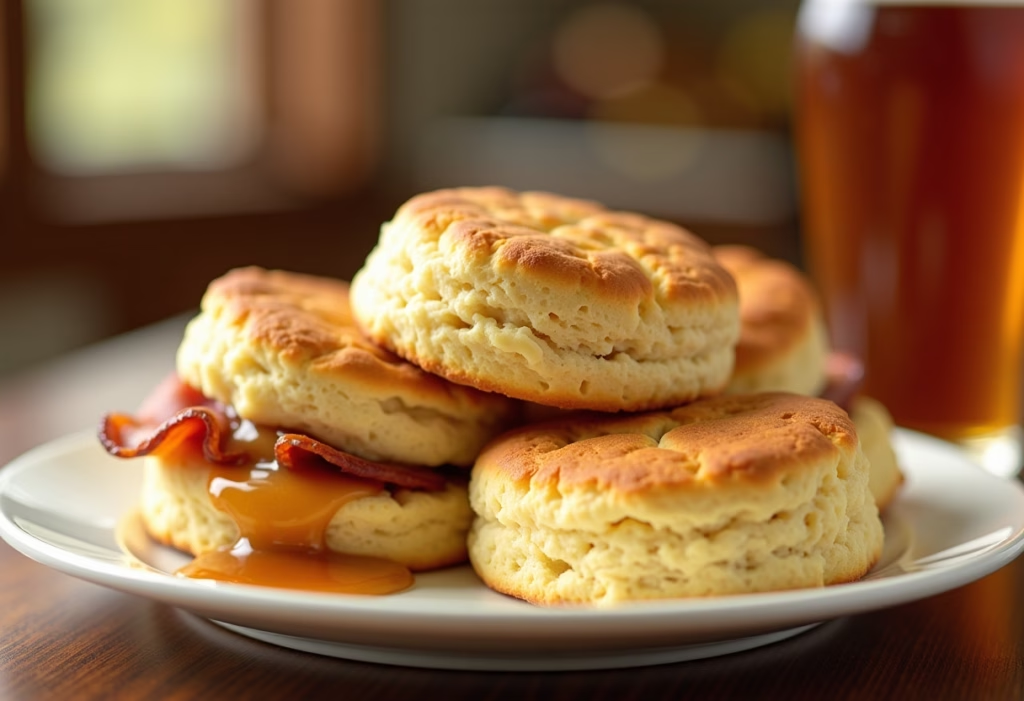
The Ultimate Buttermilk Biscuits Recipe: Perfect for Thanksgiving & Beyond!
Is there anything more comforting than a warm, flaky buttermilk biscuit? This recipe is a guaranteed crowd-pleaser, perfect for everything from a cozy breakfast treat to the star of your Thanksgiving dinner. These Buttermilk Biscuits are incredibly easy to make, yielding a fluffy interior and a delightfully crisp exterior every time. No need to spend hours in the kitchen – you can have fresh, homemade biscuits on the table in under 30 minutes! Whether you’re planning your thanksgiving menu or just craving a little Southern comfort, these biscuits are the answer.
Why You’ll Love This Buttermilk Biscuits
- Quick & Easy: Ready in under 30 minutes, perfect for busy weeknights.
- Flaky & Delicious: Buttery, tender, and melt-in-your-mouth goodness.
- Versatile: Perfect for breakfast, lunch, or dinner. Elevate your thanksgiving dinner table with them.
- Family-Friendly: Everyone loves a warm, homemade biscuit!
- Freezable: Make ahead and enjoy fresh biscuits anytime.
- Impressive Result: Even novice bakers can achieve bakery-quality biscuits.
Ingredients for Buttermilk Biscuits
- 2 cups all-purpose flour
- 1 tablespoon baking powder
- 1 teaspoon baking soda
- 1 teaspoon salt
- 1/2 cup (1 stick) cold unsalted butter, cut into small cubes
- 3/4 cup cold buttermilk
- 2 tablespoons melted butter, for brushing (optional)
Substitutions: For a vegan option, use plant-based butter and almond, soy, or oat milk mixed with a tablespoon of lemon juice or vinegar. For a gluten free version, use a 1:1 gluten free flour blend.
How to Make Buttermilk Biscuits
Step-by-Step Instructions
- Preheat & Prep: Preheat your oven to 450°F (232°C). Line a baking sheet with parchment paper.
- Combine Dry Ingredients: In a large bowl, whisk together the flour, baking powder, baking soda, and salt.
- Cut in the Butter: Add the cold butter cubes to the flour mixture. Using a pastry blender or your fingertips, cut the butter into the flour until the mixture resembles coarse crumbs with pea-sized pieces of butter. This is crucial for creating flaky layers.
- Add Buttermilk: Gradually add the cold buttermilk, mixing gently with a fork until just combined. Do not overmix! The dough should be shaggy and slightly sticky.
- Turn Out & Fold: Turn the dough out onto a lightly floured surface. Gently pat it into a 1-inch thick rectangle.
- Folding Technique: Fold the dough in half, then pat it back into a 1-inch thick rectangle. Repeat this folding process 3-4 times. This creates those beautiful layers!
- Cut the Biscuits: Use a 2-inch biscuit cutter (or a sharp knife) to cut out the biscuits. Press straight down – don’t twist the cutter, as this seals the edges and prevents them from rising properly.
- Arrange on Baking Sheet: Place the biscuits on the prepared baking sheet, with sides almost touching. This helps them rise evenly.
- Bake: Bake for 12-15 minutes, or until golden brown.
- Brush with Butter (Optional): After baking, brush the tops of the biscuits with melted butter for extra flavor and shine.
- Serve & Enjoy: Serve warm and enjoy! These are a fantastic addition to your thanksgiving spread. They also make great breakfast sandwiches.
Pro Tips & Variations
- Keep it Cold: The colder the butter and buttermilk, the flakier the biscuits will be. You can even chill your flour for 15 minutes before starting.
- Don’t Overmix: Overmixing develops the gluten in the flour, resulting in tough biscuits. Mix until just combined.
- High Heat: Baking at a high temperature creates steam, which helps the biscuits rise quickly and develop a golden-brown crust.
Variations:
- Cheese Biscuits: Add 1/2 cup shredded cheddar cheese to the dry ingredients.
- Herb Biscuits: Add 2 tablespoons of chopped fresh herbs (such as chives, rosemary, or thyme) to the dry ingredients.
- Sweet Biscuits: Add 2 tablespoons granulated sugar to the dry ingredients.
Serving Suggestions
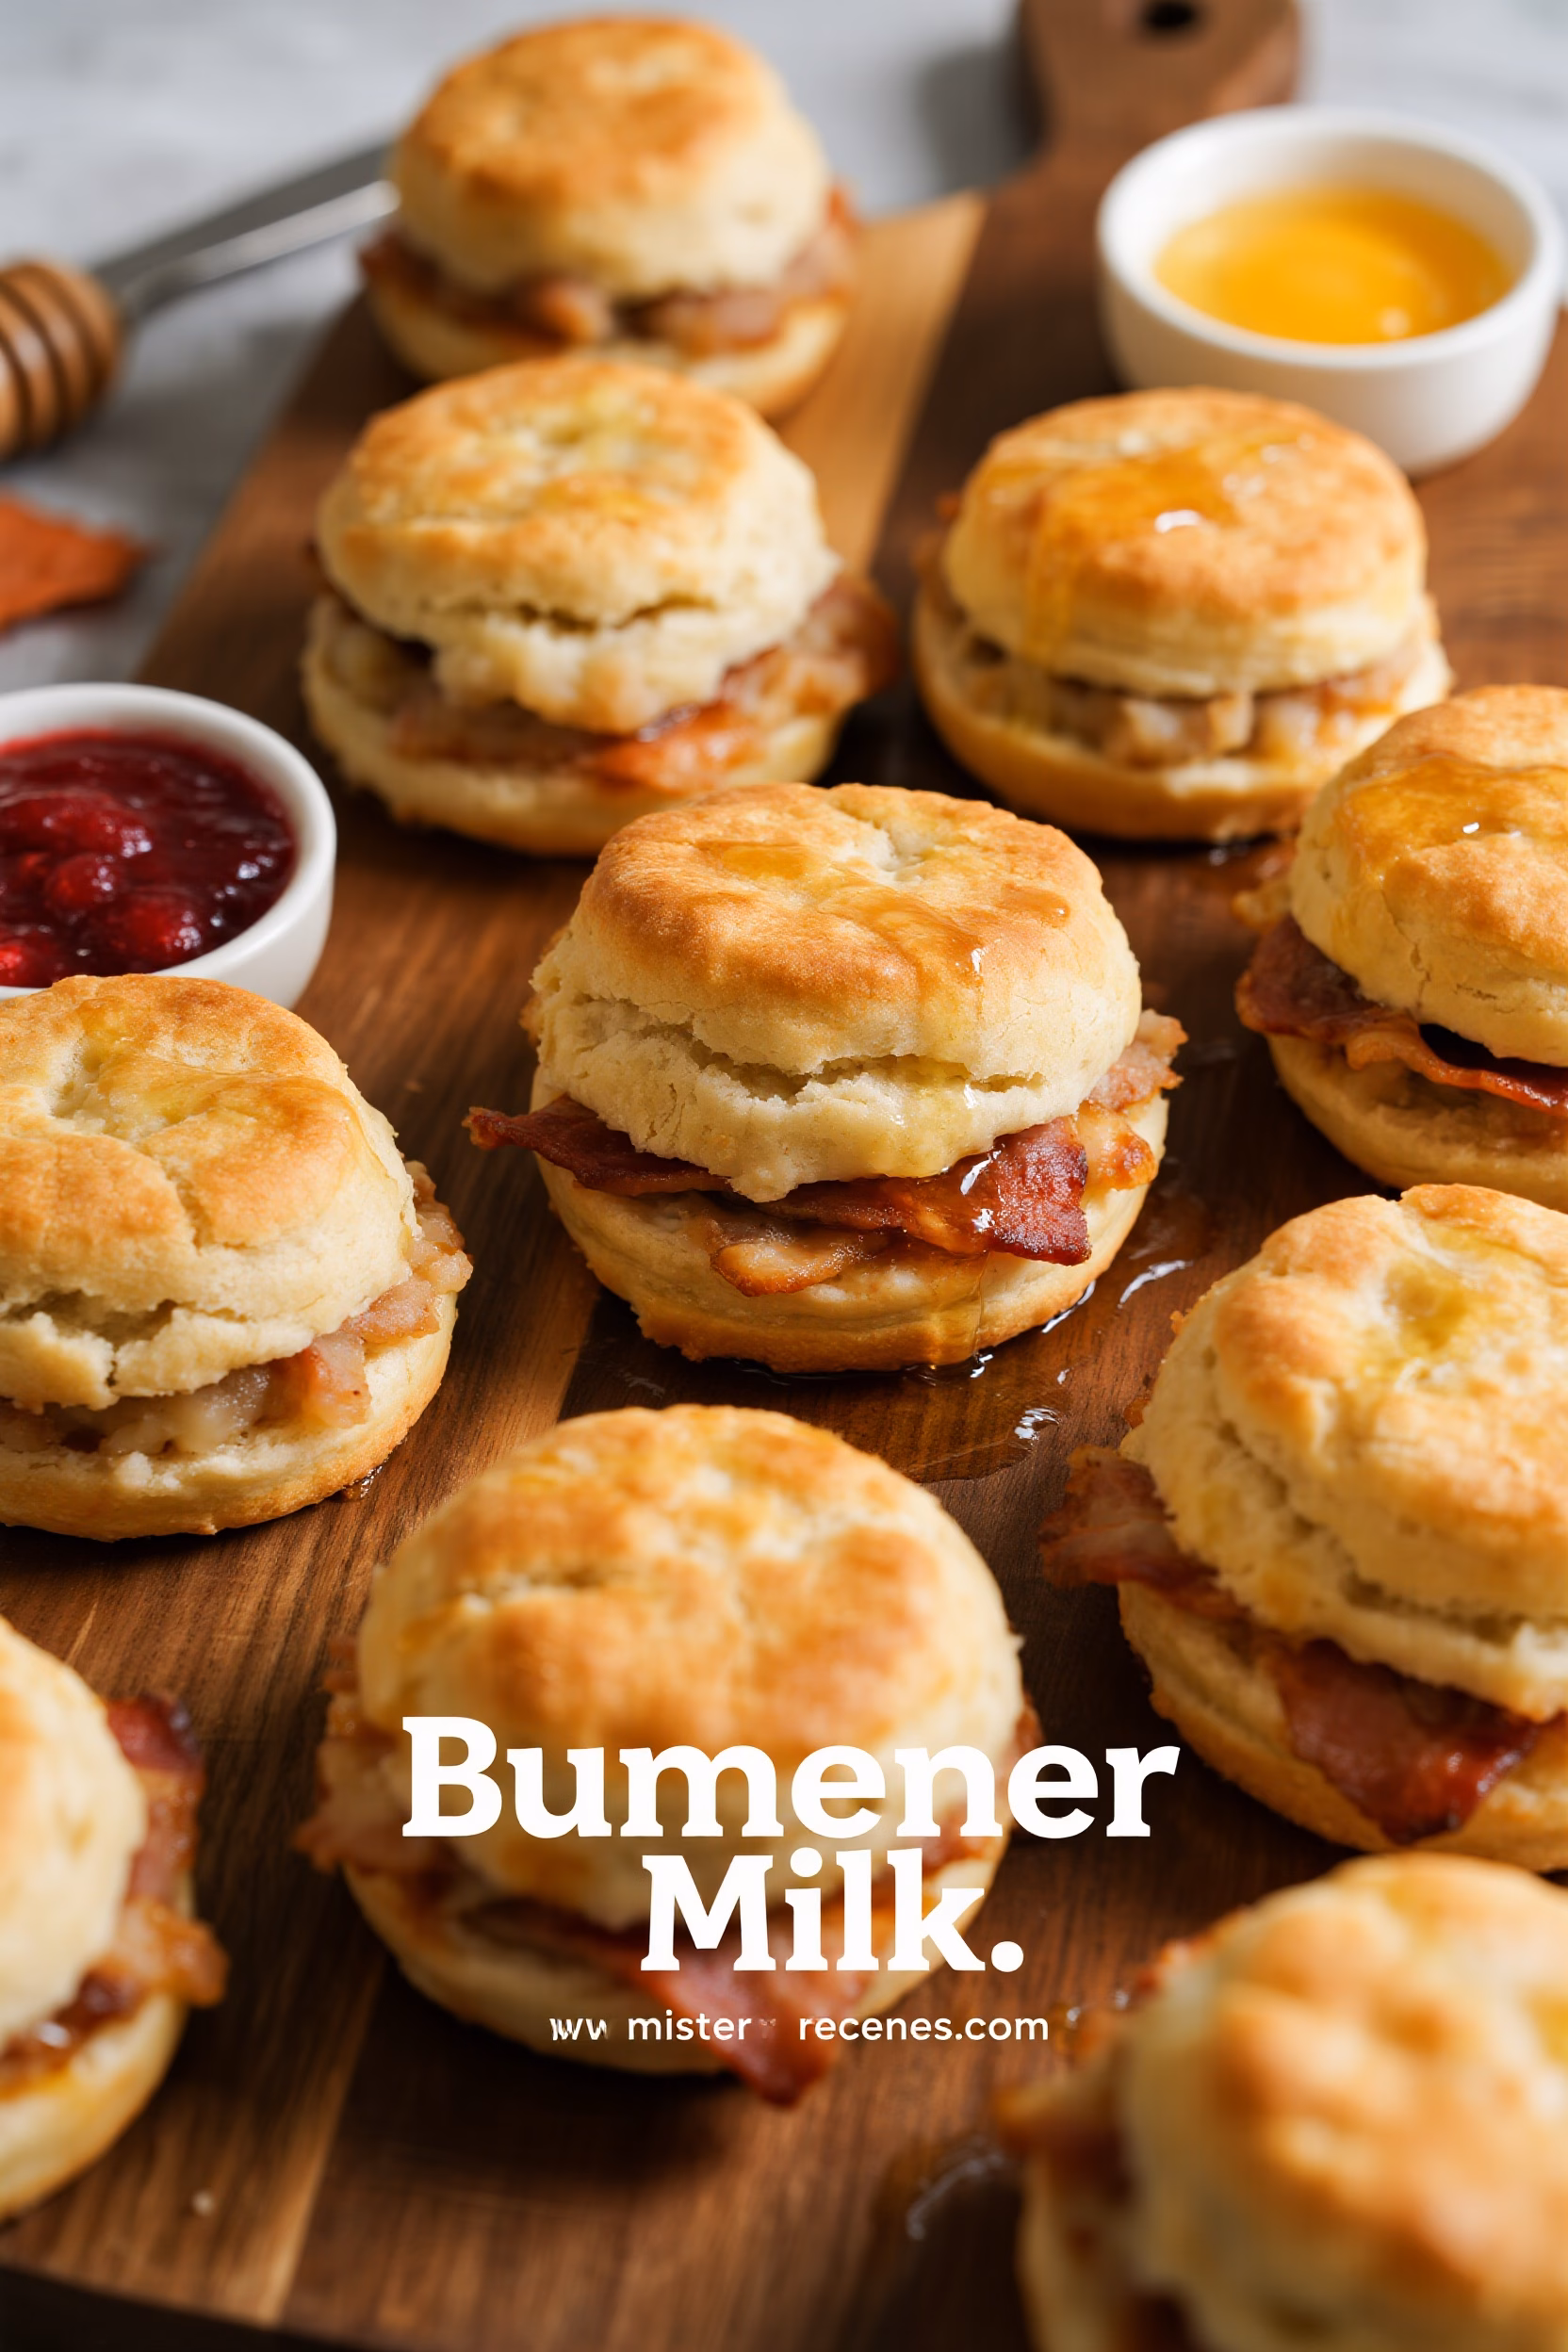
These Buttermilk Biscuits are incredibly versatile and pair well with a variety of dishes. They’re a must-have for your thanksgiving dinner, and here are a few ideas to get you started:
- Honey Butter: Serve warm with a generous dollop of honey butter for a sweet and savory treat.
- Gravy: Perfect for soaking up savory gravy, especially alongside your thanksgiving turkey recipes!
- Breakfast Sandwiches: Split them open and fill with eggs, bacon, and cheese for a hearty breakfast.
- Soup or Stew: A comforting side to any warm bowl of soup or stew, especially during the cooler months.
- Thanksgiving sides dishes: They pair perfectly with cranberry sauce, stuffing, and mashed potatoes.
Storage & Reheating
Storage: Store leftover biscuits in an airtight container at room temperature for up to 2 days, or in the refrigerator for up to 5 days.
Reheating: To reheat, wrap the biscuits in foil and warm them in a 350°F (175°C) oven for 5-10 minutes, or until heated through. You can also reheat them in the microwave, but they may become slightly less flaky. For best results, enjoy them fresh!
Freezing: Arrange on a baking sheet and place in the freezer for at least 2 hours. Once frozen, transfer to a freezer safe bag or container for up to 2 months. Bake from frozen, adding 5-10 minutes to bake time.
FAQ about Buttermilk Biscuits
Q: Can I use regular milk instead of buttermilk?
A: Yes, but your biscuits won’t be quite as tender or tangy. You can make a quick buttermilk substitute by adding 1 tablespoon of lemon juice or vinegar to 1 cup of milk and letting it sit for 5 minutes before using. This will help add the acidity needed for a good rise and that classic buttermilk flavor. Many consider thanksgiving pies the grand finale, but these biscuits certainly start the meal out strong.
Q: Why are my biscuits flat?
A: Several factors can contribute to flat biscuits, including using warm ingredients, overmixing the dough, using old baking powder, or not using enough buttermilk. Always use cold ingredients, mix gently, and make sure your baking powder is fresh for the best results. This is crucial whether they are for thanksgiving appetizers or for a simple Sunday brunch.
Q: Can I make these biscuits ahead of time?
A: Yes! You can cut out the biscuits and freeze them on a baking sheet. Once frozen, transfer them to a freezer bag. When ready to bake, bake from frozen, adding a few extra minutes to the baking time. Great for easy thanksgiving breakfast options.
Q: How do I get those beautiful layers in my biscuits?
A: The key to flaky layers is to cut in cold butter and then fold the dough several times. This creates thin layers of butter that melt during baking, creating steam that separates the layers and results in a light and airy texture. Try adding some herbs for creative thanksgiving food ideas.
Q: How can I make these vegan friendly for my vegan thanksgiving guests?
A: You can make these biscuits vegan by using plant-based butter and almond, soy, or oat milk mixed with a tablespoon of lemon juice or vinegar. For a gluten free version, use a 1:1 gluten free flour blend.
Final Thoughts on Buttermilk Biscuits
These Buttermilk Biscuits are a timeless classic for a reason! They’re simple to make, incredibly delicious, and versatile enough to complement any meal, especially when creating an unforgettable thanksgiving feast. Give this recipe a try and experience the joy of warm, freshly baked biscuits straight from your oven. Don’t forget to save this recipe to Pinterest for later and leave a comment below letting me know how they turned out! And if you’re looking for more delicious recipes, subscribe to my newsletter for weekly inspiration and updates. Happy baking!
The Ultimate Buttermilk Biscuits
Ingredients
Equipment
Method
- Preheat & Prep: Preheat your oven to 450°F (232°C). Line a baking sheet with parchment paper.
- Combine Dry Ingredients: In a large bowl, whisk together the flour, baking powder, baking soda, and salt.
- Cut in the Butter: Add the cold butter cubes to the flour mixture. Using a pastry blender or your fingertips, cut the butter into the flour until the mixture resembles coarse crumbs with pea-sized pieces of butter. This is crucial for creating flaky layers.
- Add Buttermilk: Gradually add the cold buttermilk, mixing gently with a fork until just combined. Do not overmix! The dough should be shaggy and slightly sticky.
- Turn Out & Fold: Turn the dough out onto a lightly floured surface. Gently pat it into a 1-inch thick rectangle.
- Folding Technique: Fold the dough in half, then pat it back into a 1-inch thick rectangle. Repeat this folding process 3-4 times. This creates those beautiful layers!
- Cut the Biscuits: Use a 2-inch biscuit cutter (or a sharp knife) to cut out the biscuits. Press straight down – don’t twist the cutter, as this seals the edges and prevents them from rising properly.
- Arrange on Baking Sheet: Place the biscuits on the prepared baking sheet, with sides almost touching. This helps them rise evenly.
- Bake: Bake for 12-15 minutes, or until golden brown.
- Brush with Butter (Optional): After baking, brush the tops of the biscuits with melted butter for extra flavor and shine.
- Serve & Enjoy: Serve warm and enjoy! These are a fantastic addition to your thanksgiving spread. They also make great breakfast sandwiches.