The crisp autumn air has a way of stirring up both forgotten memories and an undeniable craving for something a little spooky, a little sweet. The leaves turn, the days shorten, and suddenly, my kitchen transforms into a mad scientist’s laboratory, albeit one that smells faintly of cinnamon and sugar. You know that feeling, right? That urge to create something enchanting, something that makes the kids gasp with delight and adults smile with nostalgic wonder?
Many people think Halloween desserts have to be complicated, demanding hours of intricate work and advanced pastry skills. But what if I told you there’s a treat that captures all the eerie charm of the season without turning your kitchen into a chaotic battleground? A treat that beckons with its whimsical, slightly creepy allure, yet is surprisingly simple to bring to life? That’s where our delightful Spider Nest Donuts come in.
Every October, as my son, Leo, starts sketching ghosts and ghouls on every available surface, and my daughter, Clara, meticulously plans her costume down to the last glitter speck, I find myself wanting to create a culinary counterpart to their enthusiasm. I want something that feels handmade, heartfelt, and utterly magical. Something that says, “Welcome to our spooky, sweet home!” without requiring a degree in confectionery architecture. And honestly, this recipe for Spider Nest Donuts fits the bill perfectly.
It started a few years ago. We were hosting our annual Halloween party, and I was wracking my brain for a fun, easy dessert that would be both visually striking and delicious. I’d seen various Halloween donuts ideas, but none truly captured the playful spookiness I was aiming for. Then, one evening, while watching a nature documentary with Leo, he pointed at a spiderweb glistening with dew and declared, “Mom, can we make donuts like that?” And just like that, the seed for Spider Nest Donuts was planted.
My kitchen became my creative sanctuary. I experimented with different glazes and toppings, trying to find that perfect balance of eerie elegance and simple charm. I wanted something that even a novice baker could replicate with confidence, transforming humble donuts into a celebration of all things creepy and cute. This recipe isn’t about perfection; it’s about joy, about getting a little messy, and about creating memories with loved ones. It’s about the excited squeals when tiny gummy spiders are placed just so and the proud smiles when a beautifully intricate web emerges from a simple squeeze bottle.
These aren’t just any halloween donuts spider style; they are an invitation to play, to decorate, and to savor the delightful spirit of the season. They’re proof that you don’t need to be a professional baker to create something spectacular and memorable. So, gather your little goblins, put on your favorite spooky playlist, and let’s dive into the enchanting world of making Spider Nest Donuts. Trust me, your taste buds and your inner child will thank you.
Why You’ll Love These Spider Nest Donuts
There’s a special kind of magic that happens when you bring these Spider Nest Donuts to life in your kitchen. It’s not just about the finished product, as delightful as that is; it’s about the entire enchanting process. As the scent of sugar and a hint of vanilla wafts through your home, you’ll understand why this recipe has become a treasured tradition in our family. It’s got that secret ingredient of fun, that sprinkle of shared laughter, that makes every bite truly special.
First off, these are incredibly easy. And when I say easy, I mean “even on a Tuesday after a long day” easy. We’re talking minimal fuss, maximum impact. You don’t need to be a pastry chef or have a bakery full of specialized equipment. If you can swirl a spoon and squeeze a bottle, you’re halfway there! This simplicity means more time for enjoying the moment, more time for making memories rather than stressing over intricate details. For a busy mom like me, that’s golden.
Then there’s the sheer joy they bring. Imagine the wide-eyed wonder of a child (or an adult, let’s be honest!) seeing these Halloween donuts spider decorations come to life. The delicate spider web donuts pattern, the tiny, edible spiders perched atop, it’s all just so wonderfully theatrical. It transforms a simple donut into a centerpiece, a conversation starter, a miniature work of edible art. Every year, Clara and Leo can’t wait to help with the decorating, and that enthusiasm is contagious. It’s not just a dessert; it’s an activity, a craft, and a delicious treat all rolled into one. And if you’re looking for other fun Halloween dessert recipes, these fit perfectly into any festive spread.
These Spider Nest Donuts are also incredibly versatile. Whether you’re using store-bought donuts for a super-speedy version or whipping up a batch from scratch for that extra homemade touch, the decorating technique remains the same. This flexibility is a lifesaver, allowing you to tailor the effort to your schedule and skill level. Plus, it’s a fabulous way to involve everyone. Younger kids can place the spiders, older ones can try their hand at the web design, and even grown-ups will find a meditative joy in creating their own spooky masterpieces. It’s a fantastic Halloween recipe for the whole family to enjoy making together.
- Quick & Effortless: Seriously, these come together in a flash, especially if you start with store-bought donuts. Less time in the kitchen, more time for spooktacular fun!
- Visually Stunning: They look like something straight out of a professional bakery, but they’re ridiculously easy to achieve. Perfect for impressing guests!
- Kid-Friendly Fun: From decorating the webs to placing the spiders, kids absolutely adore helping make these. It’s an edible craft project!
- Deliciously Spooky: Sweet, soft donuts paired with a smooth, eerie frosting – a treat for both the eyes and the taste buds.
- Customizable: Easily adapt to different donut types, glazes, and decorations to suit your preference and dietary needs.
- Perfect for Parties: These spider web donuts are an absolute hit at Halloween parties, school events, or just a fun family treat night.
Ingredients for Spider Nest Donuts
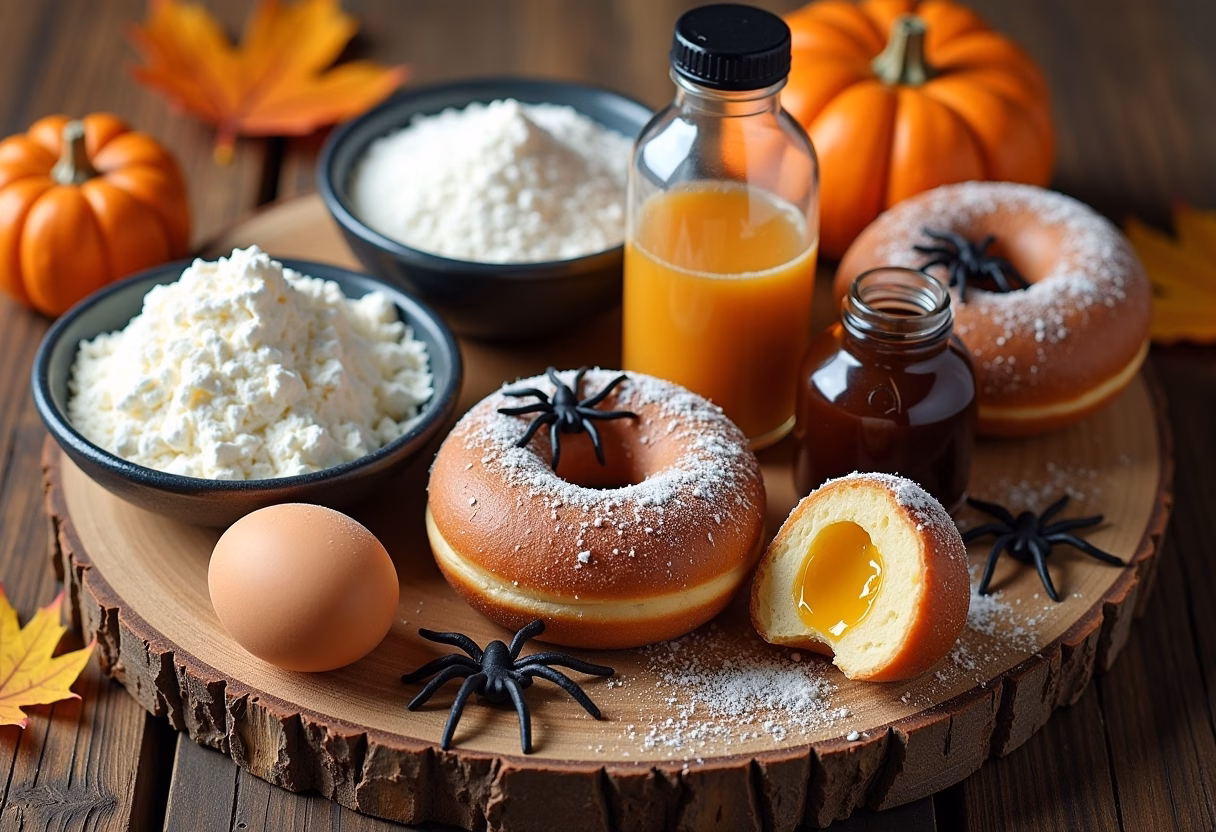
Making these festive Spider Nest Donuts doesn’t require an extensive list of obscure ingredients. In fact, most of what you’ll need might already be in your pantry! It’s about combining simple components to create something truly magical.
- 12 Plain Donuts:
- Substitution: You can use glazed, cake, or yeast donuts. Store-bought is perfectly fine for ease, or make your favorite homemade batch! This is your canvas for our donut spider web decoration ideas.
- 2 cups Powdered Sugar (Confectioners’ Sugar):
- Substitution: Essential for the glaze, so no direct substitute here.
- 3-4 tablespoons Milk (or plant-based milk):
- Substitution: Any milk works – dairy, almond, oat, soy. It’s about achieving the right consistency.
- 1/2 teaspoon Vanilla Extract:
- Substitution: Almond extract can add a different, delightful flavor profile.
- Black Gel Food Coloring (or cocoa powder for natural black):
- Substitution: If you don’t have black gel food coloring, you can use a combination of cocoa powder (for dark brown) and a tiny bit of red and blue liquid food coloring to create a deep, dark gray/black. This is key for those chocolate spider donuts if you want to lean into that flavor!
- White Decorating Icing (in a squeeze tube with a small round tip, or homemade with a piping bag):
- Substitution: You can make your own white glaze by mixing powdered sugar with a tiny amount of milk or lemon juice until smooth and pipable. This is for the intricate spider web donuts design.
- Gummy Spiders or Plastic Toy Spiders (for decoration):
- Substitution: Feel free to use chocolate spiders, plastic toy spiders cleaned thoroughly, or even create small spiders from melted chocolate chips. For a truly unique touch, consider making tiny spiders from black fondant or licorice pieces for gummy spider donuts.
How to Make Spider Nest Donuts
Bringing these spooky, delicious Spider Nest Donuts to life is an art that anyone can master. It’s a process filled with anticipation, a little bit of creative flair, and the satisfaction of watching simple ingredients transform into something truly extraordinary. My husband, Jonah, often captures the kids’ excited faces during this stage – those are some of my favorite photos. This homemade spider nest donuts recipe is all about fun, so don’t worry about being perfect!
Step-by-Step Instructions
- Prepare Your Glaze Base: In a medium bowl, whisk together the powdered sugar, 3 tablespoons of milk, and vanilla extract until smooth. You’re aiming for a consistency that’s thick enough to coat the back of a spoon but still pourable. If it’s too thick, add more milk, a tiny drop at a time. If it’s too thin, whisk in a little more powdered sugar. This is the foundation for your spider nest donut recipe.
- Color Your Glaze: Now comes the spooky part! Add a few drops of black gel food coloring to your glaze. Stir well, adding more drops until you achieve a rich, deep black color. This is your spider donut frosting ideas coming to life! If you’re leaning into a more natural look or making chocolate spider donuts, you can use cocoa powder for a deep brown, or a mix to get a very dark gray. This dark glaze will make the white web pop.
- Dip Your Donuts: Line a baking sheet with parchment paper or a wire rack. Dip the top of each plain donut into the black glaze, allowing any excess to drip back into the bowl. Don’t worry if it’s not perfectly even; the rustic look adds to the charm. Place the glazed donuts on your prepared baking sheet.
- Prepare for Web Creation: While the black glaze is still wet, grab your white decorating icing. If you’re using a tube, make sure the tip is clean and clear. If you’re making your own white glaze, spoon it into a piping bag with a small round tip, or even a small Ziploc bag with a tiny corner snipped off. This is where your donut spider web decoration ideas truly begin to materialize.
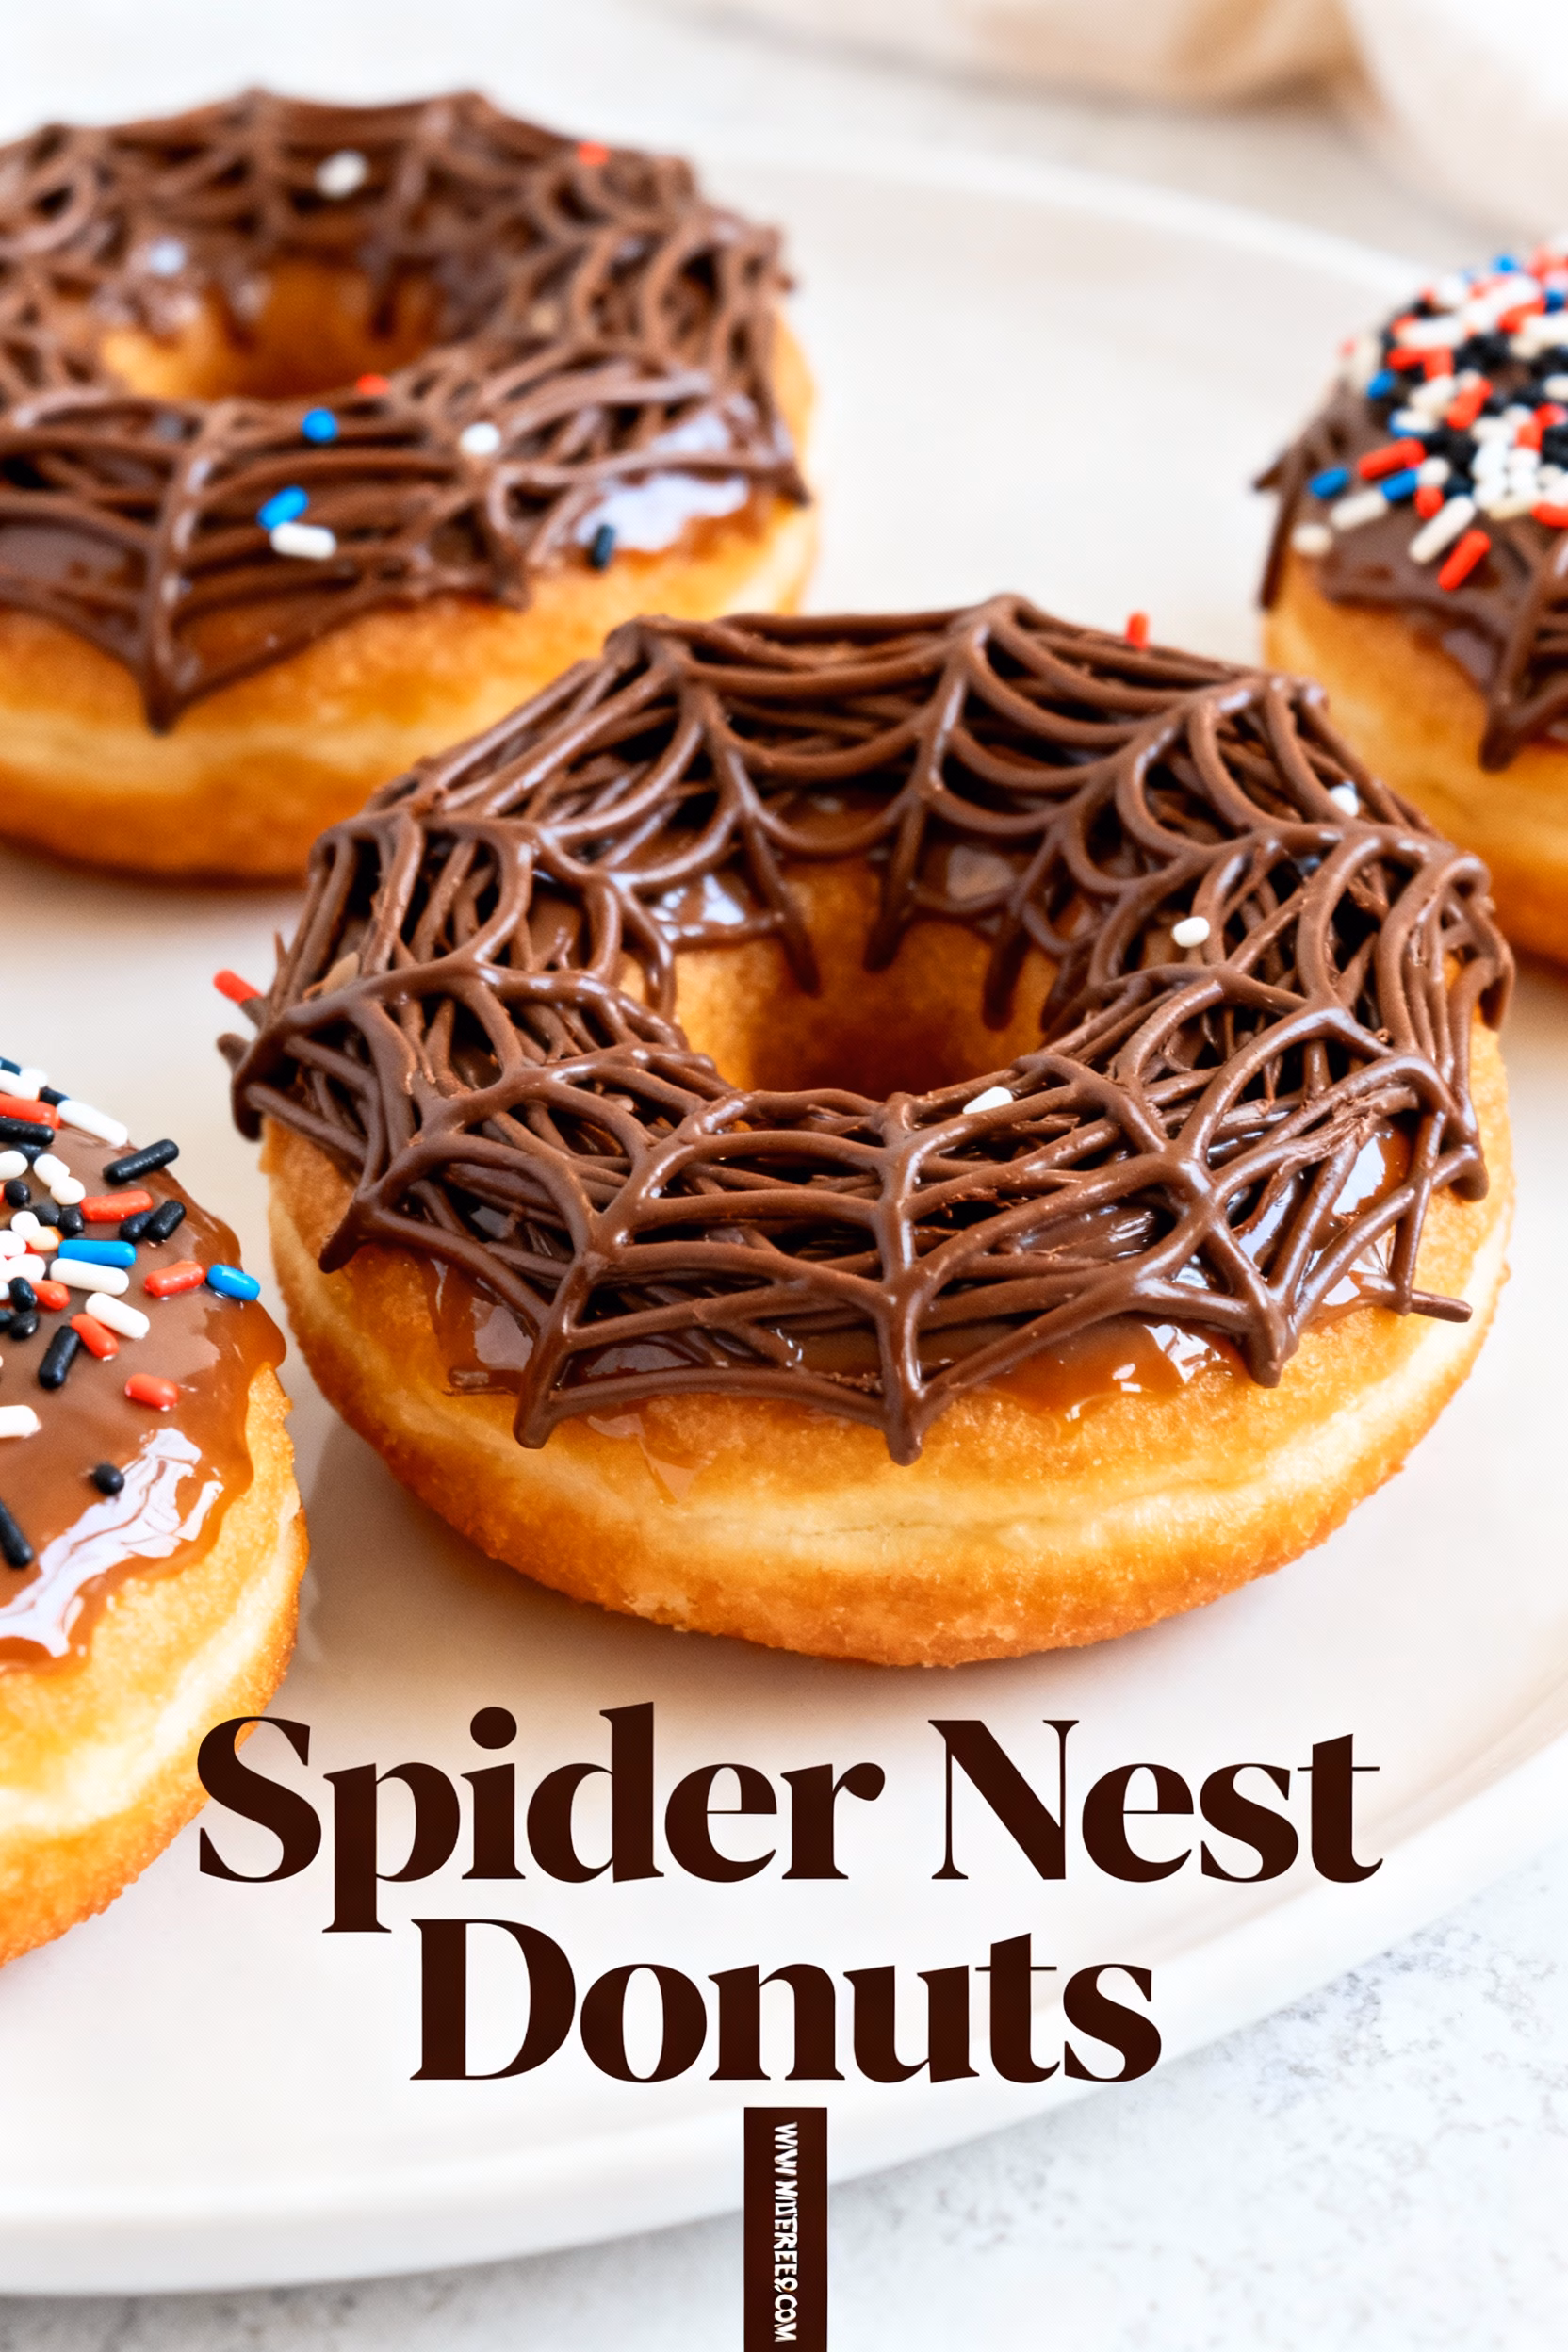
- Pipe the Spider Webs: Working one donut at a time (before the black glaze sets!), pipe concentric circles of white icing on top of the black glaze. Start with a small dot in the center, then pipe slightly larger circles around it, leaving a small space between each.
- Create the Web Effect: Take a toothpick (or the tip of a small knife) and drag it from the center of the donut outwards, through the white circles, towards the edge of the donut. Repeat this several times around the donut, spacing your drag lines evenly. This creates the classic spider web donuts pattern. Watching the webs form is so satisfying!
- Add Your Spiders: Immediately after creating the web, place a gummy spider or cleaned plastic toy spider onto each donut. Position it slightly off-center for a more realistic, crawling look. If you’re doing gummy spider donuts, this is the moment they get their spooky tenants!
- Allow to Set: Let the Spider Nest Donuts sit on the wire rack for at least 30 minutes to allow the glaze to set completely. This prevents smudging and ensures your spooky creations are ready for their close-up.
These instructions for how to make spider nest donuts are designed to be as clear and straightforward as possible, making sure that even beginners can achieve a result they’re proud of. Remember, the goal is fun and festivity, not perfection!
Pro Tips & Variations
Making Spider Nest Donuts is already a fantastic treat, but there are always ways to elevate them, tailor them to your unique taste, and make the process even smoother. These are the little tricks I’ve picked up over the years that truly make a difference in transforming simply delicious donuts into extraordinary edible art.
- Consistency is Key for Glaze: The black glaze needs to be just right – not too thick that it’s clumpy, and not too thin that it runs off the donut. If it’s too thick, add milk 1/4 teaspoon at a time. Too thin? Add powdered sugar 1 tablespoon at a time. For the white web icing, also ensure it’s easily squeezable but holds its shape. This small detail dramatically impacts your spider web donuts aesthetic.
- Work Quickly, One Donut at a Time: The magic of the web effect relies on the black glaze being wet when you pipe the white circles. Have everything prepped and ready, then glaze and draw the web on one donut before moving to the next. This is crucial for crisp, defined webs.
- Don’t Overdo the Food Coloring: Black gel food coloring is potent! Add it gradually, stir thoroughly, and allow a moment for the color to develop before adding more. Overloading it can sometimes affect the glaze’s texture and taste.
- Get Creative with Spiders: While gummy spider donuts are popular, don’t limit yourself! Use chocolate spiders, craft your own from melted chocolate, or even make small spiders out of black licorice or fondant for a truly custom touch. You can also press a few black sprinkles into the glaze for “baby spiders” around the main one.
Variations to Explore:
- Gluten-Free Spider Nest Donuts: Easily achieved by starting with your favorite gluten-free donut recipe or purchasing gluten-free plain donuts. The glazes and decorations remain the same!
- Vegan Spider Web Donuts: Opt for a vegan donut (many bakeries offer them now, or use a vegan DIY spider nest donuts recipe). Ensure your milk is plant-based (almond, oat, soy work wonderfully), and your powdered sugar doesn’t contain bone char (check labels). The gummy spiders might need to be substituted with vegan-friendly alternatives or homemade chocolate spiders. This ensures everyone can enjoy your halloween donuts spider creations.
- Mummy Donut Mashup: Want to combine themes? After the black glaze sets, drizzle thin lines of white icing haphazardly across the donut (like bandages), then add two small dots for eyes before placing your spider. Now you have a spooky mummy spider donut!
- Color Play: Instead of black, try vibrant purple or ghoulish green for your base glaze, then use black for the web. This adds a fun, colorful twist to your creative donut ideas.
- Flavor Boosts: Add a tiny pinch of espresso powder to your black glaze to deepen the color and add a subtle coffee flavor that pairs wonderfully with vanilla. Or, for a hint of citrus, incorporate a tiny bit of orange zest into the black glaze – a nod to classic Halloween flavors.
These tips and variations ensure that your Spider Nest Donuts are not just delicious and spooky, but also perfectly tailored to your preferences and those of your guests. It’s all about making cooking an enjoyable, creative process.
Serving Suggestions
Once your Spider Nest Donuts have set, they’re not just a treat for the eyes; they’re ready to be shared and devoured! There’s something so satisfying about presenting a platter of these whimsical creations, watching faces light up with delight. They’re perfect as a standalone Halloween party dessert ideas spider themed treat, but they also play well with others.
Here are some of my favorite ways to serve these spooky delights:
- Halloween Party Platter: Arrange them artfully on a large platter alongside other spooky treats. I often pair them with some little mummy hot dogs or spider web pizzas for a full-on spooky spread. They make for fantastic novelty halloween food that guests of all ages will adore.
- Breakfast for Little Ghouls: Surprise your kids on Halloween morning with these delightful donuts! Imagine their faces waking up to a spider theme donuts breakfast. A glass of orange juice or warm cider completes this festive meal. It instantly sets the tone for a day of fun.
- Coffee & Cocoa Companion: For the adults, these Spider Nest Donuts are a perfect companion to a warm mug of coffee, hot chocolate, or even a spiced pumpkin spice latte. The sweetness of the donut balances the richness of the beverage beautifully.
- Spooky Snack Packs: If you’re sending treats to school (check school policies first!), package individual spider web donuts for school party treat bags. They hold up well and are sure to be the star of any class party.
- Dessert Bar Centerpiece: If you’re hosting a larger gathering, create a the Halloween dessert bar. These donuts will be a stunning centerpiece, drawing everyone in with their unique look. Add some ghostly meringues or pumpkin-themed treats for variety.
However you choose to serve them, these Spider Nest Donuts are sure to be a hit. They’re a delicious and visually engaging way to celebrate the most wonderfully spooky time of year!
Storage & Reheating
Ah, the bittersweet moment when the party winds down and you’re left with a few leftover treats. While Spider Nest Donuts are always best enjoyed fresh, if you happen to have some remaining (a rare occurrence in our house!), proper storage ensures they stay delightful for as long as possible.
Storing Your Spider Nest Donuts:
- At Room Temperature: For best results, store leftover Spider Nest Donuts in an airtight container at room temperature. The glaze will keep its integrity beautifully for 1-2 days. If your home is particularly humid, you might notice the glaze becoming slightly tacky, but the donuts will still be perfectly delicious. Placing parchment paper between layers can prevent sticking if you stack them.
- In the Refrigerator: If you need to store them longer, or if your glaze contains dairy that you’re concerned about, you can refrigerate them in an airtight container for up to 3-4 days. However, refrigeration can sometimes alter the texture of donuts, making them a little firmer. Bring them to room temperature before serving for the best experience.
- Freezing is Not Recommended: I don’t typically recommend freezing glazed donuts, especially ones with delicate sugar glazes. The freezing and thawing process can cause the glaze to become watery, crystallize, or lose its smooth texture, and the donut itself might become somewhat soggy. It just doesn’t live up to the original deliciousness, and these homemade spider nest donuts deserve better!
Reheating:
Donuts, especially cake donuts, aren’t typically “reheated” in the traditional sense, as they are usually enjoyed at room temperature. If they’ve been refrigerated and you want to soften them slightly:
- Microwave (Quick Softening): Pop a single donut in the microwave for just 10-15 seconds on low power. Be extremely careful not to overheat it, which can make it tough. This will just take the chill off and restore a bit of that fresh-baked softness.
- Room Temperature Rest: The simplest method for refrigerated donuts is to just let them sit on the counter for 20-30 minutes before serving. They’ll naturally come back to a pleasant temperature and texture.
Remember, the goal is always to savor these spooky treats at their best, so enjoy them fresh if you can!
FAQ about Spider Nest Donuts
You’ve got questions about these charmingly creepy Spider Nest Donuts, and I’ve got answers! It’s natural to wonder about the finer points when you’re creating something special, especially when it involves edible art. These are some of the common inquiries I’ve heard over the years, from fellow bakers and curious kids alike.
- Q: Can I use store-bought donuts for this recipe?
- A: Absolutely! In fact, starting with plain store-bought donuts is my go-to for making these super quick and easy. It significantly cuts down on prep time, making it perfect for busy parents or last-minute Halloween party dessert ideas spider themed needs. Just make sure they are plain or lightly sugared, so the black glaze adheres well.
- Q: My spider webs aren’t looking perfect. What am I doing wrong?
- A: Don’t fret! The key is to work quickly while the black glaze is still wet. If it dries, the white icing won’t spread as cleanly. Also, ensure your white icing is a good, pipable consistency—not too thin (it’ll disappear) and not too thick (it’ll be hard to pipe). Practice makes perfect, and even slightly messy webs look wonderfully spooky! Remember, this is about fun, not perfection – embrace the DIY spider nest donuts spirit!
- Q: Where can I find gummy spiders? I can’t seem to locate them.
- A: Gummy spiders often appear in stores around Halloween, usually in the candy aisle or baking section. If you can’t find them, don’t despair! You can use chocolate spiders, make small spiders from black licorice, or even use cleaned, food-safe plastic toy spiders (just remind everyone they’re for decoration only!).
- Q: Can I make the black glaze in advance?
- A: You can prepare the black glaze a day in advance and store it in an airtight container in the refrigerator. Before using, let it come to room temperature and give it a good whisk. You might need to add a tiny bit more milk or powdered sugar to achieve the desired consistency, as it can thicken slightly when chilled.
- Q: Are there any other creative ideas for Halloween donut decorating tutorials I should try?
- A: Oh, so many! Beyond these Spider Nest Donuts, you could do “mummy” donuts by drizzling white icing back and forth, adding candy eyes. Or “monster eye” donuts with a single large candy eye. Even simple orange-glazed donuts with chocolate sprinkles can be festive. The possibilities for Halloween donut decorating tutorial are endless once you get started!
Final Thoughts on Spider Nest Donuts
As the last remnants of powdered sugar settle on my countertop and the aroma of sweet mischief still lingers, I can’t help but smile. These Spider Nest Donuts are more than just a recipe; they’re a little piece of Halloween magic we can all create. They embody everything I love about holiday baking: the joy of making something special, the shared laughter in the kitchen, and the sheer delight of seeing faces light up when a simple donut transforms into a whimsical, spooky treat.
Every time I make these, I’m reminded of how a simple idea, sparked by a child’s imagination, can grow into a cherished tradition. It’s not about being a gourmet chef or achieving confectionery perfection; it’s about the spirit of creation, the joy of sharing, and the delicious memories we bake into every bite. Whether you’re a seasoned baker or just dipping your toe into the world of Halloween desserts, this recipe for how to make spider nest donuts is your invitation to play.
So, gather your ingredients, call your little helpers, and embrace the delightful chaos that comes with creating these enchanting Spider Nest Donuts. Let the simple act of decorating become a moment of connection, a time to chat and laugh. And when they’re done, take a moment to admire your handiwork, because you’ve created something truly special and wonderfully spooky.
I truly hope these Spider Nest Donuts bring as much joy and deliciousness to your home as they do to mine. Don’t forget to tell me all about your spooky creations in the comments below – I absolutely love hearing your kitchen stories! And if you loved this recipe, please consider saving it to your favorite Pinterest board. Your shares and comments mean the world to our little blog and help other home cooks like you discover the magic of easy, heartfelt cooking. Happy baking, and Happy Halloween!
Spider Nest Donuts
Ingredients
Equipment
Method
- In a medium bowl, whisk together the powdered sugar, 3 tablespoons of milk, and vanilla extract until smooth. Adjust consistency with more milk or powdered sugar as needed.
- Add black gel food coloring dropwise to the glaze and mix until a rich, deep black color is achieved. For natural options, blend cocoa powder with small amounts of red and blue food coloring to reach a dark gray-black shade.
- Line a baking sheet with parchment paper or place a wire rack over it. Dip the top of each plain donut into the black glaze and let excess drip. Place donuts on the prepared sheet/rack.
- While the glaze is still wet, pipe concentric circles of white decorating icing starting with a small dot in the center and larger circles outward with small spacing.
- Use a toothpick to drag lines from the center outward through the white circles to create a spider web pattern on each donut. Repeat evenly around the donut.
- Place one gummy spider or cleaned plastic toy spider slightly off-center on each donut to look like it is crawling.
- Allow the donuts to set for at least 30 minutes on the wire rack before serving to ensure glaze is firm and designs remain intact.