Introduction
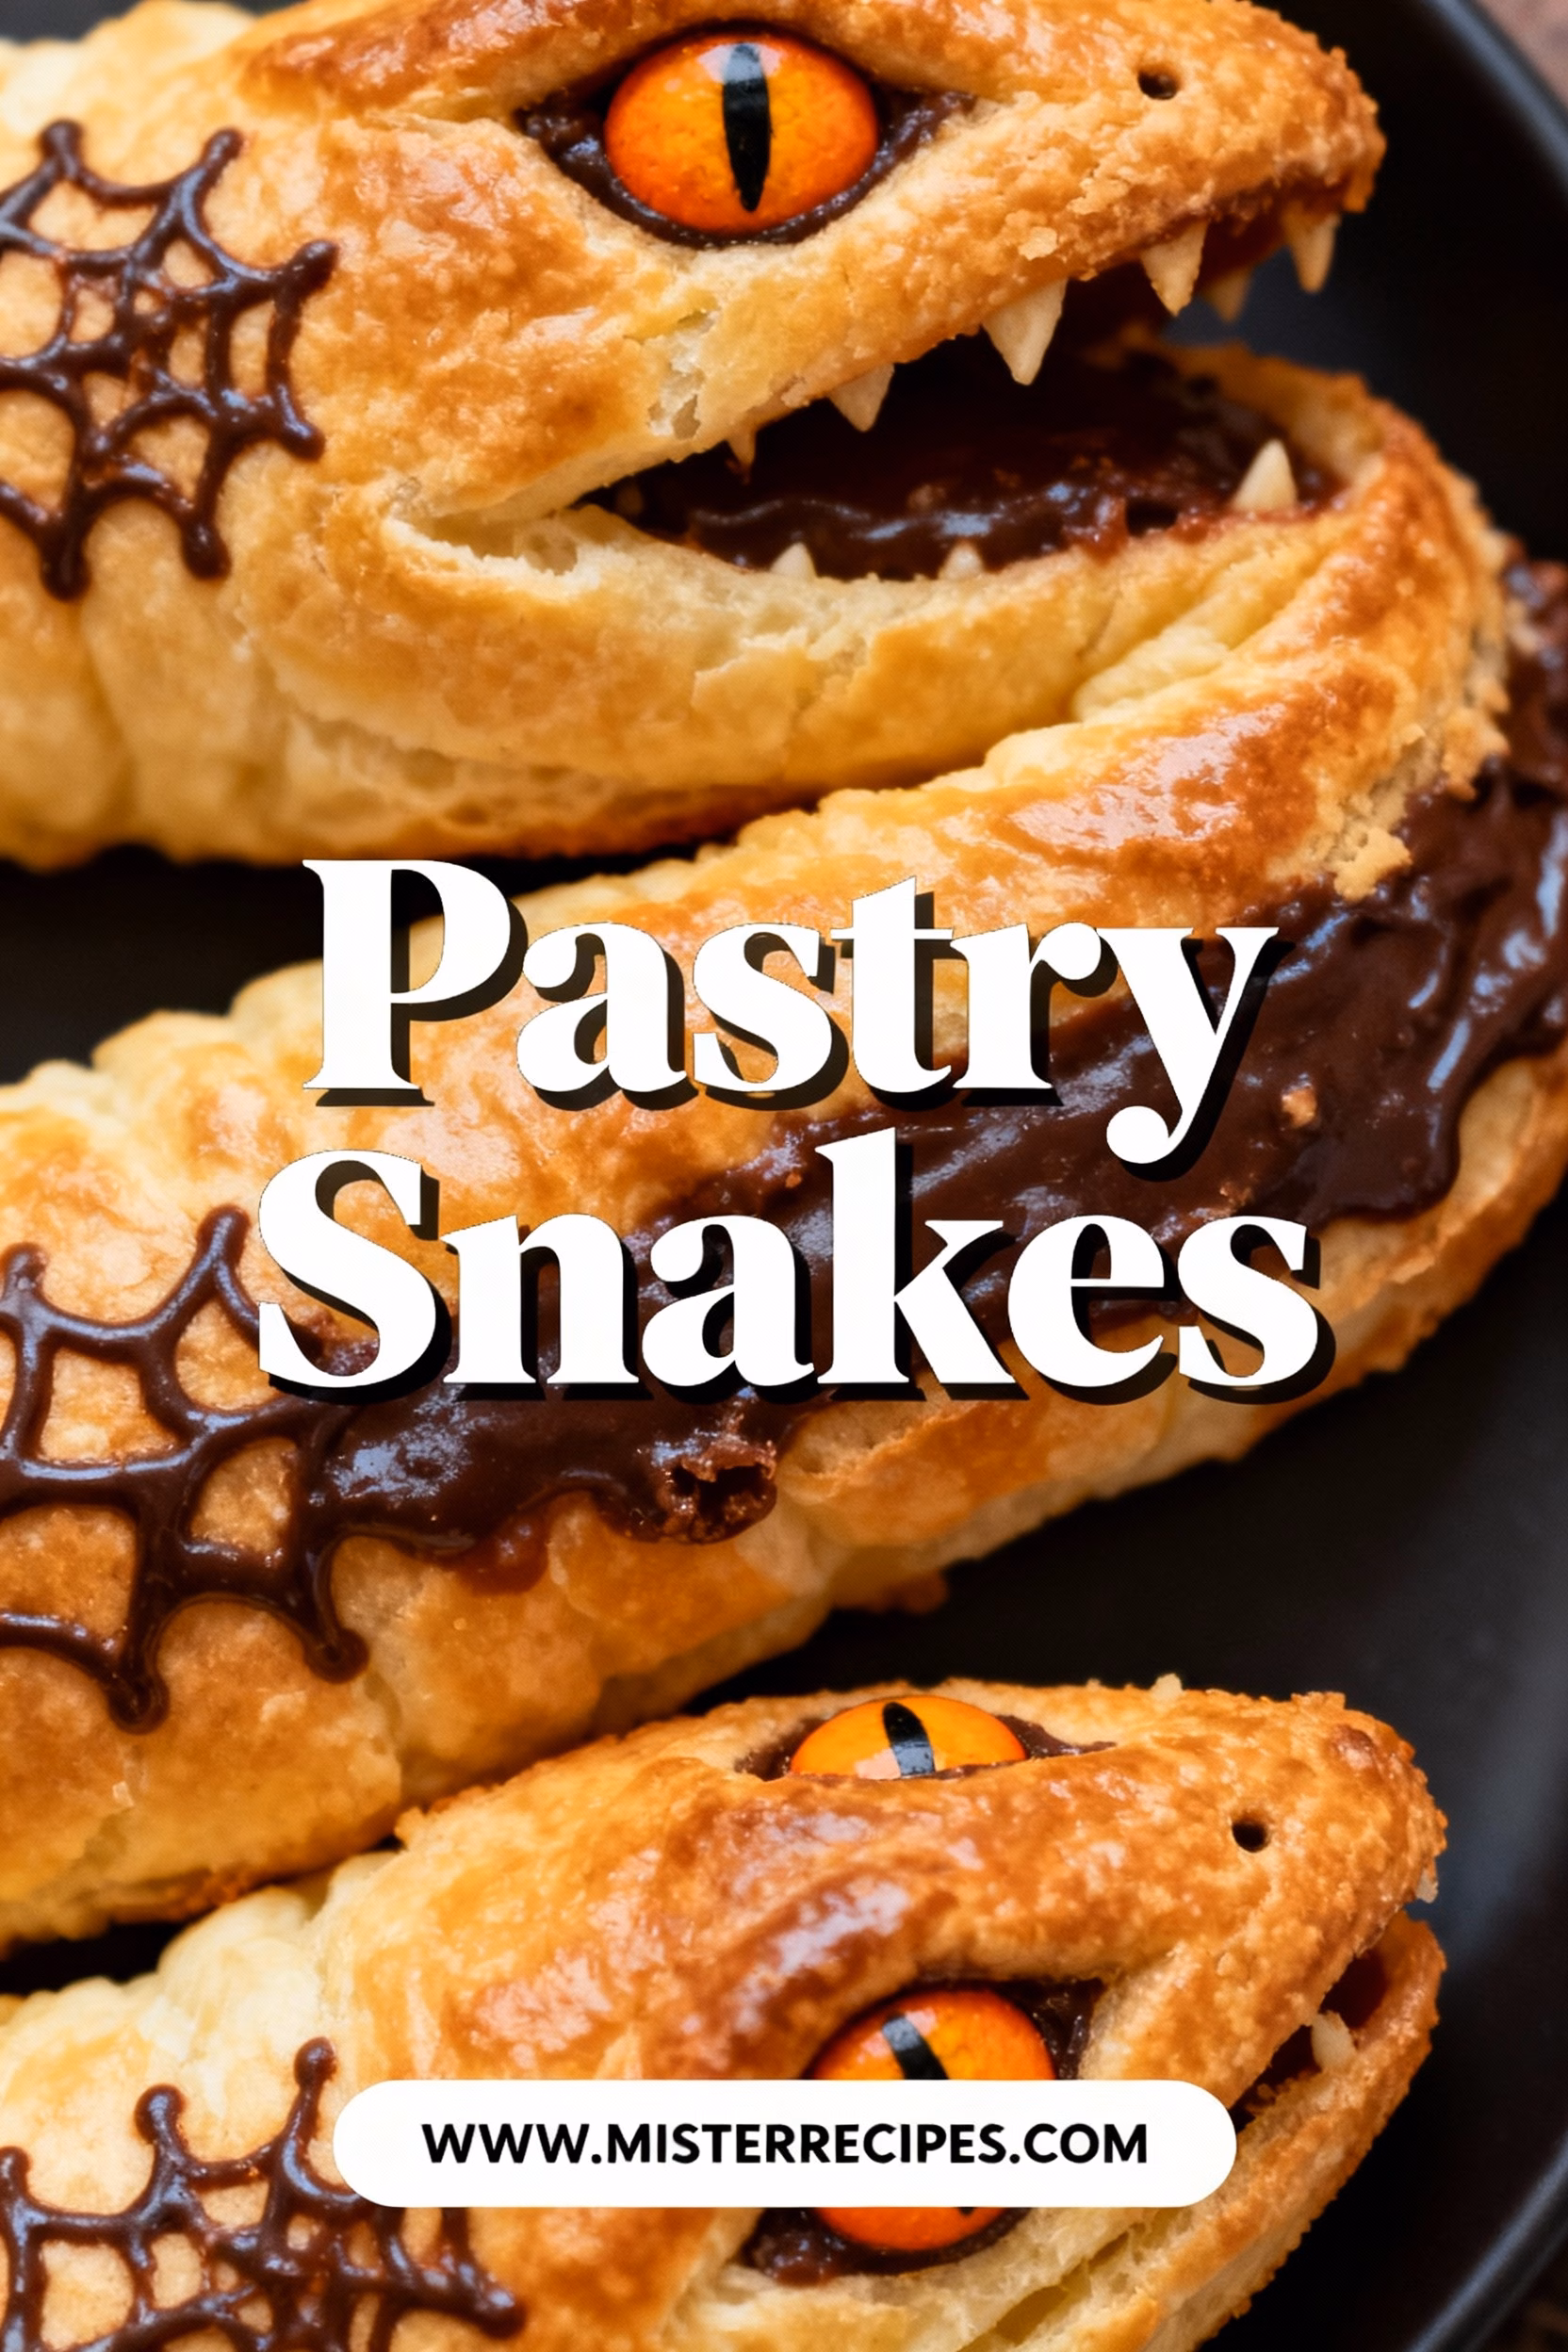
Have you ever found yourself yearning for a recipe that’s as delightful to make as it is to eat, one that brings smiles to little faces and a warm sense of accomplishment to your own? Perhaps you’ve scrolled through countless ideas, seeking that magical combination of easy pastry snake recipe and unforgettable flavor. Well, my friend, you’ve stumbled upon something truly special today. Because today, we’re not just baking; we’re creating edible art: Pastry Snakes! These whimsical treats, whether destined for a fun party or a quiet afternoon snack, are more than just a pastry; they’re an invitation to play in the kitchen, a gentle reminder that some of the best culinary adventures are born from simplicity.
Here in our Bend, Oregon kitchen, surrounded by the scent of pine and the happy hum of morning, I often find myself searching for recipes that bridge the gap between delicious and delightful. Something that allows Olivia and James to get their hands a little flour-dusted, and Ethan to snap a few candid, joy-filled photos. And these pastry snakes fit the bill perfectly. They transform humble puff pastry into charming, coil-shaped wonders that can be sweet or savory, making them incredibly versatile. You might think creating such enchanting pastry snake shapes would be complicated, but trust me, it’s not! This recipe is designed to be approachable, even for the most tentative home cook, promising a rewarding experience that will leave you wondering why you haven’t made them sooner. So, let’s roll up our sleeves and bring some playful magic to our tables!
Why You’ll Love This Pastry Snakes
There’s something inherently joyful about Pastry Snakes, a quality that transcends simple ingredients and transforms them into a culinary delight. From the first peek into the oven as they puff and brown to the moment little hands reach for them, these treats truly captivate. Here’s why adding these to your repertoire will bring a little extra sparkle to your kitchen:
- Effortlessly Charming: Despite their impressive appearance, these pastry snakes are surprisingly simple to create. Using store-bought puff pastry cuts down on prep time significantly, meaning less stress and more fun. They’re a fantastic way to impress guests or simply brighten a regular Tuesday afternoon without demanding hours of your precious time.
- Kid-Friendly Magic: My little ones, Olivia and James, absolutely adore shaping these. It’s a fantastic activity for little hands, fostering creativity and a love for cooking from an early age. Whether they’re helping to twist the dough into pastry snake shapes or sprinkle the toppings, it’s an engaging experience that results in delicious rewards. Plus, the fun factor makes them much more likely to actually eat what they helped make!
- Sweet or Savory Versatility: This recipe is a culinary chameleon! While we’ll dive into a couple of classic options, the beauty of pastry snakes lies in their adaptability. Fancy a sweet treat? Think chocolate pastry snakes or cinnamon pastry snakes. Craving something savory? Imagine savory pastry snakes with herbs and cheese. It’s a blank canvas for your culinary imagination.
- Perfect for Any Occasion: From a whimsical birthday party snack to an elegant brunch offering, or even a cozy family movie night, Pastry Snakes fit right in. They’re light, airy, and incredibly moreish, making them ideal as pastry appetizers or a delightful pastry snake dessert.
- Simple Ingredients, Big Flavor: You don’t need a pantry full of exotic spices. The magic truly happens with just a few basic ingredients, proof that extraordinary flavor often comes from the simplest combinations. This also means they’re often budget-friendly and easy to whip up on a whim.
- A Wonderful Way to Connect: For me, cooking is always about connection. These puff pastry snakes are no exception. They’re a wonderful excuse to gather in the kitchen, share stories, and create new memories around the simple act of making something delicious together. It’s these moments, the flour on the countertop and the shared laughter, that truly nourish the soul.
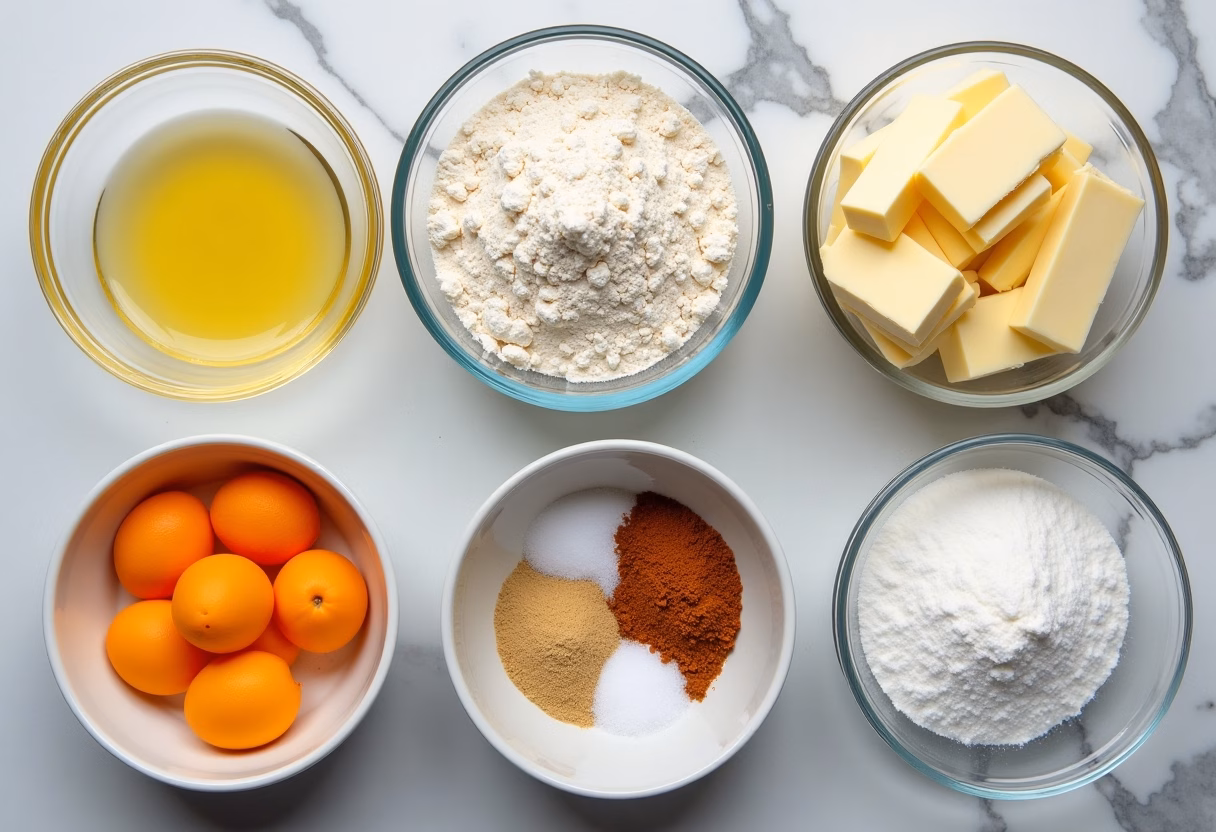
Ingredients for Pastry Snakes
Gathering your ingredients is the first step on our delicious journey. Don’t worry, we’re keeping things wonderfully simple and accessible, ensuring that these Pastry Snakes are a breeze to bring to life.
1 sheet (about 9-10 ounces) puff pastry, thawed according to package instructions (usually found in the freezer section).
1 large egg, beaten (for an egg wash that gives that beautiful golden sheen)
2 tablespoons sugar (for sweet variations)
1 teaspoon ground cinnamon (for cinnamon pastry snakes)
Optional sweet fillings:
- 2 tablespoons mini chocolate chips (for chocolate pastry snakes)
- 1 tablespoon fine chopped nuts (pecans or walnuts work beautifully)
- 1/4 cup cream cheese, softened, mixed with 1 tablespoon powdered sugar (for a creamy swirl)
Optional savory fillings:
- 2 tablespoons grated Parmesan cheese
- 1/2 teaspoon dried Italian herbs (oregano, basil, thyme)
- Pinch of garlic powder
- 1 tablespoon pesto (for pesto and cheese pastry twists)
- Strips of cooked bacon bits or finely diced ham
Substitution Notes:
- Puff Pastry: While homemade is lovely, store-bought is your best friend here for easy pastry snake recipe success. If you need a gluten-free pastry snake option, look for gluten-free puff pastry in specialty stores.
- Egg Wash: For a vegan option or if you’re out of eggs, a brush of plant-based milk (like almond or soy) will also help with browning.
- Sweet Fillings: Get creative! A sprinkle of brown sugar, a brush of jam, or even a drizzle of maple syrup before baking can create wonderful flavor profiles.
- Savory Fillings: The possibilities are endless! Think everything bagel seasoning, a sprinkle of smoked paprika for savory pastry snakes, or even a few red pepper flakes for a kick. For vegan pastry snakes, ensure all fillings are plant-based.
How to Make Pastry Snakes
This is where the magic truly unfolds, and I promise you, it’s as enchanting as a story and as satisfying as a warm embrace from a loved one. Making these Pastry Snakes is less about precision and more about playful creation, inviting you to connect with the food on a deeper level.
Step-by-Step Instructions
Prepare Your Canvas: First things first, gentle hands are key with puff pastry. Unfold your thawed puff pastry sheet carefully on a lightly floured surface or a piece of parchment paper. If it’s a bit chilly, let it sit for another minute or two — warmth helps prevent cracking. You want it pliable, but still firm. This is the foundation for our beautiful pastry snake shapes.
The Golden Wash: In a small bowl, whisk that single egg until it’s light and frothy. This is our lovely egg wash, and it will give our Pastry Snakes that irresistible golden-brown crust and a subtle shine. Brush the entire surface of your puff pastry sheet with a thin, even layer of this egg wash. Don’t drown it, just a gentle kiss of golden goodness.
Choose Your Adventure (Sweet or Savory): Now, for the fun part: deciding on your flavor! This is where your personal touch truly shines, transforming plain pastry into gourmet pastry snakes or delightful kid-friendly pastry snakes.
- For Sweet Pastry Snakes: If you’re going for sweet, sprinkle your sugar and cinnamon evenly over the egg-washed pastry. If you’re making chocolate pastry snakes, now’s the time to scatter those mini chocolate chips across the surface, along with any other sweet additions like chopped nuts. You could also spread a thin layer of cream cheese mixture here for a creamy, dreamy swirl.
- For Savory Pastry Snakes: If savory calls to you, sprinkle the grated Parmesan cheese, dried herbs, and a pinch of garlic powder over the pastry. If using pesto, spread a thin layer first, leaving a small border at the edges. Tiny bits of bacon or ham can also be added for extra savory goodness. For an extra kick, a little Jalapeño Popper Mummies inspired spice would be delightful here.
The Cutting Ceremony: Using a sharp knife or a pizza cutter, carefully cut the pastry sheet into long, even strips. Aim for strips about 1/2-inch to 3/4-inch wide. Imagine them as ribbons, ready to be twirled. The longer the strips, the longer your puff pastry snakes will be, so adjust to your preference.
The Twisting Dance: One by one, pick up each strip. Hold one end and gently twist the strip from end to end, creating that distinctive coiled snake pastry shape. Don’t worry about perfection; the more organic they look, the more charming they become! This is where little hands often love to help, their joyful, albeit sometimes slightly wobbly, twists adding to the character.
Arrange for Success: Carefully transfer your twisted Pastry Snakes to a baking sheet lined with parchment paper. Make sure to leave a little space between each one to allow them to puff up beautifully in the oven without crowding.
Chill Out: Pop the baking sheet into the refrigerator for about 10-15 minutes. This little chill time is a secret weapon; it helps the puff pastry maintain its flaky layers and shape during baking, ensuring your pastry bites are perfectly crisp.
The Warm Embrace of the Oven: While your pastry snakes are chilling, preheat your oven to 400°F (200°C). Once preheated, bake for 12-18 minutes, or until the pastries are beautifully golden brown and puffed up. Keep a watchful eye, as ovens can vary! You want them crisp, not burnt.
A Moment of Rest: Once baked, remove the Pastry Snakes from the oven and let them cool slightly on the baking sheet for a few minutes before transferring them to a wire rack to cool completely. The aroma filling your kitchen right now is pure bliss, a testament to your hands and heart.
As they cool, I often think about how these simple steps, repeated in kitchens across generations, connect us. It’s not just a recipe; it’s a small act of love, baked into every twist and turn.
Pro Tips & Variations
Making Pastry Snakes is an art form that offers endless possibilities, much like the changing seasons here in Bend. A few simple tweaks can transform them into something entirely new, catering to diverse tastes and dietary needs. Here are some of my favorite ways to elevate your Pastry Snakes game:
- Chill for Flakiness: This is perhaps the most crucial tip for any puff pastry recipe. After shaping your pastry snake shapes and before baking, place them in the refrigerator for at least 15-20 minutes. This helps the butter in the pastry firm up, leading to those gorgeous, airy, flaky layers we all adore. It’s a small step that makes a huge difference.
- Don’t Over-Flour: When unfolding and working with your puff pastry, use flour sparingly. Too much flour can make the pastry tough. A light dusting on your work surface and rolling pin is usually all you need. You want the pastry to glide, not stick.
- Even Thickness is Key: When cutting your strips for Pastry Snakes, try to make them as uniform in thickness as possible. This ensures even baking, so you don’t end up with some perfectly golden and others undercooked. A ruler can be helpful, but a keen eye works too!
- Creative Sweet Variations:
- Maple Pecan: Brush with melted butter, sprinkle with brown sugar and finely chopped pecans. A drizzle of maple glaze after baking makes these truly irresistible.
- Fruit Swirl: Spread a thin layer of your favorite fruit preserve (raspberry, apricot, or apple butter work wonderfully) before cutting and twisting for a fruity pastry snake dessert.
- Chocolate Pastry Twists with a Kick: Incorporate a pinch of chili powder or cayenne pepper with your chocolate chips for a surprising, sophisticated flavor.
- Almond Joy Inspired: A sprinkle of shredded coconut and chopped almonds along with the chocolate chips will transport you to a tropical paradise.
- Savory Sensations:
- Garlic Herb & Cheese: After the egg wash, sprinkle generously with garlic powder, dried oregano, dried basil, and a healthy dose of grated Parmesan or sharp cheddar for wonderfully aromatic savory pastry snakes.
- Spicy Smoked Paprika: A sprinkle of smoked paprika adds a beautiful color and smoky depth. Pair with a little feta or goat cheese for an incredible combination.
- Pesto and Cheese Pastry Twists: Spread a thin layer of pesto, then sprinkle with Parmesan before twisting. This classic combination is always a winner.
- “Everything Bagel” Pastry Bites: Brush with egg wash, then sprinkle with everything bagel seasoning for an instant savory hit. Perfect as pastry appetizers or for brunch.
- Dietary Adaptations:
- Vegan Pastry Snakes: Look for accidentally vegan puff pastry brands (many are made with oil, not butter). Use a plant-based milk for the wash, and ensure your fillings are dairy-free.
- Gluten-Free Pastry Snakes: Many brands now offer gluten-free puff pastry. Follow the same recipe, making sure any other ingredients (like spices) are also certified gluten-free. While I haven’t tried making easy mummy hot dogs gluten-free, the puff pastry substitute could open up new possibilities!
These variations are not just about changing ingredients; they’re about telling a new story with each batch, an invitation to explore and customize these delightful pastry twists to suit your mood and occasion.
Serving Suggestions
These charming Pastry Snakes, with their golden-brown shimmer and delicate crunch, are incredibly versatile when it comes to serving. Whether you’ve opted for chocolate pastry snakes, a savory herb and cheese version, or those delightful cinnamon pastry snakes, they truly can be the star of many different spreads. Here are some of my favorite ways to share these little treasures, turning them into a moment of pure culinary delight:
- Breakfast & Brunch Bliss:
- With Coffee or Tea: A freshly baked batch of sweet Pastry Snakes are absolutely divine alongside a steaming mug of coffee or a comforting cup of tea. It’s the perfect treat for a slow morning, perhaps while gathered with family around the kitchen table.
- As Part of a Brunch Spread: Arrange your sweet pastry bites on a beautiful platter with fresh berries, a dollop of Greek yogurt, and maybe some scrambled eggs or a light frittata. They add an elegant touch to any brunch, perhaps alongside some Pumpkin Cinnamon Rolls .
- Dipping Delight: For sweet varieties, offer a small bowl of fruit compote, melted chocolate, or a simple vanilla glaze for dipping.
- Appetizer & Party Perfection:
- Savory Snack Platter: Your savory Pastry Snakes are an absolute hit as pastry appetizers. Arrange them on a board with some olives, cheeses, cured meats, and a colorful array of fresh vegetables. They disappear fast!
- Dipping with Dips: Serve savory puff pastry snakes with a warm marinara sauce, a creamy artichoke dip, or even a spicy hummus. The crisp texture is perfect for scooping. Much like how I serve Easy Ghostly Marshmallow Pops with a melted chocolate dip, these savory options benefit from a complementary pairing.
- Alongside Soups & Salads: A few savory pastry twists make a wonderful accompaniment to a light lunch of soup or salad, adding a satisfying crunch and flavor boost.
- Dessert Darling:
- Simple & Sweet: Sweet Pastry Snakes are fabulous on their own as a light dessert. They’re elegant without being overly heavy, especially after a satisfying meal.
- Ice Cream’s Best Friend: Serve warm chocolate pastry snakes alongside a scoop of vanilla bean ice cream or a dollop of whipped cream for a simple yet decadent treat. The contrast in temperatures and textures is pure magic.
- Kid’s Meal Magic:
- Fun Lunchbox Treat: Tuck a couple of small sweet pastry snakes into a lunchbox for a delightful surprise that will surely be a highlight of their day.
- Playful After-School Snack: These are the ultimate kid-friendly pastry snakes. Pair them with a glass of milk or a piece of fruit for a wholesome and fun after-school snack.
No matter how you choose to serve them, remember that the best ingredient you can add is a generous sprinkle of love and a dash of shared joy.
Storage & Reheating
After the delightful experience of baking and enjoying your Pastry Snakes, you might find yourself with a few (or a generous batch!) leftover. Worry not, these charming treats store surprisingly well, ensuring that the joy of their flaky goodness can be savored for a little while longer. Here’s how I keep them fresh and ready for their next moment in the spotlight.
At Room Temperature:
- If you’re planning to enjoy your Pastry Snakes within a day or two, they can be stored at room temperature in an airtight container. This helps maintain their crispness. However, keep in mind that the flakiness of puff pastry is always at its peak immediately after baking.
- Make sure they are completely cooled before putting them away. Any residual warmth can create condensation, making them soft and soggy – and nobody wants a sad, droopy pastry snake!
Refrigeration for Longer Freshness:
- For anything beyond a couple of days, or if you have fillings that might spoil (like cream cheese or savory meat additions in your gourmet pastry snakes), the refrigerator is your friend.
- Place cooled Pastry Snakes in an airtight container or a resealable bag. They will keep well in the fridge for up to 3-4 days. The pastry might soften a little in the cold, but a quick reheat will bring back much of their charming texture.
Freezing for Future Delights:
- Yes, you can absolutely freeze Pastry Snakes! This is fantastic if you love to meal prep or want to have a batch ready for unexpected guests or a quick treat.
- To Freeze Baked Pastry Snakes: Once completely cooled, arrange the Pastry Snakes in a single layer on a baking sheet and flash freeze for about 1-2 hours until solid. Then, transfer the frozen pastries to a freezer-safe airtight container or a heavy-duty freezer bag. This prevents them from sticking together. They can be stored for up to 1-2 months.
- To Freeze Unbaked Pastry Snakes: You can also prepare the puff pastry snakes all the way up to the chilling step, then flash freeze them on a parchment-lined baking sheet. Once solid, transfer them to a freezer bag. When ready to bake, you can bake them directly from frozen, adding an extra few minutes to the baking time, watching for that perfect golden brown.
Reheating Methods to Revive the Crisp:
- Oven is Best: This is my go-to method for reheating Pastry Snakes, as it does the best job of bringing back that delightful crispness. Preheat your oven to 350°F (175°C). Place the pastry bites on a baking sheet and warm for 5-10 minutes, or until heated through and crisp.
- Toaster Oven: A toaster oven works wonderfully for smaller batches and is quicker than a full oven.
- Air Fryer: For quick reheating and excellent crisping, an air fryer at 325°F (160°C) for 3-5 minutes will do the trick. Keep an eye on them to prevent over-browning.
- Microwave (Use with Caution!): While a microwave will heat them up, it will unfortunately make the puff pastry soft and lose its flaky texture. I’d only recommend this if you absolutely must, and even then, only for a few seconds.
By following these simple storage and reheating tips, you can extend the life of your delicious Pastry Snakes and ensure they’re always ready to bring a touch of joy and whimsy to your day.
FAQ about Pastry Snakes
There’s always a little mystery and a few questions swirling around new recipes, especially when they involve the magic of puff pastry. Rest assured, I’ve gathered some common queries about Pastry Snakes to help you bake with confidence and bring these delightful creations to life.
Q: Can I make Pastry Snakes ahead of time?
A: Absolutely! This is one of their superpowers. You can prepare Pastry Snakes up to the point of baking and then freeze them, as described in the Storage & Reheating section. Alternatively, you can assemble them, chill them for 30 minutes, and then bake them off later in the day. The longer chill helps them hold their shape better. This makes them perfect for parties or busy mornings where you want fresh-baked goodness without the morning rush.Q: What if my puff pastry cracks when I unfold it?
A: Don’t fret! This often happens if the puff pastry is too cold. Give it a few more minutes at room temperature (about 5-10 minutes more) until it’s pliable. If you still get a small crack, you can gently press the edges together with your fingers or use a small rolling pin to seal it. Remember, these are homemade, and a little imperfection adds character to your pastry snake shapes!Q: Can I use different types of pastry dough?
A: While puff pastry is ideal for its incredible flaky texture, you could try using crescent roll dough for a softer, more bread-like pastry twist. The twisting method would be similar. The results won’t be as light and airy as puff pastry, but it can still be a delicious alternative, especially for kid-friendly pastry snakes. I wouldn’t recommend pie crust, as it’s too crumbly for twisting.Q: How do I prevent my Pastry Snakes from uncoiling during baking?
A: The key here is proper chilling! After you’ve twisted your puff pastry snakes, place them on the baking sheet and pop them into the refrigerator for at least 15-20 minutes before baking. This helps solidify the butter in the pastry and “sets” the twists, minimizing uncoiling as they bake. Also, avoid overworking the dough, as this can make it less likely to hold its shape.Q: Can I make savory and sweet Pastry Snakes with one sheet of pastry?
A: Yes, and I highly encourage it! It’s a fantastic way to offer variety. Simply cut your puff pastry sheet in half after the egg wash. Apply sweet toppings to one half (e.g., cinnamon pastry snakes, chocolate pastry snakes) and savory toppings to the other (e.g., cheese and herbs for savory pastry snakes). Then proceed with cutting and twisting both halves. Bake them together, just keep an eye on slightly different browning rates if one topping is very dark.Q: What’s the best way to get that beautiful golden color?
A: The egg wash is your secret weapon! Make sure it’s evenly brushed over the entire surface of the pastry snakes before baking. You can also sprinkle a little extra sugar on the sweet versions just before baking for a caramelized crunch. Don’t be afraid to let them bake until they are truly golden brown; that’s when they’re at their crispiest.
Final Thoughts on Pastry Snakes
As the last few Pastry Snakes disappear from the cooling rack, leaving behind just the faintest scent of cinnamon or savory herbs, I find myself reflecting on the simple joy these little creations bring. In our home, where the pine trees stand sentinel and the laughter of Olivia and James fills the air, recipes like these aren’t just about sustenance; they’re about connection, memory, and the beauty of slowing down.
These Pastry Snakes are more than just a recipe; they are a testament to the idea that some of the most profound culinary experiences come from the most approachable ingredients and techniques. Whether you’ve chosen to craft enchanting chocolate pastry snakes for a birthday celebration, or opted for aromatic savory pastry snakes to accompany a quiet evening meal, you’ve engaged in an act of creation that speaks to the heart. There’s a beautiful dance between the flaky texture of the puff pastry and the simple yet impactful flavors, making every bite a delightful surprise.
I often say, “I don’t chase perfection in food; I chase connection.” And these delightful pastry twists embody that philosophy perfectly. They’re a gentle reminder that cooking can be a playful act, a moment of shared creativity, and a tangible expression of love. So, whether you’re a seasoned baker or just dipping your toes into the world of pastry bites, I hope you found as much joy in making these as my family and I do.
Now, it’s your turn! I’d absolutely love to hear about your Pastry Snake adventures. Did you go sweet or savory? Did your kids get involved in shaping those adorable pastry snake shapes? Did you discover a new favorite variation?
Don’t forget to save this recipe to your Pinterest boards so you can easily find it for future baking fun! Click the “Pin It” button below. And if you enjoyed this recipe, consider subscribing to MisterRecipes.com for more stories, more recipes, and more moments of connection from my kitchen to yours. Until next time, happy baking, my friends!
Pastry Snakes
Ingredients
Equipment
Method
- Preheat oven to 400°F (200°C).
- Unfold thawed puff pastry on a lightly floured surface or parchment paper.
- Whisk egg in a small bowl and brush evenly over the entire pastry surface.
- Sprinkle sweet or savory toppings of choice over the pastry:
- Sweet: sugar and cinnamon, chocolate chips, nuts, or cream cheese mixture.
- Savory: Parmesan cheese, herbs, garlic powder, pesto, bacon or ham.
- Cut the pastry into 1/2 to 3/4-inch wide strips using a sharp knife or pizza cutter.
- Twist each strip gently from end to end to form a snake-like shape.
- Place twisted pastries on a parchment-lined baking sheet and refrigerate for 15 minutes.
- Bake for 12-18 minutes until golden brown and puffed.
- Cool on baking sheet for a few minutes before serving.