Introduction
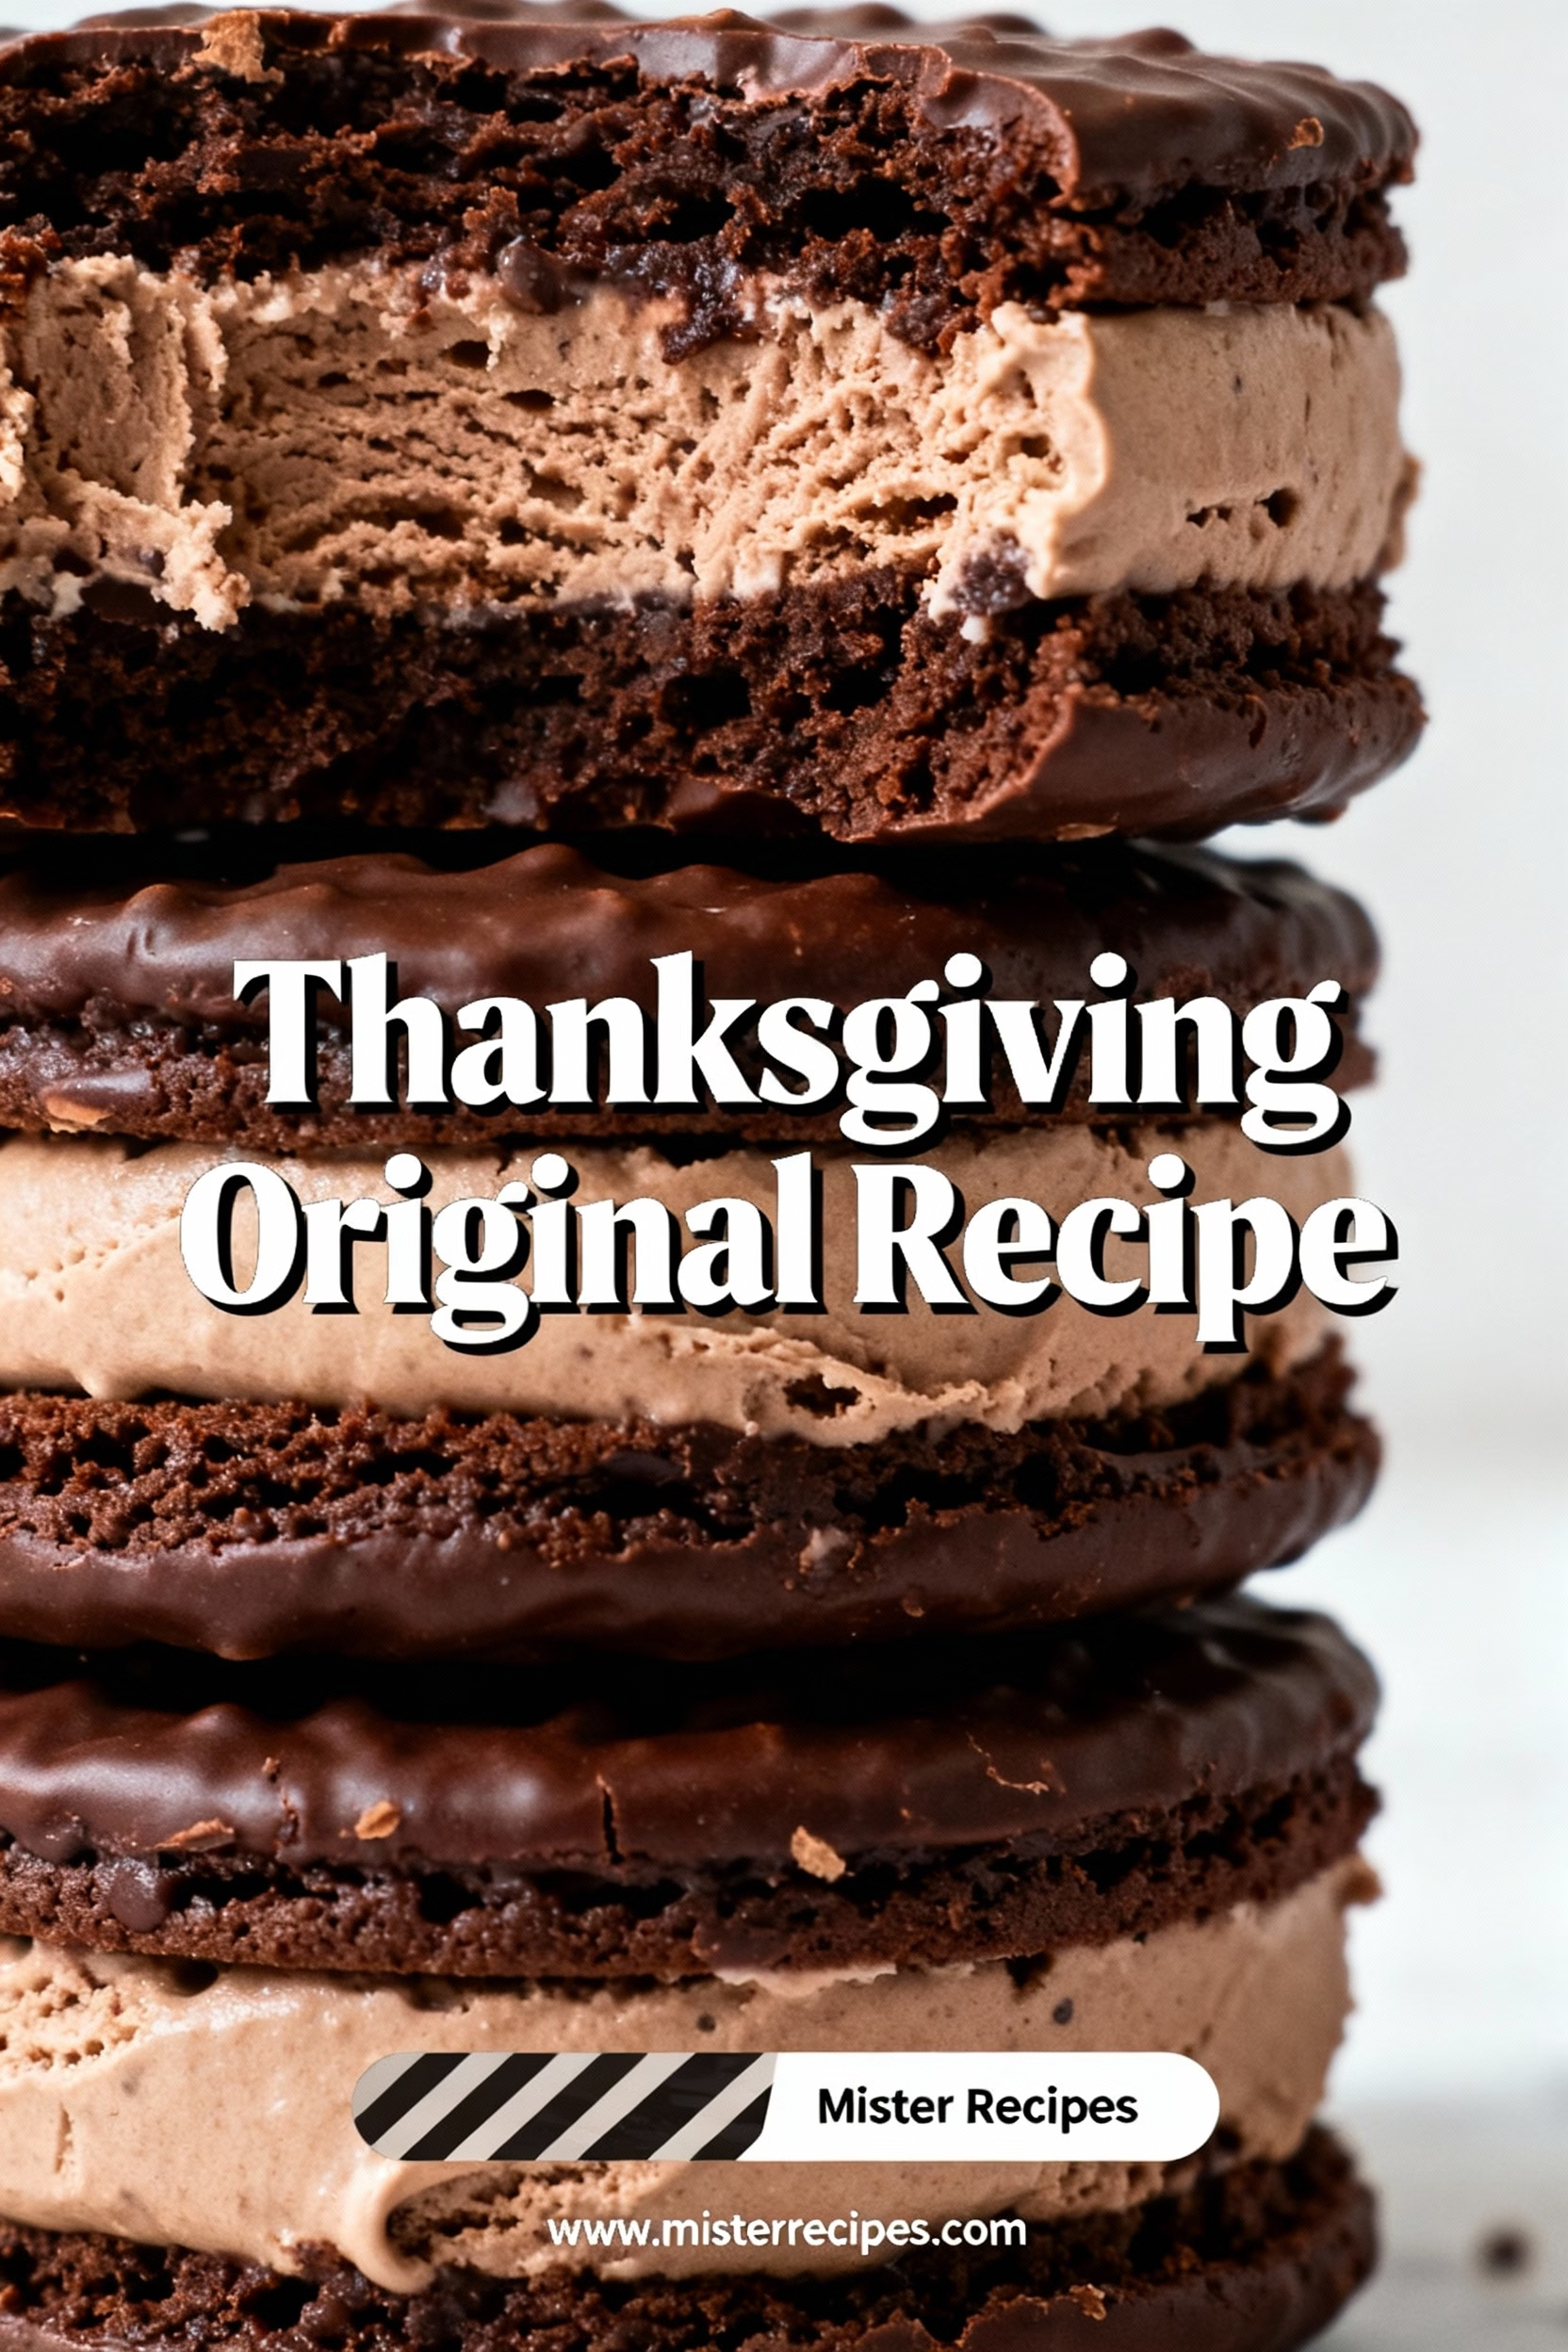
Do cold desserts really belong at a Halloween party when the weather is cooling down, or are hosts missing the one treat guests reach for first By October, searches for frozen desserts spike across recipe sites, and party goers report that grab and go sweets vanish faster than any plated dessert. Enter Chocolate I Scream Sandwiches, a playful twist on the classic ice cream sandwich that brings chills, thrills, and zero fuss. These are creamy, chocolatey, and decorated with candy eyes and drippy red jam so they look delightfully spooky yet still taste like a nostalgic favorite kids and adults love.
This recipe is simple enough for a weeknight project, impressive enough for a crowd, and adaptable for different dietary needs. Think crisp chocolate cookie edges, soft set ice cream, and a thin shell of chocolate that snaps when you bite. You can set up a decorating station so everyone builds a custom monster, mummy, or vampire bite. For a full party spread, pair these with ideas from Halloween Food Ideas For Parties or browse these fun Spooky Snacks . If you want themed mains and sides that match your treats, peek at creative Halloween Dinner Ideas too.
You can prep everything ahead, freeze, and serve with minimal mess. Use store bought cookies to save time, or bake your own chocolate wafers. The decorations are pantry friendly and kid approved. Whether you are planning a class party, neighborhood trunk or treat, or a cozy family movie night, these Chocolate I Scream Sandwiches bring the perfect mix of cute and creepy.
Why You’ll Love This Chocolate I Scream Sandwiches
- Party ready and fast. Use ready made cookies and assemble in minutes.
- Customizable for all ages. Offer candy eyes, sprinkles, and colored drizzle so each sandwich gets a personality.
- Budget friendly. A small set of toppings stretches across a crowd.
- Make ahead friendly. Freeze flat and pull out right before serving.
- Diet flexible. Swap in dairy free ice cream or gluten free cookies.
- On theme. They look spooky but taste like pure chocolate indulgence.
Want more playful ideas Browse these fun Easy Halloween Food and snackable Halloween Finger Foods . Hosting a full spread Plan a cozy Spooky Dinner and serve these sandwiches for dessert.
Ingredients for Chocolate (I Scream) Ice Cream Sandwiches
- Chocolate wafer cookies or thin chocolate brownies, 24 pieces for 12 sandwiches
- Vanilla or chocolate ice cream, about one and a half quarts
- Mini chocolate chips or chocolate chunks, for edges
- Crushed chocolate cookies, for edges
- Candy eyes
- Strawberry or raspberry jam for a spooky drip
- Meltable chocolate or candy melts, any color
- Optional black cocoa to deepen color of homemade cookies
- Sprinkles in orange, green, and black
- Food color gel for tinting white chocolate or frosting
Substitutions
- Dairy free ice cream for a vegan version
- Gluten free chocolate cookies for gluten free guests
- Fruit sorbet instead of ice cream for a lighter bite
- White chocolate for mummy wraps or green tinted melts for monster vibes
How to Make Chocolate (I Scream) Ice Cream Sandwiches
Step-by-Step Instructions

- Chill your tools. Place a sheet pan in the freezer. Line it with parchment. This helps the sandwiches set quickly and prevents sticking.
- Soften ice cream. Let the tub sit at room temperature for five to ten minutes. You want it scoopable but not melty.
- Prep toppings. Pour mini chips, crushed cookies, and sprinkles into small bowls. Open the candy eyes. Warm jam slightly so it flows easily.
- Lay out cookies. Place half the cookies face down on a cool counter or the cold sheet pan.
- Scoop and flatten. Scoop about one third cup ice cream onto each cookie. Use a spoon or small spatula to gently flatten it to the edge.
- Top and press. Place a second cookie on top. Press lightly to level the sides.
- Clean the edges. Use a butter knife to smooth the ice cream edges. Work quickly to keep everything cold.
- Roll in toppings. Roll the edges of each sandwich in mini chips or crushed cookies. Press candy eyes into the edge for a monster look.
- Decorate. Melt chocolate or candy melts according to package directions. Drizzle thin lines for mummy wraps or zig zags for monster hair. Add a few candy eyes on top. Spoon a little jam along one edge so it looks like a spooky drip.
- Freeze to set. Place decorated sandwiches on the lined sheet pan. Freeze for twenty to thirty minutes until firm.
- Serve or store. Serve immediately once set, or wrap each sandwich in parchment and place in a tight sealing container for later.
- Optional homemade wafers. If baking cookies, make thin chocolate wafers and cool completely. Black cocoa deepens color and flavor. Keep them crisp so they contrast with the creamy center.
- Optional dipping. For a clean dipped edge, dip half of each sandwich in melted chocolate, then add sprinkles before it sets. Return to the freezer to firm up.
- Quick fix for soft sandwiches. If the ice cream softens too much, freeze for ten minutes and continue.
- Set up a bar. For parties, set out toppings and let guests decorate. Keep a rotation going by freezing a tray while the next batch is assembled.
Pro Tips & Variations
Tips
- Work cold. Chill pans, cookies, and bowls when possible. Cold tools slow melting and keep edges tidy.
- Use a measuring scoop. Consistent scoops give even sandwiches that freeze at the same rate.
- Choose the right cookie texture. Thin crisp cookies give the best snap against creamy centers.
- Decorate in phases. Add eyes and sprinkles first, then drizzle chocolate, then the jam drip. Each element stays neat.
- Label flavors. If using different ice creams, mark wrappers so guests can pick their favorite.
Variations
- Vegan. Use plant based ice cream and dairy free chocolate. Pick vegan friendly sprinkles and cookies.
- Gluten free. Use a certified gluten free chocolate cookie. Most toppings are naturally gluten free, but check labels.
- Monster mash. Tint white chocolate green and draw hairlines, scars, and stitches. Press eyes at different angles for silly faces.
- Mummy wraps. Drizzle white chocolate back and forth across the top and add two eyes peeking through.
- Bloody bite. Add a thin line of red jam at one corner and place two white chocolate fangs.
For more inspiration beyond dessert, browse Halloween Themed Food and easy crowd pleasers inside Halloween Food Recipes .
Serving Suggestions
- Build a sweets board. Pair the sandwiches with gummy worms, chocolate pretzels, and a few pieces of Halloween Candy .
- Add a warm and savory contrast. Serve alongside mini pizzas from Halloween Food Ideas For Parties to balance sweet and salty.
- Offer a lighter bite. Include apple slices, clementines, and a couple of Fall Snacks for variety.
- Create a full menu. Start with a themed main from Halloween Dinner Ideas , then finish with Chocolate I Scream Sandwiches.
- Make a snack station. Add popcorn mix and other Spooky Snacks so guests can graze between freezer pulls.
Storage & Reheating
- Short term storage. Keep sandwiches in a single layer on a lined sheet pan in the freezer for up to one hour before serving.
- Long term storage. Wrap each sandwich in parchment, then place in a tight sealing container. Freeze for up to two months.
- Best texture. Let a sandwich sit at room temperature for three to five minutes before eating so the center softens slightly.
- No reheating needed. These are a frozen dessert. If too firm, simply rest at room temperature until perfect.
FAQ about Chocolate (I Scream) Ice Cream Sandwiches
- How do I keep the cookies crisp against the ice cream Use thin crisp cookies and freeze the sandwiches quickly after assembly. Avoid over softening the ice cream during prep.
- Can I make these ahead for a big party Yes. Assemble up to two weeks ahead, wrap well, and store in a tight sealing container. Decorate with drizzles and jam the day you serve for the freshest look.
- What is the easiest way to decorate Use candy eyes and a quick drizzle of melted chocolate. A small piping bag or zip bag with the corner snipped gives you control for mummy wraps and monster lines.
- How do I accommodate different diets Offer one plate with vegan and gluten free choices. Label clearly. Use plant based ice cream and certified gluten free cookies.
- What else can I serve with these For savory balance, pick items from Halloween Finger Foods and round out the menu with a cozy Spooky Dinner .
Final Thoughts on Chocolate (I Scream) Ice Cream Sandwiches
Chocolate I Scream Sandwiches deliver a perfect mix of cute decorations and classic chocolate comfort. They are fast to assemble, easy to scale for a crowd, and flexible enough for different diets and flavors. If you are building a full party plan, add a few Easy Halloween Food bites and a couple of Spooky Snacks to keep everyone happy from first hello to last goodnight.
If this recipe made you smile, save it to Pinterest, share it with a friend, and leave a comment with your favorite decoration idea. Want more seasonal inspiration Subscribe for weekly menus, new recipes, and quick guides that simplify planning. For themed spreads, do not miss bold mains inside Halloween Dinner Ideas and creative platters across Halloween Themed Food.

Chocolate (I Scream) Ice Cream Sandwiches
Ingredients
Equipment
Method
- Chill your tools. Place a sheet pan in the freezer and line it with parchment to help sandwiches set quickly and prevent sticking.
- Soften ice cream by letting it sit at room temperature for five to ten minutes until scoopable but not melty.
- Prep toppings by pouring mini chips, crushed cookies, sprinkles into small bowls and opening the candy eyes. Warm jam slightly for easy flow.
- Lay out half the cookies face down on a cool counter or cold sheet pan.
- Scoop about one third cup of ice cream onto each cookie and gently flatten to the edge using a spoon or small spatula.
- Top with a second cookie and press lightly to level the sides.
- Clean the edges with a butter knife to smooth ice cream. Work quickly to keep cold.
- Roll edges of each sandwich in mini chips or crushed cookies and press candy eyes into the edge for a monster look.
- Melt chocolate or candy melts and drizzle thin lines or zig zags as desired. Add candy eyes on top and spoon a little jam along one edge for a spooky drip effect.
- Freeze decorated sandwiches on lined sheet pan for 20-30 minutes until firm.
- Serve immediately or wrap each sandwich in parchment and store in a tight sealing container for later.
- If baking cookies, make thin chocolate wafers and cool completely before assembling. Use black cocoa to deepen color and flavor.
- Optional: Dip half of each sandwich in melted chocolate and add sprinkles before chilling again for a clean dipped edge.
- If ice cream softens too much during assembly, freeze sandwiches for 10 minutes and then continue.
- For parties, set up a decorating bar with toppings and let guests customize their sandwiches. Keep assembling trays in rotation, freezing completed batches while making more.
