Introduction
Hi there! I’m Benjamin, the home cook behind Mister Recipes. I still remember the first time I fell in love with baking, standing in my grandmother’s kitchen, the air thick with the scent of cinnamon and sugar. What if you could capture that warm, gooey heart of a fresh cinnamon roll without the hours of kneading, rising, and waiting? That’s the magic I wanted to create with these Cinnamon Roll Bliss Bars. This recipe transforms the beloved flavors of a classic cinnamon roll into a simple, shareable bar that’s perfect for any occasion. It’s an easy homemade dessert that delivers all the comfort and joy of a pastry shop favorite, right from your own oven. These bars are a testament to my belief that delicious food should be accessible, fun, and a way to bring people together. Whether you’re a seasoned baker or just starting, these bliss bars are designed to be a foolproof success, making your kitchen smell like a dream and delivering a truly indulgent treat. It’s a family friendly recipe that quickly became a staple in my home, especially when my kids, Adams and Jana, ask for a special weekend breakfast.
Why You’ll Love These Cinnamon Roll Bliss Bars
These bars are more than just a dessert; they’re a shortcut to happiness. They have a soft, chewy cookie base, a rich cinnamon sugar filling, and a dreamy cream cheese glaze that ties it all together. Here’s why you’re going to fall in love with them:
- Quick and Easy: Forget the complexities of yeast and dough rising. This recipe uses simple pantry staples and comes together in a fraction of the time it takes to make traditional cinnamon rolls.
- Incredibly Flavorful: Every bite is packed with buttery brown sugar, warm cinnamon, and tangy cream cheese frosting. It’s a comfort food classic in a convenient bar form.
- Perfect for Any Occasion: Serve them for breakfast, brunch, dessert, or a sweet afternoon snack. They are a guaranteed crowd pleaser at potlucks, holiday gatherings, or as a special treat for your family.
- No Special Equipment Needed: You don’t need a stand mixer or any fancy gadgets. A couple of bowls, a whisk, and a baking pan are all it takes to create these delicious bars.
- Customizable: This recipe is a fantastic base for your own creative twists. Add nuts, chocolate chips, or a different flavored glaze to make them uniquely yours. Similar to our easy cranberry crumble bars, the possibilities are endless.
The beauty of this recipe is its simplicity and adaptability. While my version is a family favorite, you can find other fantastic takes on this concept, like the chewy bars from Kalejunkie, which shows just how versatile this dessert can be.
Ingredients for Cinnamon Roll Bliss Bars
For the Crust and Crumb Topping:
- 2 cups all purpose flour
- 1 cup packed light brown sugar
- 1/2 cup granulated sugar
- 1 teaspoon baking powder
- 1/2 teaspoon salt
- 1 cup unsalted butter, cold and cubed
- 1 large egg
For the Cinnamon Filling:
- 1/2 cup unsalted butter, melted
- 1 cup packed light brown sugar
- 2 tablespoons ground cinnamon
For the Cream Cheese Glaze:
- 4 oz cream cheese, softened
- 1 cup powdered sugar
- 2 tablespoons milk or heavy cream
- 1 teaspoon vanilla extract
Substitutions: For a gluten free version, you can substitute the all purpose flour with a 1:1 gluten free baking flour blend. If you don’t have light brown sugar, dark brown sugar will also work, providing a deeper molasses flavor.
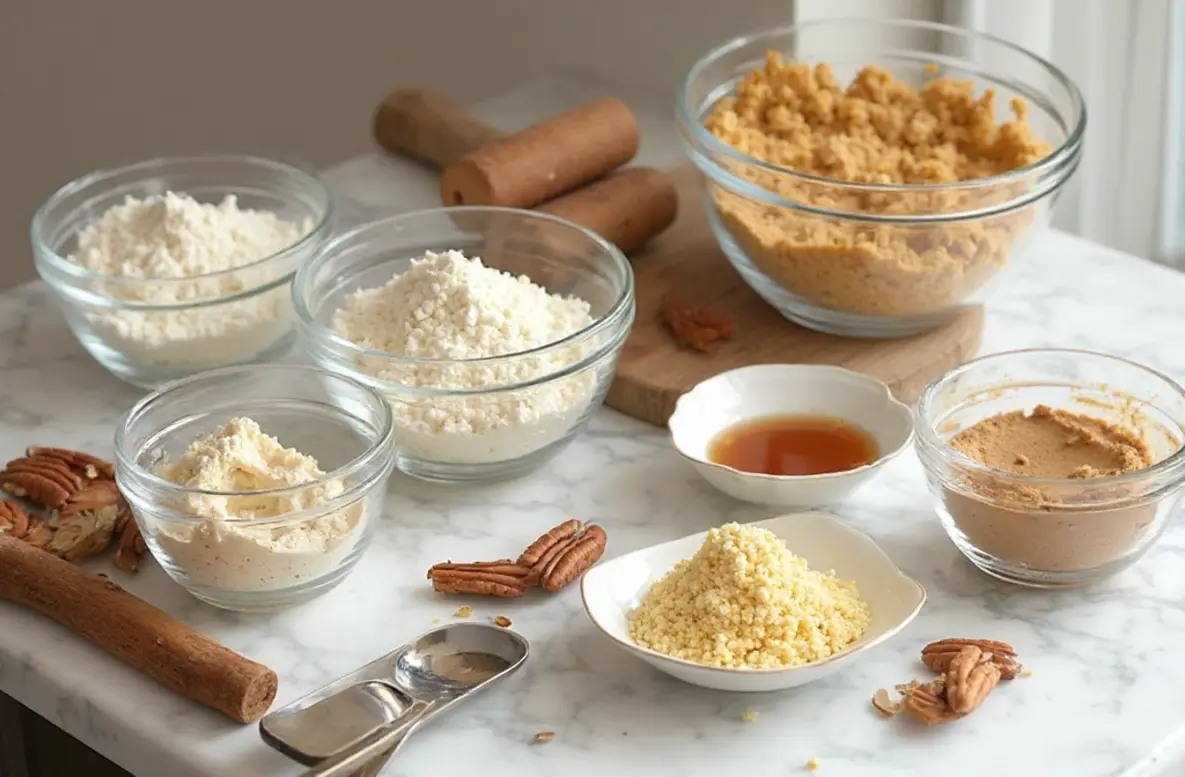
How to Make Cinnamon Roll Bliss Bars
Step by Step Instructions
- Preheat and Prepare: First, preheat your oven to 350°F (175°C). Grease a 9×13 inch baking pan and line it with parchment paper, leaving some overhang on the sides to act as handles. This will make it much easier to lift the bars out later.
- Make the Crust Mixture: In a large bowl, whisk together the all purpose flour, light brown sugar, granulated sugar, baking powder, and salt. Add the cold, cubed butter. Using a pastry cutter or your fingertips, cut the butter into the flour mixture until it resembles coarse crumbs.
- Form the Base Layer: Take out 1 ½ cups of the crumb mixture and set it aside for the topping. To the remaining mixture in the bowl, add the large egg and mix until a soft dough forms. Press this dough evenly into the bottom of your prepared baking pan to form the crust.
- Create the Cinnamon Filling: In a separate small bowl, combine the melted butter, 1 cup of light brown sugar, and ground cinnamon. Stir until it forms a thick, smooth paste. This rich filling is what gives the bars their signature cinnamon roll flavor.
- Assemble the Layers: Carefully spread the cinnamon filling over the crust in an even layer. Then, sprinkle the reserved 1 ½ cups of crumb mixture evenly over the top of the filling.
- Bake to Perfection: Place the pan in the preheated oven and bake for 25 to 30 minutes, or until the top is golden brown and the filling is bubbly. The wonderful aroma will fill your kitchen!
- Cool Completely: Remove the pan from the oven and let the bars cool completely on a wire rack. This step is crucial, as cutting them while warm will cause them to fall apart. Patience is key!
- Whip Up the Glaze: While the bars are cooling, prepare the cream cheese glaze. In a medium bowl, beat the softened cream cheese until smooth and creamy. Gradually add the powdered sugar, milk, and vanilla extract. Whisk until the glaze is smooth and has a drizzling consistency. If it’s too thick, add a little more milk. If you love cinnamon, check out our strawberry cheesecake Cinnabon rolls for another delightful treat.
- Garnish and Serve: Once the bars are completely cool, drizzle the cream cheese glaze over the top. You can create a pattern or just go for a rustic look. Let the glaze set for about 15 minutes before using the parchment paper handles to lift the bars from the pan and cut them into squares.
Pro Tips & Variations
To make your Cinnamon Roll Bliss Bars truly exceptional, here are a few tips from my kitchen to yours, along with some fun variations to try.
- Don’t Overmix the Crust: When you’re cutting the butter into the flour, be careful not to overwork it. You want to see small, pea sized pieces of butter still visible. This creates a more tender, flaky crust, much like in our popular brown sugar pop tart cookies.
- Ensure Bars are Cool Before Glazing: I can’t stress this enough! If you pour the glaze over warm bars, it will melt and turn into a sticky pool instead of a distinct, beautiful layer. Let them cool on the counter for at least an hour.
- Customize Your Spices: While cinnamon is the star, feel free to add a pinch of nutmeg or cardamom to the filling for a more complex, warm spice profile. It adds a layer of flavor that feels truly gourmet.
Variations:
- Nutty Crunch: Add a cup of chopped pecans or walnuts to the crumb topping before baking for a delightful textural contrast and nutty flavor.
- Chocolate Chip Delight: For a more decadent twist, sprinkle a cup of mini chocolate chips over the cinnamon filling before adding the crumb topping.
- Gluten Free Version: Easily make these bars gluten free by substituting the all purpose flour with your favorite 1:1 gluten free baking flour blend. The results are just as delicious! Other great recipes can be found at Live to Sweet which offers a slightly different technique.
Serving Suggestions
These Cinnamon Roll Bliss Bars are incredibly versatile and can be enjoyed in many ways. They are perfect on their own, but pairing them with the right beverage or side can elevate the experience. For a classic breakfast or brunch, serve a warm bar with a freshly brewed cup of coffee or a hot latte. The bitterness of the coffee beautifully balances the sweetness of the bars. For a cozy afternoon treat, a cup of herbal tea like chamomile or chai works wonders. If you’re serving these as a dessert, a small scoop of vanilla bean ice cream on the side is pure heaven. The cold, creamy ice cream melting over the warm, gooey bar is a combination that’s hard to beat. They also make a fantastic addition to a dessert platter, alongside other treats like blueberry cheesecake swirl cookies, offering a variety of flavors and textures for your guests.
Storage & Reheating for Cinnamon Roll Bliss Bars
Proper storage is key to keeping your bars fresh and delicious. Once glazed and cut, you can store the bars in an airtight container at room temperature for up to 3 days. If your kitchen is particularly warm, or if you prefer them chilled, you can store them in the refrigerator for up to a week. The cream cheese glaze will firm up in the fridge, giving the bars a slightly denser texture. For longer storage, these bars freeze beautifully. Place them in a single layer in a freezer safe container or bag, with parchment paper between layers to prevent sticking. They will keep well in the freezer for up to 3 months. To reheat, you can let a frozen bar thaw at room temperature for about an hour, or if you’re in a hurry, microwave it for 15 to 20 seconds for that fresh from the oven gooeyness.
FAQ about Cinnamon Roll Bliss Bars
Can I make these bars ahead of time?
Absolutely! This is a great recipe to make in advance. You can bake the bars, let them cool completely, and store them in an airtight container for a day before glazing and serving. This can save you time if you’re preparing for an event.
Why did my crust come out hard?
A hard crust is usually a result of overbaking or pressing the dough too firmly into the pan. Make sure to bake just until the edges are golden brown and avoid compacting the crust layer too much.
Can I use a different size pan?
Yes, but you’ll need to adjust the baking time. An 8×8 or 9×9 inch pan will result in thicker bars that will require a longer baking time, likely around 35 to 40 minutes. Keep an eye on them to prevent burning.
My cinnamon filling leaked out. What did I do wrong?
A little leakage can happen, but if a lot of the filling leaked out, it might be because the crust wasn’t sealed well at the edges. Make sure to press the crust dough up the sides of the pan ever so slightly to create a small border.
Final Thoughts on Cinnamon Roll Bliss Bars
I hope you and your family enjoy making and eating these incredible Cinnamon Roll Bliss Bars as much as mine does. They truly are a little slice of heaven, and they prove that you don’t need to spend all day in the kitchen to create something special. Every meal made with love is a memory in the making. If you loved this recipe, please consider saving it to your favorite Pinterest board. I would also love to hear from you! Leave a comment below to share your experience or any creative twists you added. Don’t forget to subscribe to our newsletter for more family friendly recipes and baking inspiration delivered right to your inbox. Grab your apron, and let’s keep making memories together!
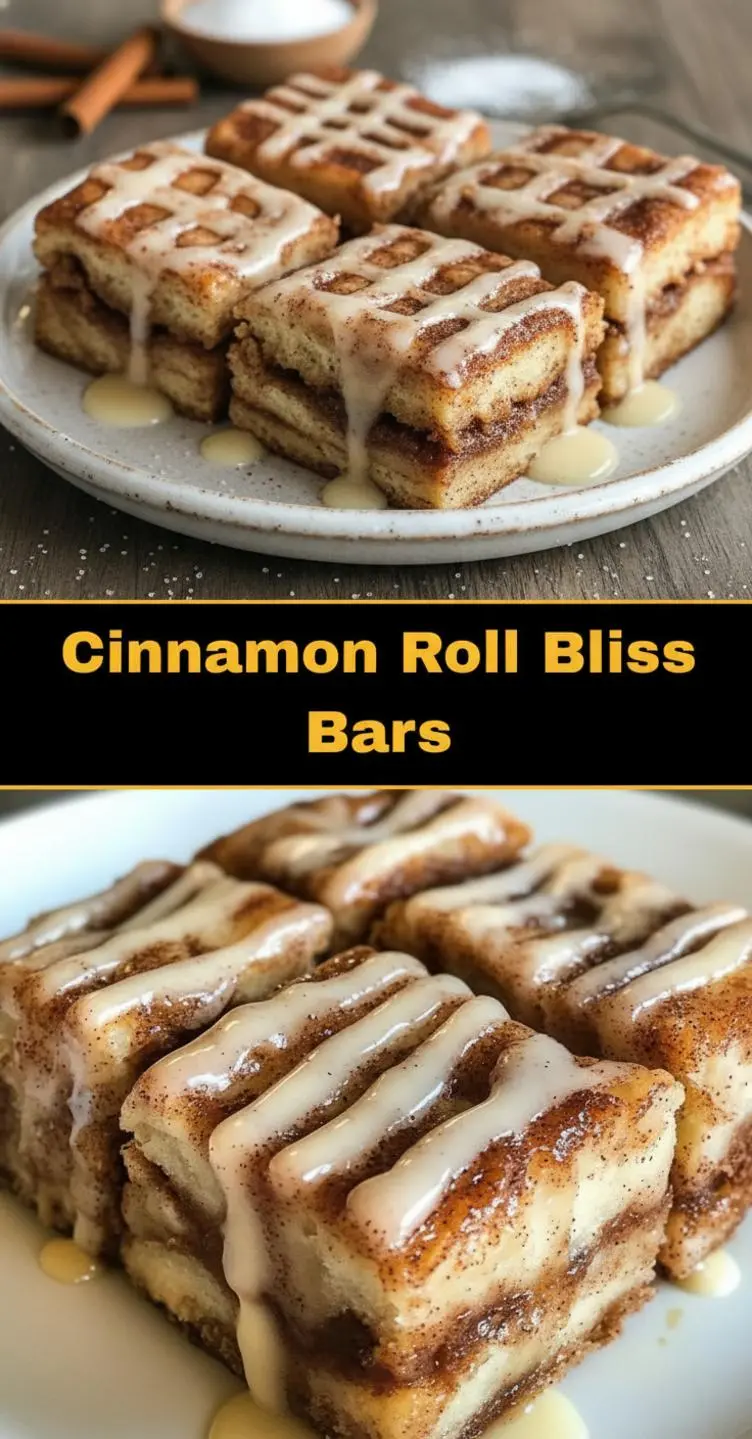

Cinnamon Roll Bliss Bars
Ingredients
Equipment
Method
- Preheat your oven to 350°F (175°C). Grease a 9x13 inch baking pan and line it with parchment paper, leaving some overhang on the sides to act as handles.
- In a large bowl, whisk together the all purpose flour, light brown sugar, granulated sugar, baking powder, and salt.
- Add the cold, cubed butter. Using a pastry cutter or your fingertips, cut the butter into the flour mixture until it resembles coarse crumbs.
- Take out 1 1/2 cups of the crumb mixture and set it aside for the topping. To the remaining mixture in the bowl, add the large egg and mix until a soft dough forms. Press this dough evenly into the bottom of your prepared baking pan to form the crust.
- In a separate small bowl, combine the melted butter, 1 cup of light brown sugar, and ground cinnamon. Stir until it forms a thick, smooth paste.
- Carefully spread the cinnamon filling over the crust in an even layer. Then, sprinkle the reserved 1 1/2 cups of crumb mixture evenly over the top of the filling.
- Place the pan in the preheated oven and bake for 25 to 30 minutes, or until the top is golden brown and the filling is bubbly.
- Remove the pan from the oven and let the bars cool completely on a wire rack.
- While the bars are cooling, prepare the cream cheese glaze. In a medium bowl, beat the softened cream cheese until smooth and creamy. Gradually add the powdered sugar, milk, and vanilla extract. Whisk until the glaze is smooth and has a drizzling consistency.
- Once the bars are completely cool, drizzle the cream cheese glaze over the top. Let the glaze set for about 15 minutes before using the parchment paper handles to lift the bars from the pan and cut them into squares.