
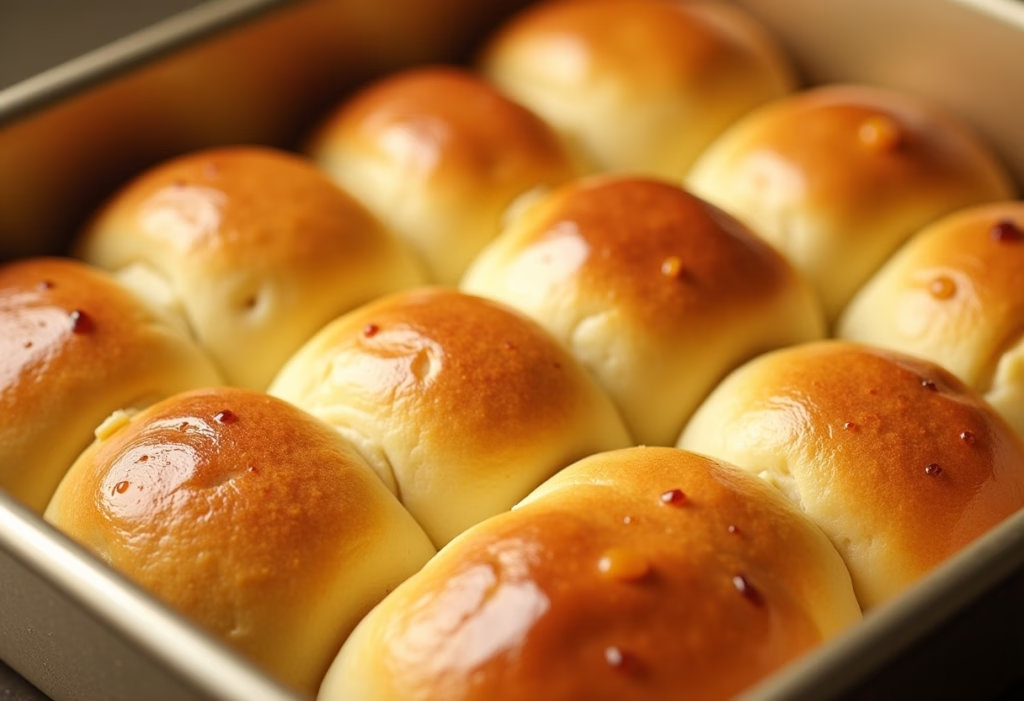
Classic Dinner Rolls: The Perfect Addition to Your Thanksgiving Dinner
Is there anything quite as comforting as the smell of freshly baked bread wafting through your home? This recipe for classic dinner rolls is a family favorite, especially during the holidays. Soft, fluffy, and utterly irresistible, these rolls are surprisingly easy to make and perfect for sharing – if you can resist eating them all yourself! From thanksgiving dinner to a simple weeknight meal, these rolls are guaranteed to be a hit.
Why You’ll Love This Classic Dinner Rolls
- Perfect for any occasion: Great for thanksgiving sides dishes, holiday dinners, or casual family meals.
- Easy to make: Even beginner bakers can achieve fluffy, golden-brown perfection.
- Kid-friendly: Get the little ones involved in kneading and shaping!
- Deliciously soft and buttery: A melt-in-your-mouth texture that everyone will love.
- Freezable: Make them ahead of time and thaw for a stress-free thanksgiving spread.
Ingredients for Classic Dinner Rolls
- 3 cups all-purpose flour, plus more for dusting
- 2 ¼ teaspoons (1 packet) active dry yeast
- ¼ cup granulated sugar
- 1 teaspoon salt
- 1 cup warm milk (105-115°F)
- ¼ cup unsalted butter, melted
- 1 large egg, lightly beaten
- 2 tablespoons melted butter, for brushing
Substitutions: For a dairy-free option, use almond milk and vegan butter. You can also substitute whole wheat flour for up to half of the all-purpose flour for a slightly nuttier flavor.
How to Make Classic Dinner Rolls
Step-by-Step Instructions
- Activate the yeast: In a large bowl, combine warm milk, sugar, and yeast. Let stand for 5-10 minutes, or until foamy. This ensures your yeast is active and will help the rolls rise properly.
- Combine wet and dry ingredients: Add melted butter and egg to the yeast mixture. Whisk until well combined.
- Gradually add flour: Gradually add the flour and salt to the wet ingredients, mixing with a wooden spoon or dough hook until a shaggy dough forms.
- Knead the dough: Turn the dough out onto a lightly floured surface and knead for 6-8 minutes, or until smooth and elastic. Alternatively, knead in a stand mixer with a dough hook for 5 minutes.
- First rise: Place the dough in a lightly oiled bowl, turning to coat. Cover with plastic wrap or a clean kitchen towel and let rise in a warm place for 1-1.5 hours, or until doubled in size.
- Shape the rolls: Punch down the dough to release the air. Divide the dough into 12 equal pieces. Roll each piece into a smooth ball.
- Second rise: Place the rolls in a lightly greased 9×13 inch baking dish. Cover with plastic wrap or a clean kitchen towel and let rise for 30-45 minutes, or until puffy.
- Bake: Preheat oven to 375°F (190°C). Brush the tops of the rolls with melted butter. Bake for 15-20 minutes, or until golden brown.
- Brush with butter: Remove from oven and brush with remaining melted butter. Let cool slightly before serving.
Pro Tips & Variations
- Temperature is key: Make sure your milk is warm, not hot, to activate the yeast properly.
- Don’t over-knead: Over-kneading can result in tough rolls. Knead until the dough is smooth and elastic.
- Warm place for rising: A warm, draft-free environment is crucial for a good rise. Try placing the dough in a slightly warm oven (turned off!) or near a sunny window.
Variations:
- Vegan: Substitute the milk and butter with plant-based alternatives.
- Garlic butter: Add minced garlic to the melted butter for brushing.
- Herb rolls: Mix in dried herbs like rosemary, thyme, or oregano into the dough before the first rise.
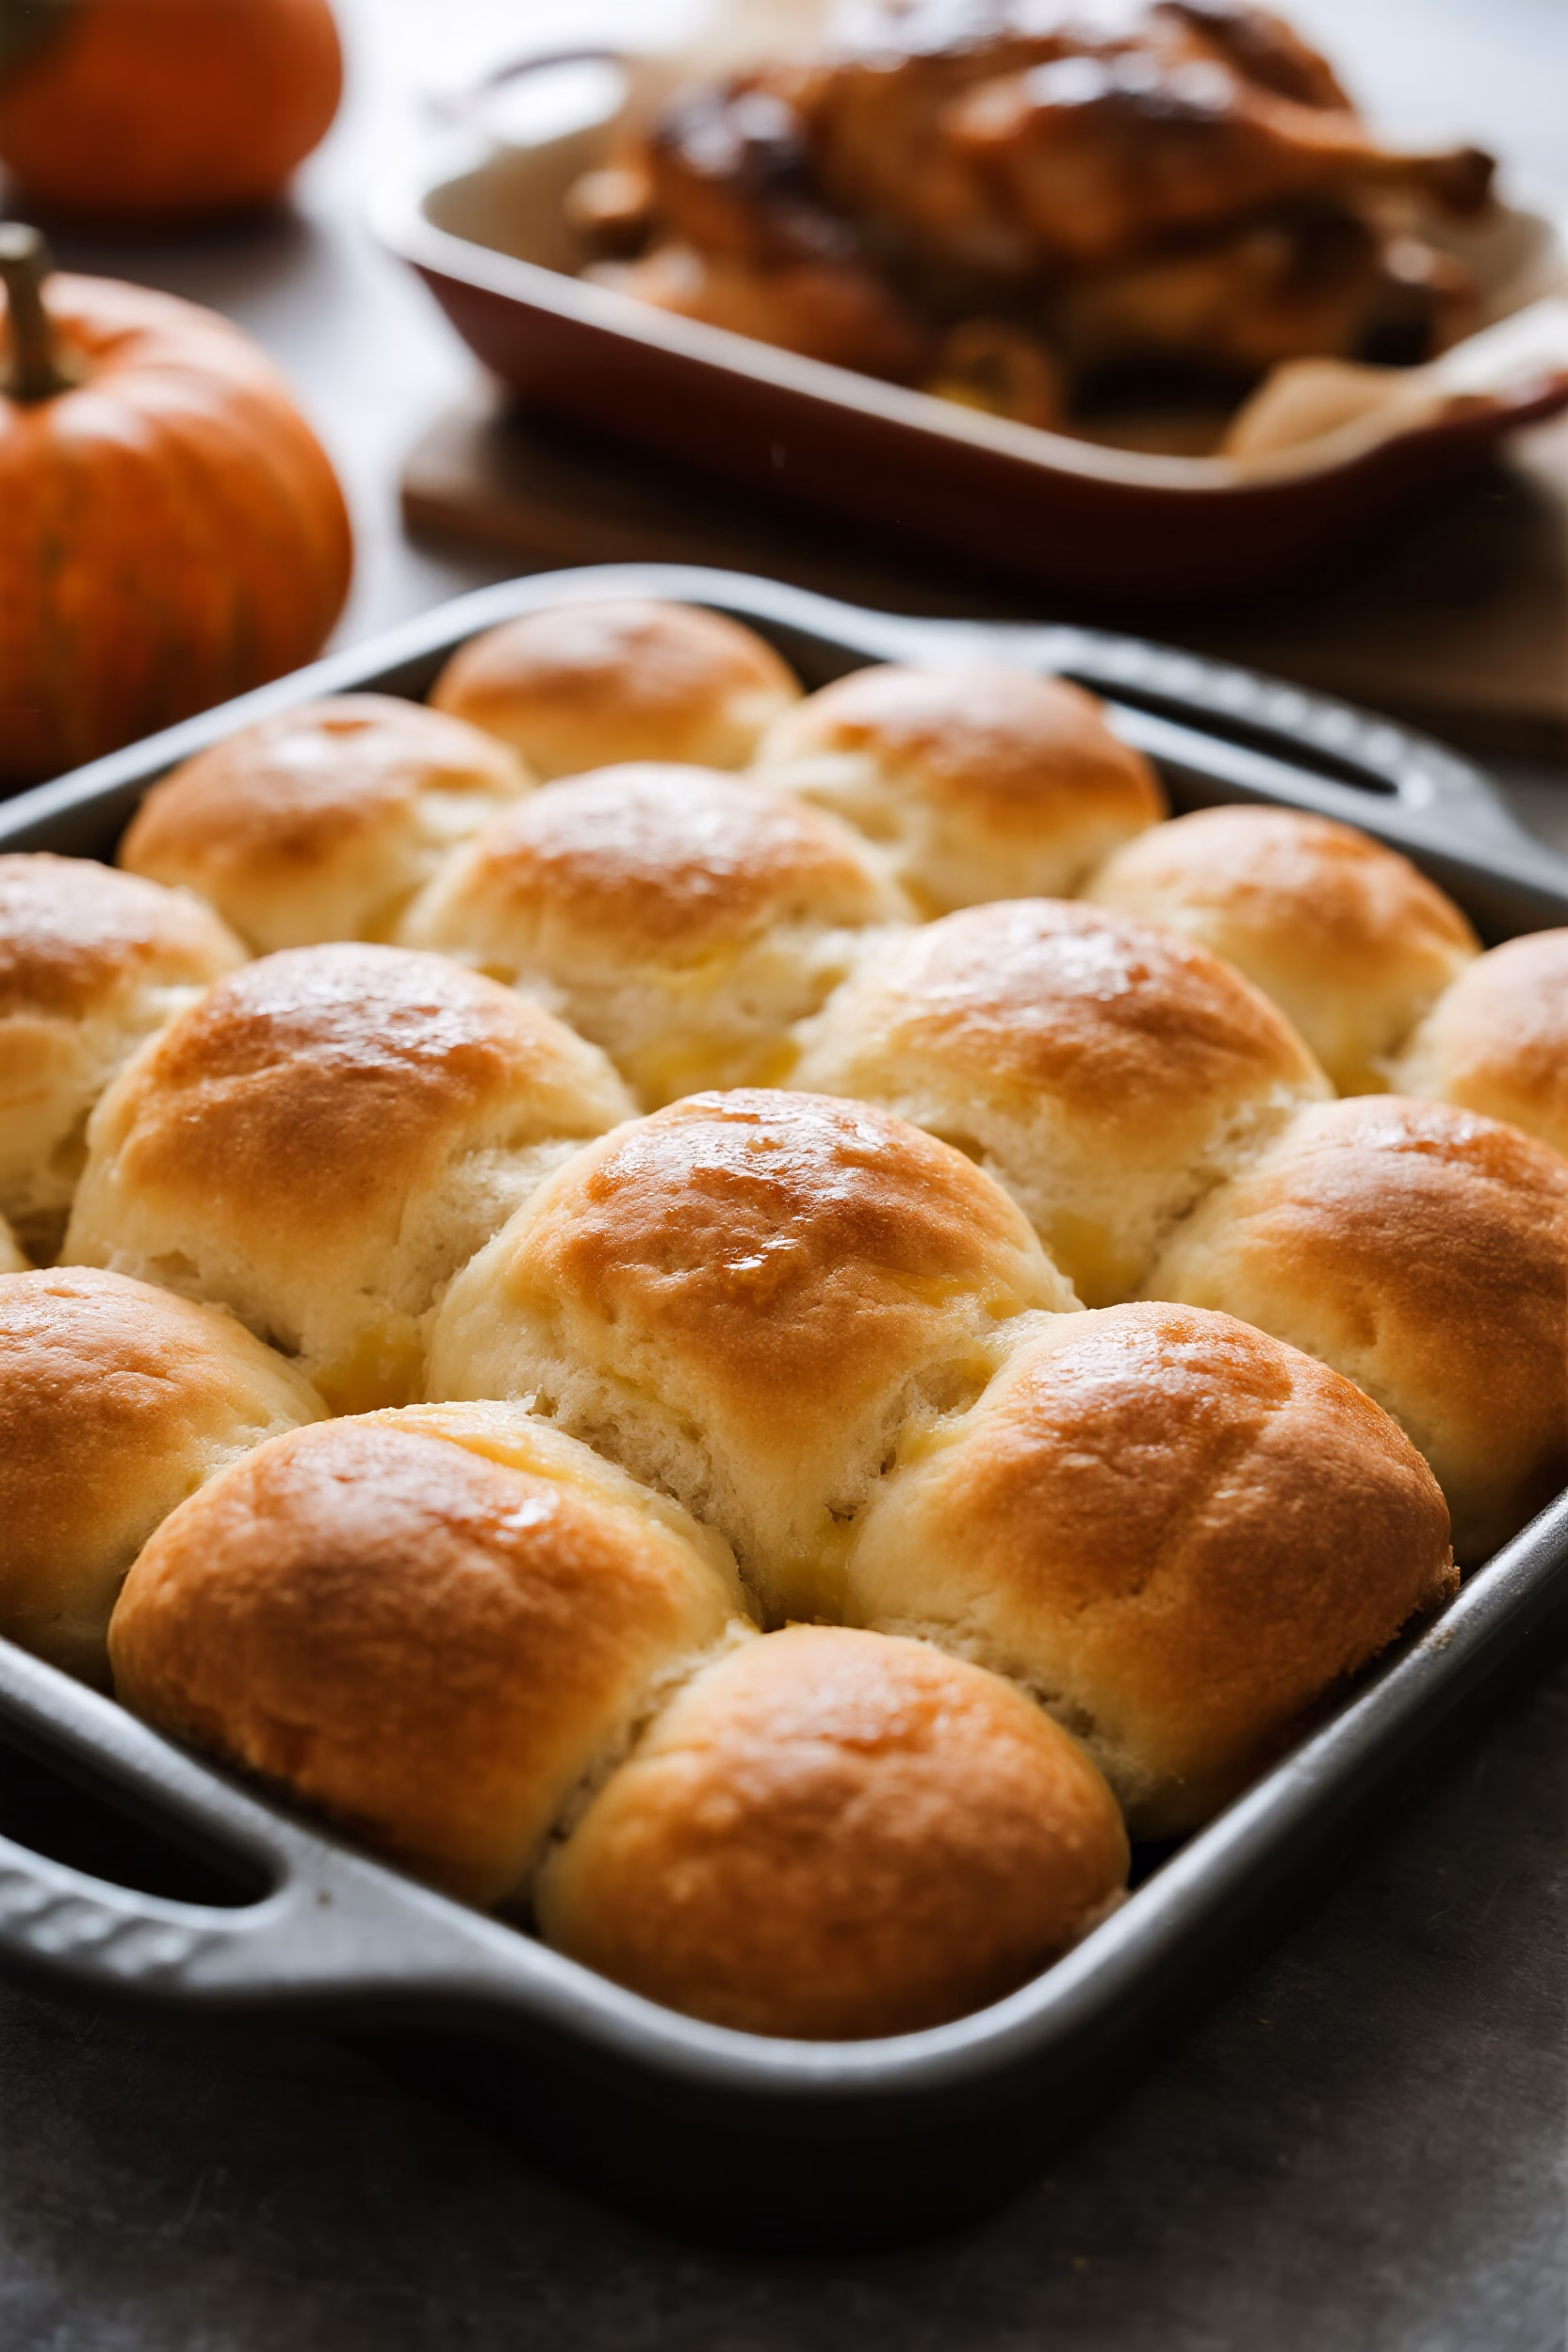
Serving Suggestions
These classic dinner rolls are the perfect accompaniment to any meal, especially a holiday feast! Here are a few suggestions:
- With a hearty bowl of soup or stew.
- As thanksgiving sides alongside your thanksgiving turkey.
- Served with a pat of butter and your favorite jam.
- Used to make mini sandwiches with leftover thanksgiving meal.
Storage & Reheating
Storage: Store cooled rolls in an airtight container at room temperature for up to 2 days. For longer storage, freeze them in a freezer-safe bag for up to 2 months.
Reheating: To reheat, wrap the rolls in foil and bake at 350°F (175°C) for 10-15 minutes, or until warmed through. You can also microwave them for a few seconds, but they may become slightly chewy.
FAQ about Classic Dinner Rolls
Q: Can I make these rolls ahead of time?
A: Absolutely! You can prepare the dough the night before and let it rise in the refrigerator overnight. Alternatively, you can bake the rolls ahead of time and freeze them for later use for an even more successful thanksgiving dinner table.
Q: What if my dough isn’t rising?
A: Make sure your yeast is still active. Check the expiration date and ensure the milk is warm, not hot. Also, provide a warm environment for rising. A cold room can inhibit the yeast’s activity.
Q: Can I use a different type of flour?
A: While all-purpose flour is the best choice for a light and fluffy texture, you can substitute up to half of the flour with whole wheat flour for a more nutritious roll. For gluten free thanksgiving recipes, you’ll need to find a good gluten free flour blend that works well for bread.
Q: How can I make sure my rolls are extra soft?
A: Don’t overbake the rolls and brush them with melted butter immediately after taking them out of the oven. This will help keep them soft and moist.
Q: Can I add herbs or spices to these rolls even if I’m planning on having them for Thanksgiving?
A: Definitely! Adding things like rosemary, thyme, garlic powder, or even a touch of parmesan cheese can elevate these rolls for the occasion and make them a talking part of great Thanksgiving entertaining ideas.
Final Thoughts on Classic Dinner Rolls
These classic dinner rolls are more than just bread; they’re a symbol of home, comfort, and togetherness. Whether you’re serving them at your thanksgiving feast or enjoying them with a simple weeknight meal, their warm, fluffy goodness is sure to bring a smile to everyone’s face. Don’t forget to save this recipe to Pinterest for easy access, and be sure to leave a comment below letting me know how your rolls turned out! Subscribe to our newsletter for more delicious recipes and baking tips. Happy baking!
Classic Dinner Rolls
Ingredients
Equipment
Method
- In a large bowl, combine warm milk, sugar, and yeast. Let stand for 5-10 minutes, or until foamy to activate the yeast.
- Add melted butter and egg to the yeast mixture. Whisk until well combined.
- Gradually add the flour and salt to the wet ingredients, mixing with a wooden spoon or dough hook until a shaggy dough forms.
- Turn the dough out onto a lightly floured surface and knead for 6-8 minutes, or until smooth and elastic. Alternatively, knead in a stand mixer with a dough hook for 5 minutes.
- Place the dough in a lightly oiled bowl, turning to coat. Cover with plastic wrap or a clean kitchen towel and let rise in a warm place for 1-1.5 hours, or until doubled in size.
- Punch down the dough to release the air. Divide the dough into 12 equal pieces. Roll each piece into a smooth ball.
- Place the rolls in a lightly greased 9×13 inch baking dish. Cover with plastic wrap or a clean kitchen towel and let rise for 30-45 minutes, or until puffy.
- Preheat oven to 375°F (190°C). Brush the tops of the rolls with melted butter. Bake for 15-20 minutes, or until golden brown.
- Remove from oven and brush with remaining melted butter. Let cool slightly before serving.


Comments are closed.