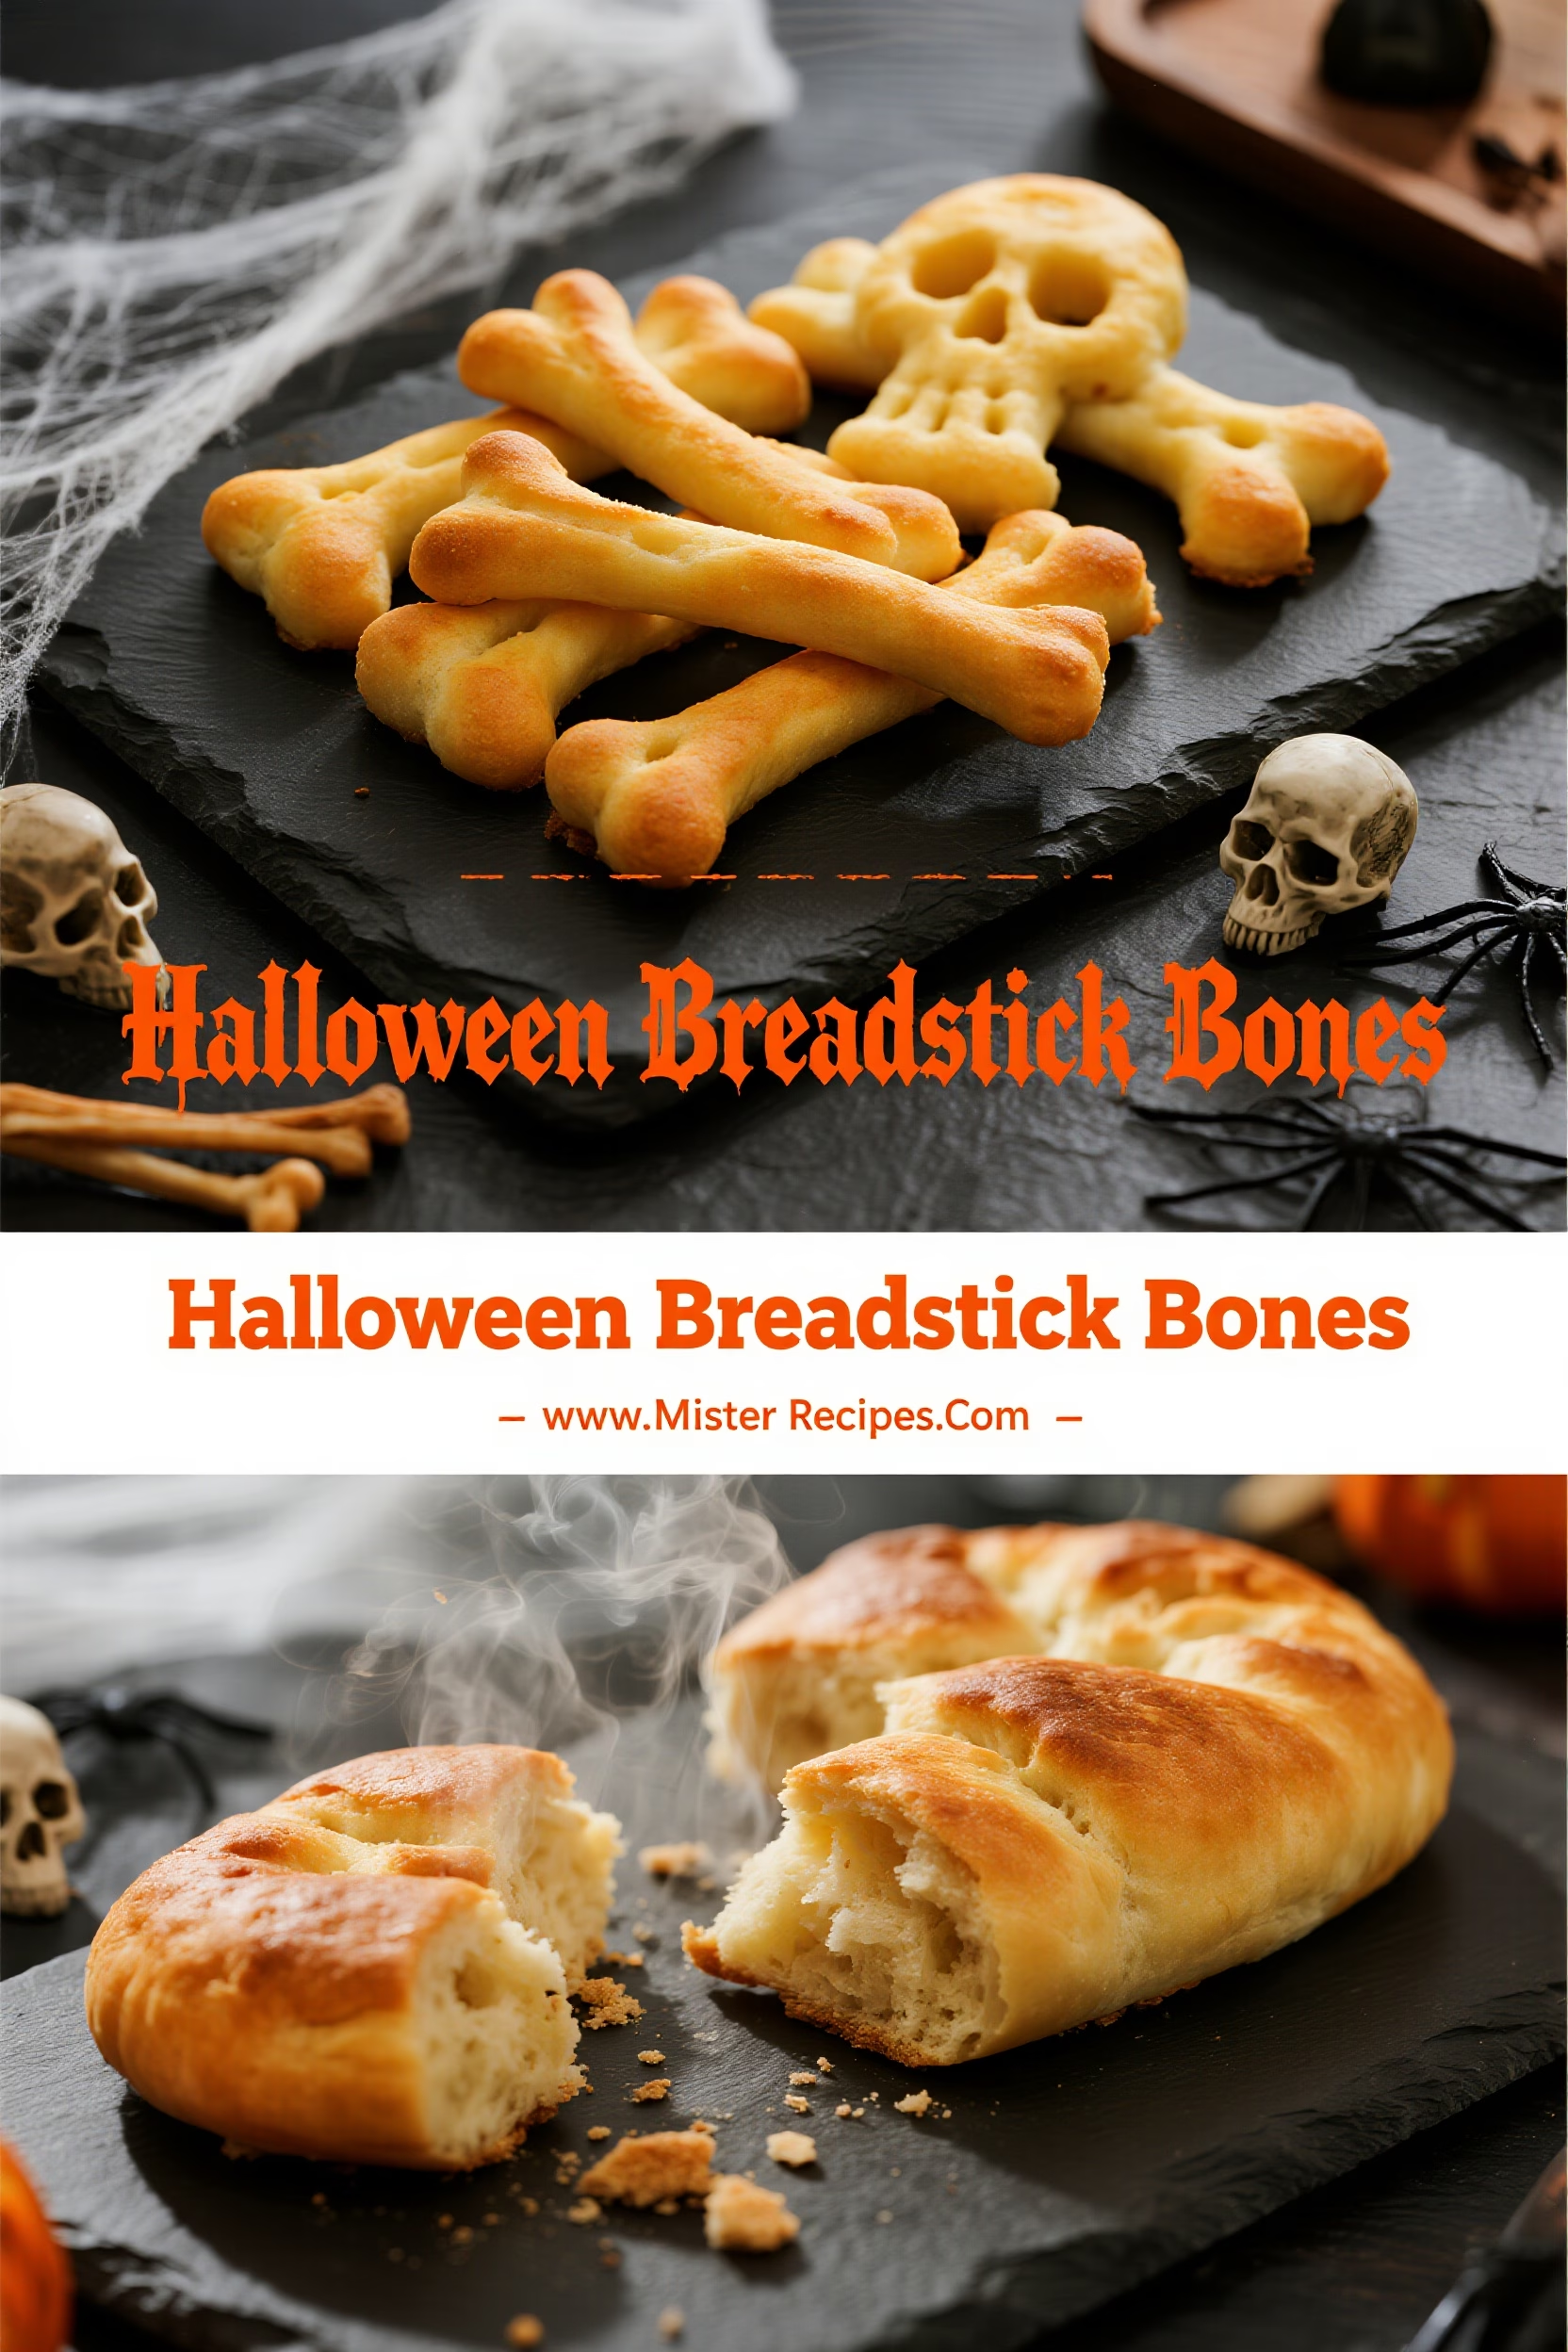
Halloween Breadstick Bones: A Spooky & Fun Treat!
Get ready to add a bone-chillingly delicious touch to your Halloween celebrations with these simple yet spooktacular Halloween Breadstick Bones! These aren’t just any ordinary breadsticks; they’re creepy, they’re fun, and they’re surprisingly easy to make. Perfect for a Halloween party or a spooky dinner, these bone-shaped breadsticks are guaranteed to be a hit with both kids and adults. Who says spooky can’t be delicious? Let’s get baking!
Why You’ll Love This Halloween Breadstick Bones
- Super Easy: Ready in under 30 minutes – perfect for busy Halloween prep!
- Kid-Friendly: A fun activity to get the kids involved in the kitchen.
- Crowd-Pleaser: Everyone will love these creepy and delicious bone-shaped treats.
- Customizable: Add your favorite herbs and spices to the dough for flavor variations.
- Perfect for Halloween Food Ideas: An easy addition to any spooky spread.
Ingredients for Halloween Breadstick Bones
- 1 package (0.25 ounce) active dry yeast: This helps the breadsticks rise properly.
- 1 teaspoon sugar: For activating the yeast.
- 1 cup warm water (105-115°F): The water needs to be warm, not hot, for the yeast to work.
- 2 1/2 cups all-purpose flour: Provides the structure for the breadsticks. You can substitute with bread flour for a chewier result.
- 1 teaspoon salt: Enhances the flavor of the breadsticks
- 2 tablespoons olive oil: For flavor and a slight softness.
- Optional seasonings: Garlic powder, Italian seasoning, rosemary
- Egg wash (1 egg beaten with 1 tablespoon water): For a golden brown finish.
How to Make Halloween Breadstick Bones
Step-by-Step Instructions
- Activate the Yeast: In a large bowl, dissolve the yeast and sugar in warm water. Let stand for 5-10 minutes until foamy.
- Make the Dough: Add the flour, salt, and olive oil to the yeast mixture. Mix until a dough forms.
- Knead the Dough: Turn the dough out onto a lightly floured surface and knead for 5-7 minutes, until smooth and elastic.
- Let it Rise: Place the dough in a lightly oiled bowl, turning to coat. Cover with a clean towel and let rise in a warm place for 1 hour, or until doubled in size.
- Shape the Bones: Preheat oven to 400°F (200°C). Punch down the dough and divide into 12 equal pieces. Roll each piece into a long rope. To create the bone shape, pinch the dough in two spots near the ends to form “knuckles”.
- Bake: Place the shaped breadsticks on a baking sheet lined with parchment paper. Brush with egg wash. Bake for 12-15 minutes, or until golden brown.
- Cool and Serve: Let cool slightly on a wire rack before serving.
Pro Tips & Variations
- Use a pizza stone: Bake the breadsticks on a preheated pizza stone for crispier bottoms.
- Don’t overbake: Overbaked breadsticks will be too hard. Check for doneness after 10 minutes.
- Garlic Breadstick Bones: Brush with garlic butter after baking for an extra flavorful treat.
Variations:
- Vegan: Use plant-based milk instead of egg for brushing and ensure your yeast is vegan-friendly.
- Gluten-Free: Use a gluten-free flour blend suitable for bread. You may need to add a binder like xanthan gum.
- Spicy: Add a pinch of red pepper flakes to the dough for a little heat.
Serving Suggestions
- Serve with marinara sauce for dipping. This is a classic pairing that always works.
- Pair with tomato soup for a comforting and spooky Halloween dinner.
- Serve alongside a Halloween-themed charcuterie board for a spooky finger foods snack.
Storage & Reheating
Storage: Store leftover Halloween Breadstick Bones in an airtight container at room temperature for up to 2 days. You can also store them in the refrigerator for up to 5 days.
Reheating: Reheat in a 350°F (175°C) oven for 5-7 minutes, or until warmed through. For softer breadsticks, wrap them in foil before reheating.
FAQ about Halloween Breadstick Bones
Q: Can I make these Halloween Breadstick Bones ahead of time?
A: Yes! You can prepare the dough ahead of time and store it in the refrigerator for up to 24 hours. Let it come to room temperature before shaping and baking. This makes these Halloween Food Recipes even easier to manage.
Q: What other Halloween themed food can I make with this dough?
A: You could make spooky spider webs, creepy crawly snakes, or even mini breadstick ghosts! Get creative with your shapes for more fun Halloween food.
Q: Are these Halloween Breadstick Bones suitable for Halloween party food?
A: Absolutely! These are perfect as Halloween party food. They are easy to handle, fun to eat, and always a hit with guests!
Q: How can I make these breadsticks even spookier for my spooky dinner?
A: You can add edible food coloring to the dough for different colored bones, or even use black sesame seeds to create a creepy effect. Definitely makes it a creepy halloween food!
Q: Can I freeze these Halloween Breadstick Bones?
A: Yes, you can freeze them after baking. Let them cool completely, then wrap them individually in plastic wrap, and place them in a freezer-safe bag. They can be stored for up to 2 months. Reheat directly from frozen in a low oven.
Final Thoughts on Halloween Breadstick Bones
These Halloween Breadstick Bones are not just a recipe; they are an experience! They are a delightful way to get into the Halloween spirit and create memorable moments with your family and friends. Now that you’ve got all the instructions and tips, it’s time to get baking and create your own bone-chillingly delicious treats. We would love to see your creations! Don’t forget to save this recipe on Pinterest for spooky season inspiration, leave a comment below, and subscribe to our blog for more easy and frightfully fun recipes!

Halloween Breadstick Bones
Ingredients
Equipment
Method
- Activate the yeast by dissolving it with sugar in warm water. Let it stand for 5-10 minutes until foamy.
- In a bowl, combine flour, salt, and olive oil. Add the yeast mixture and mix until a dough forms.
- Knead the dough on a floured surface for 5-7 minutes until smooth and elastic.
- Place the dough in an oiled bowl, cover with a towel, and let rise for 1 hour or until doubled in size.
- Preheat the oven to 400°F (200°C). Punch down the dough and divide into 12 equal pieces. Roll each into a rope shape and pinch the ends to form ‘knuckles’.
- Brush the breadsticks with egg wash and bake for 12-15 minutes or until golden brown.
- Cool the breadsticks on a wire rack before serving.


