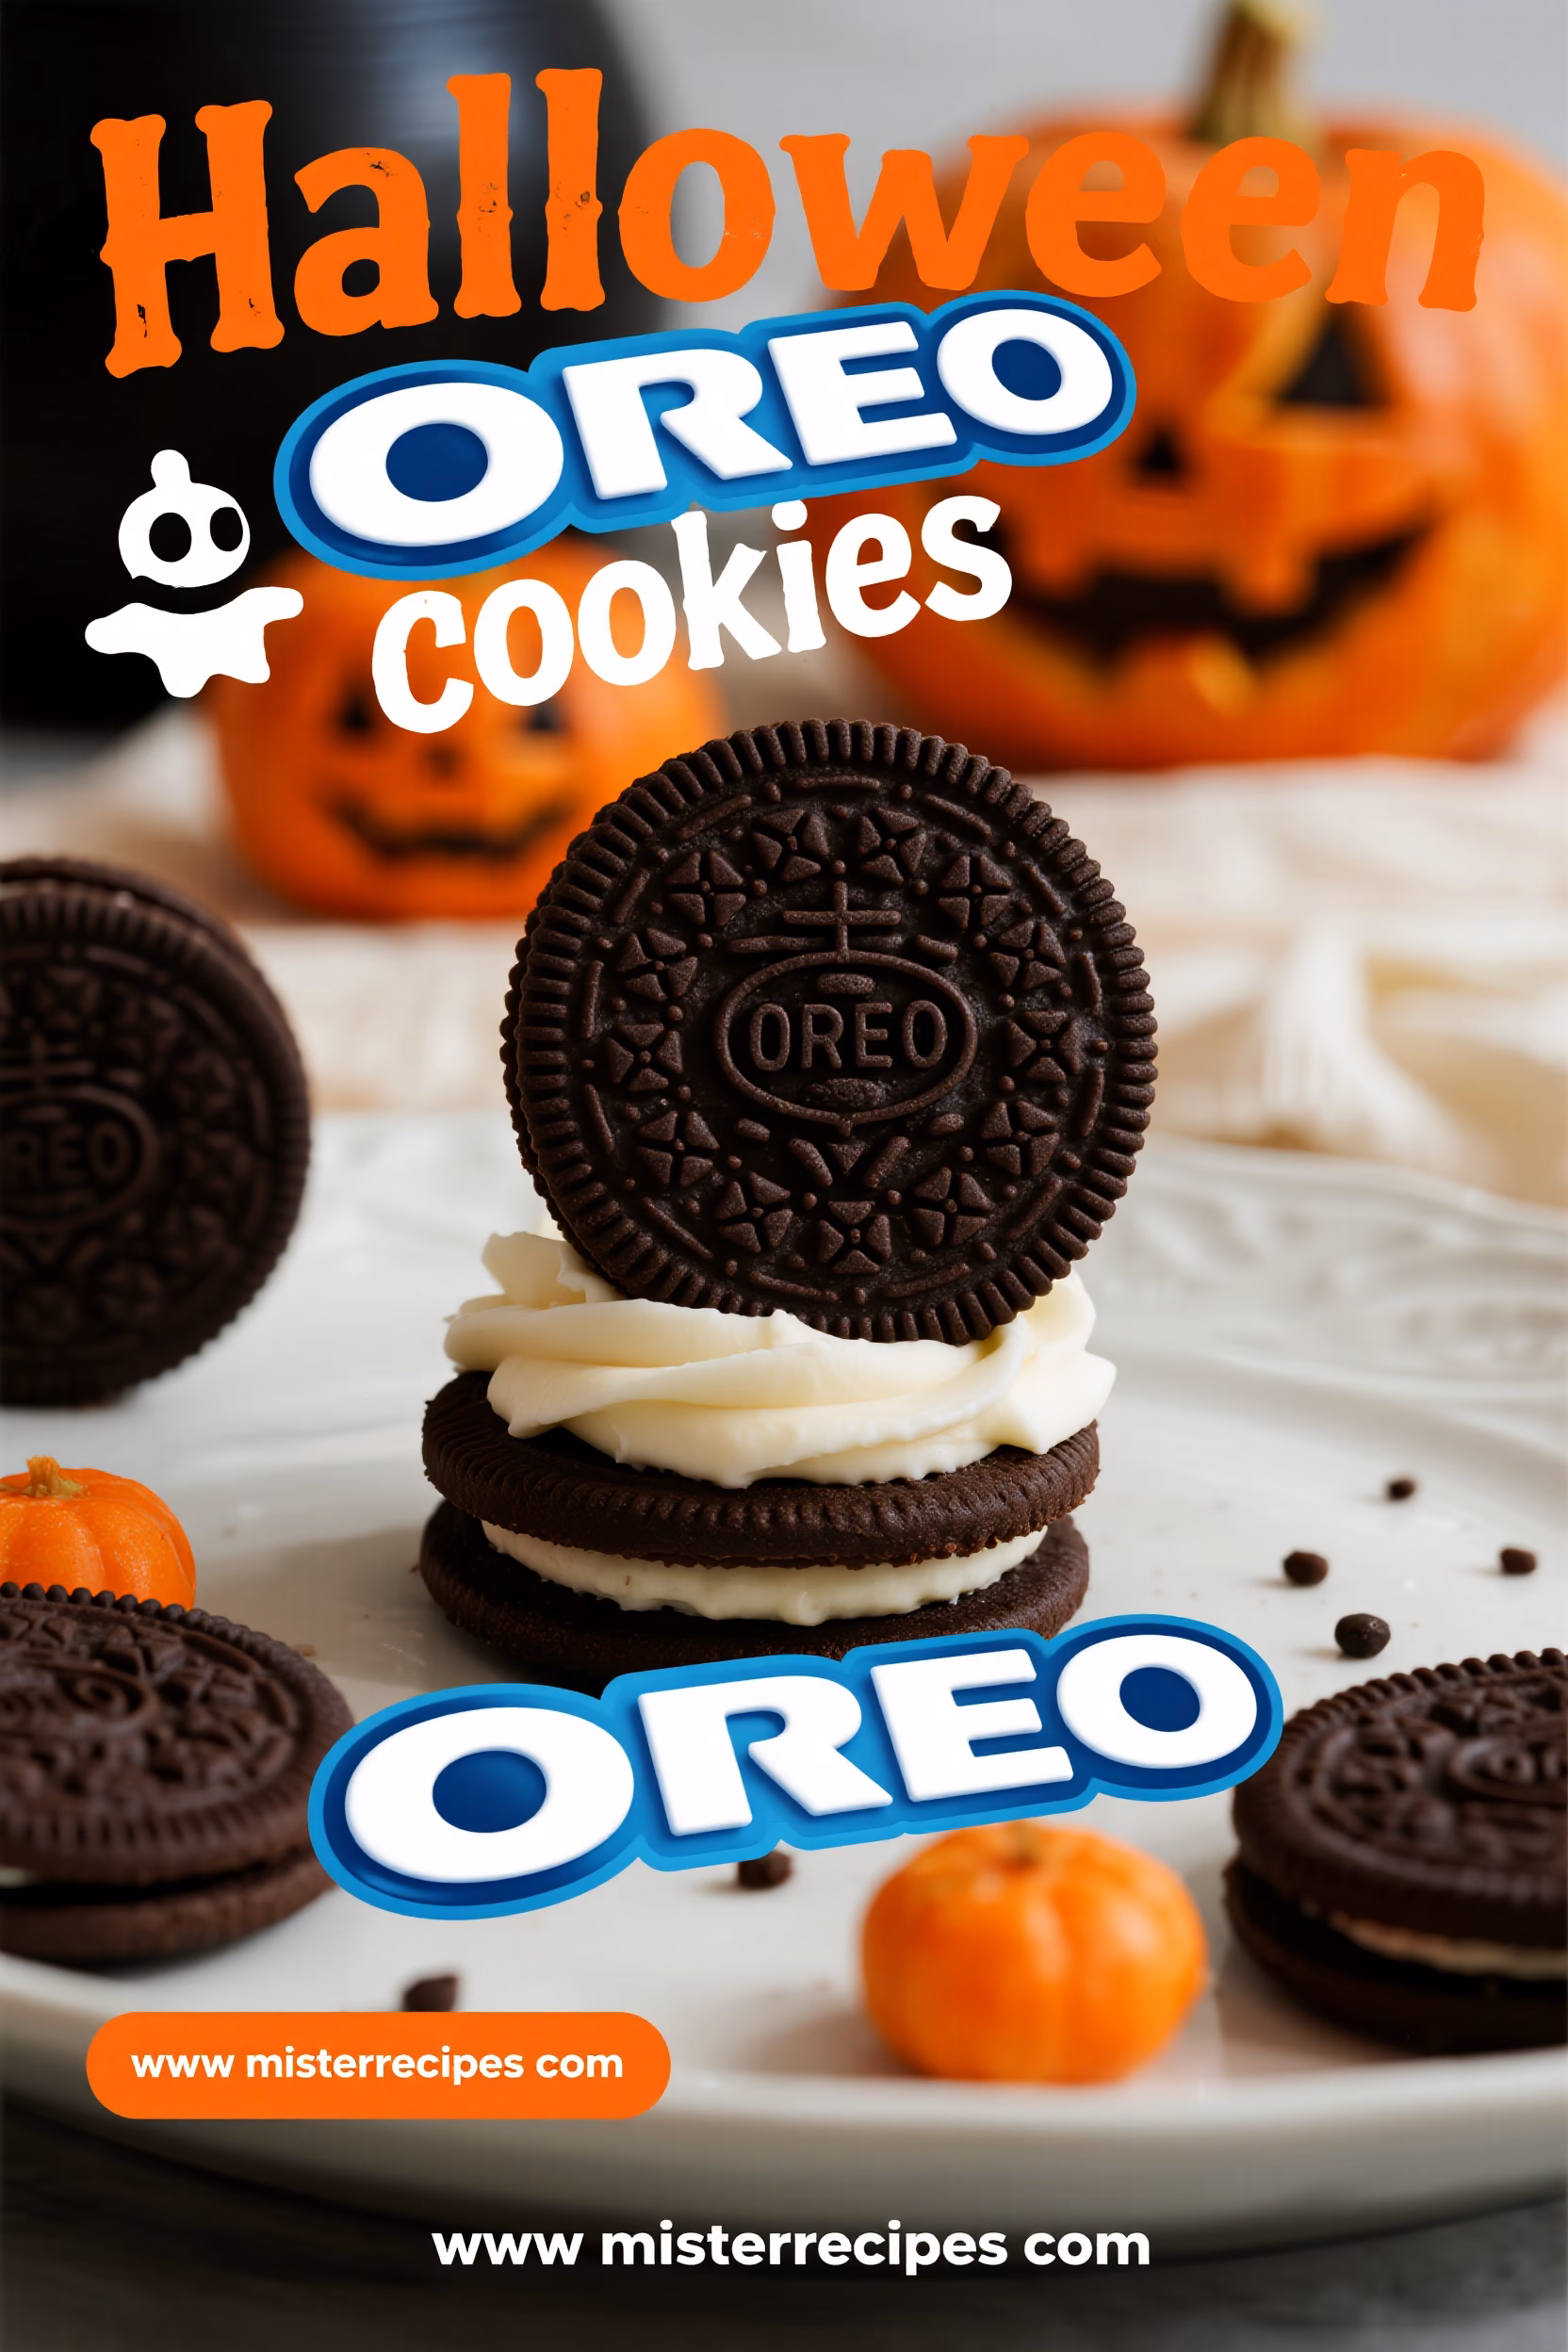
Spooktacular Halloween Oreo Cookies: A Recipe for Frightful Fun!
Get ready to conjure up some creepy-cute treats with these fantastically fun Halloween Oreo Cookies! Whether you’re planning a spooky soiree or just looking for a delightful way to celebrate the season, these themed cookies are guaranteed to be a hit with ghouls and goblins of all ages. Easy to make and endlessly customizable, these Halloween Oreo Cookies are the perfect way to add a touch of homemade magic to your Halloween food spread. Say goodbye to boring Halloween candy– these are ready to steal the show!
Why You’ll Love This Halloween Oreo Cookies
- Super Easy: Perfect for beginner bakers and last-minute Halloween party food prep.
- Kid-Friendly: A fun and engaging activity for kids to help decorate.
- Customizable: Endless possibilities for decorations to match your Halloween theme.
- Crowd-Pleasing: Always a hit at Halloween parties and gatherings.
- Festive & Delicious: Combines the classic Oreo flavor with spooky Halloween flair.
Ingredients for Halloween Oreo Cookies
- Oreo Cookies: The star of the show! Double Stuf or regular, your choice.
- Melting Chocolate/Candy Melts: White, milk, or dark chocolate, choose your favorite, or use colourful candy melts
- Halloween Sprinkles: Look for themed sprinkles like bats, ghosts, pumpkins, and eyeballs.
- Candy Eyes: Essential for creating creepy-cute monsters.
- Optional: Food Coloring Gels: To tint your melted chocolate different Halloween colors.
- Optional: Pretzel Sticks: To create spider legs or other spooky details.
How to Make Halloween Oreo Cookies
Step-by-Step Instructions
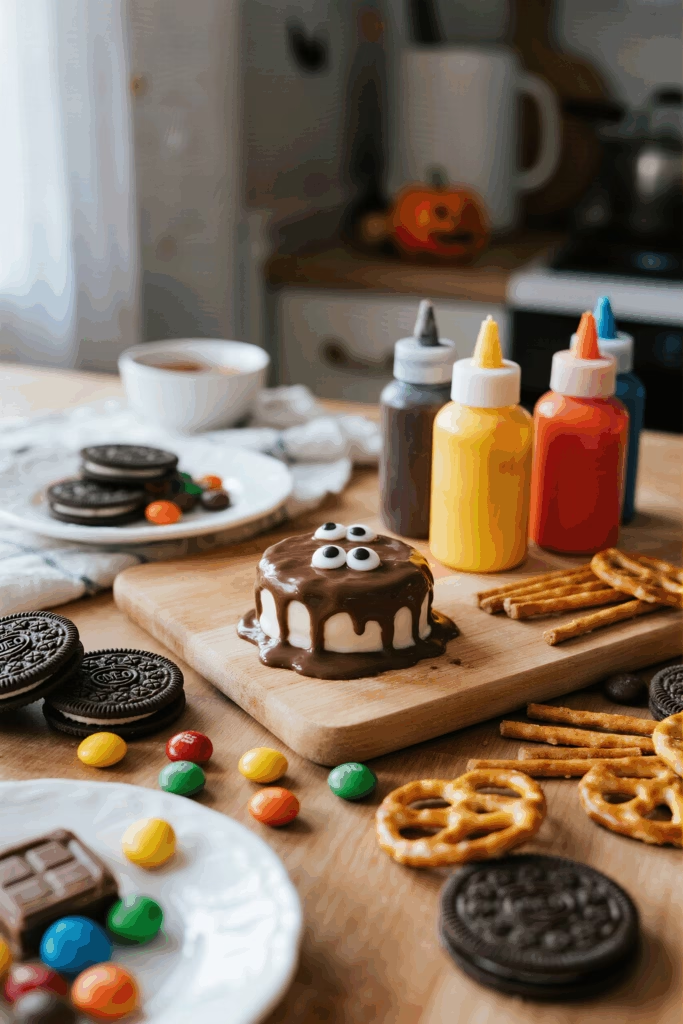
- Prepare Your Workstation: Line a baking sheet with parchment paper or a silicone mat. This will prevent the cookies from sticking.
- Melt the Chocolate or Candy Melts: Place your chosen chocolate or candy melts in a microwave-safe bowl. Melt in 30-second intervals, stirring after each interval, until smooth and completely melted. Be careful not to overheat the chocolate. Alternatively, melt in a double boiler over simmering water.
- Dip the Oreos: Dip each Oreo cookie into the melted chocolate, ensuring it is fully coated. Use a fork or dipping tools to ensure even coverage and remove excess chocolate.
- Decorate Immediately: While the chocolate is still wet, immediately decorate the dipped Oreos with Halloween sprinkles, candy eyes, and any other desired decorations. Be creative with your spooky designs!
- Add Pretzels: If using pretzel sticks, attach them to the sides of the Oreo before the chocolate sets to create spider legs or other fun shapes.
- Set the Cookies: Place the decorated Halloween Oreo Cookies on the prepared baking sheet. Allow the chocolate to set completely. You can speed up the process by placing the baking sheet in the refrigerator for about 10-15 minutes.
- Optional: Second Coat: For extra vibrant colors, or for securing sprinkles, let cookies set and add a second coat of melting chocolate.
- Enjoy!: Once the chocolate is set, your Halloween Oreo Cookies are ready to be enjoyed and shared!
Pro Tips & Variations
- Chocolate Consistency: If your melted chocolate is too thick, add a teaspoon of vegetable oil to thin it out.
- Sprinkle Placement: Use a toothpick to carefully position candy eyes or other small decorations.
- Get Creative with Colors: Tint white chocolate with food coloring gels to create orange, green, purple, or any other Halloween-themed colors.
- Vegan Option: Use vegan Oreo cookies and dairy-free melting chocolate for a vegan-friendly treat.
Serving Suggestions
These Halloween Oreo Cookies are perfect for serving at Halloween parties, gifting to friends and neighbors, or enjoying as a spooky snack.
- Halloween Snack Board: Arrange with other spooky snacks like popcorn, candy corn, and gummy worms.
- Pair with Pumpkin Spice Latte: A perfect fall flavor combination.
- Spooky Dinner Dessert: Serve after a fun halloween themed food dinner.
Storage & Reheating
Store your Halloween Oreo Cookies in an airtight container at room temperature. They will stay fresh for up to a week.
FAQ about Halloween Oreo Cookies
Q: Can I make these ahead of time for my Halloween party?
A: Absolutely! These Halloween themed food cookies are perfect to make a day or two in advance. Store them in an airtight container to maintain their freshness.
Q: What kind of chocolate is best for dipping?
A: Candy melts are specifically designed for this purpose and melt smoothly. You can also use good-quality chocolate bars and chocolate chips, just be sure to melt them slowly and carefully.
Q: Can I use regular sprinkles instead of Halloween-themed sprinkles?
A: Of course! Feel free to use any sprinkles you like. The goal is to make them spooky and fun, so get creative!
Q: How can I make sure the sprinkles stick to the chocolate?
A: Add the sprinkles immediately after dipping the Oreo in the melted chocolate. The chocolate sets quickly, so work fast before it hardens.
Final Thoughts on Halloween Oreo Cookies
These Halloween Oreo Cookies are a simple yet delightful way to celebrate the spooky season. They are easy to make, customizable, and loved by everyone. Whether you’re making them with kids, bringing them to a party, or just looking for a festive treat, these cookies are sure to bring a smile to everyone’s face. Pin this recipe to your Halloween board on Pinterest, leave a comment below with your creative decorating ideas, and be sure to subscribe to our newsletter for more delicious and spooky recipes!
Halloween Oreo Cookies
Ingredients
Equipment
Method
- Line a baking sheet with parchment paper or a silicone mat to prevent the cookies from sticking.
- Melt the chocolate or candy melts in a microwave-safe bowl. Heat in 30-second intervals, stirring after each, until smooth. Alternatively, melt using a double boiler.
- Dip each Oreo cookie into the melted chocolate, ensuring it is fully coated. Use a fork to remove excess chocolate and place it on the prepared baking sheet.
- While the chocolate is still wet, decorate the Oreos with Halloween sprinkles, candy eyes, and other desired decorations. Be creative with your spooky designs!
- If using pretzel sticks, attach them to the sides of the Oreos to create spider legs before the chocolate sets.
- Allow the chocolate to set by letting the cookies cool on the baking sheet. To speed up the process, place them in the refrigerator for 10-15 minutes.
- For extra color, you can apply a second coat of chocolate or candy melts once the first layer sets.
- Once set, enjoy your spooky Halloween Oreo cookies!