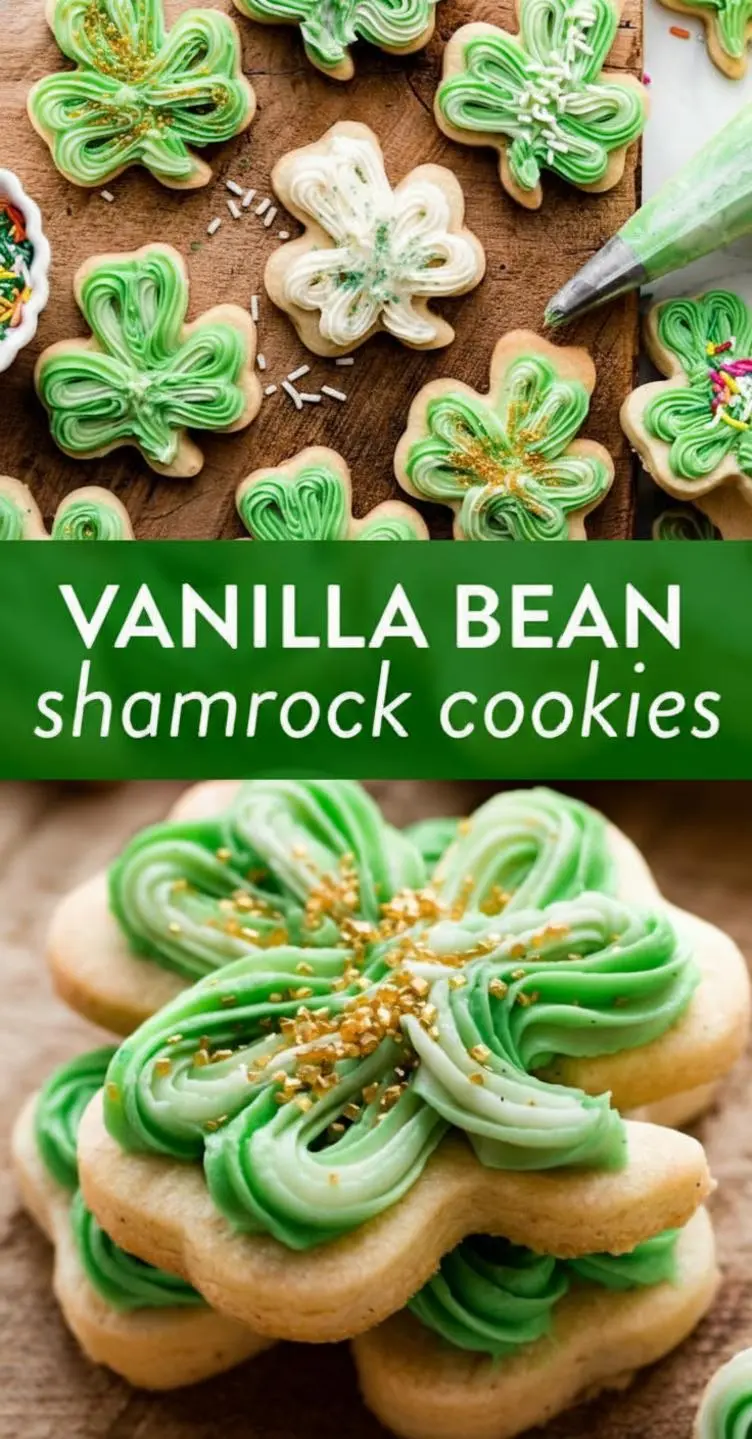
Introduction
Hi there! I’m Benjamin, the home cook and dad behind Mister Recipes. I want to ask you something. Have you ever noticed how a certain smell can instantly unlock a cherished memory? For me, it’s the rich, heady aroma of real vanilla bean. It takes me right back to my grandmother’s kitchen, a place where every meal felt like a hug. Science actually tells us that the scent of vanilla can promote feelings of calm and joy. So, what if we could capture that very feeling, that edible comfort, and shape it into a celebration? That’s exactly what we’re doing today with these Vanilla Bean Shamrock Cookies. This isn’t just another recipe for St. Patrick’s Day cookies; it’s a blueprint for creating memories. When my wife Emily and I first made these with our kids, Adams and Jana, their eyes lit up more from decorating than from any pot of gold. We weren’t just baking; we were laughing, telling stories, and making a bit of a wonderful mess. This recipe is designed for that. It’s for busy parents who want to create a little magic without a lot of fuss. It’s for anyone who believes, like I do, that the best ingredients are love and a little bit of shared time. So let’s get into the kitchen and bake some happiness.
Why You’ll Love This Vanilla Bean Shamrock Cookies
- The Unmistakable Flavor of Real Vanilla Bean: Forget imitation extracts. Using real vanilla bean paste or seeds infuses these cookies with a deep, complex, and aromatic flavor that is simply incomparable. It’s a small step that elevates a simple sugar cookie into a gourmet treat, leaving a warm, floral note that pairs beautifully with the sweet icing. Each bite is a reminder that quality ingredients make all the difference, a philosophy I treasure in my own home cooking.
- Perfectly Soft and Sturdy for Decorating: I’ve tested this dough countless times to get the balance just right. It’s a struggle so many of us have faced: cut out cookies that spread into unrecognizable blobs in the oven. This recipe solves that. Thanks to a proper chilling period and the right ratio of ingredients, these cookies hold their charming shamrock shape perfectly. They are soft and chewy to eat but sturdy enough to handle even the most enthusiastic decorating from little hands. They are the ideal canvas for your royal icing masterpieces.
- A Recipe for Connection and Creativity: More than just a dessert, this recipe is an activity. It’s an invitation to gather your family and spend quality time together. Rolling the dough, cutting the shapes, and mixing the vibrant green icing are all steps where kids can get involved. I’ve seen firsthand how a simple afternoon of baking can turn into our family’s favorite tradition. It’s a screen free way to connect, laugh, and create something delicious and beautiful together, much like our fun Twix Style Cookies recipe.
- Foolproof for Beginners: I’ve written these instructions with the home cook in mind. There are no overly complicated techniques or fancy gadgets required. I believe that anyone can cook, and this recipe is a testament to that. I’ll walk you through each step, offering tips for success along the way. Whether you’re a seasoned baker or this is your first time making cut out cookies, you’ll find the process straightforward and rewarding. It’s as fun and approachable as my Brown Sugar Pop Tart Cookies.
- Festive for Any Occasion: While these are perfect St. Patrick’s Day cookies, the base recipe is incredibly versatile. You can use any cookie cutter shape you have on hand to celebrate any holiday or occasion. Easter, Christmas, birthdays… this reliable and delicious vanilla bean sugar cookie recipe will become a go to in your baking arsenal. It’s a foundational recipe you can return to again and again. For another festive idea, check out these maraschino cherry chocolate chip cookies.
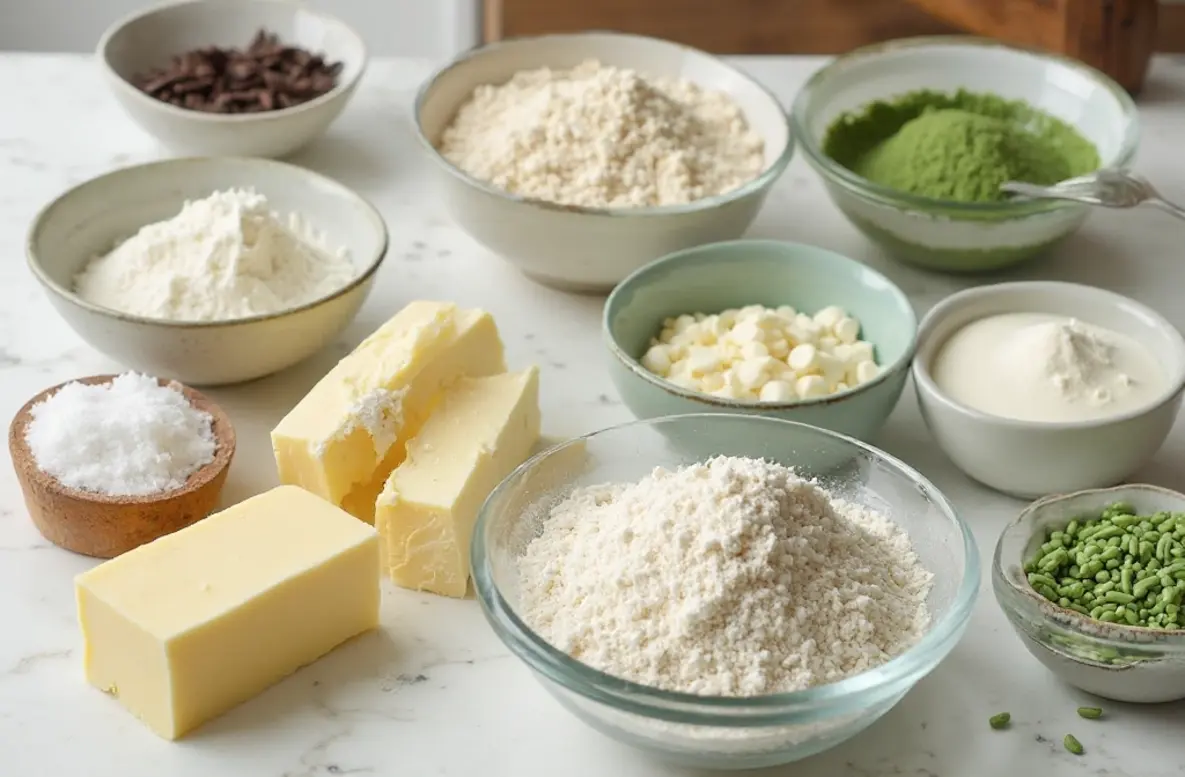
Ingredients for Vanilla Bean Shamrock Cookies
For the Cookies:
- 3 cups all purpose flour
- 1/2 teaspoon baking powder
- 1/4 teaspoon salt
- 1 cup unsalted butter, softened to room temperature
- 1 cup granulated sugar
- 1 large egg
- 2 teaspoons vanilla bean paste (or the seeds from 1 vanilla bean)
- 1 teaspoon pure vanilla extract
For the Royal Icing:
- 4 cups powdered sugar, sifted
- 3 tablespoons meringue powder
- 1/2 teaspoon pure vanilla extract
- 8-10 tablespoons warm water
- Green food coloring (gel preferred)
Substitutions:
- Vanilla Bean Paste: If you don’t have vanilla bean paste, you can substitute with 1 additional teaspoon of pure vanilla extract, for a total of 2 teaspoons. However, the paste provides those beautiful black specks and a richer flavor.
- Meringue Powder: If you prefer not to use meringue powder, you can find many great recipes online for royal icing using fresh egg whites. I recommend this one from Sally’s Baking Addiction for a reliable alternative.
- Butter: If you only have salted butter, you can use it and omit the 1/4 teaspoon of salt from the recipe.
How to Make Vanilla Bean Shamrock Cookies
Step-by-Step Instructions
- Combine Your Dry Ingredients: In a medium bowl, whisk together the 3 cups of all purpose flour, 1/2 teaspoon of baking powder, and 1/4 teaspoon of salt. This step is important because it ensures the baking powder and salt are evenly distributed, which helps the cookies rise uniformly. Set this bowl aside for now.
- Cream the Butter and Sugar: In the bowl of a stand mixer fitted with a paddle attachment, or in a large bowl with a hand mixer, beat the 1 cup of softened unsalted butter and 1 cup of granulated sugar together on medium high speed. Cream them for about 3 minutes until the mixture is light, fluffy, and pale in color. This process aerates the butter, which is key to a tender cookie.
- Add the Egg and Vanilla: Scrape down the sides of the bowl. Add the large egg, 2 teaspoons of vanilla bean paste, and 1 teaspoon of vanilla extract. Beat on medium speed until everything is well combined, about 1 minute. The mixture should look smooth and emulsified.
- Incorporate the Dry Ingredients: With the mixer on its lowest speed, gradually add the flour mixture you prepared earlier. Mix only until the flour is just combined and a soft dough forms. Be careful not to overmix! Overmixing develops gluten, which can make your cookies tough instead of tender.
- Chill the Dough: This is the most important step for perfect cut out cookies! Divide the dough in half, shape each half into a flat disk, and wrap them tightly in plastic wrap. Refrigerate the dough for at least 2 hours, or up to 2 days. Chilling the dough solidifies the butter, which prevents the cookies from spreading in the oven and ensures they hold their shamrock shape.
- Preheat and Prepare: Once the dough is chilled, preheat your oven to 350°F (177°C). Line two large baking sheets with parchment paper. This prevents the cookies from sticking and makes for easy cleanup.
- Roll and Cut: Lightly flour a clean work surface and a rolling pin. Take one disk of dough from the refrigerator. Roll it out to approximately 1/4 inch thickness. Use a shamrock shaped cookie cutter to cut out your cookies. Arrange them on the prepared baking sheets, leaving about 1 inch of space between each one. You can gather the scraps, gently re roll, and cut more cookies.
- Bake to Perfection: Bake the cookies for 10 to 12 minutes. The edges should be lightly golden, and the centers should appear set. Let the cookies cool on the baking sheet for 5 minutes before transferring them to a wire rack to cool completely. It’s crucial that they are fully cool before you start icing.
- Prepare the Royal Icing: While the cookies cool, make the icing. In a large bowl, whisk together the 4 cups of sifted powdered sugar and 3 tablespoons of meringue powder. Add the 1/2 teaspoon of vanilla extract and 8 tablespoons of warm water. Using a stand mixer with a whisk attachment or a hand mixer, beat the icing on medium high speed for about 5 minutes until it’s glossy and forms stiff peaks.
- Decorate Your Shamrocks: To achieve the right consistency for decorating, you’ll need to thin the icing slightly. To outline the cookies, you want a consistency like toothpaste. To “flood” or fill in the outline, you want a consistency like honey. Separate the icing into two bowls. Keep one white. Add green gel food coloring to the other. Transfer the icings to piping bags. Outline your shamrocks with green icing, then fill them in. You can add white polka dots or other designs while the flood icing is still wet. Let the icing set completely for at least 4 to 6 hours, or overnight, until it is hard to the touch.
Pro Tips & Variations
- Chill, Chill, and Chill Again: I cannot stress this enough. Chilling the dough is the secret to perfect no spread cookies. If your kitchen is warm, I even recommend chilling the cut out shapes on the baking sheet for 10 to 15 minutes in the refrigerator before they go into the oven. This extra chill ensures the butter is rock solid, giving you the sharpest, most defined shamrocks possible.
- Achieving the Perfect Icing Consistency: Royal icing can be tricky, but it’s all about consistency. A simple way to test it is the “10 second rule.” When you drizzle a ribbon of icing back into the bowl, the line should disappear in about 10 seconds for the perfect flood consistency. If it’s too thick, add water a few drops at a time. If it’s too thin, add more sifted powdered sugar. For more ideas on decorating, you can look at various holiday baking guides like this one for St. Patrick’s Day Cookies to get inspired.
- Don’t Overcrowd the Pan: Give your cookies space to breathe on the baking sheet. Placing them too close together can cause them to spread into each other as the heat circulates. Leave at least 1 to 2 inches between each cookie to ensure they bake evenly and maintain their distinct shape.
- Variation: Mint Chocolate Chip Shamrocks: For a classic St. Patrick’s Day flavor combination, add 1/2 teaspoon of peppermint extract to the cookie dough along with the vanilla. After baking and cooling, fold 1/2 cup of finely chopped mini chocolate chips into your green icing before flooding the cookies.
- Variation: Gluten Free Vanilla Bean Cookies: These cookies can easily be made gluten free. Simply substitute the all purpose flour with a high quality, cup for cup gluten free baking flour blend. I’ve found that blends containing xanthan gum work best for maintaining the structure and chewiness of the cookie. The baking time and instructions remain the same. This makes the recipe accessible to even more of my friends and readers, a goal I always strive for, just like with my creamy cinnamon overnight oats.
Serving Suggestions
These Vanilla Bean Shamrock Cookies are a delight all on their own, but creating pairings can turn them into a full blown celebration. One of my favorite things to do is to arrange them on a large platter as the centerpiece of a festive dessert board. Surround them with bowls of green M&Ms, chocolate gold coins, and fresh fruit like green grapes and sliced kiwi. For another homemade treat on the board, consider my easy homemade peppermint patties. It creates a beautiful, interactive dessert experience for guests.
For a cozy afternoon treat, there is nothing better than pairing these cookies with a warm drink. A simple glass of cold milk is a classic for a reason, especially for the kids. For the adults, a hot cup of coffee or a creamy latte complements the sweet vanilla flavor perfectly. You could even serve them alongside a scoop of vanilla bean or mint chocolate chip ice cream. The contrast between the warm, soft cookie and the cold, creamy ice cream is absolutely heavenly. It makes for a simple yet elegant dessert that feels incredibly special.
Storage & Reheating for Vanilla Bean Shamrock Cookies
Proper storage is key to keeping your Vanilla Bean Shamrock Cookies fresh and delicious. Once the royal icing has hardened completely (this can take up to 24 hours), you can store the cookies in an airtight container at room temperature for up to one week. I like to place a layer of parchment paper between the cookie layers to prevent them from sticking together and to protect the delicate icing designs.
If you want to bake ahead, this recipe is perfect for you. You can make the cookie dough, wrap it tightly in plastic wrap, and store it in the refrigerator for up to 3 days. Alternatively, you can freeze the dough disks for up to 3 months. Just let the frozen dough thaw in the refrigerator overnight before rolling and baking as directed. You can also freeze the baked, undecorated cookies. Let them cool completely, then place them in a freezer safe bag or container. They will last for up to 3 months. When you’re ready to decorate, let them thaw at room temperature before icing.
FAQ about Vanilla Bean Shamrock Cookies
- Can I make these cookies without a stand mixer?
- Absolutely! A hand mixer works perfectly well for this recipe. If you don’t have an electric mixer at all, you can even make them by hand. It will take a bit more arm muscle, but creaming the butter and sugar with a wooden spoon and a lot of energy is a classic baking method. Just make sure the butter and sugar mixture is very light and fluffy before you proceed.
- My cookie dough is really crumbly. What did I do wrong?
- If your dough seems dry or crumbly, it might be slightly undermixed or your measurement of flour was a bit too generous. First, try continuing to mix on low for another 30 seconds to see if it comes together. If it’s still crumbly, add a teaspoon of milk or water and mix until the dough forms a cohesive ball. Using a kitchen scale to measure flour by weight instead of volume can help prevent this issue in the future.
- Why is it important for the cookies to be completely cool before icing?
- This is a critical step! If you try to apply royal icing to even slightly warm cookies, the residual heat will melt the icing. Instead of a smooth, pristine surface, you’ll end up with a runny, sticky mess. Patience is a virtue in baking, so let them cool completely on a wire rack to ensure a beautiful finish.
- What is the best way to color royal icing?
- I highly recommend using gel food coloring instead of liquid food coloring. Gel colors are much more concentrated, so you only need a tiny amount to achieve a vibrant hue. Liquid coloring, on the other hand, can add too much moisture to your icing, thinning it out and potentially affecting how it sets.
Final Thoughts on Vanilla Bean Shamrock Cookies
Baking is about so much more than just following a recipe. It’s about the feeling you get when you see your family’s faces light up at the sight of a decorated cookie. It’s about the stories you share while rolling out dough and the laughter that fills the kitchen. These Vanilla Bean Shamrock Cookies are more than just a festive treat; they are an opportunity to create those precious moments of connection. I hope this recipe brings as much joy and warmth to your home as it has to mine. Every meal, every cookie, is a chance to make a memory.
If you bake these delightful shamrocks, I would be thrilled to see them! Please feel free to leave a comment below and let me know how they turned out. And don’t forget to save this recipe to your favorite Pinterest board so you can easily find it for your next St. Patrick’s Day celebration. Happy baking!