Ingredients
Equipment
Method
- Prepare Your Workspace: Lay out all your ingredients and tools on a clean, flat surface. You’ll need a large mixing bowl, a spoon or spatula, and a few measuring spoons.
- Mix the Glue and Baking Soda: In your mixing bowl, combine 1 cup of white school glue with 1 tablespoon of baking soda. Stir until the baking soda is completely dissolved in the glue. The baking soda helps thicken the slime, giving it a more solid texture.
- Add Glow-in-the-Dark Paint or Powder: Now, add 2 tablespoons of glow-in-the-dark paint or glow powder to the glue mixture. This is where the magic happens! Stir thoroughly to ensure the paint or powder is evenly distributed throughout the mixture. If you want to add a burst of color, now is the time to mix in a few drops of food coloring.
- Activate the Slime: Gradually add 1 ½ tablespoons of contact lens solution to the mixture, stirring continuously. The boric acid in the contact lens solution causes the glue to thicken and form slime. You’ll notice the slime starting to pull away from the sides of the bowl as it thickens.
- Knead the Slime: Once the slime begins to form, take it out of the bowl and knead it with your hands. It might be sticky at first, but keep kneading until it becomes smooth and stretchy. If the slime is too sticky, add a few more drops of contact lens solution.
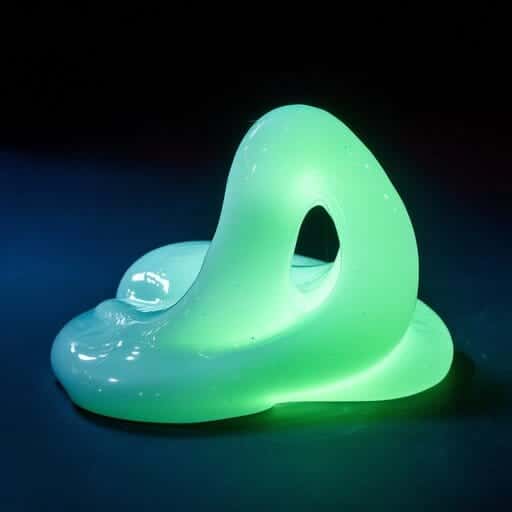
- Charge the Glow: To activate the glow-in-the-dark effect, place your slime under a bright light for a few minutes. The more light it absorbs, the brighter it will glow when you turn off the lights.
- Store Your Slime: Keep your glow-in-the-dark slime in an airtight container when not in use. This will prevent it from drying out and losing its glowing properties.
Notes
- Notes:
Tried this recipe?Let us know how it was!
