Ingredients
Equipment
Method
- Line a large baking sheet with parchment paper or silicone mat. Clear space in freezer or refrigerator for chilling.
- Unwrap all Little Debbie Christmas Tree Cakes and place in a large mixing bowl. Using clean hands, crumble cakes completely—including frosting—until you reach a fine crumb consistency.
- Add softened cream cheese to the cake crumbs. Mix thoroughly using a spatula or hands until uniform. Avoid over-mixing into a paste. Mixture should be cohesive and consistent.
- Using a 1-tablespoon cookie scoop, portion the mixture and roll into smooth, round balls. If too sticky, chill mixture in refrigerator for 15 minutes first. Place balls on prepared baking sheet.
- Place baking sheet in freezer for 20–30 minutes, or until balls are firm but not frozen solid. This prevents them from falling apart during dipping.
- While balls chill, melt white chocolate or almond bark in microwave-safe bowl in 30-second intervals, stirring between each. If chocolate is too thick, stir in teaspoon of coconut oil or shortening.
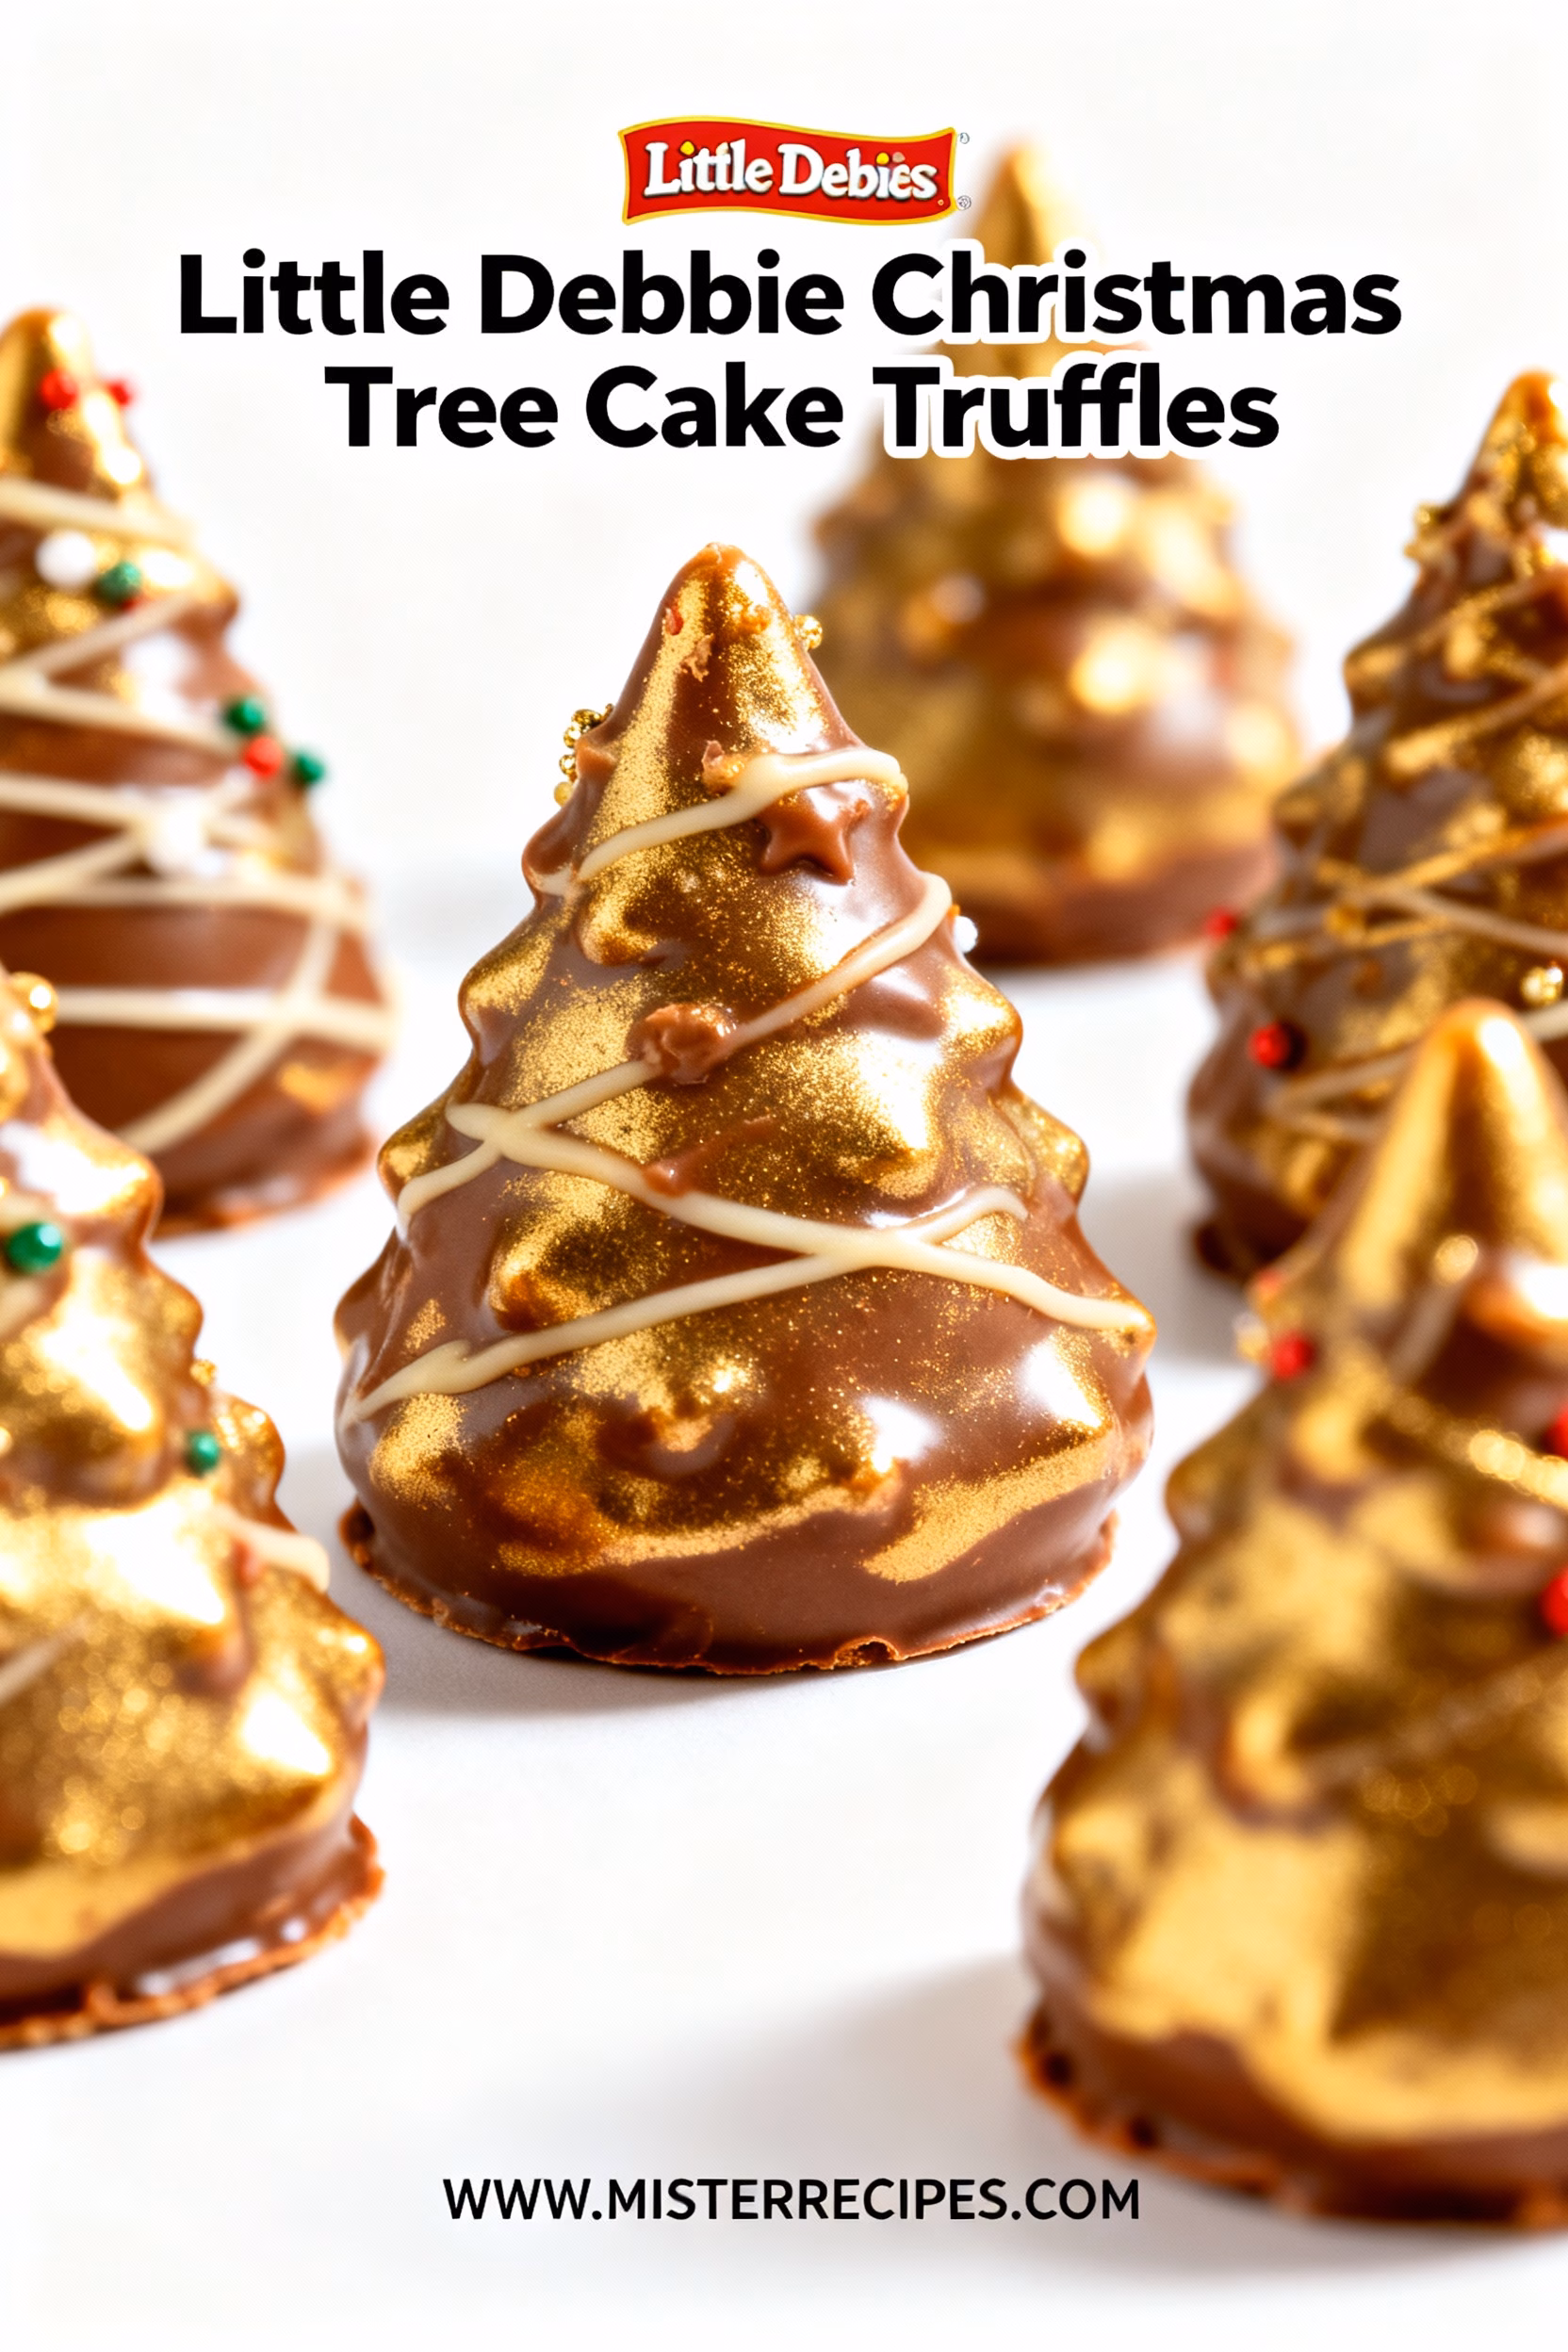
- Remove a few chilled balls at a time. Using a fork, dip each ball into melted chocolate, tapping fork against bowl to remove excess. Return truffle to parchment paper.
- While chocolate is still wet, immediately add festive sprinkles or sanding sugar. Work quickly to ensure decorations stick properly.
- Allow truffles to sit at room temperature until chocolate coating has fully hardened, about 15 minutes. Once set, truffles are ready to enjoy or store.
Nutrition
Calories: 120kcalCarbohydrates: 14gProtein: 2gFat: 7gSaturated Fat: 4gCholesterol: 10mgSodium: 85mgPotassium: 25mgSugar: 10gVitamin A: 80IUCalcium: 15mgIron: 0.6mg
Notes
These truffles taste even better after sitting for a day, making them perfect for make-ahead holiday prep. Store in an airtight container in the refrigerator for up to 2 weeks, or freeze for up to 3 months. For best results, let frozen truffles thaw overnight in the refrigerator before serving.
Pro Tips: Use oil-based food coloring if tinting chocolate to avoid seizing. Tap fork vigorously after dipping to minimize chocolate “feet.” For a bakery-style finish, drizzle with colored chocolate in classic zig-zag pattern.
Tried this recipe?Let us know how it was!
