Ingredients
Equipment
Method
- Prepare the Sushi Rice: Rinse the sushi rice in a fine mesh sieve under cold running water. Swirl the rice with your hand until the water runs clear. This step is crucial for removing excess starch and ensuring fluffy, not gummy, rice. Drain it well. Add the drained rice and 2 cups of water to your rice cooker and cook according to the manufacturer's instructions. If cooking on the stovetop, bring the rice and water to a boil, then reduce the heat to low, cover, and simmer for 15 to 20 minutes, or until all the water is absorbed. Do not lift the lid while it simmers! Once cooked, let the rice stand, covered, for 10 minutes off the heat.
- Season the Rice: While the rice is resting, prepare the vinegar seasoning. In a small bowl, whisk together the rice vinegar, sugar, and salt until the sugar and salt have completely dissolved. You can gently warm it in the microwave for 20 seconds to help it dissolve faster. Once the rice has rested, transfer it to a large, non metallic bowl (a wooden or glass bowl is ideal). Gently pour the vinegar mixture over the hot rice. Using a rice paddle or spatula, "cut" and fold the rice, gently mixing the seasoning in without mashing the grains. You want to coat every grain. Let the rice cool to room temperature. You can speed this up by fanning the rice as you mix.
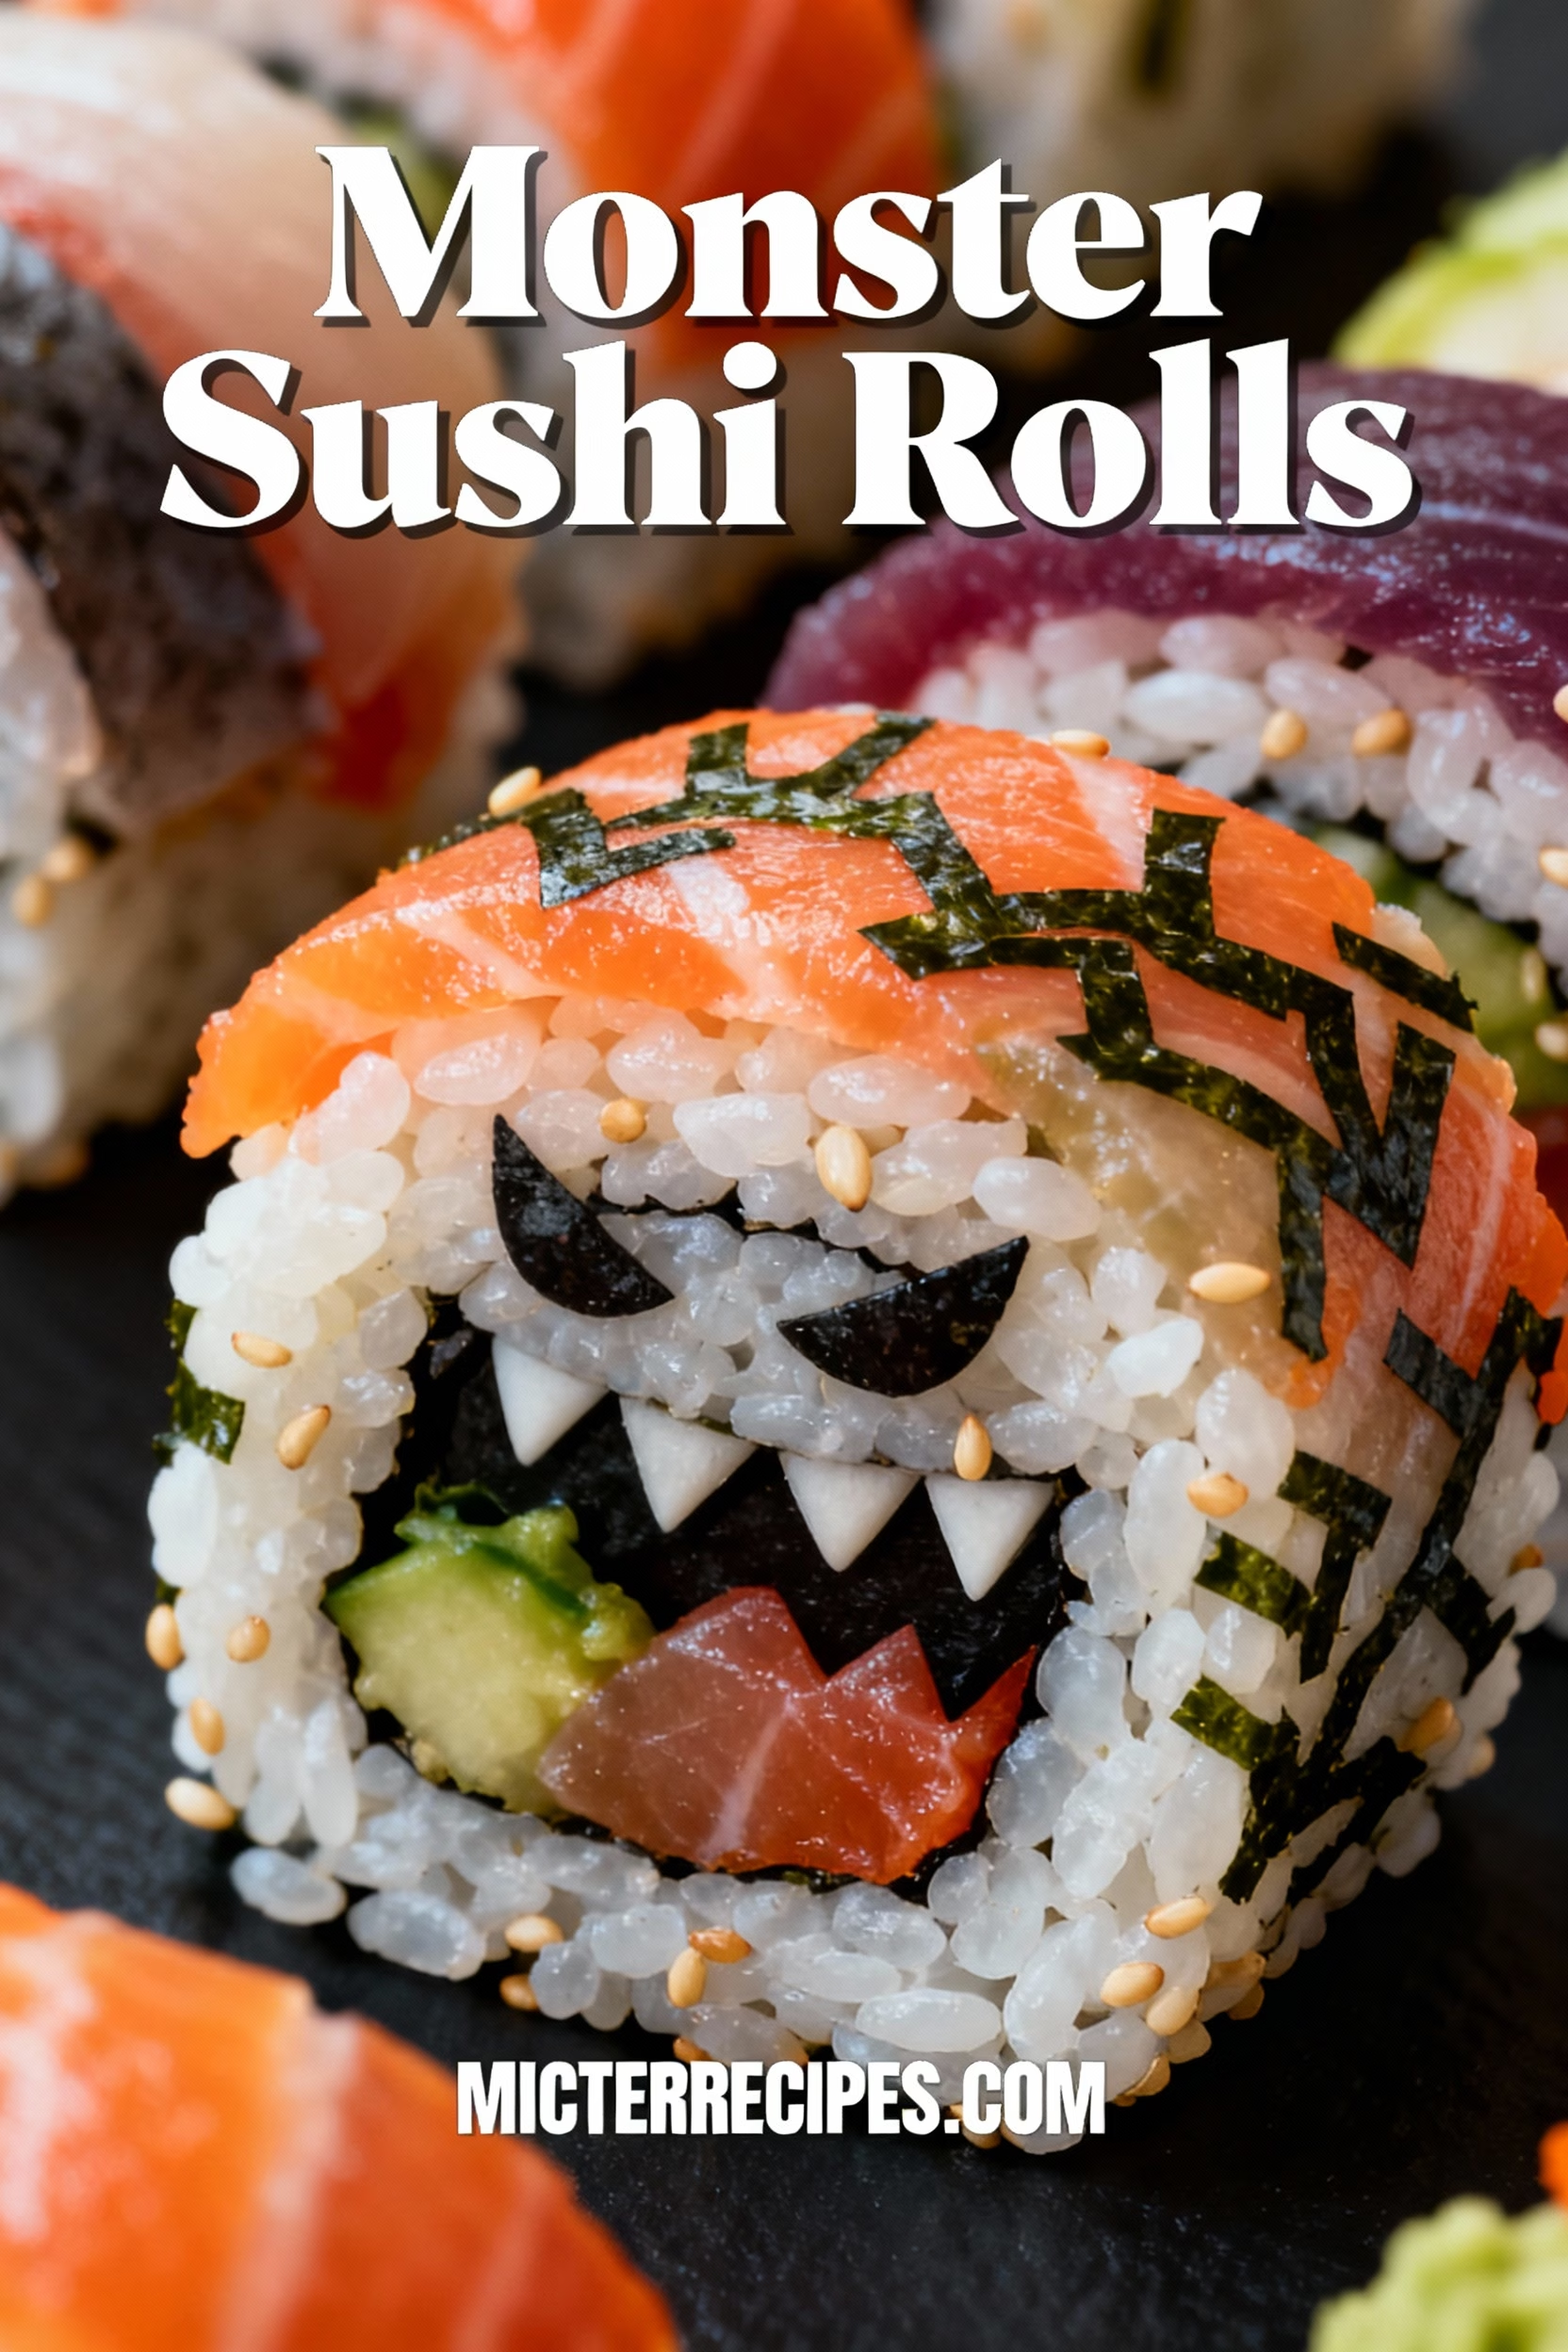
- Create the Giant Nori Sheet: This is where the "monster" part begins! Lay your large bamboo rolling mat on a clean, dry surface. Place two sheets of nori, shiny side down, side by side on the mat, overlapping them by about one inch. Dab a tiny bit of water along the overlapping edge to help them stick together, pressing gently to seal. Repeat with two more nori sheets below the first two, creating a large, four sheet rectangle. This will be the canvas for your jumbo sushi.
- Layer the Rice: Have a small bowl of water nearby to dip your fingers in (this is called "tezu" and prevents the rice from sticking to your hands). Wet your fingers, then scoop up a handful of the cooled sushi rice. Gently spread an even layer of rice over the entire surface of your giant nori sheet, leaving a 2 inch border at the top edge (the edge furthest from you). Be gentle; you want to spread, not smash, the rice.
- Add the Fillings: Now for the fun part! About a third of the way up from the bottom edge of the rice, begin layering your fillings in horizontal lines. Create a neat row of cream cheese strips, followed by a row of imitation crab, then the julienned cucumber and shredded carrots. Finally, add a line of sliced avocado on top. Don’t overfill, or the roll will be difficult to close. Think of it as painting stripes of color across your rice canvas.
- Roll the Monster: This step requires a little confidence! Using the edge of the bamboo mat closest to you, lift the nori and rice up and over the fillings. Tuck the edge in tightly, using your fingers to keep the fillings snug. Begin to roll the mat forward, applying gentle, even pressure to create a firm, compact cylinder. As you roll, pull the edge of the mat out so it doesn’t get rolled into your sushi. It’s like rolling up a giant yoga mat!
- Seal and Slice: Once you reach the 2 inch nori border you left at the top, dab a little water along the edge. This will act as glue. Complete the roll, pressing gently to seal it completely. Let the roll rest for a minute, seam side down, to ensure it's fully sealed. Now for the grand reveal! Use a very sharp, wet knife to slice the roll into thick, 1.5 to 2 inch rounds. Wipe and re wet the knife between each cut for clean slices. Arrange your magnificent Monster Sushi Rolls on a platter and admire your work!
Nutrition
Calories: 325kcalCarbohydrates: 30gProtein: 12gFat: 18gSaturated Fat: 4gCholesterol: 20mgSodium: 380mgPotassium: 420mgFiber: 4gSugar: 6gVitamin A: 180IUVitamin C: 7mgCalcium: 50mgIron: 1.2mg
Notes
This Monster Sushi Roll recipe is customizable to suit your family's preferences. Perfect for family events or festive gatherings!
Tried this recipe?Let us know how it was!
