Go Back
+ servings
image of A photorealistic top down mise en place shot of Sweet Chili Garlic Chicken ingredients on a white marble kitchen counter Sweet chili sauce chicken breast or thigh minced garlic fresh ginger egg cornstarch all purpose flour soy sauce rice vinegar green onions sesame seeds paprika onion powder salt pepper baking powder canola oil honey sriracha lime juice broccoli and rice clear glass bowls rustic brown wooden kitchen sets soft diffuse daylight professional food photography

Sweet Chili Garlic Chicken

This crispy, flavorful Sweet Chili Garlic Chicken brings the taste of your favorite takeout straight to your kitchen. With a sticky, sweet-spicy sauce and crunchy coating, this recipe is quick, easy, and totally irresistible — a true family favorite for hectic weeknights.
Prep Time 15 minutes
Cook Time 20 minutes
Total Time 35 minutes
Servings: 4 servings
Course: Main Course
Cuisine: Asian, Thai
Calories: 420

Ingredients
  

For the Crispy Chicken
  • 1.5 lbs chicken breast or thigh, cubed into 1-inch pieces (boneless, skinless)
  • 1 large egg, lightly beaten
  • 1/2 cup cornstarch (The secret to crispness!)
  • 1/4 cup all-purpose flour
  • 1 tsp paprika (for color and depth)
  • 1/2 tsp onion powder
  • Salt and pepper, to taste
  • 2 cups canola or olive oil, for frying (or less if using air fryer method)
For the Homemade Sweet Chili Garlic Sauce
  • 3/4 cup sweet chili sauce (main) (Mae Ploy preferred)
  • 2 tbsp dark soy sauce (or tamari for gluten-free)
  • 1 tbsp rice vinegar
  • 1 tbsp honey (adds great body and sweetness)
  • 2 tsp fresh ginger, minced
  • 4 cloves garlic, minced (don’t skip — it’s half the title!)
  • 1/2 tsp crushed red pepper (adjust heat level to preference)
  • 1 tsp cornstarch (to thicken the sauce)
  • 1 tbsp water (to make slurry)
For Serving and Garnish
  • cooked jasmine rice or cauliflower rice
  • thinly sliced green onions (garnish)
  • toasted sesame seeds (garnish)
  • steamed broccoli (side)

Equipment

  • Skillet or Wok
  • Air Fryer (optional)
  • Baking Sheet (optional)

Method
 

  1. Prep the Chicken: Place cubed chicken in a bowl, season lightly with salt and pepper. In one dish, beat the egg; in another, mix cornstarch, flour, paprika, and onion powder. Dip chicken in egg, letting excess drip off, then dredge in dry mixture, pressing lightly to adhere.
  2. Heat the Oil: Heat oil in a large skillet or wok over medium-high heat (around 350°F/175°C) until shimmering and fragrant.
  3. Fry the Chicken: Fry chicken in batches for 4–6 minutes, flipping halfway, until golden and cooked through. Drain on a wire rack or paper towels.
  4. Make the Cornstarch Slurry: Whisk together 1 tsp cornstarch and 1 tbsp water in a small bowl, set aside.
  5. Sauté Aromatics: In a saucepan or reused skillet, combine sweet chili sauce, soy sauce, rice vinegar, honey, ginger, garlic, and red pepper flakes. Simmer gently until aromatic.
  6. Thicken the Sauce: Stir slurry again and slowly whisk into simmering saucebase. Cook for 1 minute while whisking until thickened and glossy. Remove from heat.
  7. Toss Together: Add back fried chicken to clean skillet/wok. Pour the sauce over it and toss quickly to coat evenly.
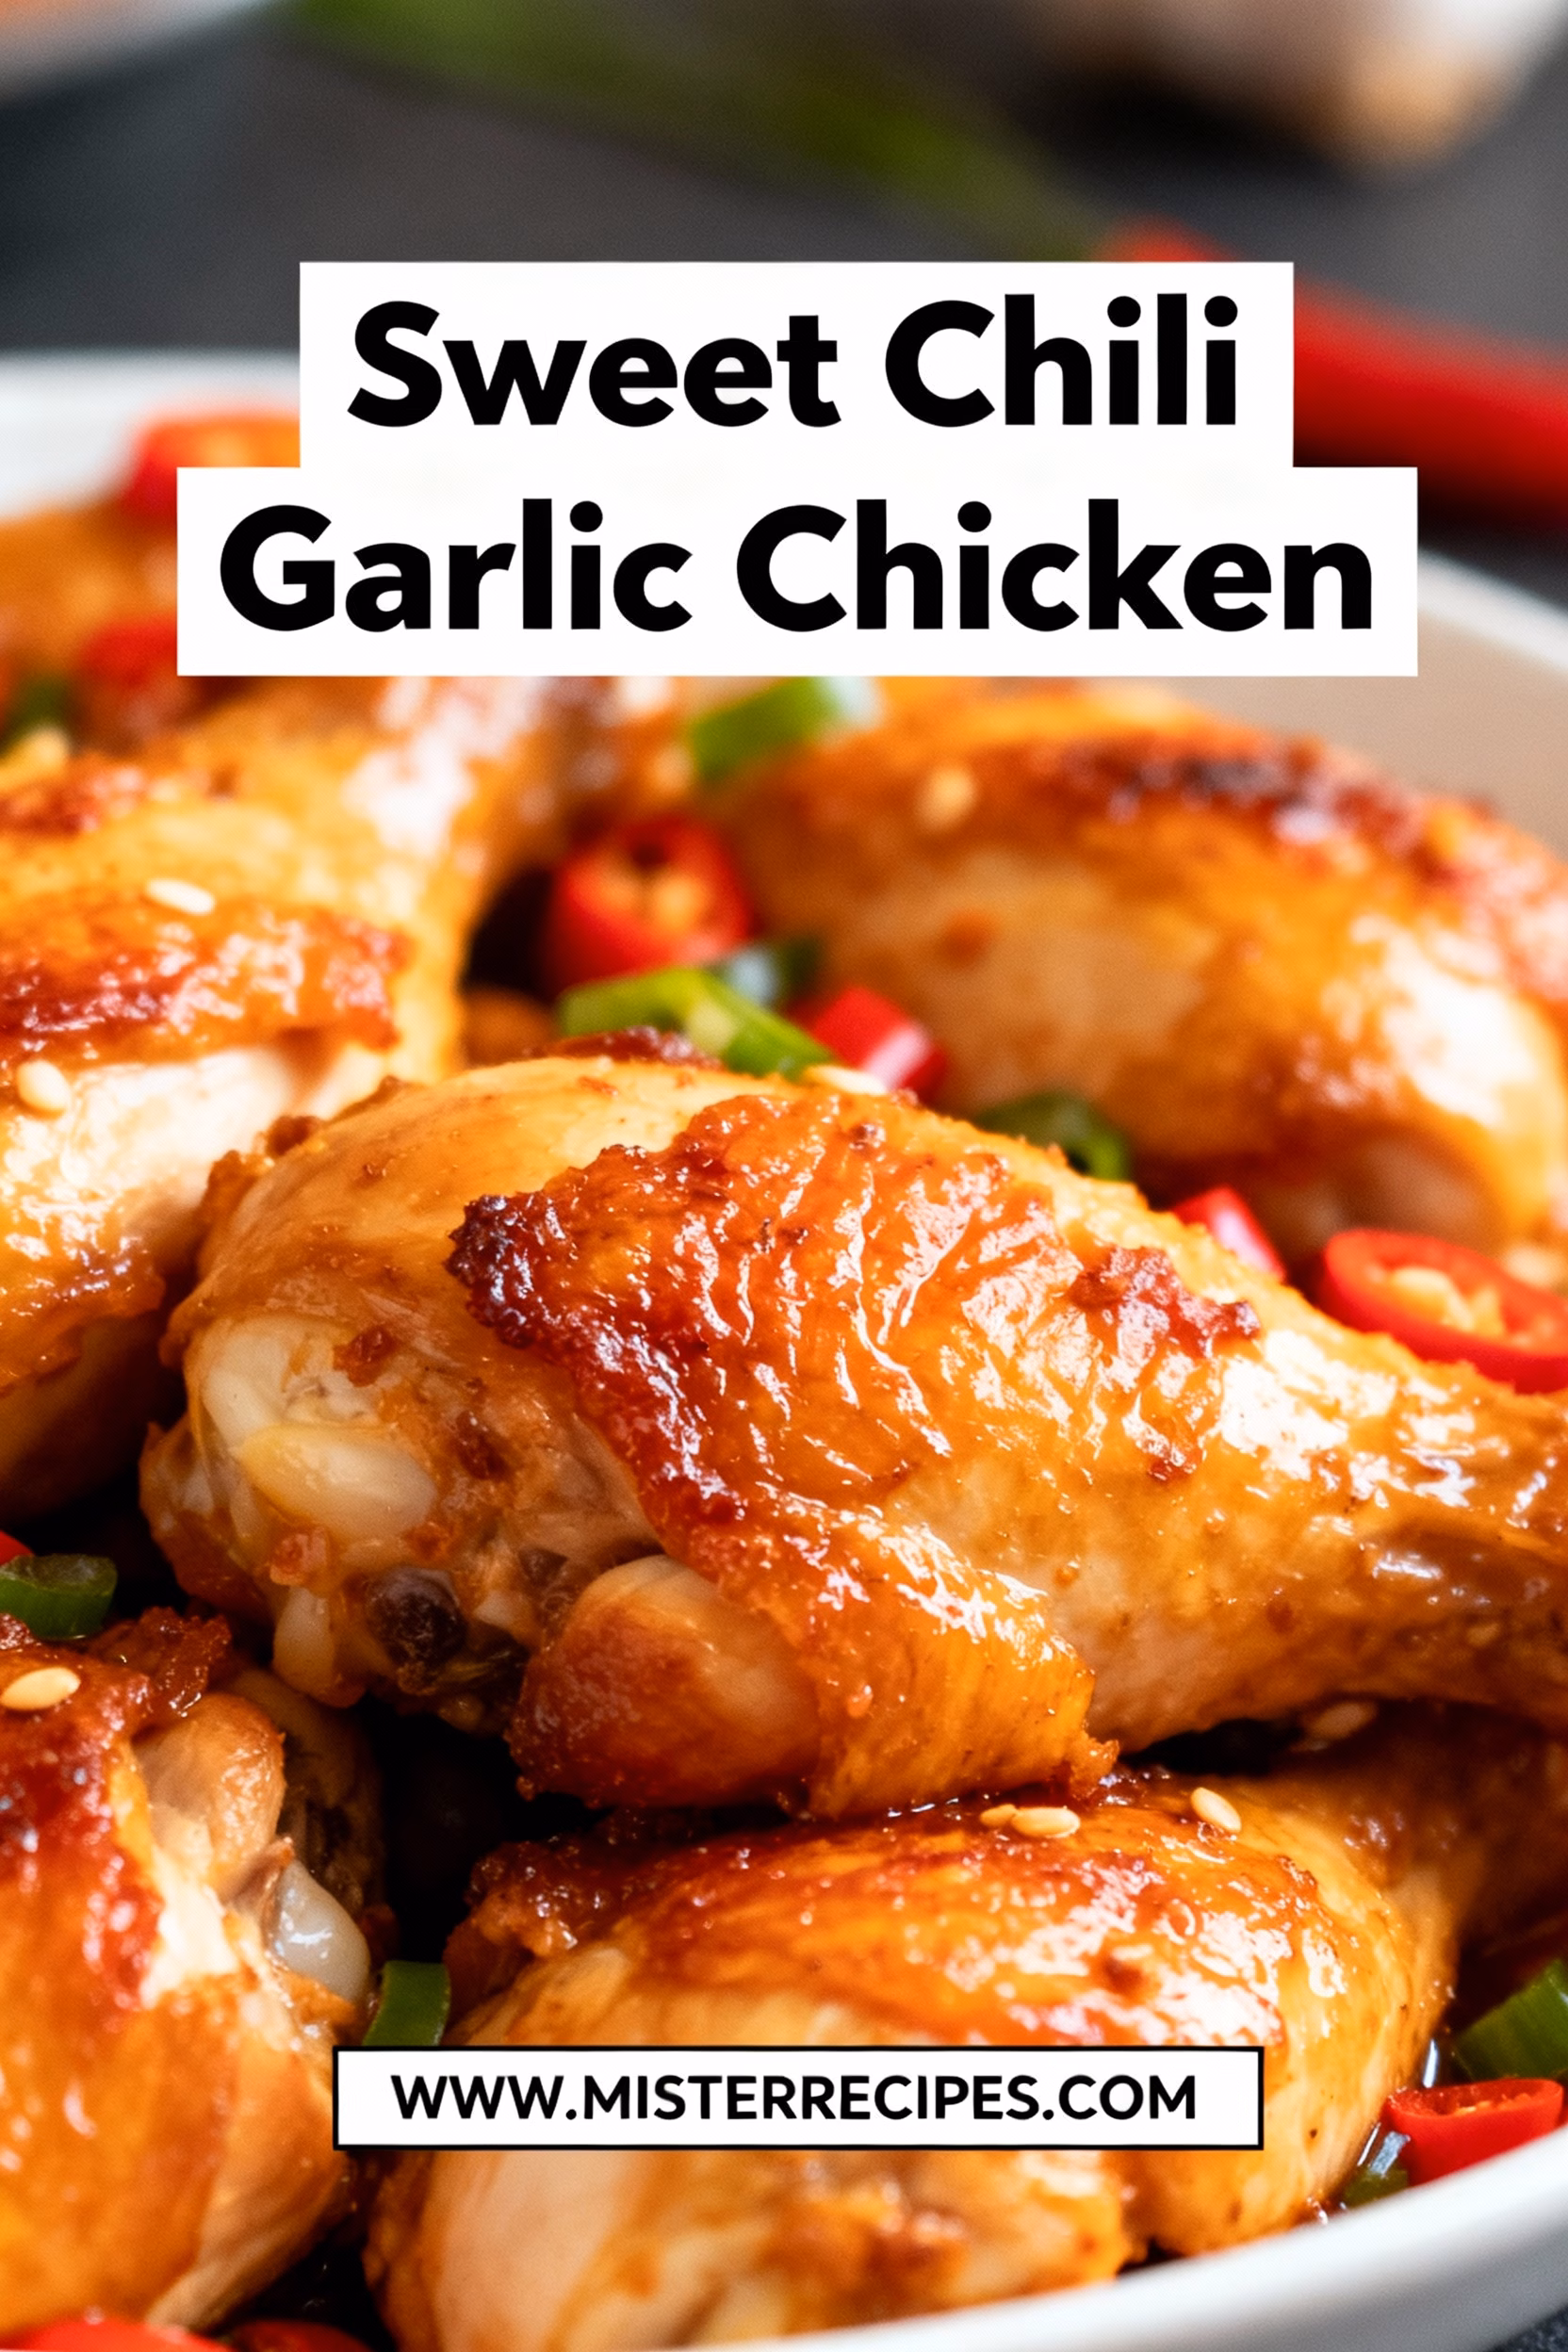
  8. Serve: Plate over hot jasmine rice, garnish with green onions, sesame seeds, and serve alongside steamed broccoli.

Nutrition

Calories: 420kcalCarbohydrates: 32gProtein: 34gFat: 16gSaturated Fat: 3gCholesterol: 145mgSodium: 780mgPotassium: 510mgFiber: 1gSugar: 18gVitamin A: 120IUVitamin C: 4mgCalcium: 40mgIron: 2.2mg

Notes

  • Pro Tip Double Fry: After initial fry, wait 5 mins, then re-fry for 1 min at 375°F for extra crispiness like takeout restaurants.
  • Air Fry Option: Coat chicken, spray lightly with oil and cook at 400°F for 10–12 mins flipping halfway. Toss in sauce after cooking.
  • Sheet Pan Method: Dredge in egg then cornstarch only, bake at 425°F for ~20 mins until done. Finish by tossing with sauce.
  • Gluten-Free: Substitute flour with GF flour or 100% cornstarch and use tamari instead of soy sauce.
Tried this recipe?Let us know how it was!
QR Code linking back to recipe