
Introduction
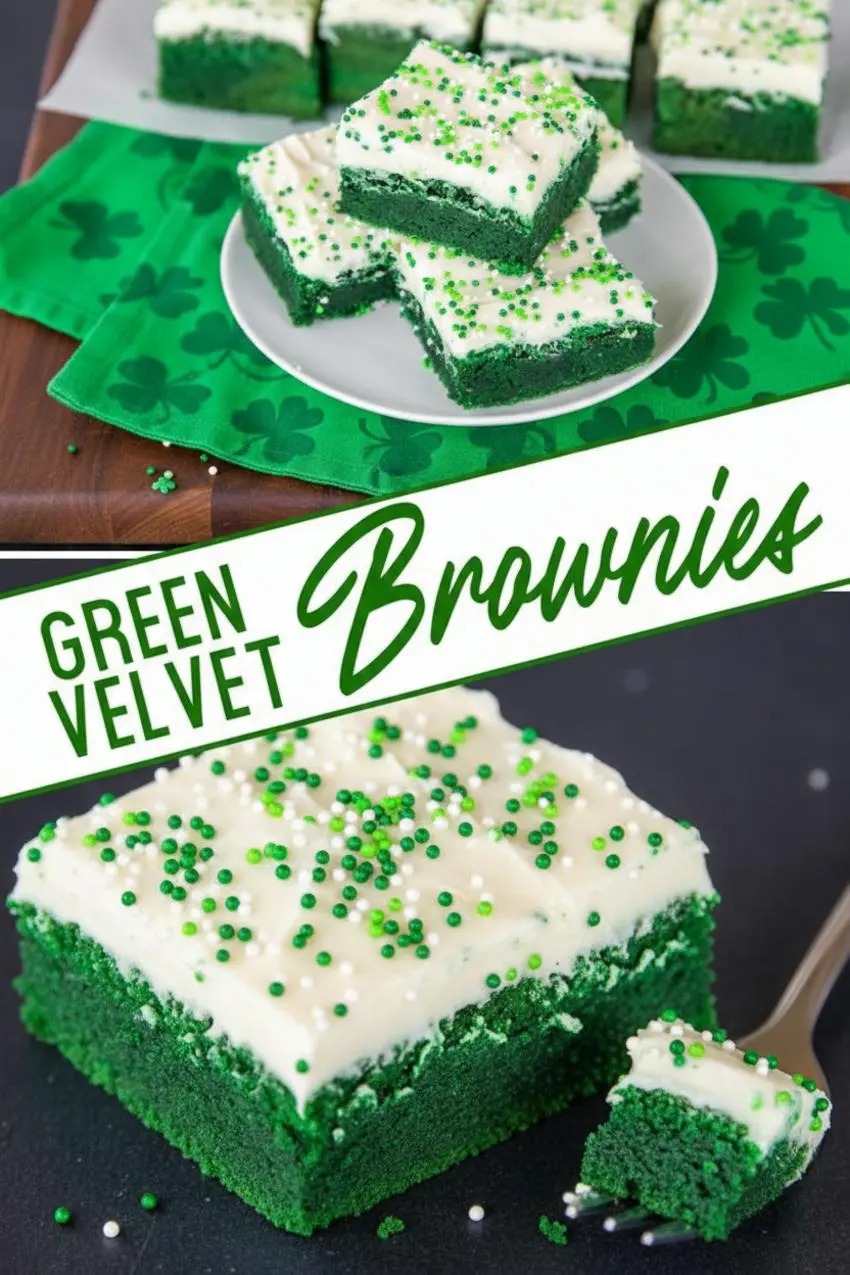
Have you ever wondered if a dessert can capture the magic of a festive celebration in a single bite? What if I told you that you could bake a treat that is not only visually stunning but also packs a rich, fudgy punch that will have everyone asking for the recipe? For years, we’ve associated velvet cake with its classic red hue, but it’s time to challenge that tradition. These incredible Green Velvet Brownies with Cream Cheese Frosting are the answer. They are more than just a colorful dessert; they’re a showstopper, perfect for St. Patrick’s Day, spring gatherings, or any time you need a little extra luck in your kitchen. This isn’t just another brownie recipe; it’s an experience. I’m Benjamin, and I’m so excited to guide you through making these chewy, vibrant brownies. They have a subtle hint of chocolate and vanilla, a classic velvet flavor, crowned with a luxuriously tangy cream cheese frosting that perfectly balances the sweetness. It’s the kind of dessert that brings my family together, watching the kids’ eyes light up at the bright green color. Let’s get our aprons on and bake some memories!
Why You’ll Love This Green Velvet Brownies with Cream Cheese Frosting
These brownies are a true game changer, and they have quickly become a favorite in my house, right alongside our fun St. Patrick’s Day Green Shake Pudding Cups. They are incredibly delicious and have a unique charm that sets them apart from your standard chocolate brownie. Here’s why I know you and your family will fall in love with them too:
- Perfectly Fudgy and Chewy Texture: These aren’t cakey brownies. They have that dense, moist, and incredibly satisfying fudgy texture that brownie lovers dream of, with a slightly chewy edge that’s simply irresistible.
- Stunning, Vibrant Green Color: The brilliant green hue makes these brownies a visual masterpiece. They are perfect for festive occasions like St. Patrick’s Day or Christmas but are honestly fun to make any time of year for a pop of color.
- Tangy Cream Cheese Frosting: The homemade cream cheese frosting is what takes these brownies over the top. It’s smooth, creamy, and has the perfect tangy flavor that cuts through the richness of the brownie, creating a perfectly balanced bite every time. Other recipes like this one from Plain Chicken agree that the frosting is key!
- Simple, Accessible Ingredients: You don’t need to be a professional pastry chef to make these. The recipe calls for simple, easy to find ingredients that you likely already have in your pantry and fridge. It’s a straightforward recipe perfect for bakers of all skill levels.
- Incredibly Versatile and Fun: While perfect for the holidays, you can customize these brownies for any event. Add different colored sprinkles for birthdays, or mix in some chocolate chips for extra decadence. They are as fun to make as they are to eat, just like our Soft and Chewy Pistachio Pudding Cookies.
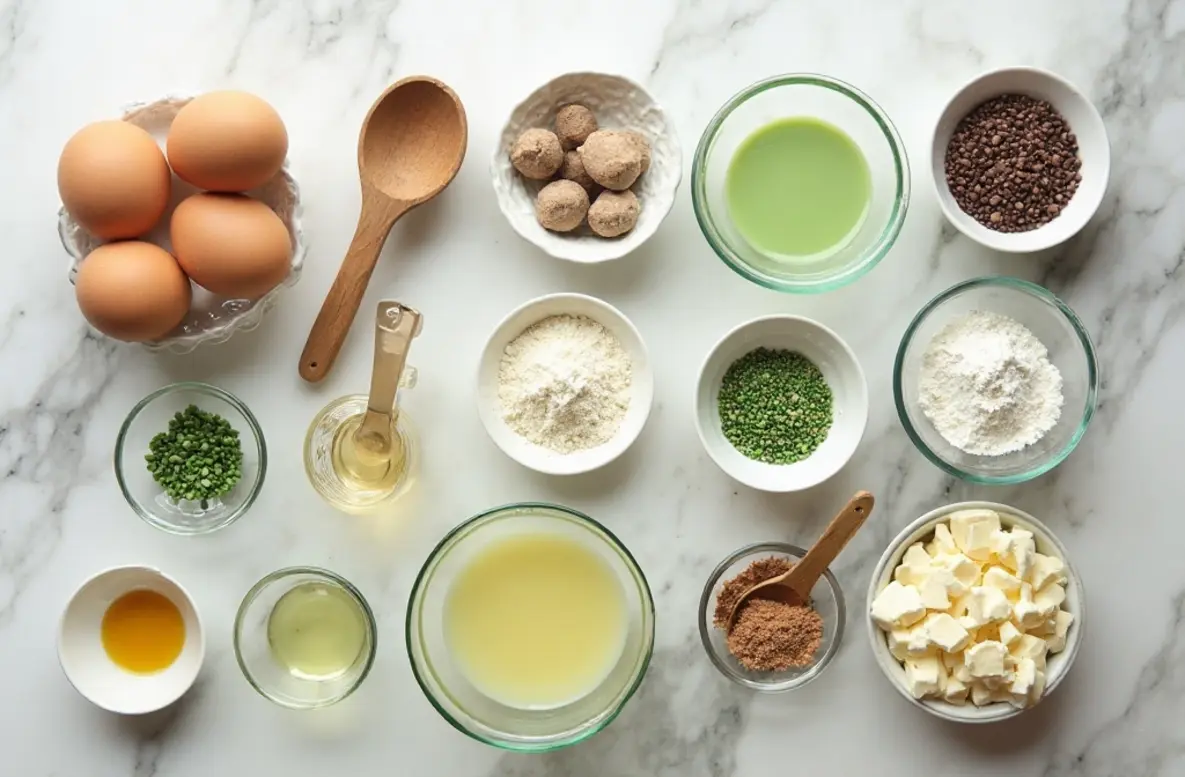
Ingredients for Green Velvet Brownies with Cream Cheese Frosting
For the Green Velvet Brownies:
- 1/2 cup (113g) unsalted butter, melted
- 1 cup (200g) granulated sugar
- 2 large eggs, at room temperature
- 1 teaspoon vanilla extract
- 1 tablespoon unsweetened cocoa powder
- 1 teaspoon green gel food coloring
- 1 cup (120g) all purpose flour
- 1/4 teaspoon salt
For the Cream Cheese Frosting:
- 4 oz (113g) cream cheese, softened to room temperature
- 1/4 cup (57g) unsalted butter, softened to room temperature
- 2 cups (240g) powdered sugar
- 1 teaspoon vanilla extract
- 1-2 tablespoons milk (optional, to reach desired consistency)
- Green sprinkles or shamrock sprinkles for decoration (optional)
How to Make Green Velvet Brownies with Cream Cheese Frosting
Step-by-Step Instructions
Making these gorgeous brownies is a simple and rewarding process. Just follow these steps, and you’ll have a delicious, festive treat ready in no time. For another amazing green dessert, check out my Shamrock Swirl Pie!
- Preheat and Prep: First things first, preheat your oven to 350°F (175°C). Grease an 8×8 inch baking pan and line it with parchment paper, leaving some overhang on the sides to act as handles. This will make it much easier to lift the brownies out later.
- Mix Wet Ingredients: In a large mixing bowl, combine the melted butter and granulated sugar. Whisk them together until they are well combined. Add the room temperature eggs one at a time, mixing well after each addition. Stir in the vanilla extract and the green gel food coloring until the batter is a uniform, vibrant green color.
- Add Dry Ingredients: Sift the all purpose flour, unsweetened cocoa powder, and salt directly into the wet ingredients. Gently fold the dry ingredients into the wet mixture using a rubber spatula. Be careful not to overmix! Mix only until you no longer see streaks of flour. Overmixing can lead to tough, cakey brownies, and we want them super fudgy.
- Bake the Brownies: Pour the batter into your prepared baking pan and spread it evenly with the spatula. Bake for 25 to 30 minutes, or until a toothpick inserted into the center comes out with moist crumbs attached, but not wet batter. Be sure not to overbake.
- Cool Completely: Remove the pan from the oven and place it on a wire rack to cool completely. It is very important that the brownies are fully cooled before you add the frosting, otherwise it will melt.
- Make the Frosting: While the brownies cool, prepare the cream cheese frosting. In a medium bowl, beat the softened cream cheese and softened butter together with an electric mixer until smooth and creamy. Gradually add the powdered sugar, mixing on low speed until it’s incorporated, then increase the speed to medium high and beat until the frosting is light and fluffy. Mix in the vanilla extract. If the frosting is too thick, add milk, one tablespoon at a time, until you reach your desired consistency.
- Frost and Decorate: Once the brownies are completely cool, spread the cream cheese frosting evenly over the top. If you like, decorate with festive green or shamrock sprinkles. For more sprinkle fun, try our Leprechaun Bait!
- Chill and Serve: For the cleanest slices, it’s best to chill the frosted brownies in the refrigerator for about 30 minutes before cutting. Use the parchment paper handles to lift the brownies from the pan, then slice and serve.
Pro Tips & Variations
I love sharing a few tricks I’ve learned in my kitchen to help you get the best possible results. Here are some tips and fun variations for your Green Velvet Brownies.
- Use Gel Food Coloring: For the most vibrant and beautiful green color without altering the batter’s consistency, I strongly recommend using gel food coloring instead of liquid. You’ll get that deep green velvet look with just a small amount.
- Do Not Overbake: The key to a perfectly fudgy brownie is to take it out of the oven at just the right time. A toothpick should come out with moist crumbs, not completely clean. The brownies will continue to cook slightly from the residual heat in the pan.
- Room Temperature Ingredients are Key: For the smoothest batter and the creamiest frosting, make sure your eggs, cream cheese, and butter are all at room temperature before you begin. This helps them incorporate into the mixtures seamlessly.
- Chocolate Chip Variation: For an extra layer of chocolatey goodness, fold in about 1/2 cup of white chocolate chips or semi sweet chocolate chips into the brownie batter before baking.
- Mint Green Velvet Brownies: Add 1/2 teaspoon of peppermint extract to the brownie batter and a 1/4 teaspoon to the frosting for a delicious mint chocolate twist. This flavor is perfect for the holidays and reminds me of these Chewy Mint Chocolate Chip Cookies.
- Different Colors for Different Occasions: Don’t just stick to green! Use red food coloring for a classic Red Velvet Brownie for Valentine’s Day, or pink for a fun birthday treat.
Serving Suggestions
These Green Velvet Brownies with Cream Cheese Frosting are a showstopper all on their own, but they also pair wonderfully with a few simple accompaniments. When I’m serving these for a special occasion, I like to create a small dessert spread. A simple scoop of vanilla bean ice cream is a classic choice; the cold creaminess is a perfect contrast to the rich, fudgy brownie. For an even more decadent treat, a drizzle of hot fudge or caramel sauce over the top is divine. Presenting them alongside other festive goodies, like my fudgy brownie inspiration from My Money Cottage, makes for a beautiful dessert table. Of course, you can’t go wrong serving these with a simple glass of cold milk for the kids or a hot cup of coffee or tea for the adults. The coffee’s bitterness beautifully cuts through the sweetness of the brownie and frosting. For a party, slice them into small, bite sized squares so guests can easily enjoy them while mingling.
Storage & Reheating for Green Velvet Brownies with Cream Cheese Frosting
Proper storage is essential to keep your brownies fresh and delicious for as long as possible. Because of the cream cheese frosting, these brownies should be stored in the refrigerator. Place them in a single layer in an airtight container. They will stay fresh and tasty for up to 5 days.
If you want to freeze them for later, you can! It’s best to freeze them before slicing. Let them cool completely, then wrap the entire uncut block tightly in plastic wrap, followed by a layer of aluminum foil. They can be frozen for up to 3 months. When you’re ready to enjoy them, let them thaw overnight in the refrigerator before frosting and slicing.
These brownies are best served chilled or at room temperature, so no reheating is necessary. If you prefer a slightly softer texture, just let them sit on the counter for about 20-30 minutes before serving.
FAQ about Green Velvet Brownies with Cream Cheese Frosting
What is the flavor of green velvet?
Green velvet has a very similar flavor profile to classic red velvet. It’s a mild chocolate flavor with hints of vanilla. The “velvet” part refers to the soft, tender, and smooth texture of the cake or brownie. The primary flavor isn’t overwhelmingly chocolate but a unique, lightly cocoa-infused taste that pairs perfectly with tangy cream cheese frosting.
Can I use a different size pan?
Yes, but you will need to adjust the baking time. This recipe is designed for an 8×8 inch pan, which yields thick, fudgy brownies. If you use a 9×9 inch pan, the brownies will be thinner, and you should start checking for doneness around the 20-25 minute mark. For a 9×13 inch pan, you would need to double the recipe ingredients.
Why did my cream cheese frosting turn out runny?
This can happen for a couple of reasons. The most common is that your cream cheese or butter was too warm and soft, almost melted. Alternatively, you may have added too much liquid (milk or vanilla). To fix it, you can try adding more powdered sugar, a little at a time, until it thickens up. Chilling the frosting in the refrigerator for 20-30 minutes can also help it firm up.
Can I make these brownies gluten free?
Absolutely! You can substitute the all purpose flour with a good quality 1-to-1 gluten free baking flour blend that contains xanthan gum. The texture might be slightly different, but they will still be delicious.
Final Thoughts on Green Velvet Brownies with Cream Cheese Frosting
Thank you for joining me in the kitchen today! I truly hope you love making and eating these wonderful Green Velvet Brownies with Cream Cheese Frosting as much as my family and I do. There’s something so special about creating a dessert that is not only delicious but also brings a sense of fun and celebration to the table. Every bite is a reminder that cooking is about creating joyful memories. If you loved this recipe, please consider saving it to your favorite Pinterest board. I would also love to hear from you! Please leave a comment below to let me know how they turned out or if you have any questions. And don’t forget to subscribe to the Mister Recipes newsletter for more family friendly recipes delivered straight to your inbox!

Green Velvet Brownies with Cream Cheese Frosting
Ingredients
Equipment
Method
- Preheat your oven to 350°F (175°C). Grease an 8x8 inch baking pan and line it with parchment paper, leaving some overhang on the sides to act as handles.
- In a large mixing bowl, combine the melted butter and granulated sugar. Whisk them together until they are well combined. Add the room temperature eggs one at a time, mixing well after each addition. Stir in the vanilla extract and the green gel food coloring until the batter is a uniform, vibrant green color.
- Sift the all purpose flour, unsweetened cocoa powder, and salt directly into the wet ingredients. Gently fold the dry ingredients into the wet mixture using a rubber spatula. Be careful not to overmix! Mix only until you no longer see streaks of flour.
- Pour the batter into your prepared baking pan and spread it evenly with the spatula. Bake for 25 to 30 minutes, or until a toothpick inserted into the center comes out with moist crumbs attached, but not wet batter.
- Remove the pan from the oven and place it on a wire rack to cool completely. It is very important that the brownies are fully cooled before you add the frosting, otherwise it will melt.
- While the brownies cool, prepare the cream cheese frosting. In a medium bowl, beat the softened cream cheese and softened butter together with an electric mixer until smooth and creamy. Gradually add the powdered sugar, mixing on low speed until it's incorporated, then increase the speed to medium high and beat until the frosting is light and fluffy. Mix in the vanilla extract. If the frosting is too thick, add milk, one tablespoon at a time, until you reach your desired consistency.
- Once the brownies are completely cool, spread the cream cheese frosting evenly over the top. If you like, decorate with festive green or shamrock sprinkles.
- For the cleanest slices, it’s best to chill the frosted brownies in the refrigerator for about 30 minutes before cutting. Use the parchment paper handles to lift the brownies from the pan, then slice and serve.